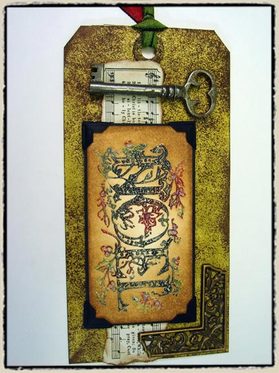
 "rusty noel" – tim holtz 2007
supplies:
craft sheet (ranger)
heat tool (ranger)
clear embossing powder (ranger)
distress inks: fired brick, shabby shutters, vintage photo, black soot (ranger)
ink blending tool & foam (ranger)
stickles (ranger)
stamp set (stampers anonymous)
tag and embellishments
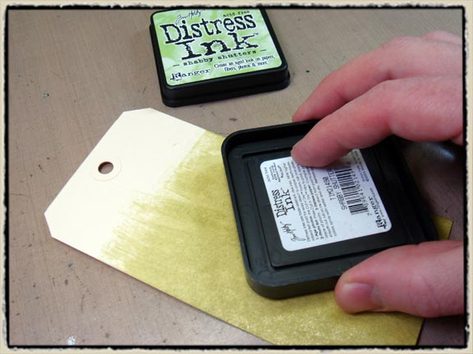
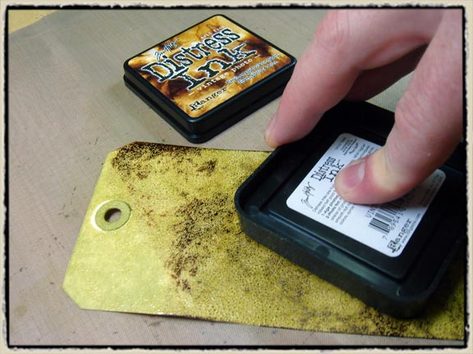
step 1: apply shabby shutters distress ink to tag by going direct to paper (DTP) and simply rubbing the pad on the tag. do this until the entire tag is covered in ink. (*tip: i like working with a lighter color distress ink for this technique to provide the most contrast)
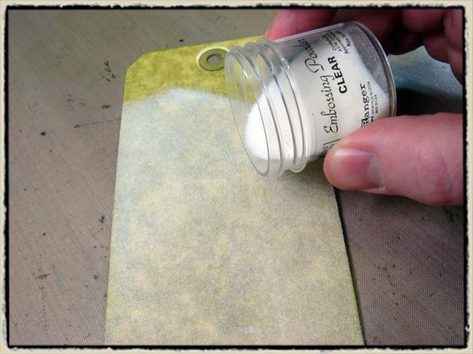
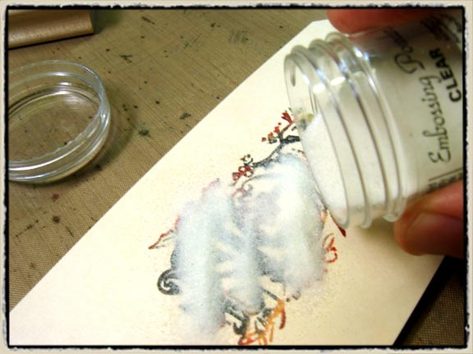
step 2: apply clear embossing powder over the entire tag and remove excess and place back in the jar- see it really does work as an embossing ink! (*tip: i would suggest using using regular clear embossing powder for this particular technique, i’ve had the best results with it)
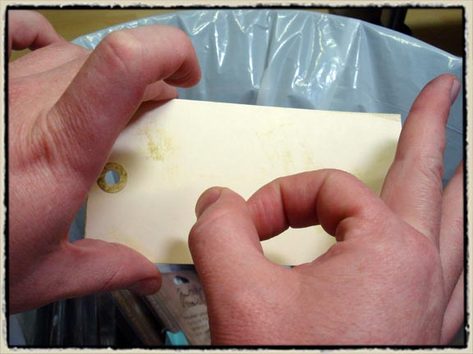
step 3: holding the powdered tag over a trash can (or you’ll make a serious mess), FLICK the back of the tag. yes, be a flicker and flick the back of the tag HARD! you should see some of the embossing powder fly off into the trash can. if you feel the need to flick again – go for it. (*tip: it is important that some of the powder does fall off so don’t be a softy here…)
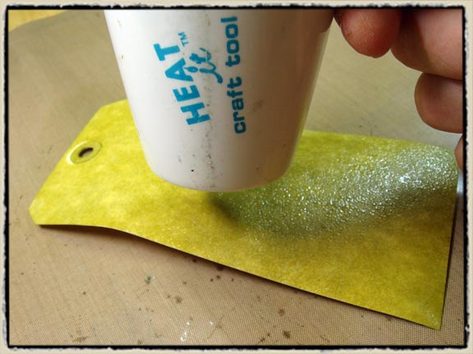
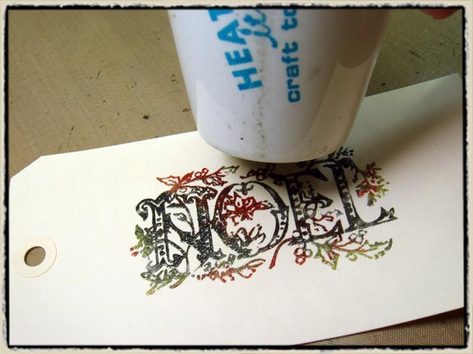
step 4: emboss the tag with your heat tool until the powder looks like "orange peel". (*tip: be sure you don’t over-emboss this! when it turns shiny and glossy it’s melted – move on. too many times people want to go over their embossing "just to make sure". trust me, if it’s shiny, it’s embossed.)
step 5: let the tag cool for a minute and then apply vintage photo distress ink over the embossed tag by once again going direct to paper.
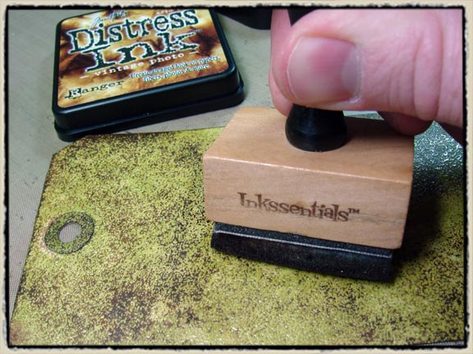
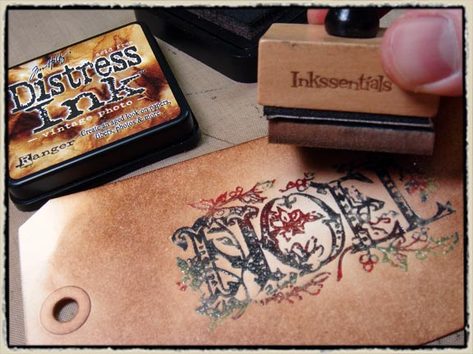
step 6: using your ink blending tool & foam, press the ink down into the recessed areas of the embossed tag to create the look of "distressed enamel" and wipe off any excess ink with a pepr towel. (*tip: when you flicked the powdered tag before embossing it, some of the embossing powder flew off, so when embossed it left areas of the tag exposed. inking with brown stained the exposed areas.)
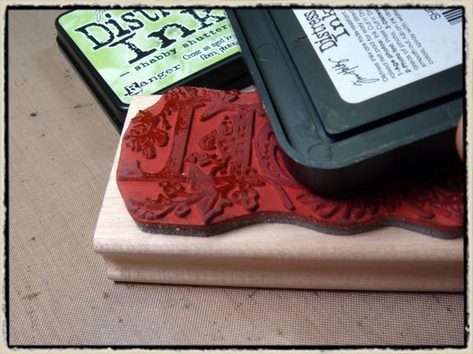
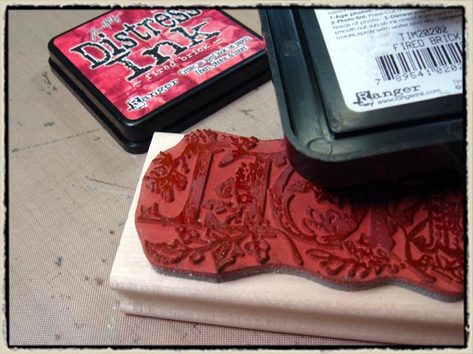
step 7: now that our background is done, we are going to stamp our image with multiple colors of distress ink – that’s right, all on one stamp, all at one time! of course you could always create a custom stamp pad like we did on day 4, but this is something you can do if you only want to stamp the image once. begin with the lightest color of distress ink and using the CORNER of the ink pad only, ink the areas of the stamp you want that color.
step 8: next continue to the next darker color and ink that section of the image as well – remember we are only using the CORNER of the ink pad to color the areas. (*tip: if you happen to ink over another color, not to worry it is impossible to contaminate a darker color distress ink pad with a lighter color!)
step 9: once you’re finished inking all of your colors on your stamp and your stamp is completely inked and wet, stamp it on to another tag and cover it with clear embossing powder. (*tip: i don’t suggest stamping on to the "enameled" background, the surface is too bumpy and the image doesn’t show as well).
step 10: heat emboss the image with a heat tool. remember distress is an embossing ink – how cool to be able to stamp it and emboss it with everything colored. (*tip: if the light bulb is going off – it should, yes this means that if you created a custom stamp pad with distress ink – day 4 again, then you could stamp and emboss your image).
step 11: ink noel image with vintage photo distress ink using ink blending tool & foam. (*tip: because you embossed your image first, it will now resist the top layer of distress – remember day 2 technique. it all comes together doesn’t it?)
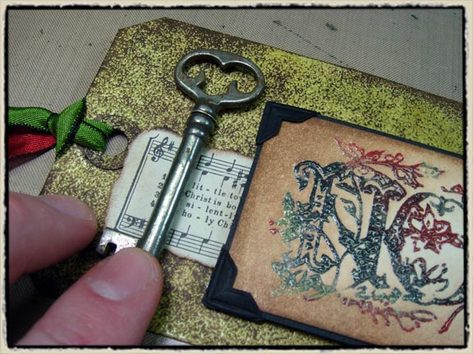
step 12: trim image to fit tag, mat with cardstock and embellish.
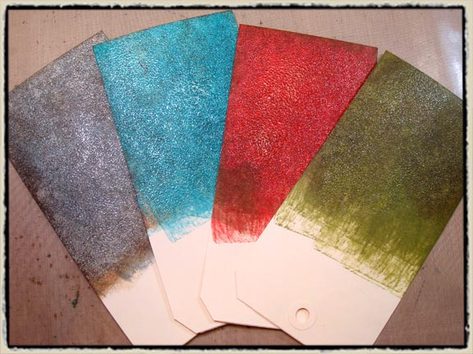
*check out these other color combos! (*from left to right: weathered wood, broken china, fired brick, peeled paint)
