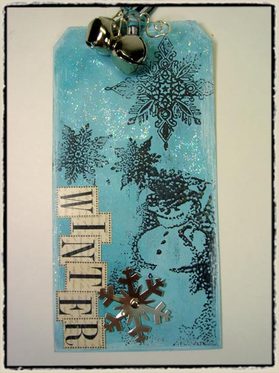
 "shabby snowman" – tim holtz 2007
supplies:
craft sheet (ranger)
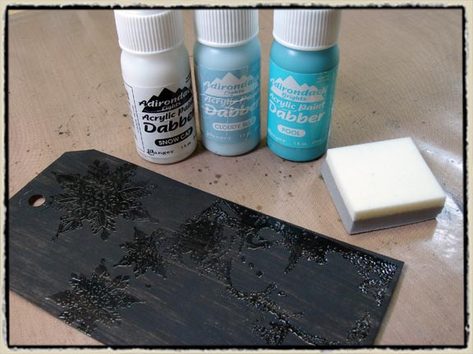
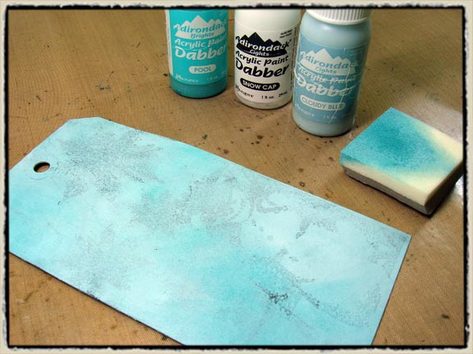
adirondack paint dabbers: snow cap, pitch black, pool, cloudy blue (ranger)
clear embossing powder (ranger)
clear embossing ink (ranger)
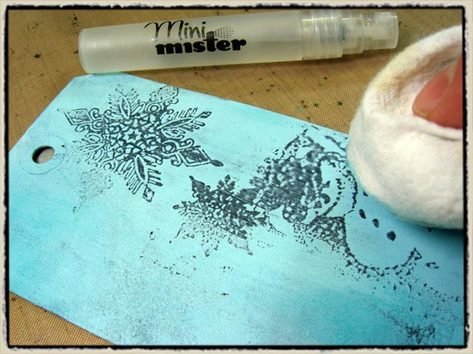
mini mister (ranger)
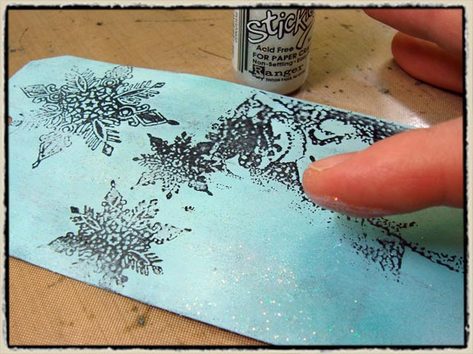
stickles (ranger)
heat tool (ranger)
cut n’ dry foam (ranger)
stamp set (stampers anonymous)
tag and embellishments
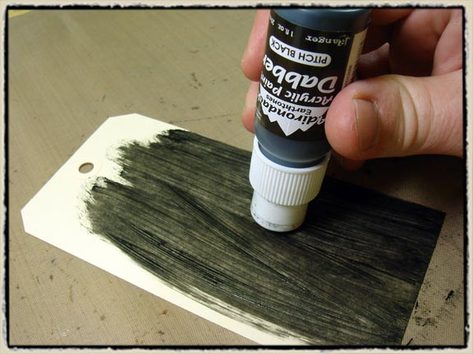
step 1: paint entire tag with pitch black paint dabber and let dry. (*tip: if you want to start with black cardstock, that would work too).
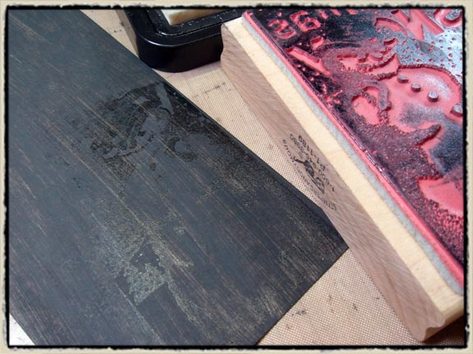
step 2: ink snowman portion of stamp and stamp with clear embossing ink near bottom of tag.
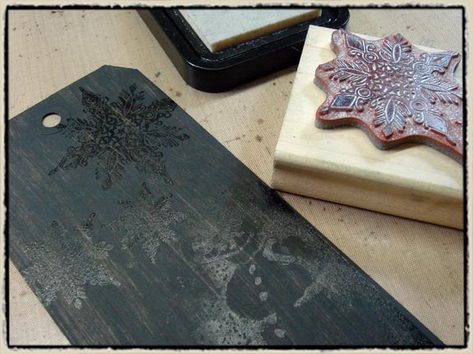
step 3: quickly ink snowflake stamp and stamp with clear embossing ink near top of tag.
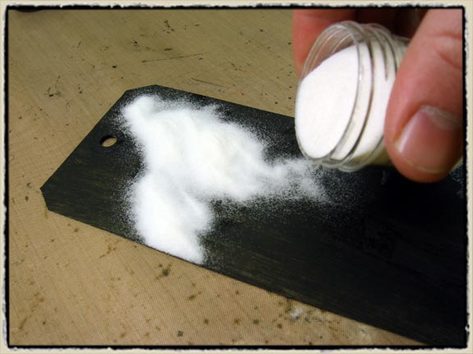
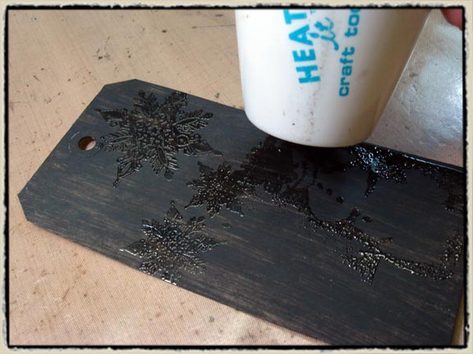
step 4: cover both images with regular clear embossing powder. shake off excess and place back into jar. (*tip: you have anywhere from 5-10 minutes to get the embossing powder on to the images as embossing ink has a much longer open time, especially on paint.).
step 5: heat images with heat tool to emboss until images are raised and turn shiny. let cool. (*tip: do not over-emboss)
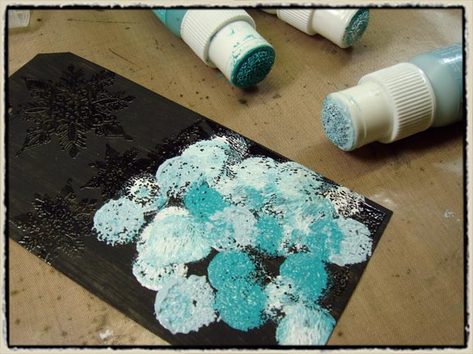
step 6: paint over entire tag – including embossed images – with three colors of paint dabbers. we are working with snow cap, pool, and cloudy blue to create a wintry look.
step 7: dab a little of each color on to a portion of the tag (*tip: it doesn’t matter if you work light to dark to not as paint dabbers do NOT contaminate each other – this bottle only dispenses paint. simply wipe off dabber top to remove any other colors)
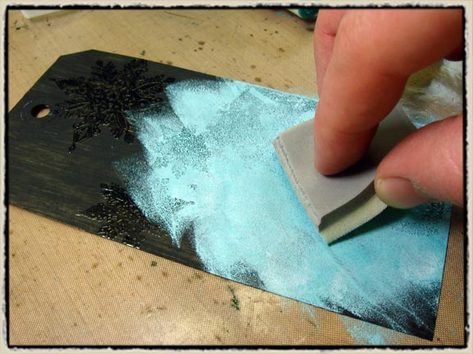
step 8: using a piece of cut n’ dry foam or ink blending foam, pounce on the painted section to blend the colors. (*tip: it’s important that you pounce or dab on the paint and not wipe as we are trying to cover the images with paint).
step 9: repeat above steps until entire tag is covered. (*tip: if you need to blend areas again, simply repaint over them. we want to make sure the entire tag is covered in paint).
step 10: once painted tag is dry, mist a cloth or paper towel with water and lightly wipe over the embossed images to remove the paint and create a shabby chic image. (*tip: the paint dabber will wipe off of the embossing powder to reveal your images. the reason i prefer this technique over simply embossing in black is that the paint makes a milky wash over the embossing. the images appear black becasue that was our base coat. you can remove as much or as little of the top layer of paint so your image can fade in and out in areas – umlimited possibilities!)
step 11: apply stickles to your finger and rub over background to add a bit of sparkle and embellish tag.
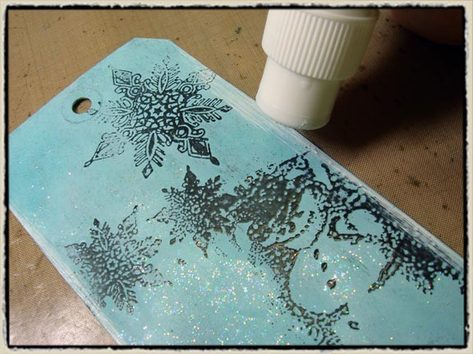
step 12: edge tag with white paint dabber by lightly swiping it along the edges of the tag.
