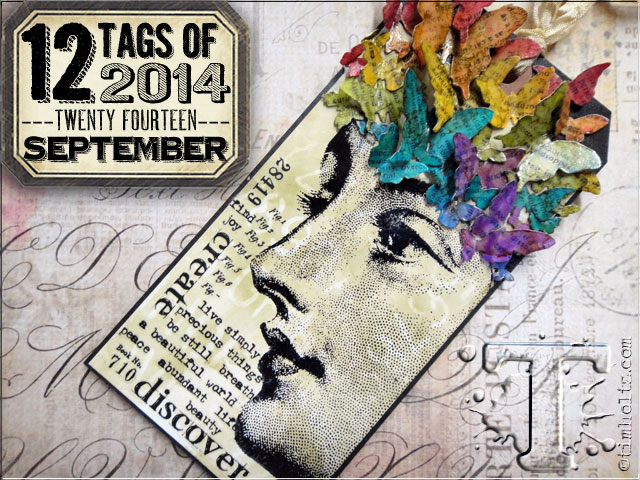
i believe art allows our creativity to escape understanding…
for me, that means sometimes encouraging myself to try new things, be open to different styles and techniques. i also believe the only way to grow our creative thinking is to give ourselves that freedom to explore. the 12 tags is my opportunity every month to challenge my normal day to day creative process so this month i decided to get out my alcohol inks and see what happened. i absolutely love these inks and their versatility on so many different surfaces that result in amazing effects. i just wanted to play by mixing various colors, metallic mixatives, and manipulating the inks with blending solution. it’s times like these when we allow our creative thinking to embrace imperfection and often discover new techniques or different ways to use products, this was one of those times…
for those of you who have taken my creative chemistry classes (and i honestly encourage everyone who hasn’t to please do) you learn the importance of the properties of the products and how they can interact with one another. in creative chemistry 102 as well as my recent compendium of curiosities vol.3 book, i share a technique called “faded layers” that combines alcohols inks, blending solution, and layering stencils to achieve a cool ghosted background on glossy cardstock. well today, i’ve learned a completely new way to achieve this effect and i can’t wait to share it with you. so you see, my creativity isn’t always about brown and grunge, sometimes we all need to dream in color…t!m
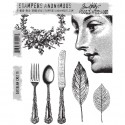
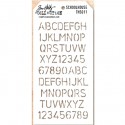
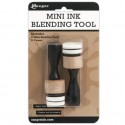
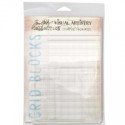
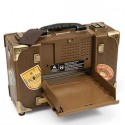
supplies: craft sheet, alcohol inks/assorted colors, metallic mixative/gold, blending solution, ink applicator tool, felt, mini ink blending tool, blending foam, archival ink/jet black, glossy accents, heat tool, #8 black tag, remnant rubs/botanical, crinkle ribbon, stamps/cms179/cms104, layering stencil/THS011, grid-blocks, decorative strip die/butterfly frenzy, vagabond machine
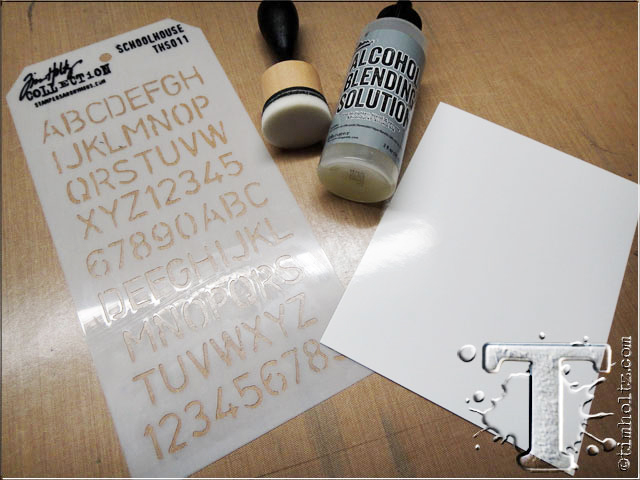
step 1: begin with a piece of alcohol ink cardstock (or glossy cardstock), a layering stencil, blending solution, mini ink blending tool, blending foam. *note: glossy cardstock and alcohol ink cardstock from ranger are the same thing, however it is completely different than gloss photo paper. gloss photo paper will not work well with alcohol inks since it’s emulsion-based and will become very sticky when inked.

step 2: apply a puddle of blending solution to the craft sheet.

step 3: tap mini blending tool into the blending solution to distribute the solution into the foam.
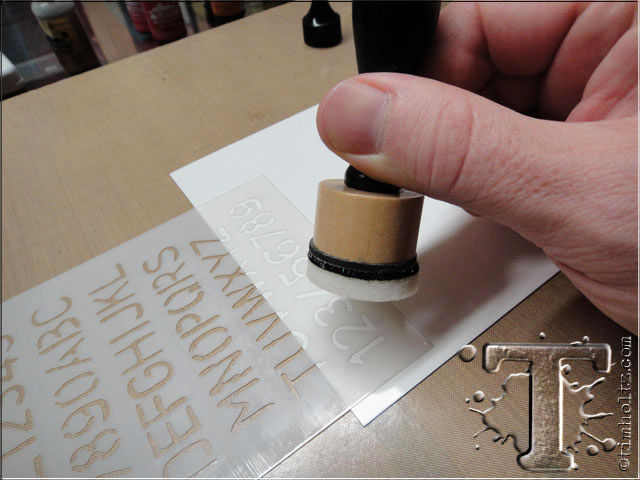
step 4: place a layering stencil over the glossy cardstock and tap the blending tool through the stencil to apply the blending solution. *note: you need to work quickly as blending solution dries fast – if it’s too dry, apply more to the craft sheet.

step 5: reposition the stencil and repeat previous steps making sure you have wet blending solution on the foam when you’re tapping over the stencil.

step 6: once you’re finished, clean the stencil with soap and water. *note: you don’t really see anything at this point since the blending solution dries clear.
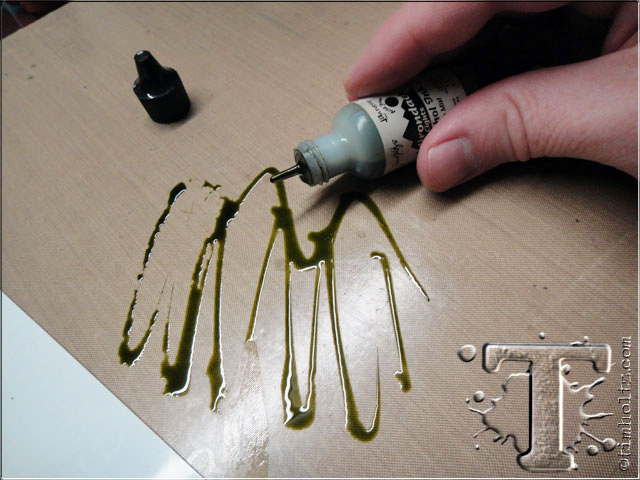
step 7: apply a light color of alcohol ink to the craft sheet. it’s important to use a “light” color since we don’t want to add any blending solution to the craft sheet to dilute the inks. if the color is too dark or too diluted with blending solution, it won’t be as effective for this technique. (i used lake mist)

step 8: quickly and lightly drag paper through the ink glossy side down and repeat until covered with a few layers of ink.

step 9: turn paper over to reveal the ghosted background – cool huh? by applying blending solution to the paper first, it keeps those stenciled areas lighter than the rest of the background. *note: when trying any new technique remember it may not always be perfect the first time so embrace the process. after all, it’s just ink and paper at this point so practice makes perfect.

step 10: trim paper to the size for the tag, and stamp image with jet black archival ink – dry with a heat tool.
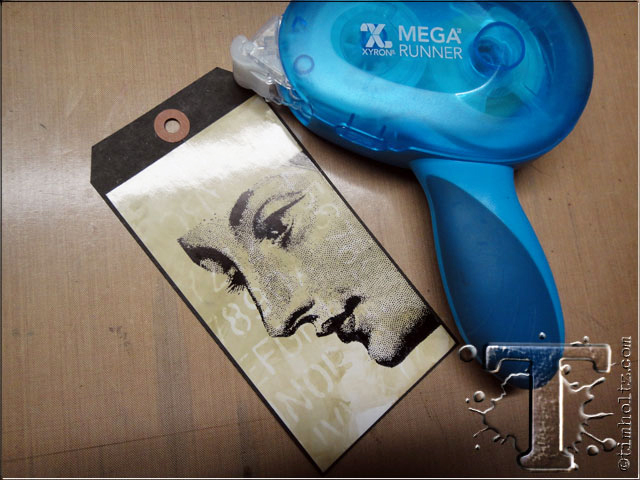
step 11: adhere background to a tag with your favorite adhesive.

step 12: apply remnant rubs to your background for contrast.

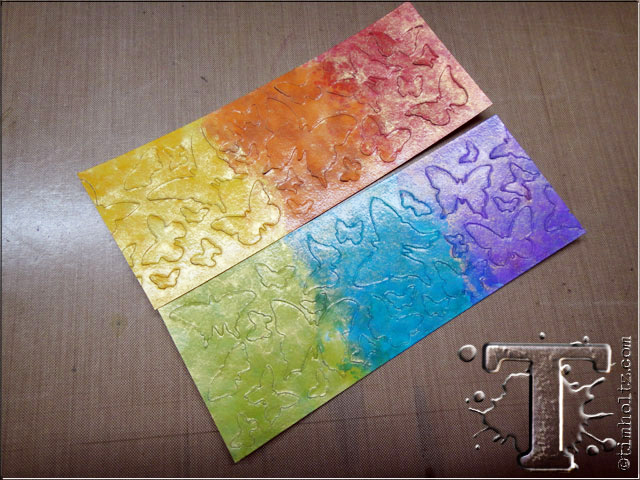
step 13: cut two strips of alcohol ink cardstock and gather various colors of alcohol inks, ink applicator tool, and extra felts.

step 14: apply two tones of inks to the felt on the ink tool. add a drop of metallic mixative and blending solution then tap the tool on to a section of the glossy cardstock.

step 15: change felt, and repeat with various colors in different sections of the cardstock until completely covered with ink.

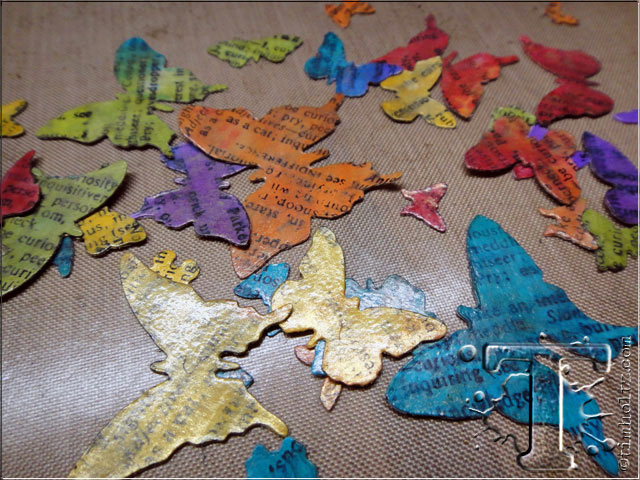
step 16: place inked cardstock face-down on butterfly frenzy die and run through vagabond machine or big shot.
step 17: check out all of those butterflies! looking good so far, but don’t pop out all of the butterflies just yet.
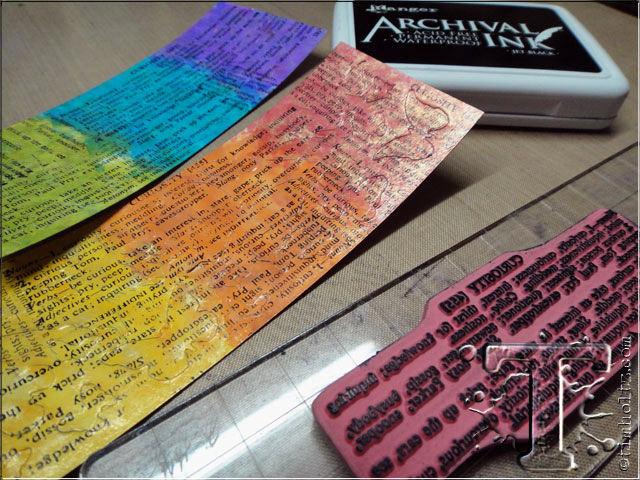
step 18: ink a text stamp with jet black archival ink and stamp random over butterflies.
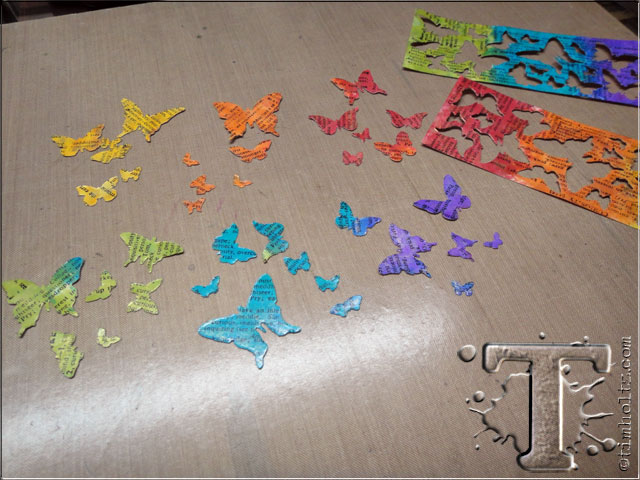
step 19: now pop all of the butterflies out of the die.

step 20: to create a faded stamped layer, apply lake mist alcohol ink and blending solution to ink tool and tap over all butterflies.
step 21: this will create a faded effect on the butterflies and somewhat smear your stamped images since the blending solution reacts with the archival ink. since i wanted this effect to be random i prefer to do this after the butterflies are removed from the cardstock sheet.
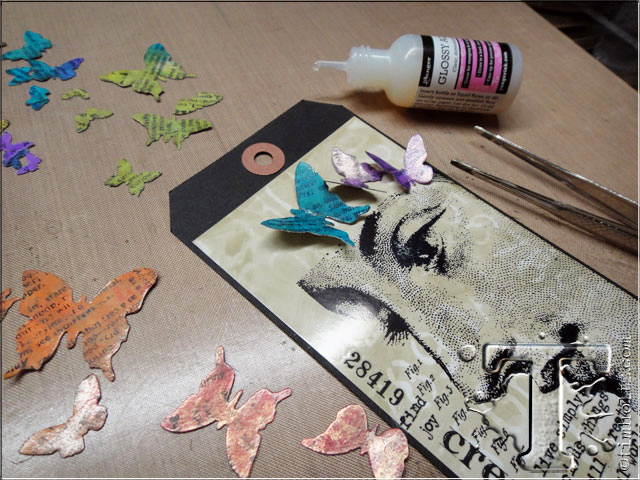
step 22: begin folding the butterflies in half and adhere to the background using a small amount of glossy accents.
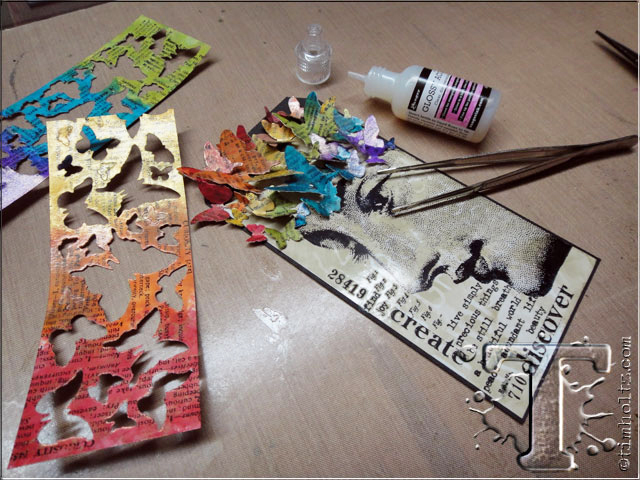
step 23: continue adhering all butterflies until desired look is achieved – love all the different shapes and sizes from this die.
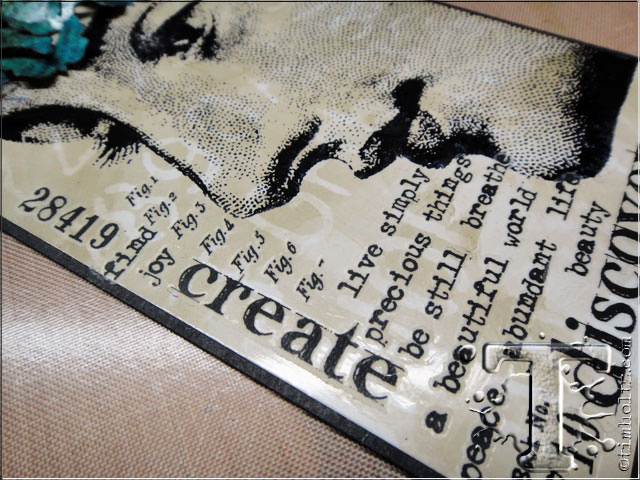
the details: the contrast of the remnant rubs on the background is a great way to add text to slick surfaces.

the details: the subtle faded layer from the stencil gives the background added depth.

the details: this colorful cluster of inked and stamped butterflies is a the perfect embellishment.
*be sure to check your local stores for these supplies or you can
click the links below to purchase online…
(SSS=simon says stamp / IE=inspiration emporium)
GREAT NEWS! both of these online stores are offering a discount of 10% off your purchase – use the following codes with your order:
(SSS code: TH10SEPT / IE code: timtime)
 |
 |
 |
 |
 |
 |
|
 |
|
|
 |
 |
 |
 |
 |
 |
 |
 |
 |
 |
 |
|
|
 |
 |
 |
 |
 |
 |
|
 |
|
 |
 |
 |
|
|
|
 |


