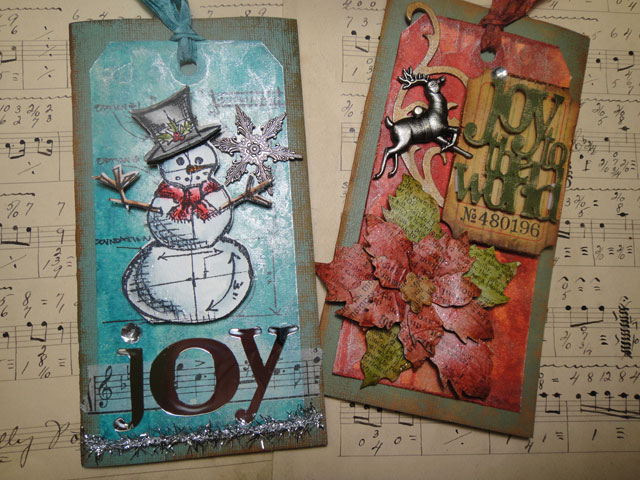
happy holidays! well here we are, the last month of our “12 Tags of 2012”. it’s been a great time sharing techniques throughout the year and seeing all of the great tags you’ve had time to share too. for many of you, i know today is bitter sweet since my announcement earlier this year to retire the “12 Tags of Christmas” which would normally start today, and instead launch the “12 Tags of 2012” that we’ve been able to share all year long (see blog post). the bright side for me, and i think for many of you (from the “thank you” emails i’ve received) is the fact that you’ve had time this year to actually create a tag each month, and share in the creativity 12 tags was designed for you to do. not to worry though, the archives for the past 5 years of “12 Tags of Christmas” are listed on the right side of the blog with links to all 60 Christmas tags so there is still plenty of holiday cheer to inspire you! now of course as promised, i said i would “owe you” a tag for january (since we didn’t get this started until february) so today i’m sharing 2 of my favorite holiday tags to get paid up! since this is december and many of you might still be scrambling for card making ideas, i thought i would remind you how simple it is to just adhere the tags you create right on to the front of a card. so let’s get started on our last tags of 2012…
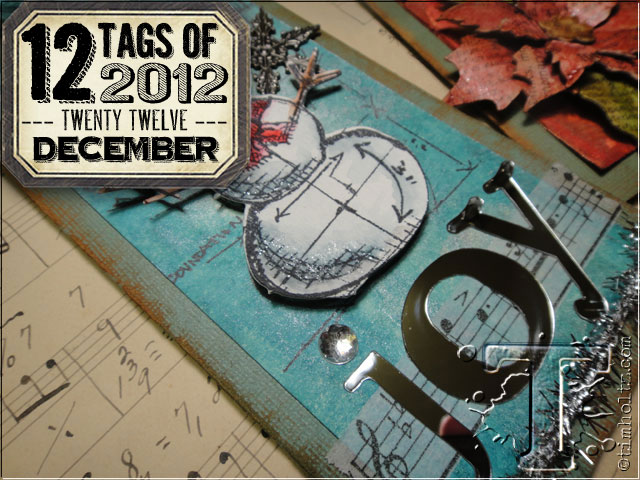
(tag #1/blueprint snowman):
supplies: craft sheet, distress stains/broken china/brushed pewter, distress ink/brushed corduroy, distress markers/asst. colors, distress stickles/rock candy, ink blending tool, mister, water brush, collage glue stick, archival ink/jet black, pop-it shapes, glossy accents, manila tags #8, heat tool, tinsel twine, seasonal adornments, mirrored, tissue tape, crinkle ribbon, tiny attacher, sanding grip, word play die,vagabond, stamp2cut #22, eclips machine, christmas blueprint stamps cms135, kraft core, scissors, paper distresser, watercolor paper
(background for both tags):
 step 1: apply distress stain directly to the craft sheet by pressing down and gently squeezing out stain.
 step 2: repeat with metallic distress stain.
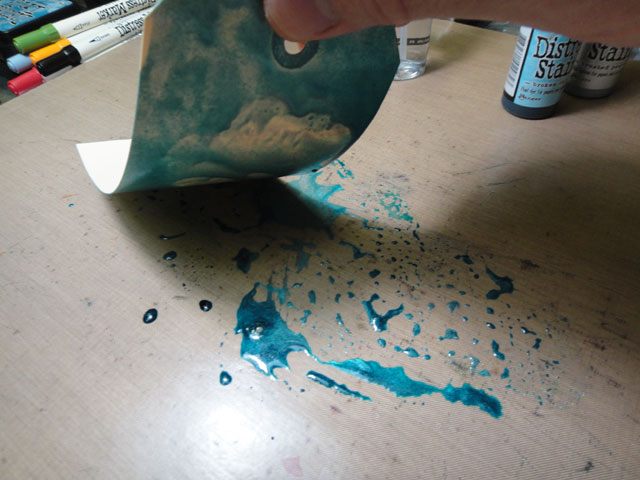 step 3: swipe tag through stains several times, mixing the color and metallic and covering the tag with color.
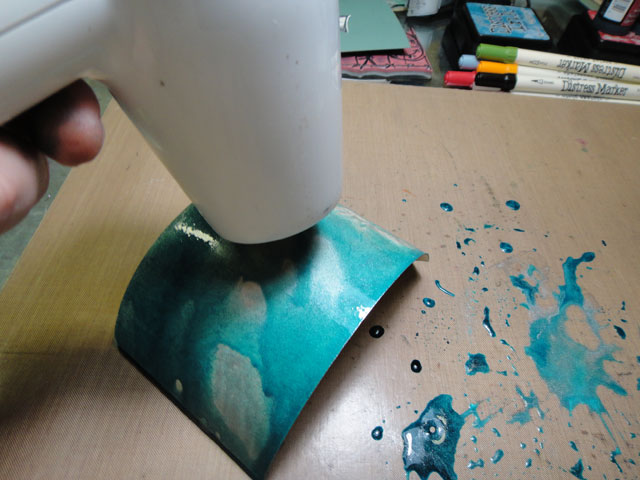 step 4: begin drying the tag with a heat tool.
 step 5: while tag is drying, spritz or flick water on the inked tag to blend the distress color and metallic stains, and finish drying tag for a cool background effect.
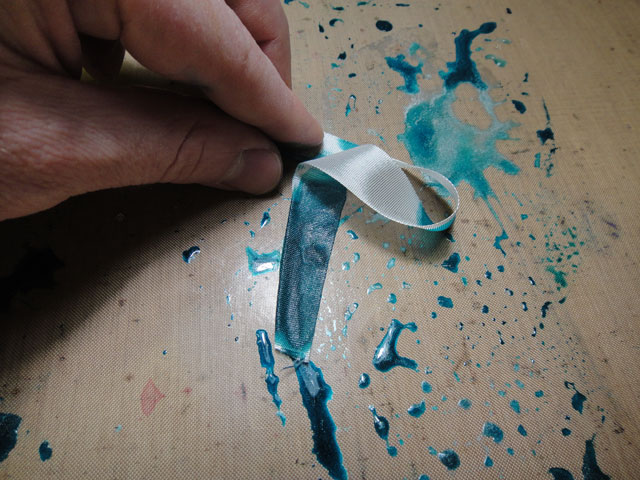 step 6: swipe a piece of crinkle ribbon through remaining ink on craft sheet.
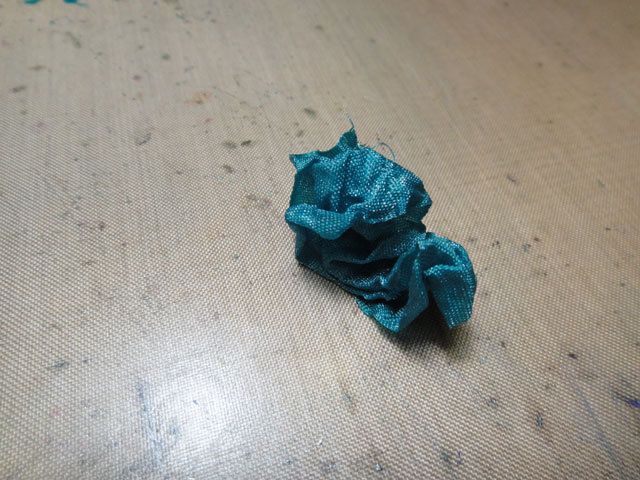 step 7: crinkle ribbon into a ball and let dry.
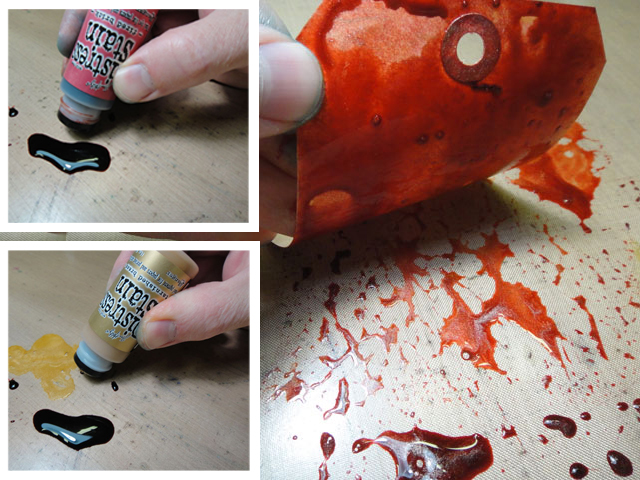 *repeat previous steps for second tag using different ink/metallic colors…
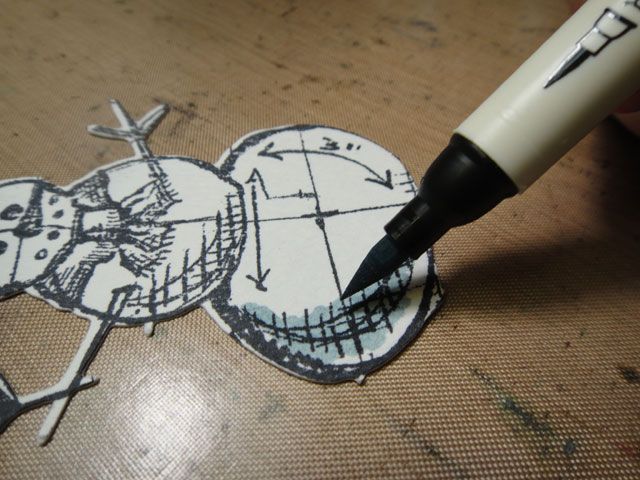 step 1: stamp snowman image on watercolor paper with archival ink, and cut out with stamp2cut (or hand cut) and bottom “shadow” design with distress marker.
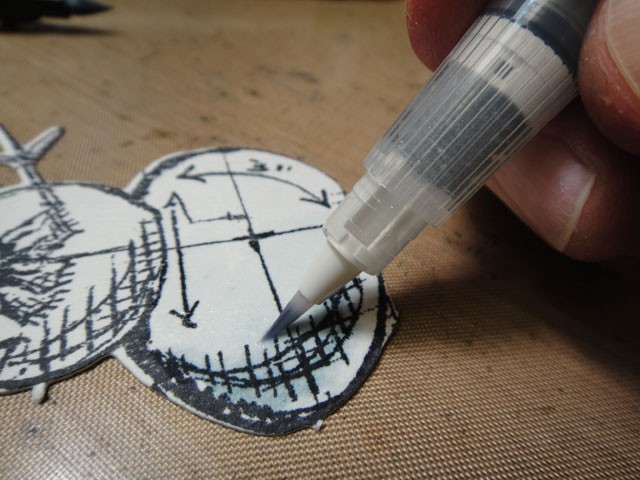 step 2: blend distress markers with water brush to create a layered shadow – since distress markers are also reactive with water, they blend great on watercolor paper and various other papers.
 step 3: repeat for all “shadow” areas and dry damp image with heat tool. *note: to effectively layer colors, you must dry previous layers.
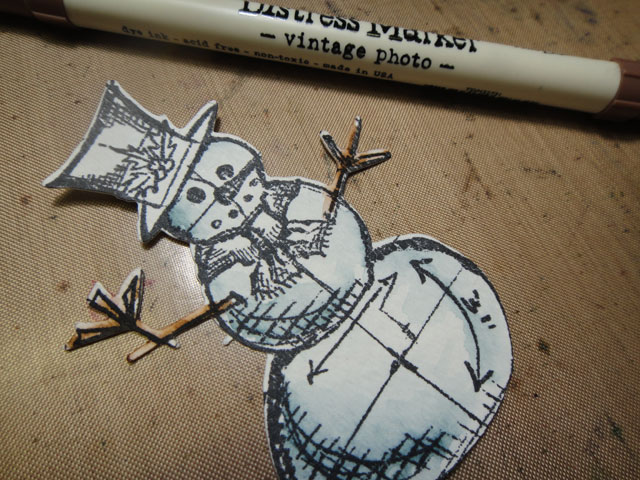 step 4: color twig arms with distress markers and blend with water brush.
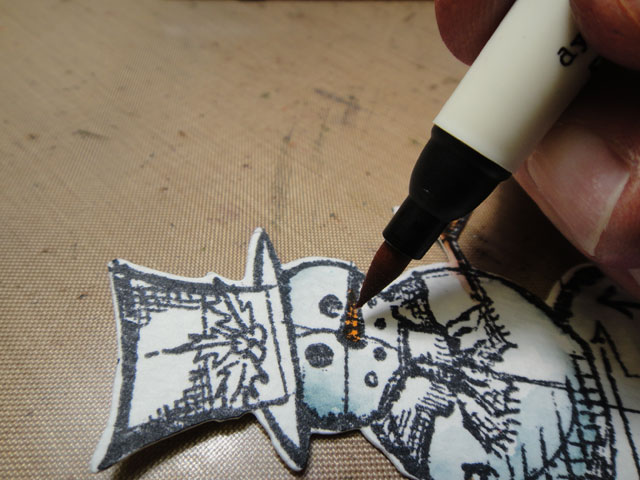 step 5: color carrot nose with distress markers and blend with water brush.
 step 6: color scarf with distress markers and blend with water brush.
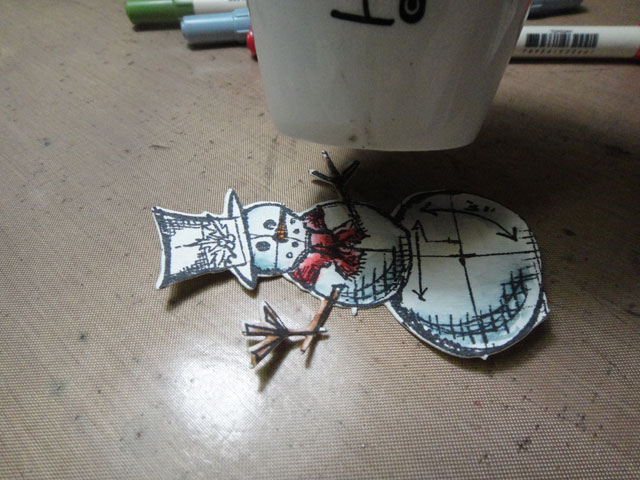 step 7: dry entire image with heat tool.
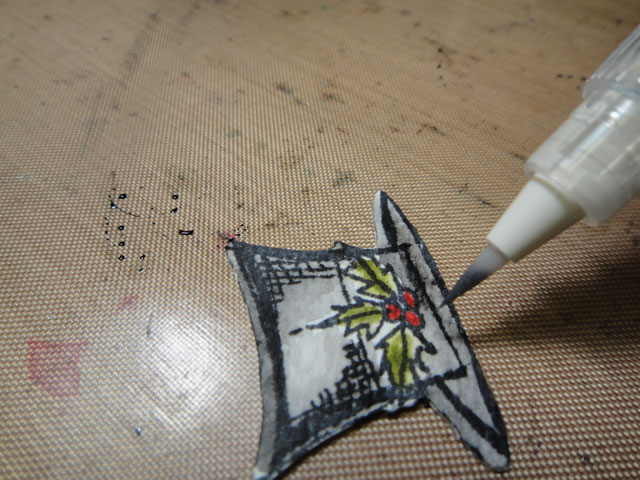 step 8: stamp just the snowman hat on watercolor paper with archival ink, and cut with stamp2cut (or hand cut). color with distress markers and blend with water brush. dry with heat tool.
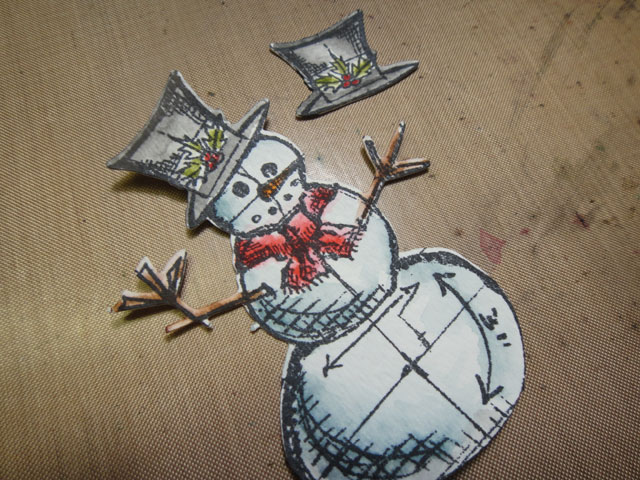 *this is what you should have… note: i also watercolored the hat on the base snowman since you can see areas of it once layered.
 step 9: apply pop-it shape or foam tape to back of hat and adhere over snowman base.
 step 10: apply a small amount of rock candy distress stickles along “shadow” areas of the snowman.
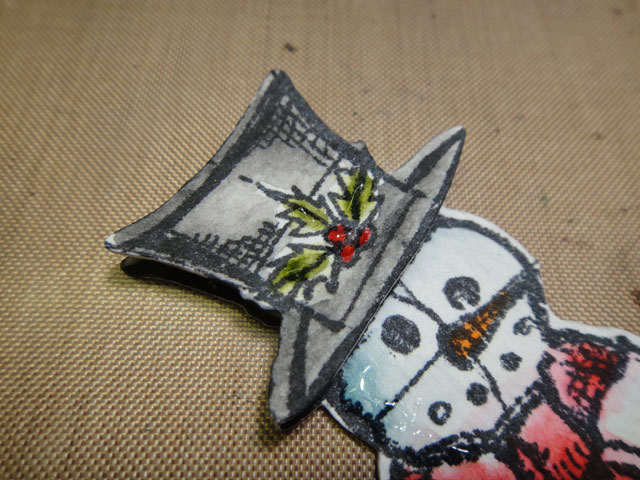 step 11: apply a small amount of rock candy distress stickles to the holly leaves on the hat.
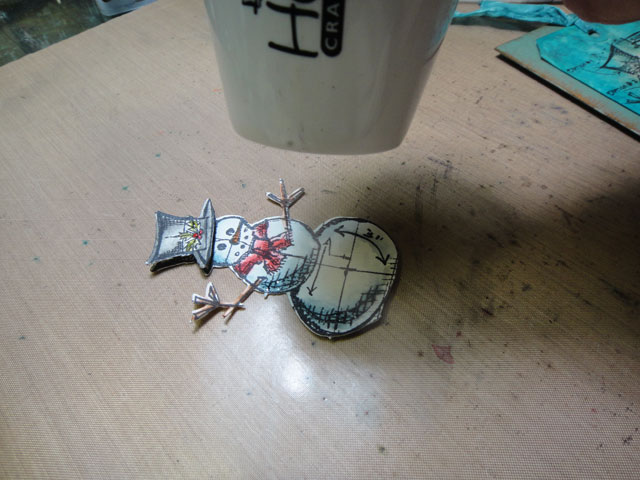 step 12: dry distress stickles with heat tool.
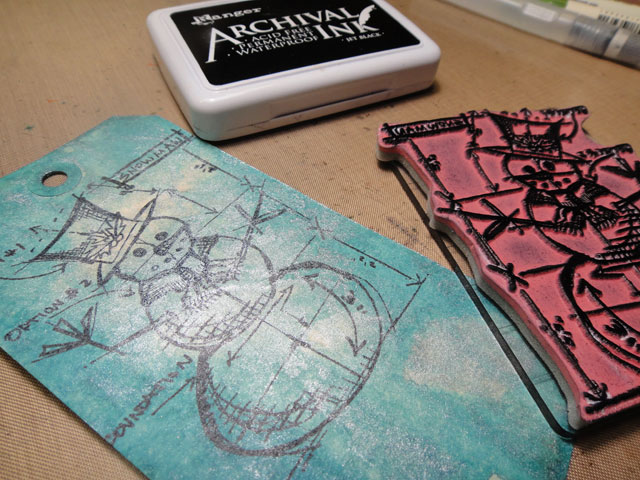 step 13: with our tag background already done stamp the blueprint snowman image with jet black archival ink.
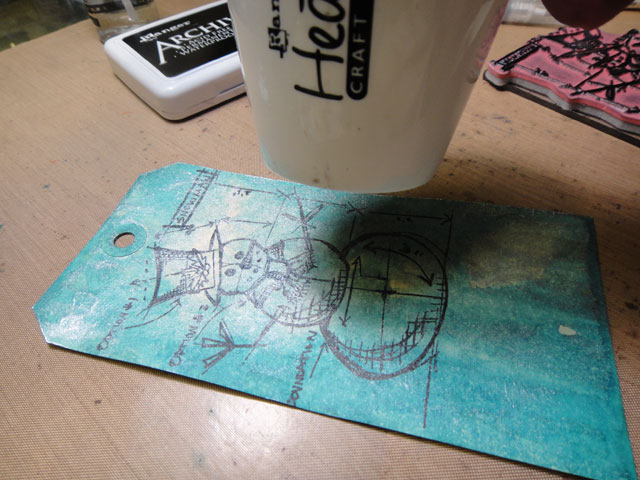 step 14: dry stamped image with heat tool to set ink.
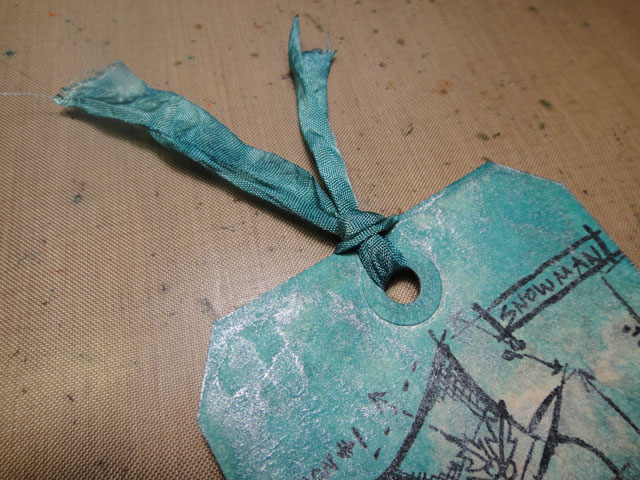 step 15: tie distressed ribbon through top of tag.
 step 16: cut kraft core cardstock ( 7″ x 7″1/2″ and scored at 3 3/4″ making card 7″ x 3 3/4″) and sand the edges using a sanding grip – be sure you don’t sand on the craft sheet.
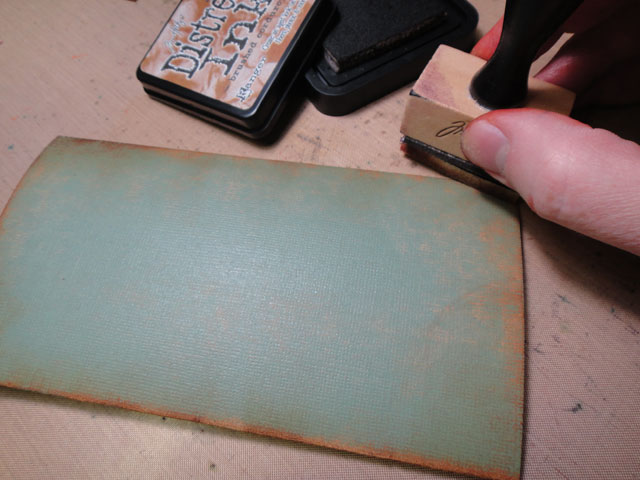 step 17: ink the sanded edges of your card to create an instant vintage look on kraft core, love it…
 step 18: adhere tag to card using collage glue stick.
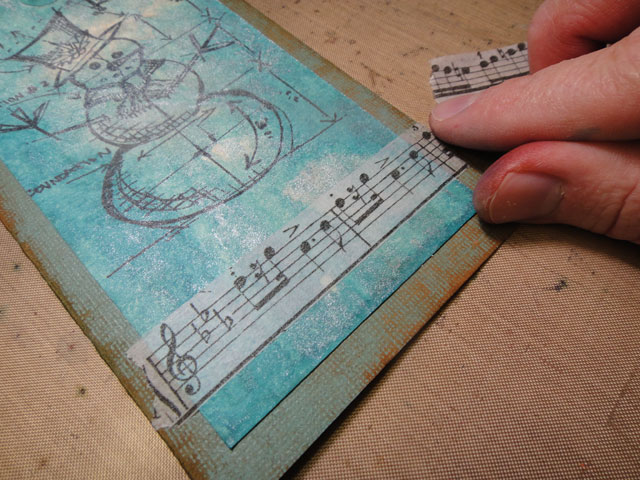 step 19: adhere a strip of tissue tape along the bottom of the card.
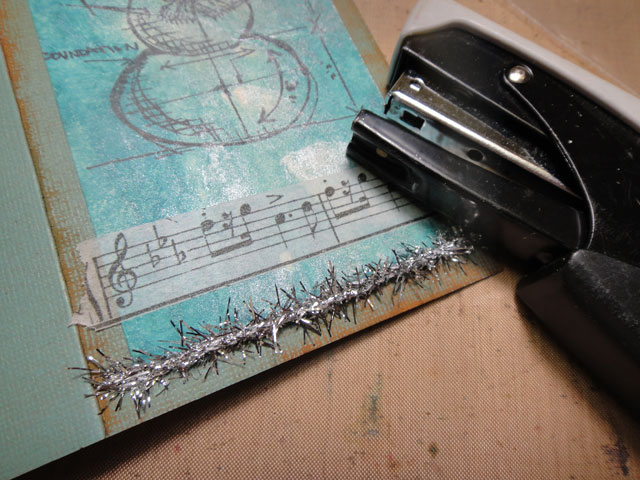 step 20: attach a piece of tinsel twine below the tape using a tiny attacher (make sure you don’t staple the card closed).
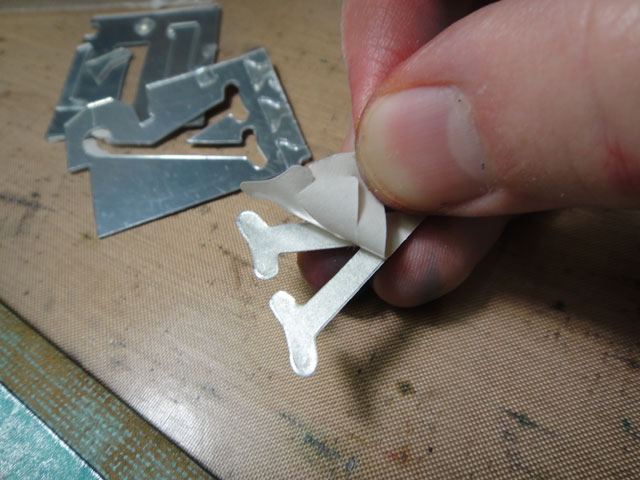 step 21: die cut the letters “j o y” from mirrored using word play die and remove white paper backing.
 step 22: press to adhere to the card since mirrored is self adhesive.
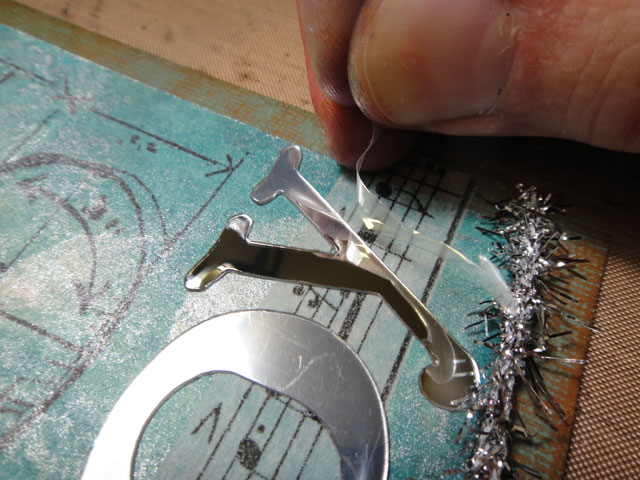 step 23: next, remove the clear protective film on the top to reveal the amazing mirror surface.
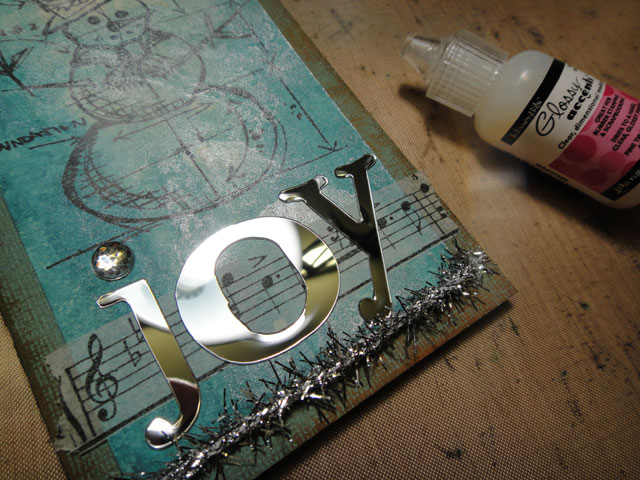 *option: i adhered a gem to the top of the “j” with glossy accents.
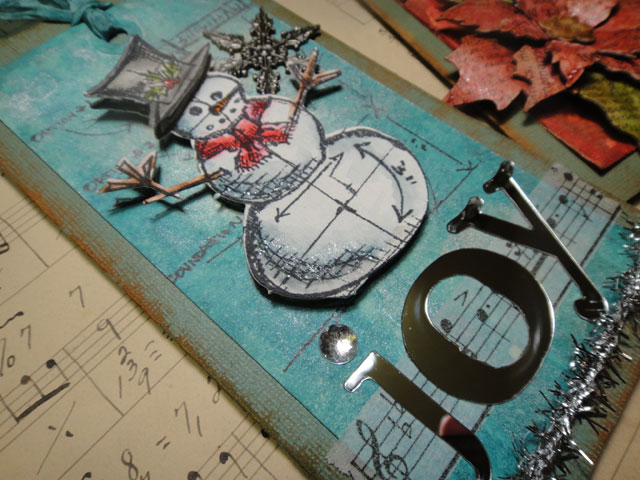
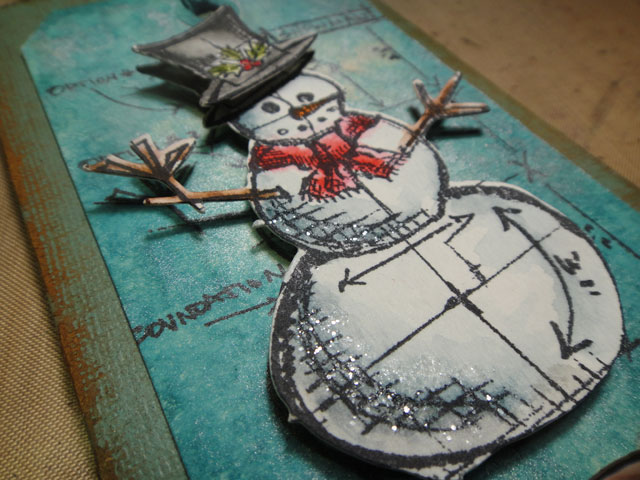 step 24: adhere the snowman to the tag using pop-it shapes or foam tape, layering over the stamped snowman image.
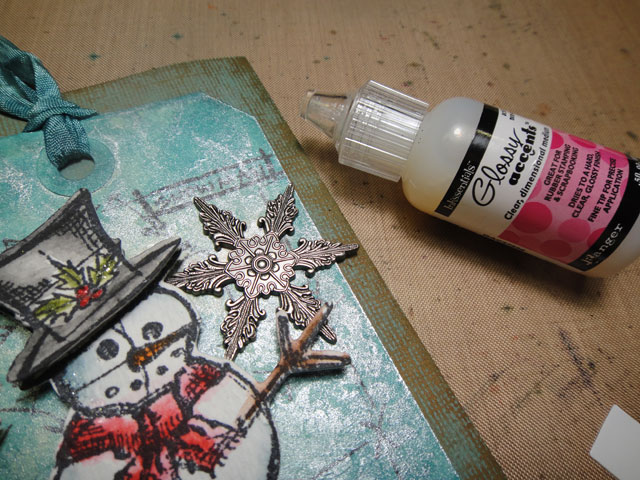 step 25: adhere a snowflake adornment with glossy accents.
 that’s it – what a wintery looking tag card complete with blended distress background, and layered watercolored snowman with just the right amount of sparkle from jack frost himself…
now you’re ready for another tag still – right? well let’s get right to it…
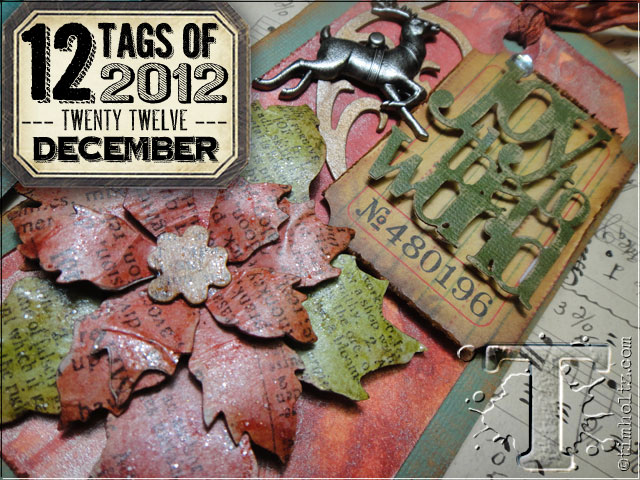
(tag #2/tattered poinsettia):
supplies: craft sheet, distress stains/fired brick/tarnished brass, distress ink/brushed corduroy, distress stickles/rock candy, ink blending tool, mister, collage glue stick, pop-it shapes, glossy accents, manila tags #8, heat tool, grungeboard, grungepaper, tissue wrap, seasonal adornments, journaling tickets, crinkle ribbon, sanding grip, stacked christmas words die, tattered poinsettia die, elegant flourish, vagabond, kraft core, scissors, paper distresser, hot glue gun
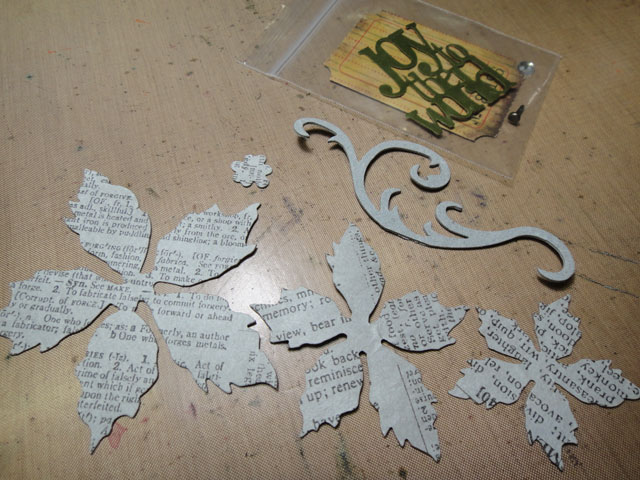 step 1: cover grungepaper with tissue wrap using collage glue stick and die cut with tattered poinsettia die. die cut flourish from grungeboard. die cut joy to the world from kraft core cardstock.
 step 2: ink 3 petals of the largest poinsettia with peeled paint distress ink using ink blending tool to create “leaves”. note: tissue wrap takes the ink very subtly but not to worry.
 step 3: ink remaining petals and poinsettia sizes with fired brick distress ink using ink blending tool.
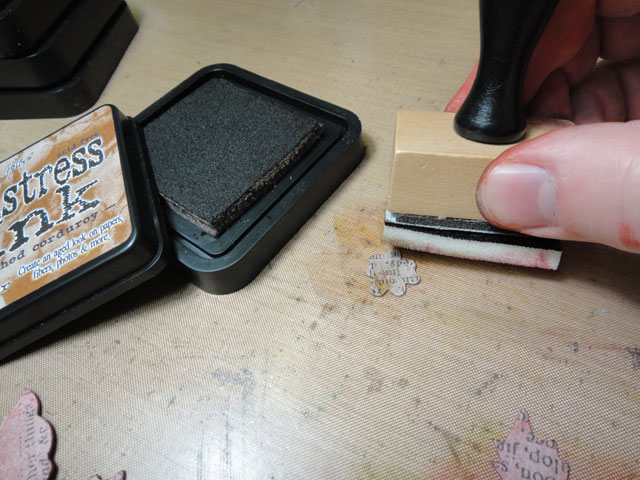 step 4: ink center of poinsettia with brushed corduroy distress ink using ink blending tool.
 step 5: apply a generous amount of rock candy distress stickles to craft sheet.
 step 6: using your finger, apply a light layer of distress stickles over all inked grunge pieces.
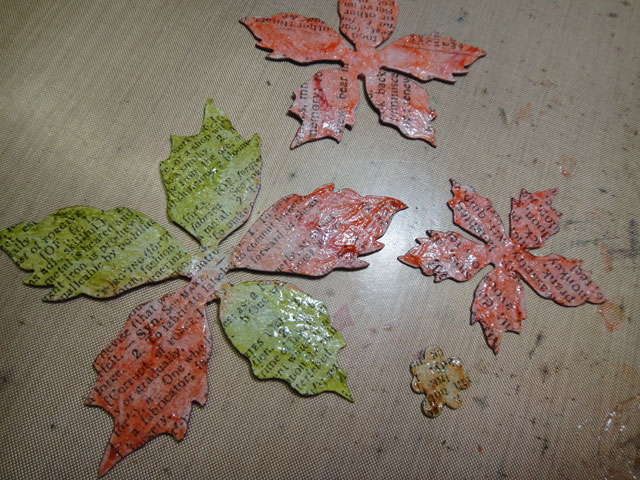 step 7: set pieces aside to dry – notice the brighter inked surface? since distress is reactive with water, the stickles makes the colors pop.
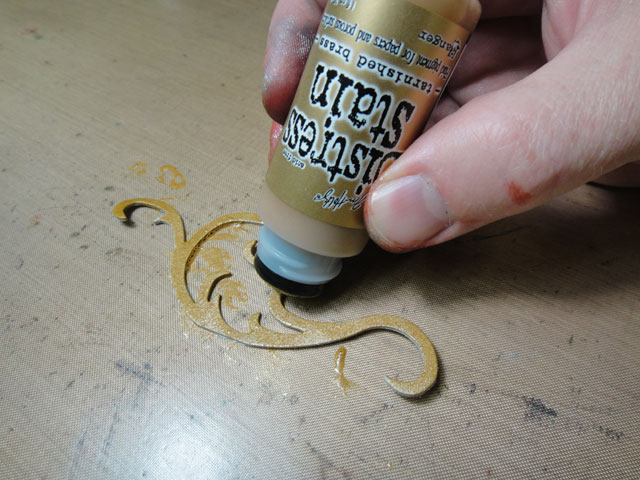 step 8: swipe metallic distress stain over grungeboard flourish and let dry.
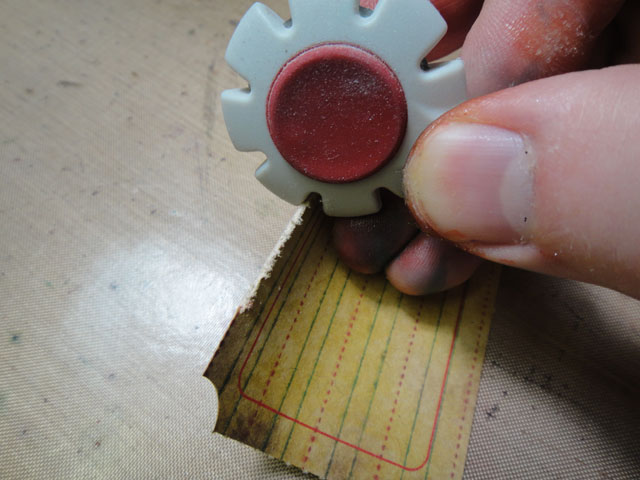 step 9: drag paper distresser along the edge of a journaling ticket.
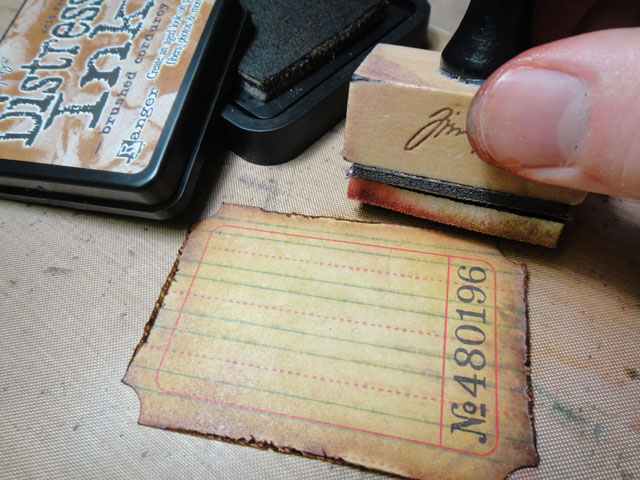 step 10: ink the edges of the ticket with distress ink using ink blending tool.
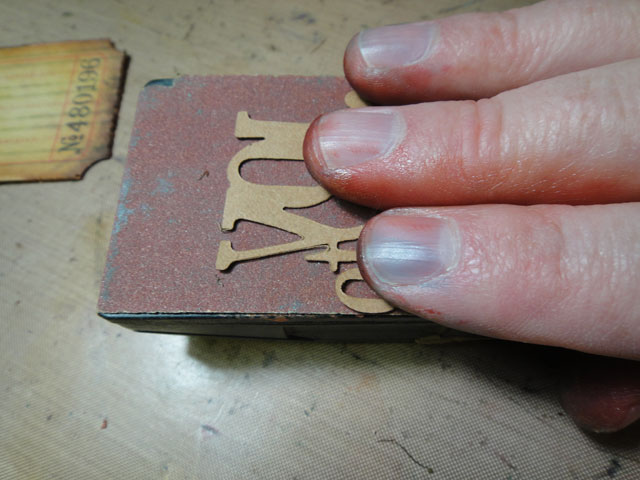 step 11: place joy die cut face down on to a sanding grip and gently swipe back and forth to distress.
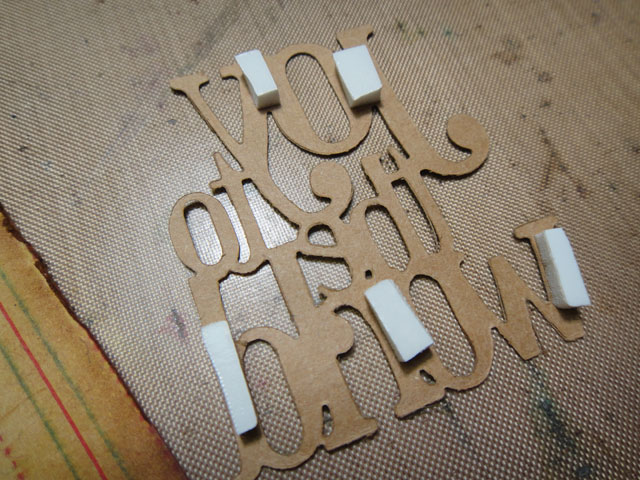 step 12: cut pieces of pop-it shapes or foam tape and adhere to the back of the words.
 step 13: adhere to the journaling ticket to create a dimensional piece.
 step 14: tie the inked crinkle ribbon through the top of the tag.
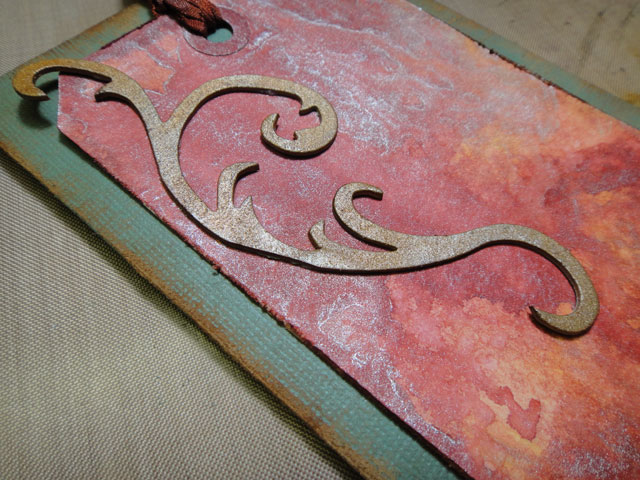 step 15: adhere tag to sanded and inked card (*cut same size as previous card from above) and adhere grunge flourish to tag using collage glue stick.
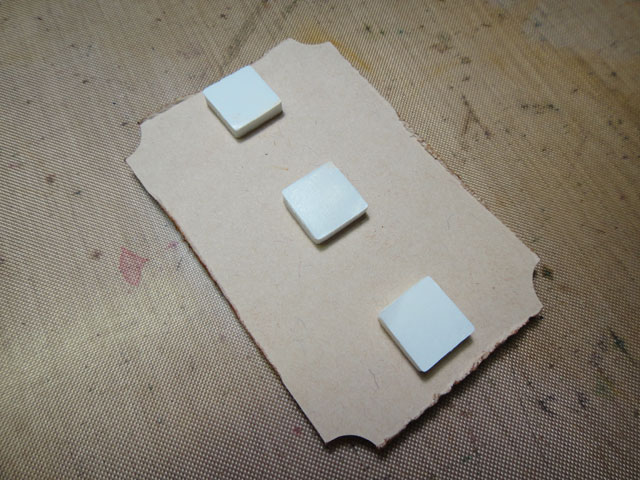 step 16: apply pop-it shapes of foam tape to back of ticket.
 step 17: adhere ticket over bottom right side of the flourish as shown.
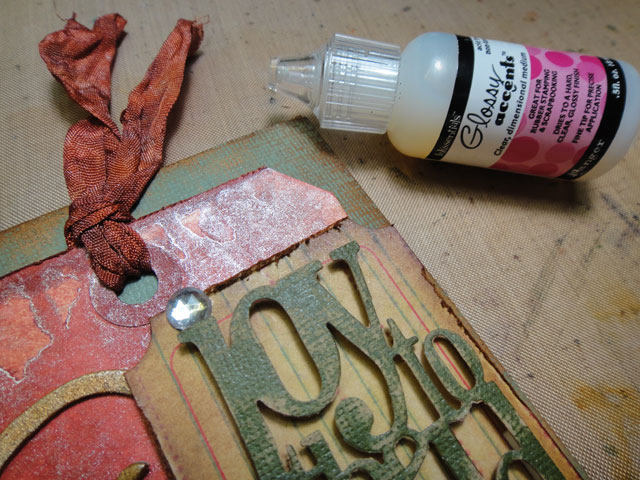 *option: just like the last tag, i adhered a gem to the top of the “j” using glossy accents.
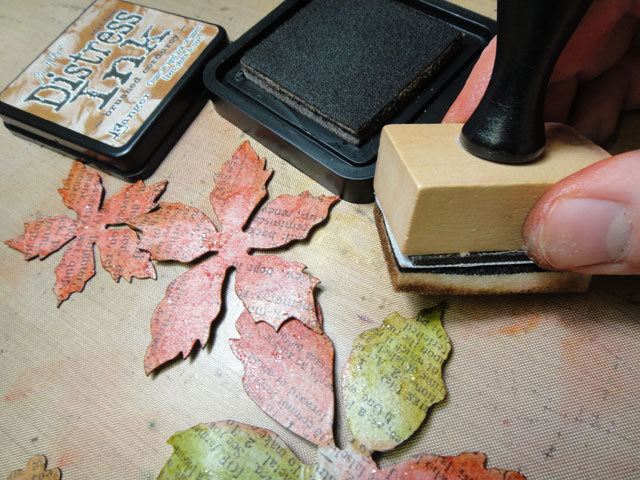 step 18: ink over the dried stickled pieces with brushed corduroy distress ink using ink blending tool since distress stickles is also inkable.
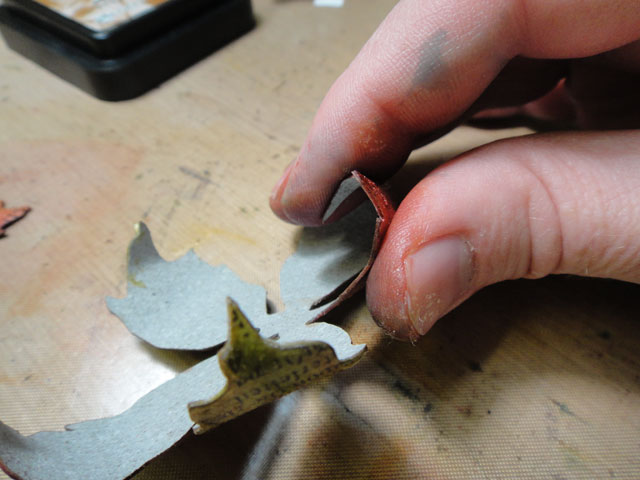 step 19: curl each petal of the poinsettia by rolling the grunge with your fingers as shown.
 *this is what you should have…
 step 20: apply a dab of hot glue to the tag in the area shown.
 step 21: immediately press the largest poinsettia into the hot glue and hold in center until set.
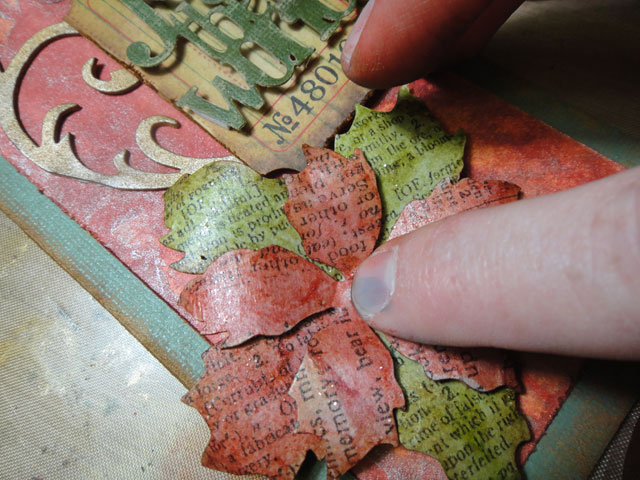 step 22: repeat previous steps for the middle piece (first hot glue, then add the poinsettia layer) alternating position.
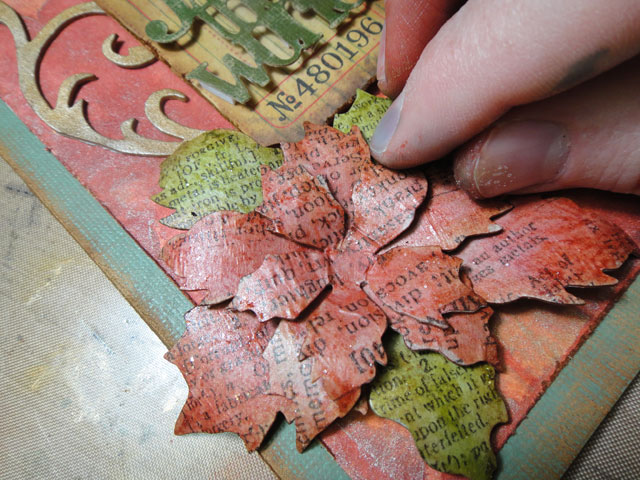 step 23: repeat previous steps for the smallest piece.
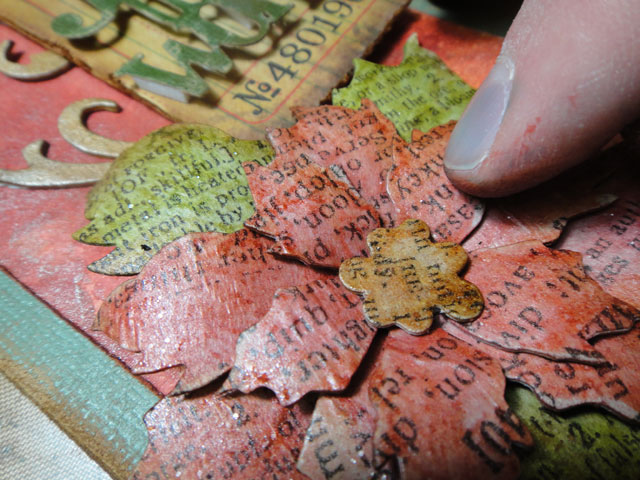 step 24: adhere the center piece with hot glue.
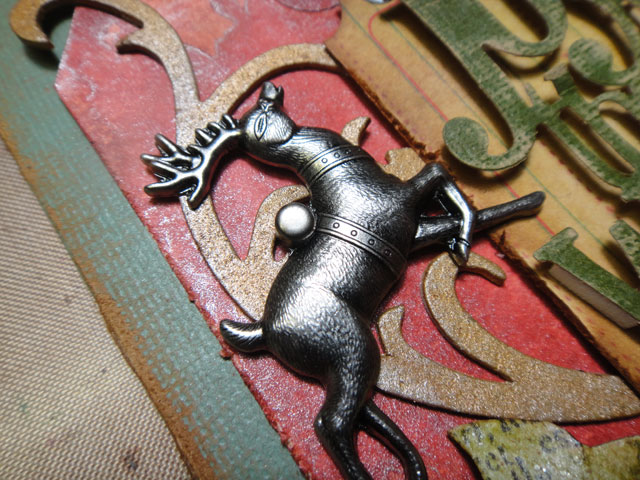 step 25: pierce a hole through the tag and front of card only with a pick and attach a christmas adornment to the card using a long fastener.
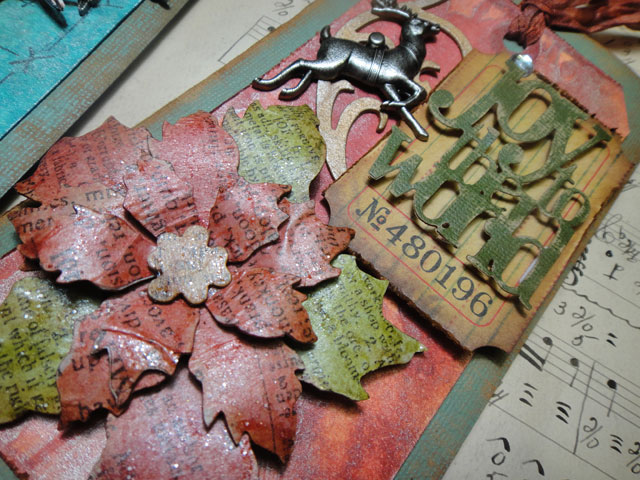 that’s it – what a festive layered tag card complete with a colorful metallic distressed background, layered poinsettia, and dimensional holiday accents…
so there they are bloggers – two holiday tags to make your spirits bright. i hope that with the hustle and bustle of the season you still take time to create, especially with these fun tag card ideas. there’s no doubt i’ll be in my studio too working up a few more holiday ideas to share with you before christmas. just remember to enjoy the season and celebrate each and every day of it…t!m
speaking of celebrate! congrats to our winners from the november tags – if you see your name, and it is linked to your tag, please email mario@timholtz.com with your shipping info so we can send you a prize.
2. Barb S
4. Sue W
5. Cheryl
7. BJ
8. Marianne H
10. Kimberly F
11. Suzan VonEssen
12. Hetty
*be sure to check your local stores for these supplies or you can
click the links below to purchase online…
(SSS=simon says stamp / IE=inspiration emporium)
GREAT NEWS! both of these online stores are offering a discounts – use the following codes with your order:
(SSS code (12%): 12DEC12 / IE code (10%): timtime)
|
|
|
|
|
|
|
|
|
|
|
|
|
|
|
|
|
|
|
|
|
|
|
|
|
|
|
|
|
|
|
|
|
|
|
|
|
|
|
|
UPLOAD YOUR PROJECT: here's the place to share your own project
inspired by this month's "12 tags of 2012" right here on my blog!
To Get Started:
1. click on the (add your link) button at the bottom of the post.
2. after you enter your info, click (next step) and you'll be able to
select the photo you wish to display.
*note: you may link from your blog or from a public hosting site.
please only post your project photo relating to this month's tag.
| | | | |
| | | | |
| | | | |
| | | | |
| | | | |
| | | | |
| | | | |
| | | | |
| | | | |
| | | | |
| | | | |
| | | | |
| | | | |
| | | | |
| | | | |
| | | | |
| | | | |
| | | | |
| | | | |
| | | | |
| | | | |
| | | | |
| | | | |
| | | | |
| | | | |
| | | | |
| | | | |
| | | | |
| | | | |
| | | | |
| | | | |
| | | | |
| | | | |
| | | | |
| | | | |
| | | | |
| | | | |
| | | | |
| | | | |
| | | | |
| | | | |
| | | | |
| | | |
