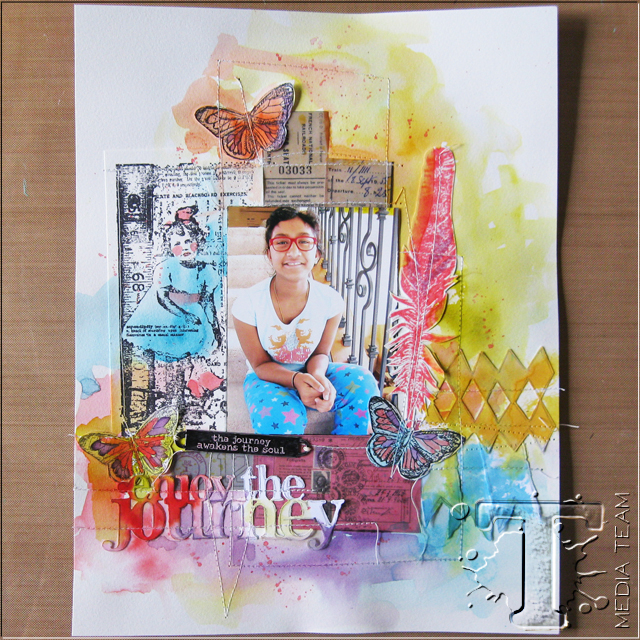
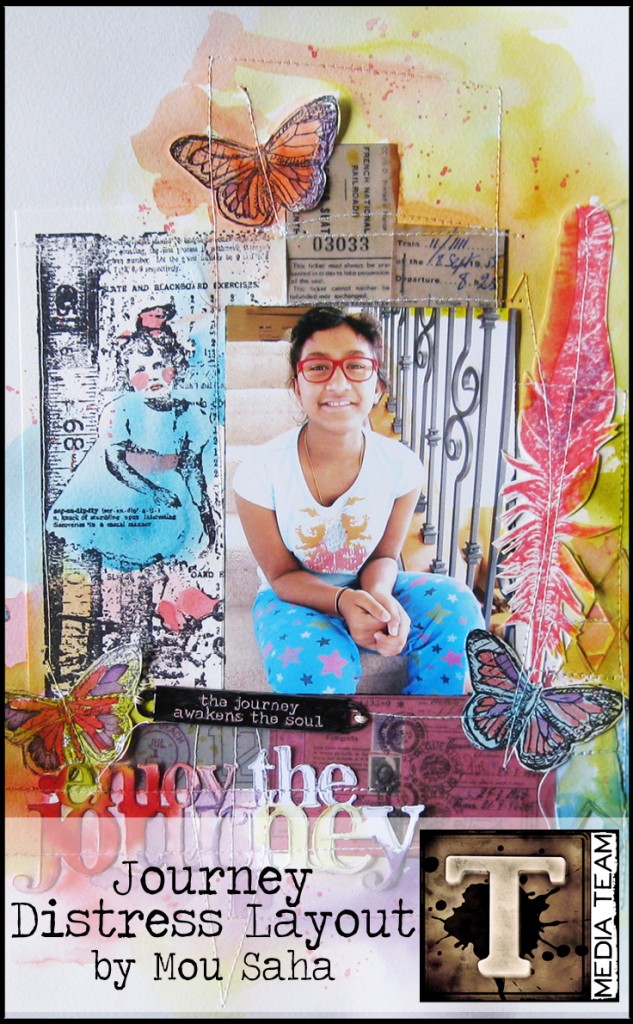
i’ve always loved the colorful and layered styling of media team member mou saha. her simplistic approach to using stamps on this layout and then adding a wash of distress stain color is brilliant. check out this great tutorial to learn all there is to it…t!m
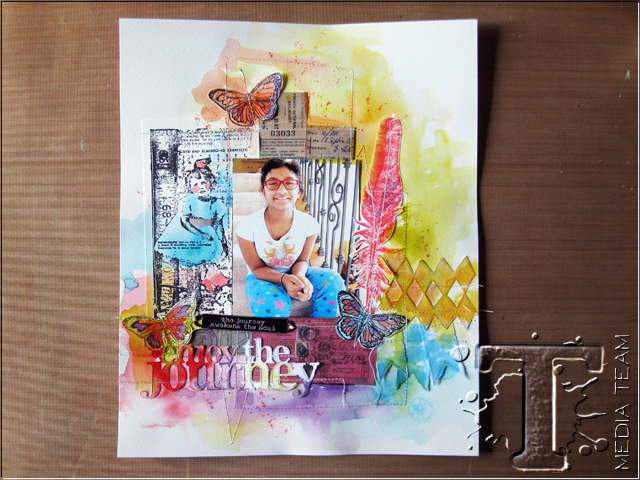
Hi everyone, Mou Saha here today with a layout tutorial using Tim Holtz Distress Stains.
Supplies:
- Surfaces: white cardstock
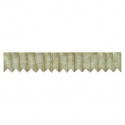
- Dies: Harlequin Border, Ribbon Flags, Stacked Artful Words
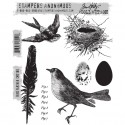
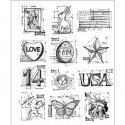
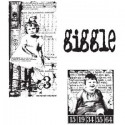
- Stamps: CMS180 Bird Feather, CMS146 Mini Blueprints 2, CMS020 The Girls
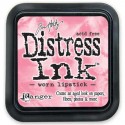
- Distress Ink: Worn Lipstick
- Ink: Ranger Archival Ink pad: Jet Black
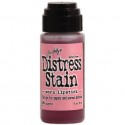
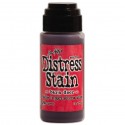
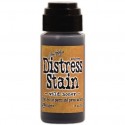
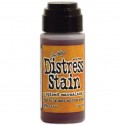
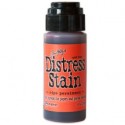
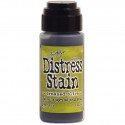
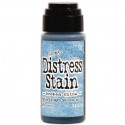
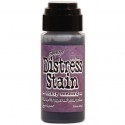
- Distress Stain: Barn Door, Broken China, Crushed Olive, Dusty Concord, Ripe Persimmon, Spiced Marmalade, Wild Honey
- Distress Paint: Worn Lipstick
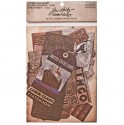
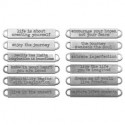
- Embellishments: Idea-ology Word Bands, Expedition Vellum Ephemera Pack
- Adhesive: Ranger Glossy Accents, Collage Glue Stick
- Tools: Tim Holtz Waterbrushes, Tonic scissors; Ranger Non-stick Craft Sheet; Vagabond; needle; sewing machine; thread
Now, let me walk you through the steps.
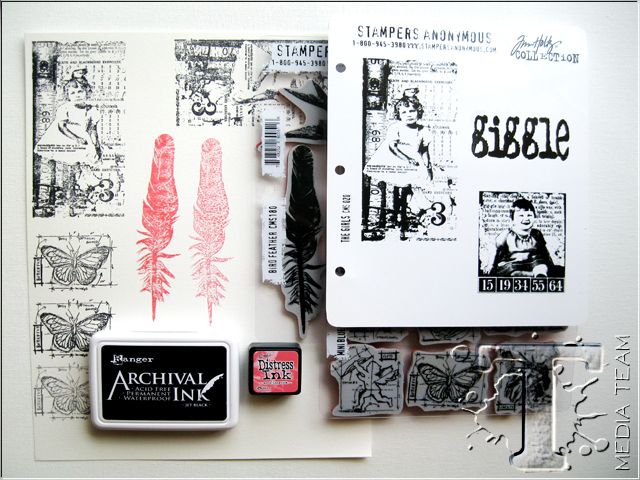
Stamp the girl and butterflies on white cardstock using Archival Ink pad Jet Black and the feather using Mini Distress Ink pad Worn Lipstick.
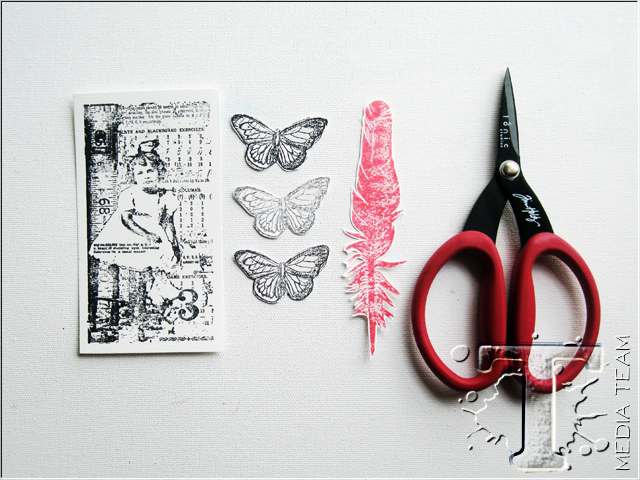
Cut out the images using Kushgrip Snip scissors.
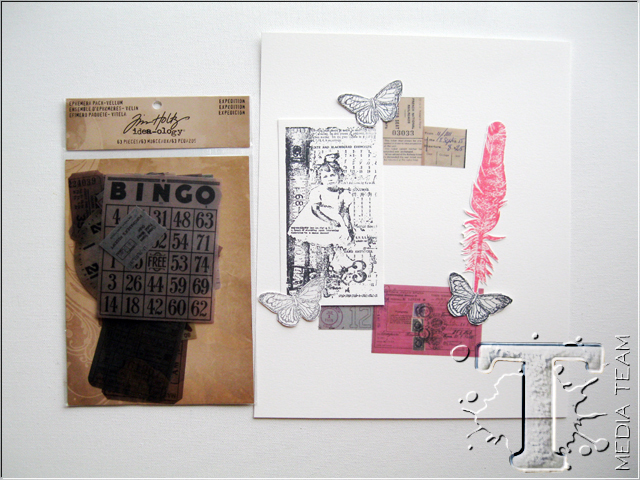
Attach the cutout images and a few pieces from the Expeditions vellum ephemera pack using Collage Glue Stick.
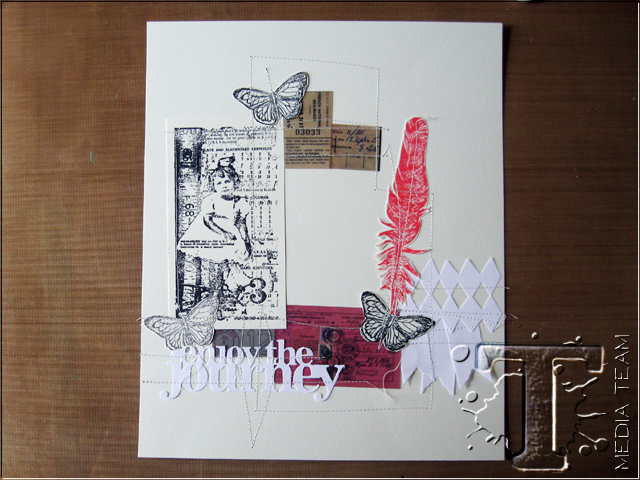
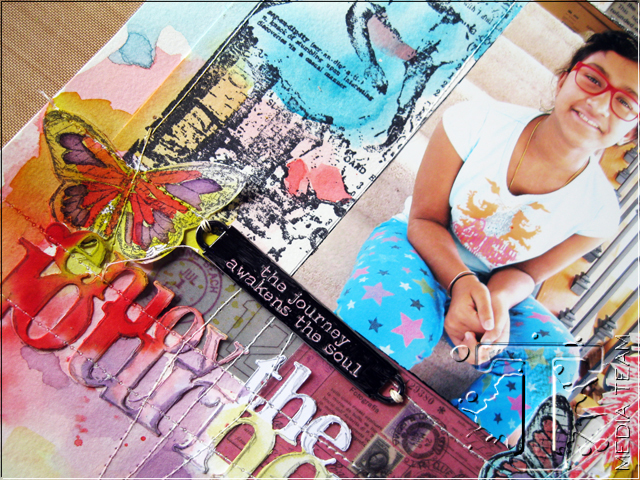
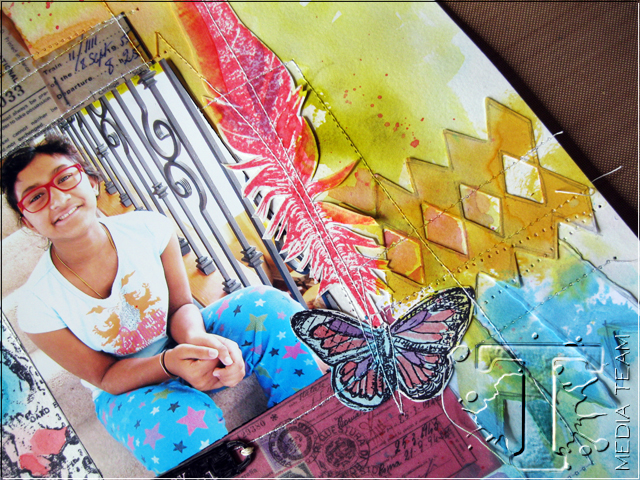
Die cut some ribbon flags, a harlequin border and the stacked word ‘enjoy the journey’ using die cutting system from white cardstock. Attach parts and pieces of the die cut elements using very little adhesive. Machine stitch to secure all the stamped, vellum, and die cut pieces in place.
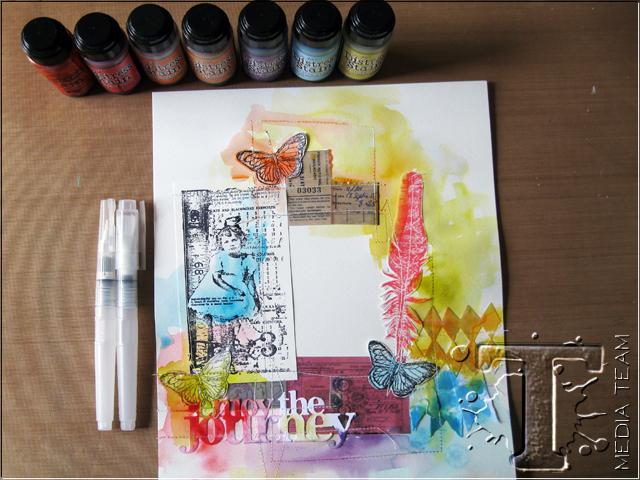
Wet the paper in places with the flat water brush and add various colors of Distress Stains and allow them to spread, mix and mingle. Let dry.
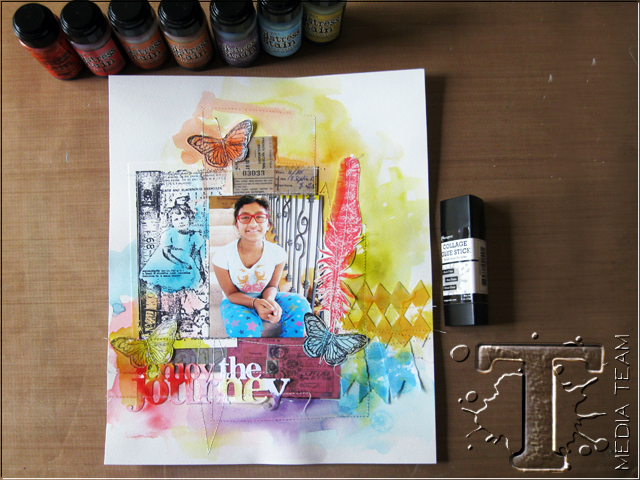
Attach photo with Collage Glue Stick.
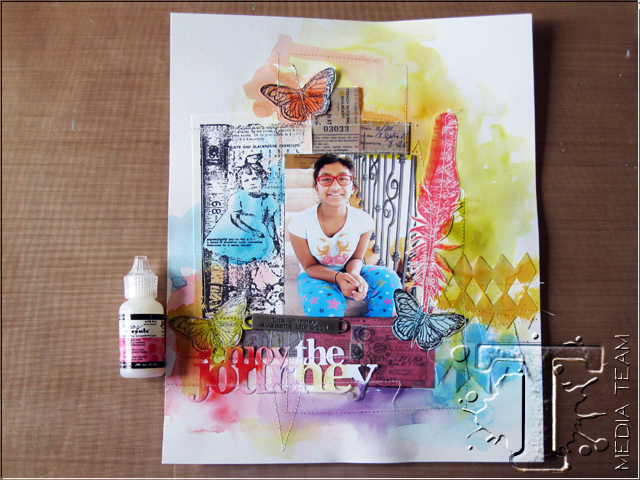
Add a metal Word Band below the photo using a bit of Glossy Accents.
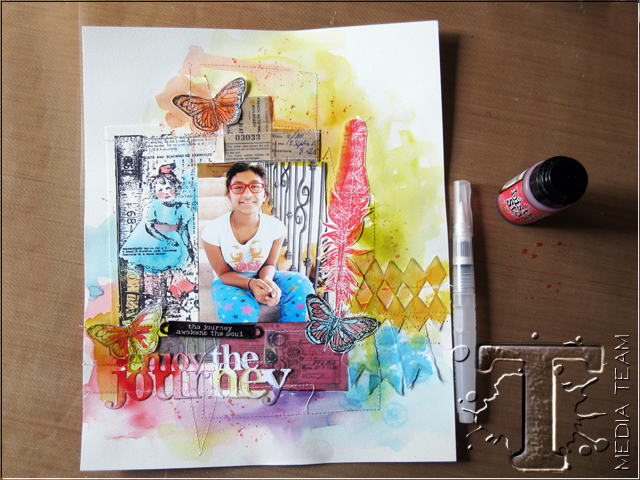
Add details to the various page elements and splatter colors around with more Distress Stains and the fine water brush. Also dab on some Worn Lipstick Distress Paint into the Word Band. Gently wipe off the surface allowing the paint to sit in the grooves.
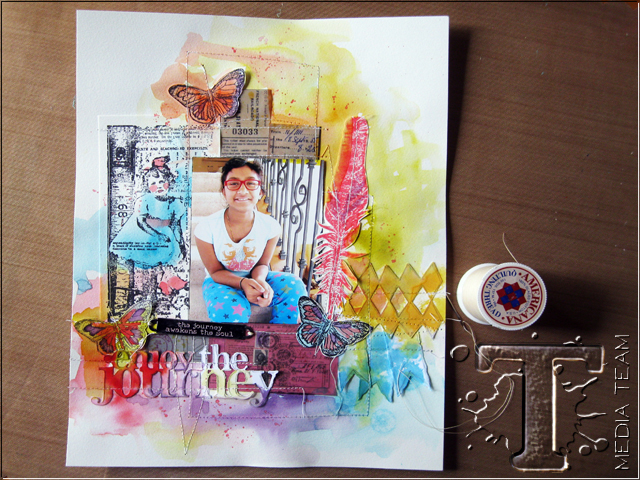
Use a needle and thread to stitch the word band in place. The Glossy Accent suffices to hold it in place and the thread adds a decorative touch.
Hope you enjoyed the tutorial. And have fun with Distress Stains!
Mou
*be sure to check your local stores for these supplies or you can click the links below to purchase online…
(SSS=simon says stamp / IE=inspiration emporium)
|
|
|

|
|
|
|
|
|
|
|
|
|
|
|
|
|
|
|
|
|
|
|
|
|
|
|
|
Pin it to remember it!
Don’t forget to follow Tim Holtz on Pinterest for more great ideas and inspiration!


