As makers, staying organized and knowing what products we “have” is important, but keeping track of the products we “want” is just as important, right? Since the early stages of developing the Index, the importance of creating a web-based platform was clear. It allows us to continue to evolve the Index and add new features without the need for users to download an update, it’s simply there. Today I’m excited to introduce new features of the Index that will make viewing and sharing “what you have” and “what you want” even easier.
A huge thank you once again to our friends Neil and Zoe Hillman for designing and developing the Index to be the ideal inventory management system for Tim Holtz products. A special shout out to Neil for his web-jedi skills and patience with Zoe and I for the ongoing requests for the index…this is the way.
If you don’t know what the Index is, click here to learn the basics and create your free account. If you already have an account, log in and check out what’s new:
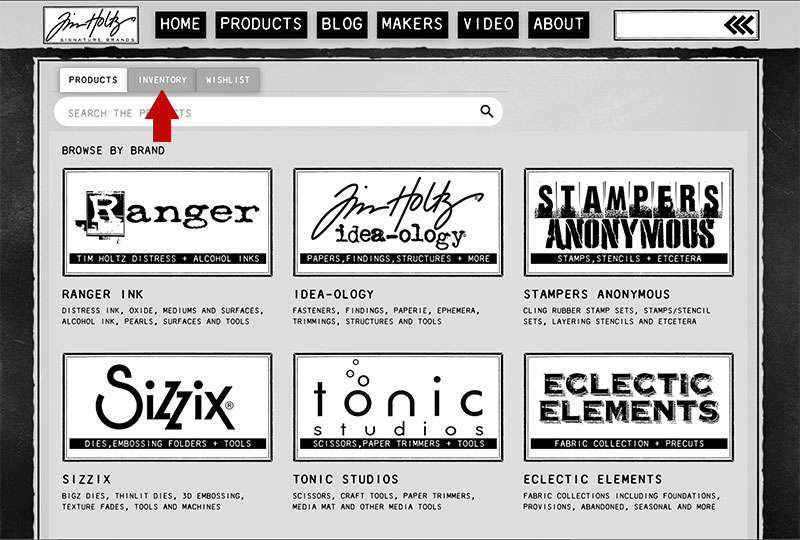
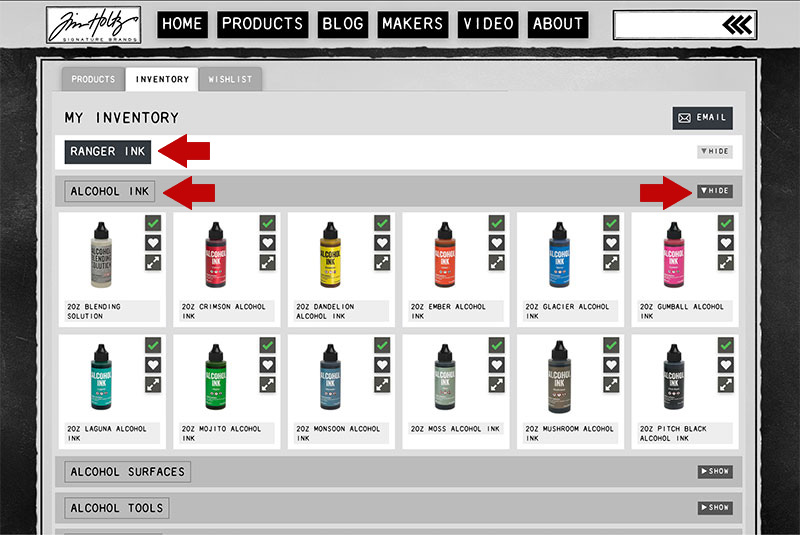
- Once logged in let’s start by clicking the INVENTORY tab.
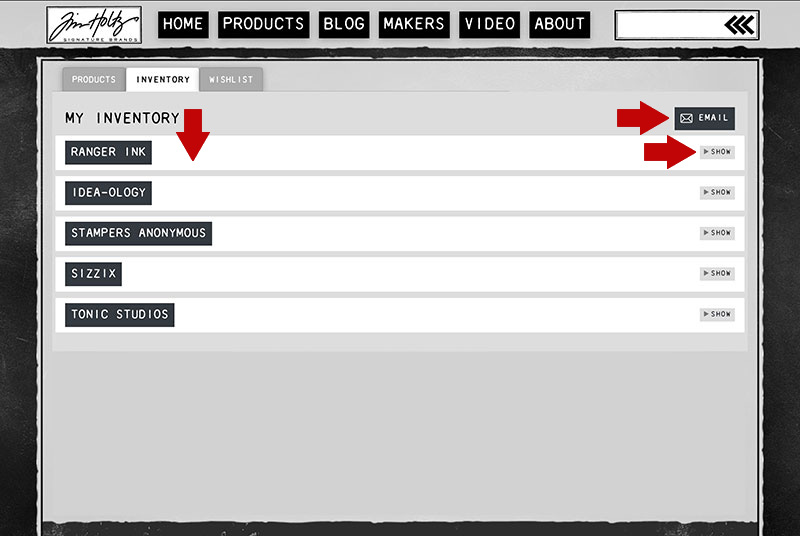
- BRANDS: On the left are Brands of the products you have added to your inventory. *If you have not added any inventory of products into a brand, that brand will not appear in your inventory list.
- SHOW/HIDE: On the right of the BRANDS are buttons to Show or Hide your inventory list of that brand.
- EMAIL: On the top right is a new email button to email your entire inventory to yourself.
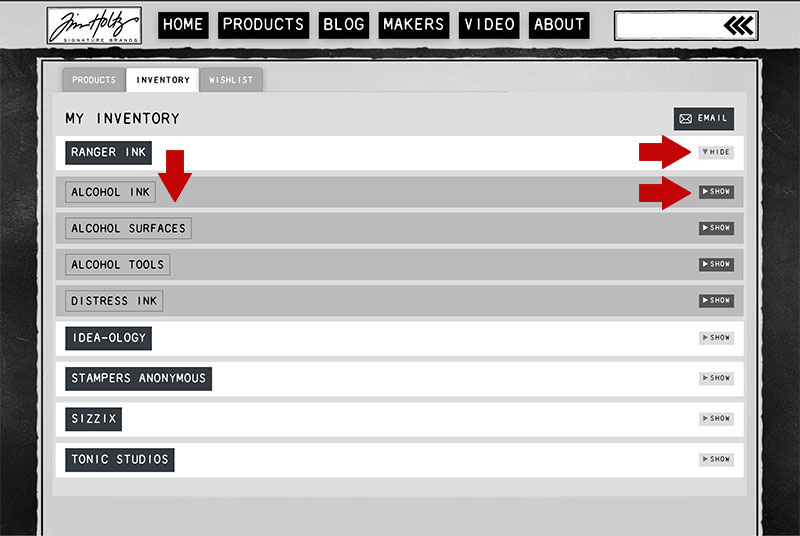
- Click SHOW on the right of the BRAND to see the CATEGORIES of products for that brand in your inventory. *If you have not added inventory of products into a category, that category will not appear in your inventory list.
- Click HIDE to close the view of categories for that brand.
- Click SHOW button on the right of the category to see your inventory for that category.
- Click HIDE to close the view of your inventory for that category.
(Note:You can SHOW/HIDE inventory for all categories within one brand at a time, clicking another brand will automatically HIDE all expanded views)
- Inventory in a category is shown alphabetically for items you have added. Here you can still utilize all Icon functions: click the CHECK to remove the product from your inventory, click the HEART to add/remove the product to your wishlist, click the arrows to expand the view of the product. Changes will take effect once the page is refreshed.
- Clicking the buttons on the right will take you to the assigned PRODUCTS pages of the index: brand/ brand Products page, category/ category products page. (Note:Clicking the brand or category buttons will automatically HIDE all expanded inventory views)
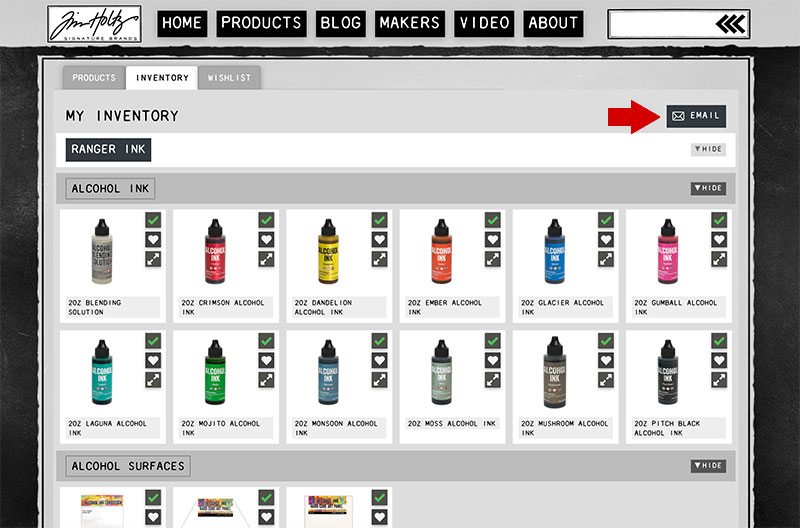
- The new EMAIL button provides the convenience of having your entire inventory (all brands/all categories) emailed to you with a single click.
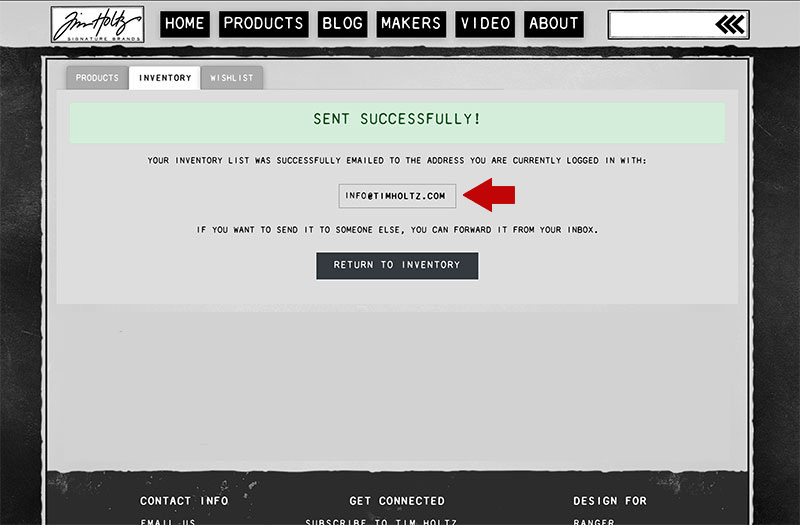
- Your inventory is sent to the address you logged in with for your account.

- The email shows the date the inventory list was generated.
- Inventory is shown alphabetically by brand / category / product.
- A thumbnail is shown for each item in your inventory as well as the Brand and Category for each item.
- The highlighted Brand and category names are linked directly to the assigned product pages of the index.
- The highlighted product name is linked directly to simonsaysstamp.com
*Affiliate links used at no additional cost to you. - Now you can file or forward your inventory email to anyone.

- The WISHLIST tab has the same features as the inventory tab.
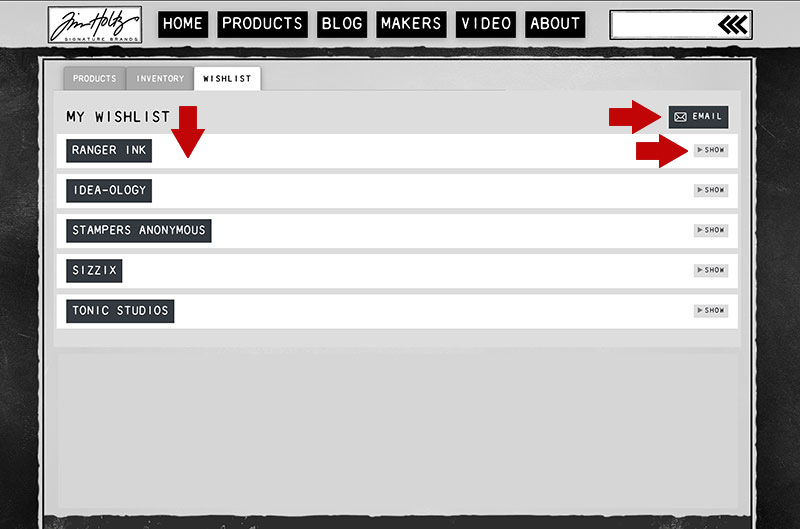
- BRANDS: On the left are Brands of the products you have added to your wishlist. *If you have not added any wishlist products into a brand, that brand will not appear in your wishlist.
- SHOW/HIDE: On the right of the BRANDS are buttons to Show or Hide your wishlist of that brand.
- EMAIL: On the top right is a new email button to email your entire wishlist to yourself.
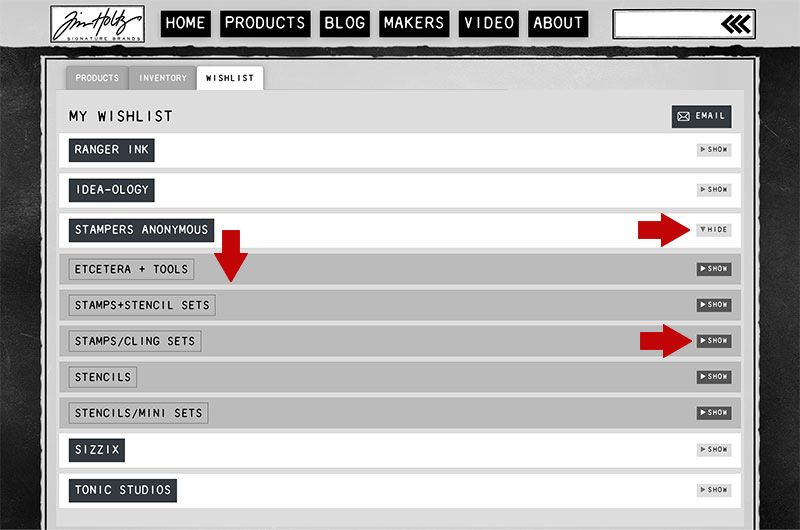
- Click SHOW on the right of the BRAND to see the CATEGORIES of products for that brand on your wishlist. *If you have not added wishlist products into a category, that category will not appear in your wishlist.
- Click HIDE to close the view of categories for that brand
- Click SHOW button on the right of the category to see your wishlist for that category.
- Click HIDE to close the view of your wishlist for that category.
(Note:You can SHOW/HIDE wishlist for all categories within one brand at a time, clicking another brand will automatically HIDE all expanded views)
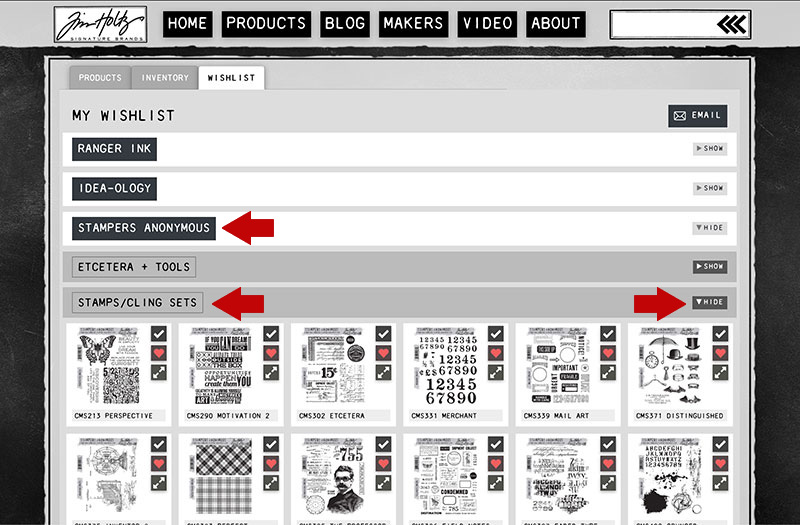
- Wishlist in a category is shown alphabetically for items you have added. Here you can still utilize all Icon functions: click the CHECK to add/remove the product from your inventory, click the HEART to remove the product to your wishlist, click the arrows to expand the view of the product. Changes will take effect once the page is refreshed.
- Clicking the buttons on the right will take you to the assigned PRODUCTS pages of the index: brand/ brand Products page, category/ category products page. (Note:Clicking the brand or category buttons will automatically HIDE all expanded wishlist views)
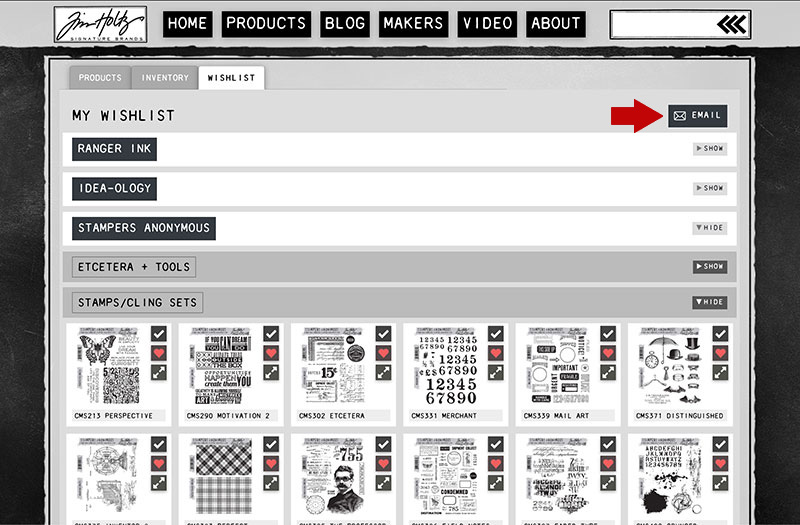
- The new EMAIL button provides the convenience of having your entire wishlist (all brands/all categories) emailed to you with a single click.
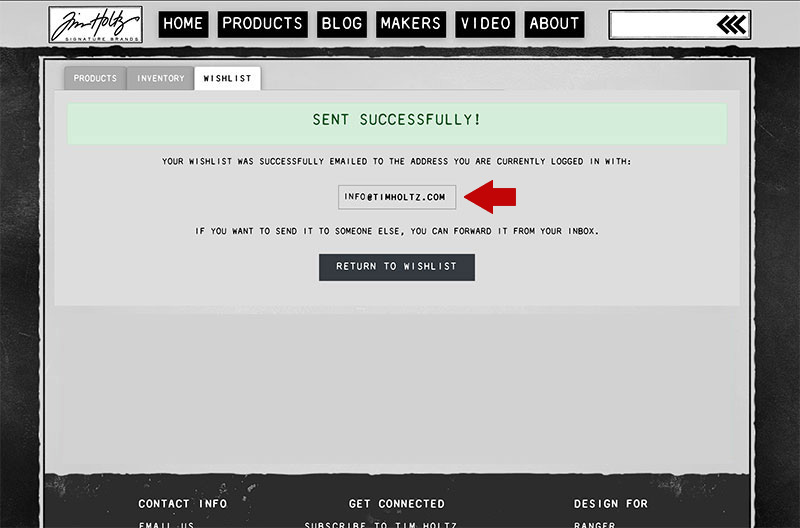
- Your wishlist is sent to the address you logged in with for your account.
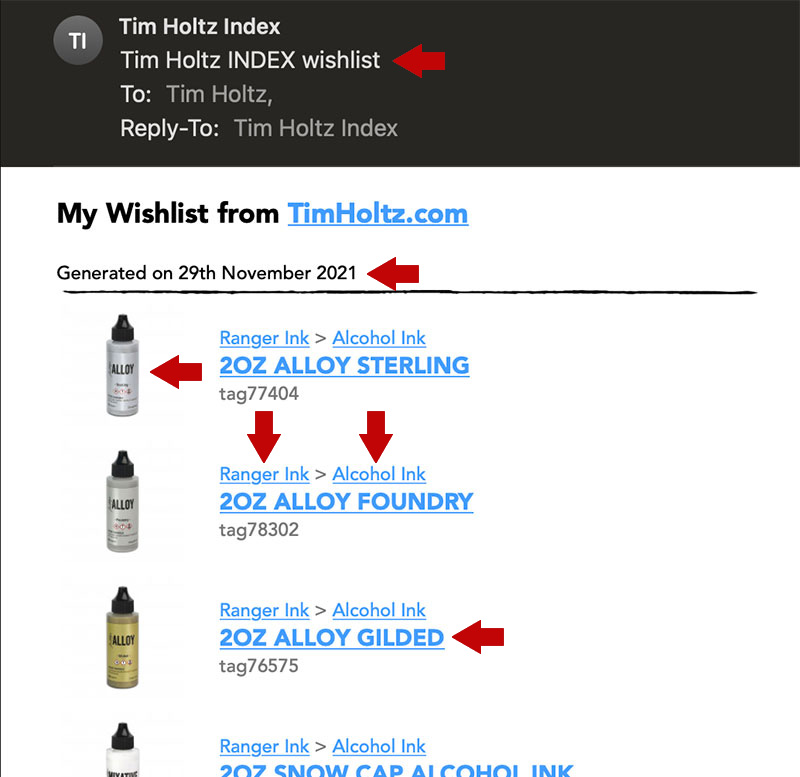
- The email shows the date the wishlist was generated.
- Wishlist is shown alphabetically by brand / category / product.
- A thumbnail is shown for each item on your wishlist as well as the Brand and Category for each item.
- The highlighted Brand and category names are linked directly to the assigned product pages of the index.
- The highlighted product name is linked directly to simonsaysstamp.com
*Affiliate links used at no additional cost to you. - Now you can file or forward your wishlist email to anyone.


