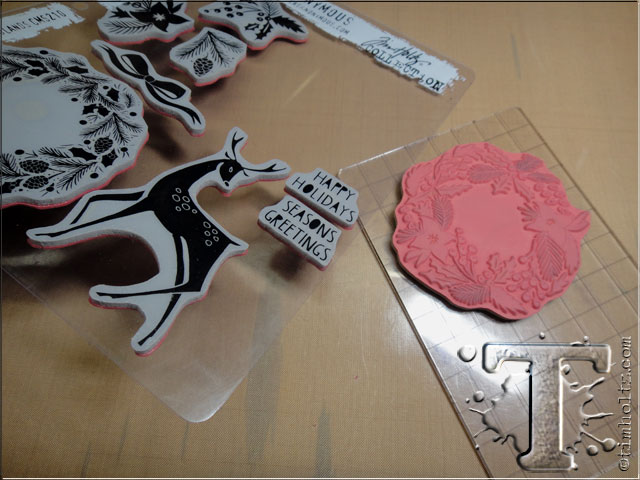
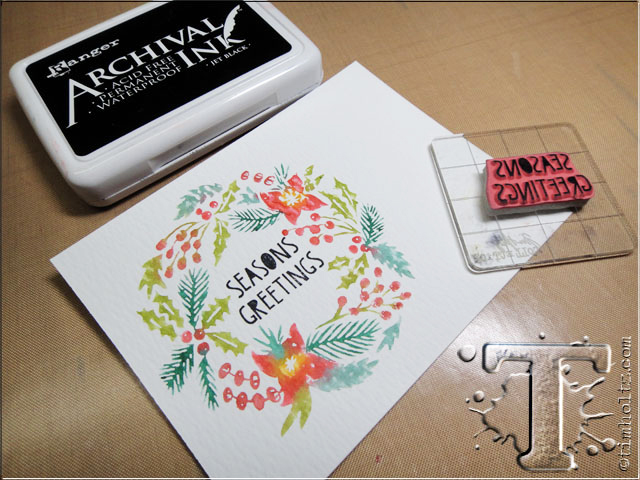
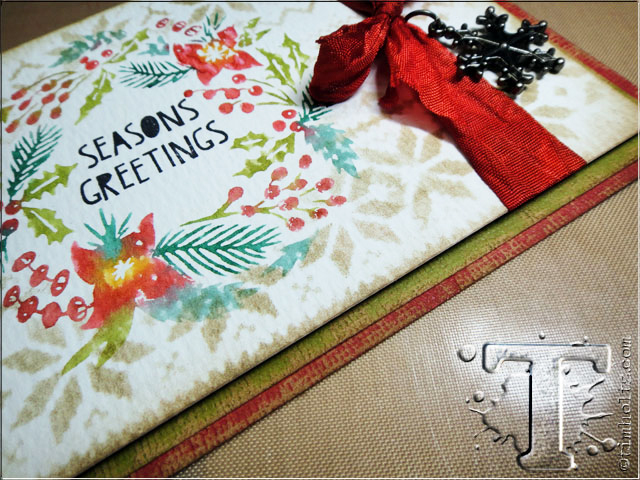
i hope you’re enjoying the holiday season and busy decorating, or baking, but more importantly – crafting! i wanted to kick off the first weekend of december with a simple card making tutorial that takes a single stamp and turns it into a watercolor masterpiece. now if you’re feeling that time is not on your side for creating hand-made cards for christmas this year, this one might help you out – it’s so fun and easy to do. let’s get started…t!m
supplies:
- surfaces: distress watercolor cardstock, kraft core
- distress markers: evergreen bough, wild honey, peeled paint, pine needles, fired brick, festive berries
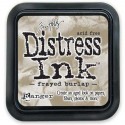
- distress ink: frayed burlap
- archival ink: jet black
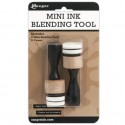
- tools: craft sheet, mini blending tool with foam, heat tool, mister
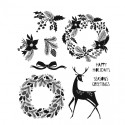
- stamps: CMS210 styled woodlands, grid-blocks
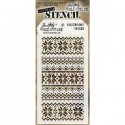
- stencil: THS028 holiday knit
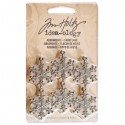
- embellishments: crinkle ribbon, snowflake adornments
- adhesives: foam tape, collage glue stick
step 1: select an image to use for the watercolor technique. note: this effect can be used with a variety of stamp images, but i find that bolder images provide better results.
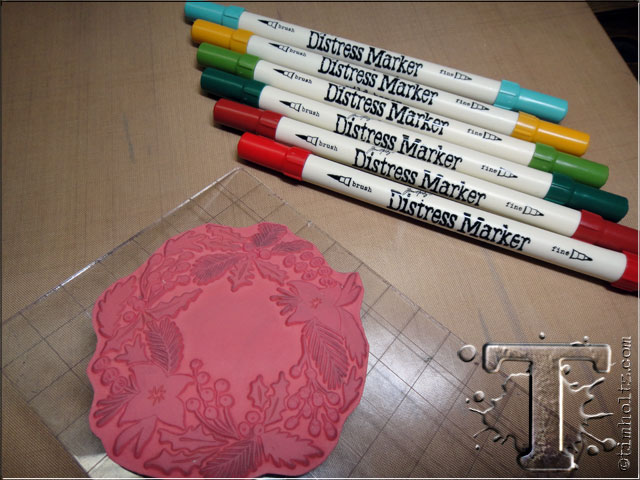
step 2: gather up some of your favorite distress marker colors. try to select a couple of tones of colors to achieve more depth in your watercolor.
step 3: using the brush tip of your distress marker, swipe the wide edge of the marker over select areas of your stamp.
step 4: continue until the entire image is colored. one thing that’s important to remember is that you can take as much time as you need to do this step as the ink will not dry on the rubber. also, it’s perfectly fine to layer colors since you cannot contaminate your distress markers but swiping them over other colors. in fact, this is a great way to blend and create new color hues.
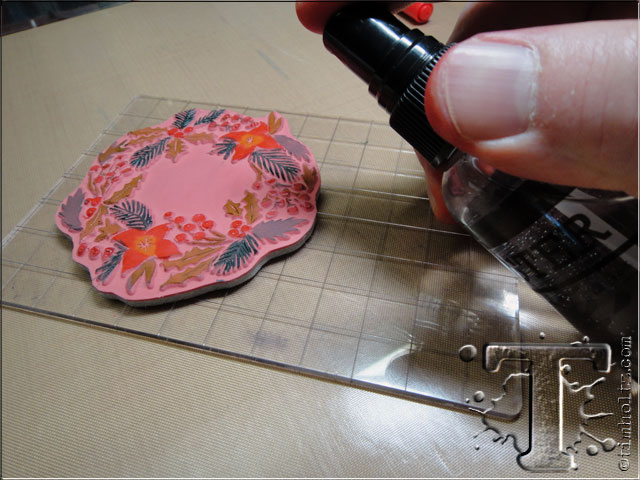
step 5: place the stamp flat on a surface and give it 2-3 quick mists of water to activate the ink on the stamp. you will notice how intense the color becomes on the stamp since distress reacts with water.
step 6: press the stamp firmly on to distress watercolor cardstock. note: you can stamp on either side of the paper (smooth or textured) depending on the effect you like. i prefer the bumpy side for this since the colors tend to puddle up in the recessed areas, but again either side of this cardstock will work great. REMEMBER: we are going for a watercolor look which will not stamp perfectly detailed – that’s the idea…
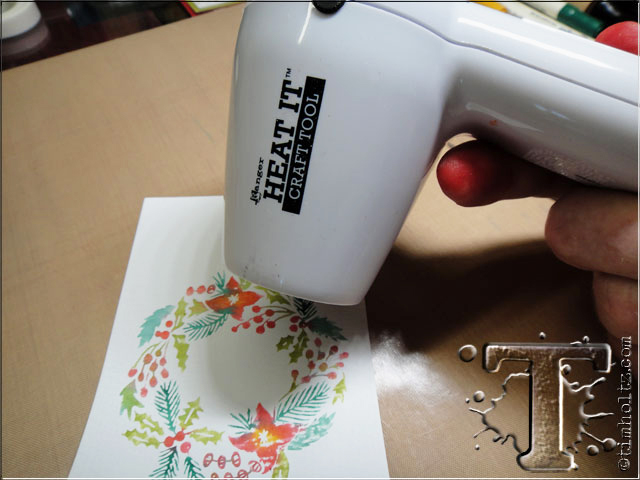
step 7: immediately dry the image with a heat tool. the reason i prefer this vs. letting the ink air dry, is the heat tool will dry more ink on the surface of the cardstock and create light and dark areas of the image that look more like watercolor.
step 8: stamp the text image in the center of the wreath using archival ink.
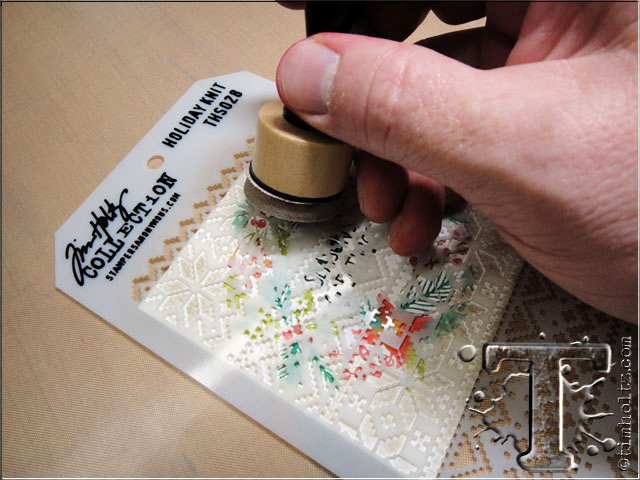
step 9: place the holiday knit layering stencil over the stamped image (i love this stencil).
step 10: using a mini blending tool, apply a light color of distress ink over the background of the card – try to avoid the actual stamped image.
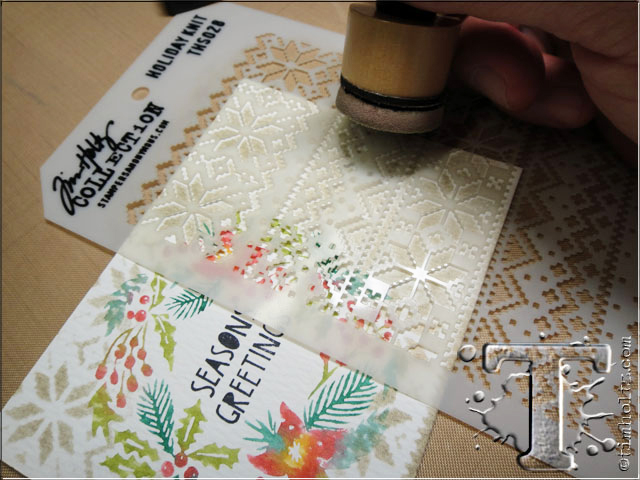
step 11: move the stencil over and repeat inking to complete the background of the card.
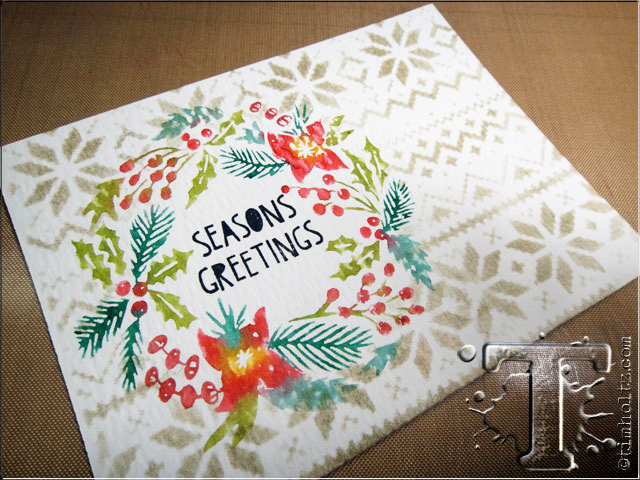
*this is the look we’ve achieve with just a few steps – pretty cool…
step 12: ink the outside edges of the watercolor cardstock with the mini blending tool and distress ink.
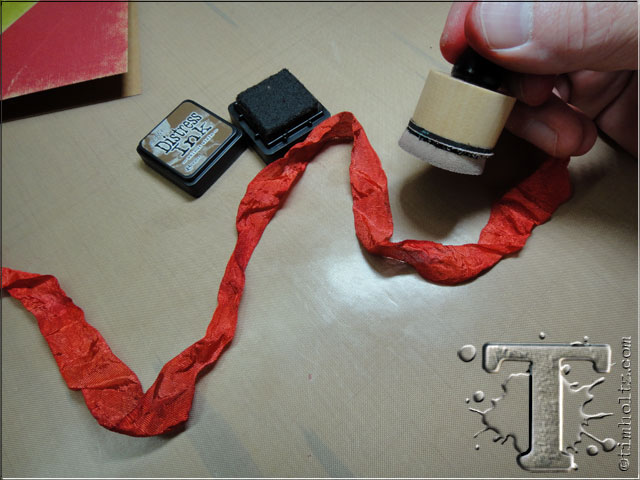
step 13: color a piece of crinkle ribbon using a variety of inks: distress ink pad, distress markers, distress spray stains, or distress spray stains. really, any of these can do the trick. note: to add shading to the ribbon, swipe an inked blending tool over the dry ribbon which will highlight the crinkles.
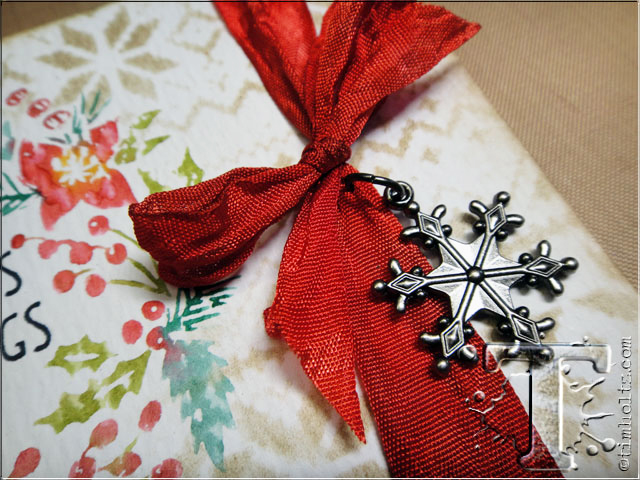
step 14: tie the ribbon around the watercolor cardstock and attach a snowflake adornment to the ribbon.
step 15: adhere your background to your layered base card and you’re finished!
                |

