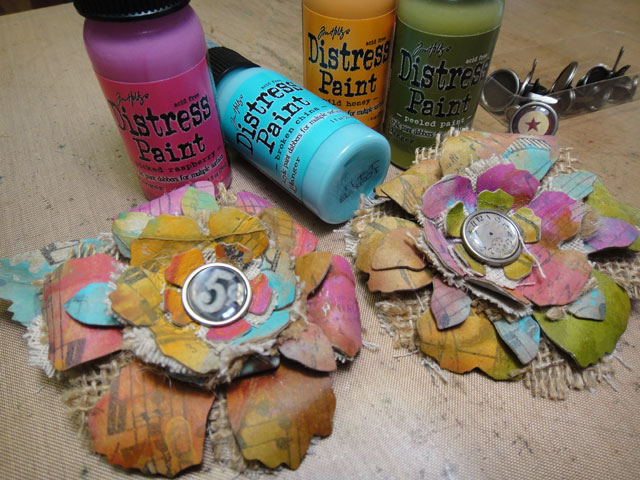
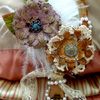
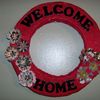
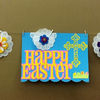
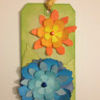
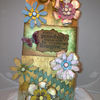
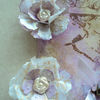
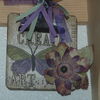
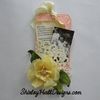
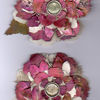
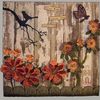
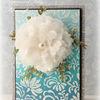
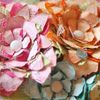
hi there bloggers. hope you’ve enjoyed your week. since it’s been snowing here in northern arizona for the past 2 days, and today is a day filled with blue skies & sunshine, i was inspired to create something for spring. even better, a challenge (but more on that at the end of today’s post) so i thought i would share this fun tutorial to create these colorful tattered floral pins perfect for adorning your cards, tags, wearables, or home decor projects. let’s get started…
supplies: grungepaper, tissue wrap, custom fasteners, distress paint, distress ink, ink blending tool, glue n’ seal, tattered floral die, tattered leaves die, vagabond, craft pick, craft scratcher, scissors, heat tool, mister, linen/burlap fabric, clutch pin (also knows as a tie tac)
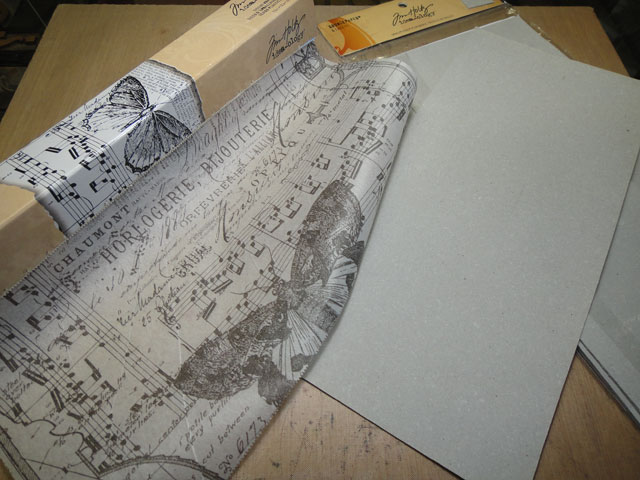 step 1: start with a sheet of 6″x12″ grungepaper and a piece of tissue wrap the same size.
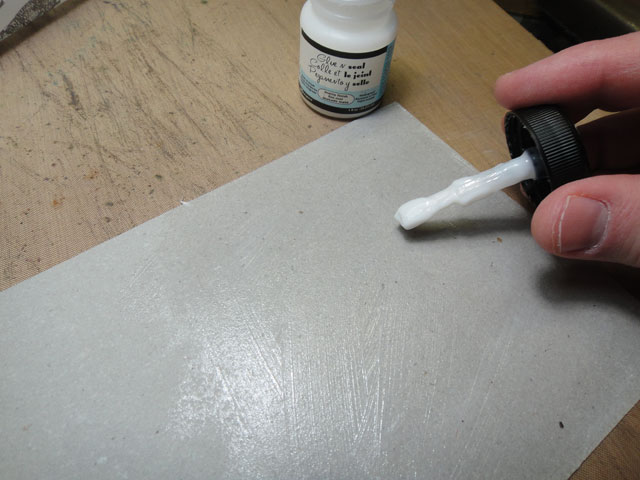 step 2: apply a layer of glue n’ seal to the surface of the grungepaper (it doesn’t matter which side you use).
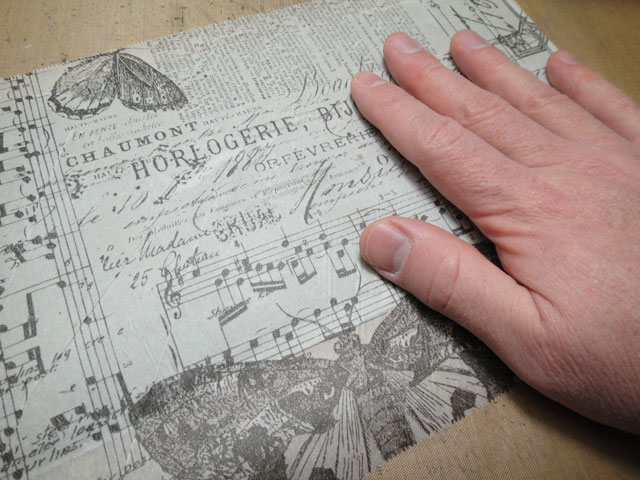 step 3: place the tissue wrap on to the grungepaper and smooth out with your hand.
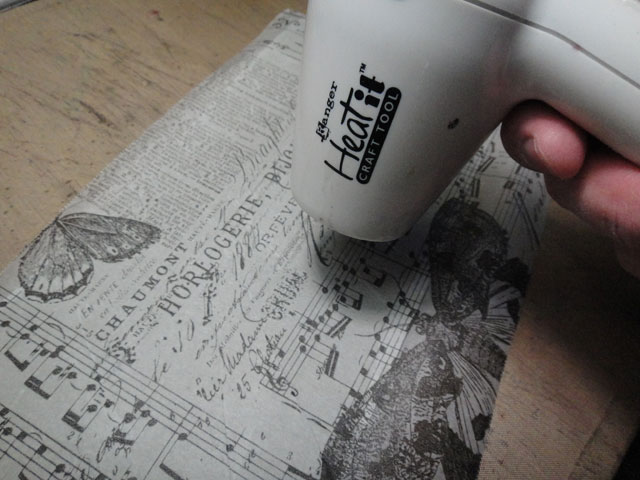 step 4: allow this to dry or dry it with a heat tool.
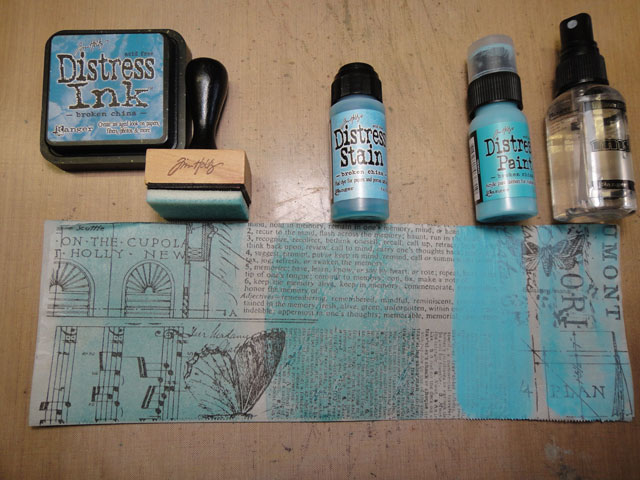 *when coloring tissue wrap various distress products work differently so i wanted to share those differences with you. there is no right or wrong product to use, but the final look will definitely vary based on which product you choose.
 – distress ink pads: waterbased dye ink, the color is translucent and you need to blend the color with an ink blending tool to get a more even coverage. distress ink gives you the lightest effect of color.
 – distres stain: also waterbased dyes, but a fluid formulation of distress which gives a little more color intensity. since it is so fluid it also beads up slightly on the surface. the stain will still dry, but will always rewet if you try to layer anything over it.
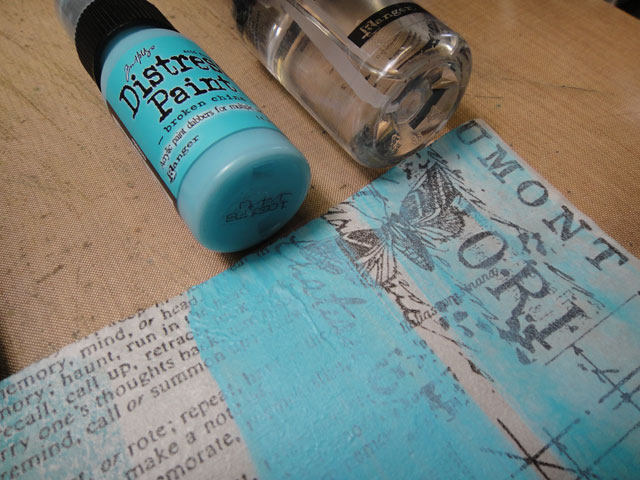 – distress paint: waterbased pigment paint that can achieve opaque coverage or semi-opaque depending on how it is applied. the sample on the left shows the paint applied directly to the surface and dried giving an opaque effect. the sample on the right show the paint applied, but spritzed with water while wet causing the paints to react and marbleize giving in a semi-opaque effect.
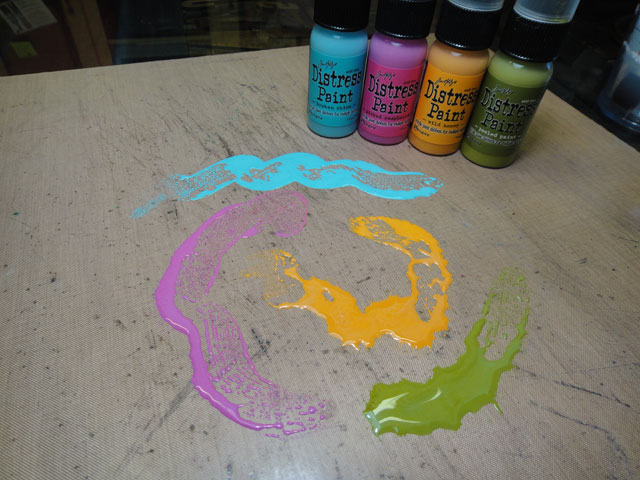 step 5: apply various colors of distress paint directly to your craft sheet. be sure to shake the paints before using them and apply enough paint to the craft sheet.
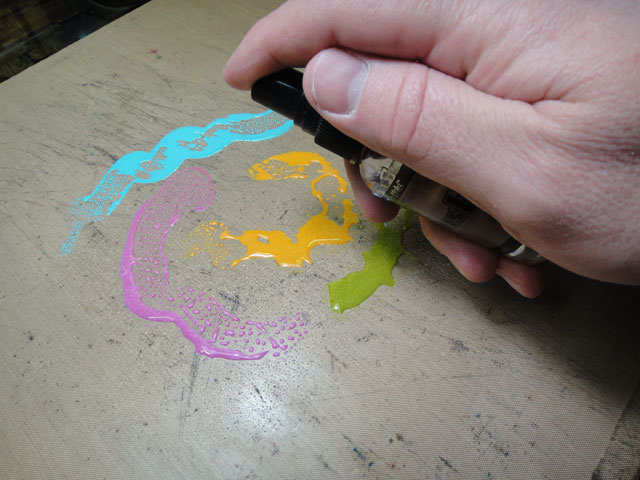 step 6: since distress paints react amazingly with water, generously spritz the wet paint with water.
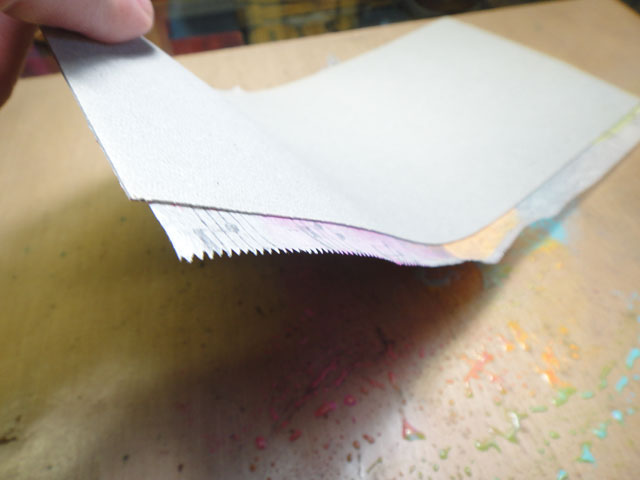 step 7: swipe the tissuewrap side of the grungepaper through the paints.
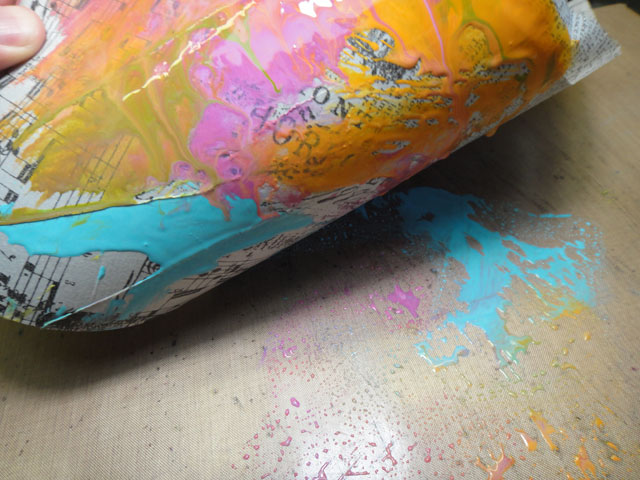 step 8: be sure to look at each layer you swipe so you don’t reswipe the same area too many times which could cause the colors to muddy.
 step 9: once you’ve swiped through the paints a few times, spirtz directly over the wet paint to blend and marbleize the colors even more.
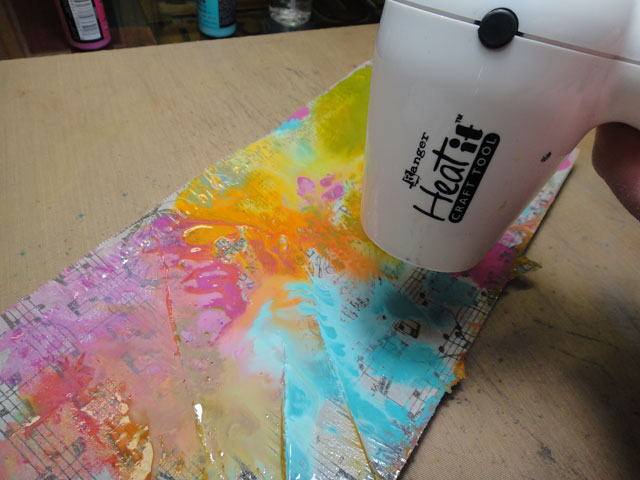 step 10: let the paints dry or dry with a heat tool.
 *this is the effect you get with distress paints and water – isn’t it so cool? i love that some of the areas of the tissue wrap are covered with color, while others are more translucent showing the design. i also think the way the distress paint colors marbleize is pretty amazing not to mention these colors are permanent and won’t rewet!
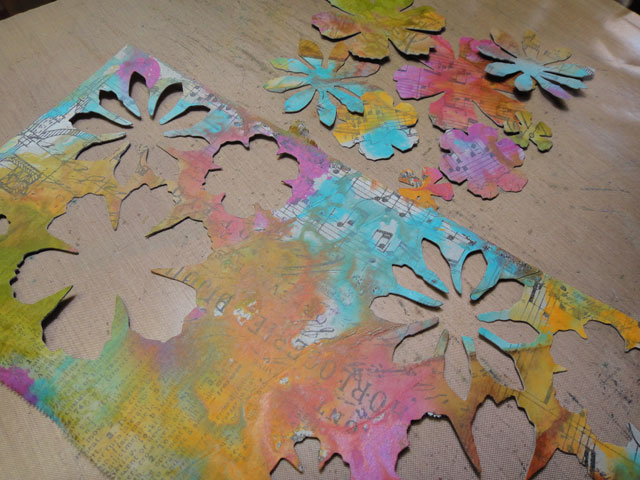 step 11: using the tattered floral die, cut both ends of the grungepaper with the die leaving the center area solid as shown. (since the tattered floral die is steel rule, it can cut through layered grunge with no problem)
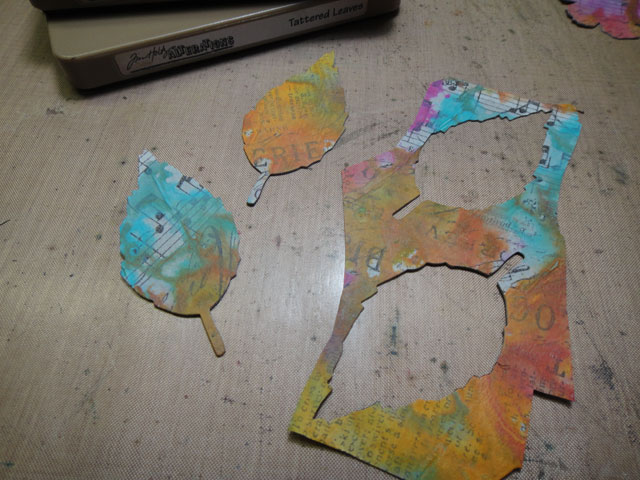 step 12: using the tattered leaves die, cut 2 leaves from the solid center area left on the grunge.
 step 13: next cut fabric flowers! i like to cut linen and burlap flowers for some added texture. i usually cut 2-3 layers of fabric at a time through the vagabond since it gives such good pressure. i also run the die through in both directions to make sure all of the threads are cut through. (this is why i LOVE steel rule dies so much – they cut paper, chipboard, grungeboard, plastic packaging, transparencies, stencil blanks, adhesive sheets, fabrics, craft metals, foam, etc.)
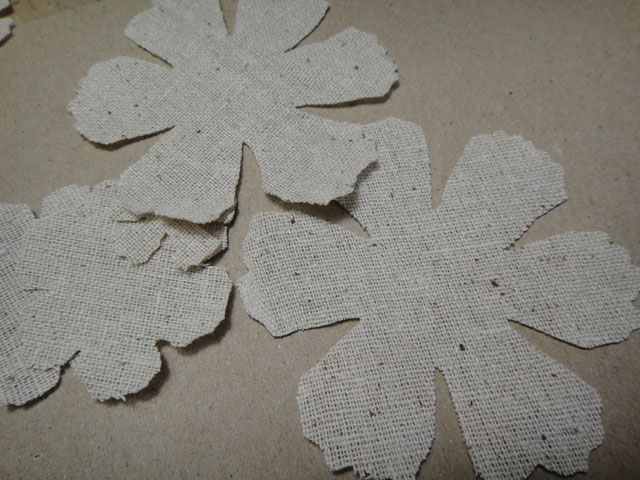 step 14: even though die cutting the tattered floral gives a tattered edge, when i cut fabric i like it to be even more distressed (no surprise there right?). so place the cut pieces on to a scrap piece of cardstock or chipboard since you don’t want to do this step on your craft sheet.
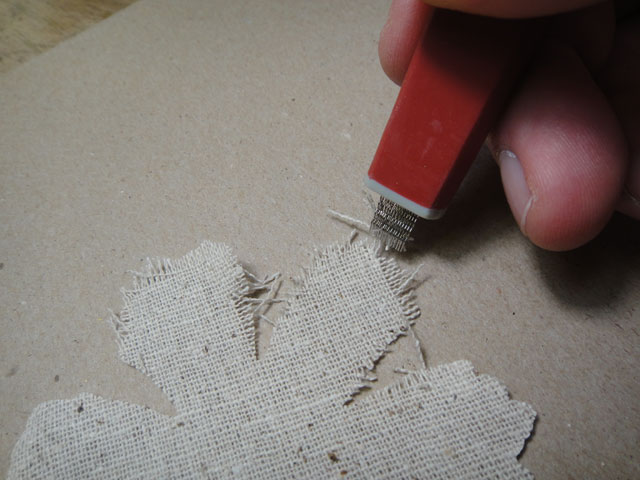 step 15: using a craft scraper, drag the edge along the cut edge of the fabric and it will immediately give any fabric a frayed edge as if your tore out the fabric – love this!
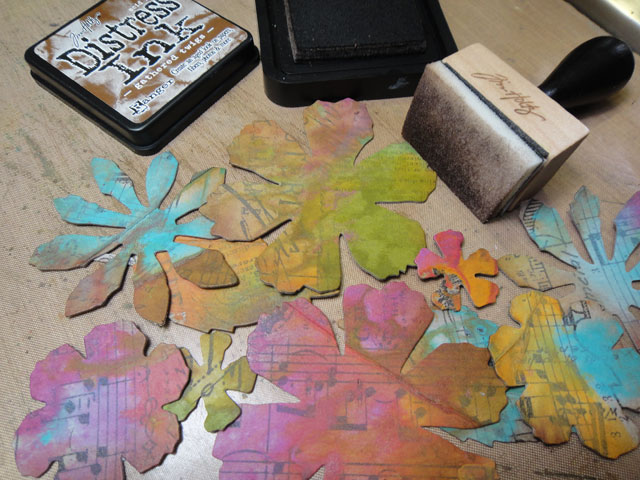 step 16: ink the edges of your grunge flowers with distress ink using an ink blending tool. this will give a little bit of shadow to the cut edges.
 step 17: the best part of grunge is it’s flexibility so curl each flower petal by rolling it with your fingers as shown.
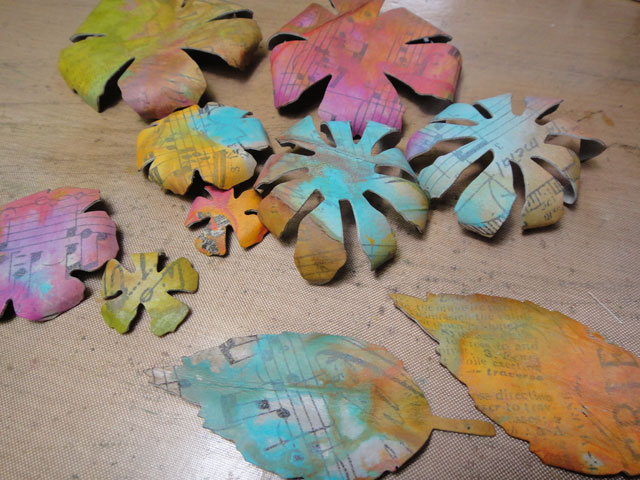 step 18: repeat this for all pieces to give this flower some added dimension.
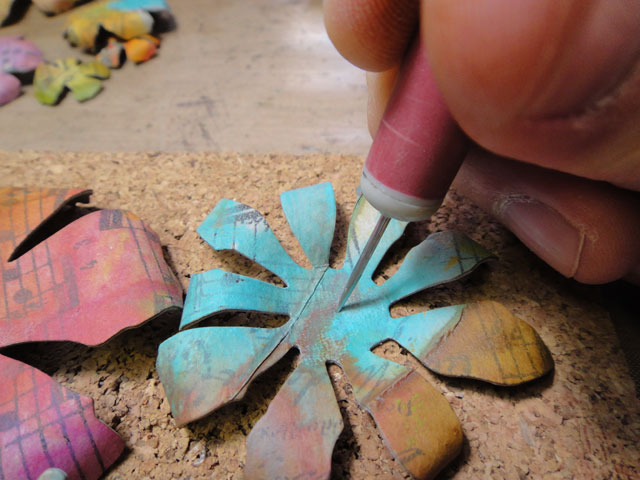 step 19: place the grunge pieces on a cork or piercing mat and poke a hole through the center of all flower pieces.
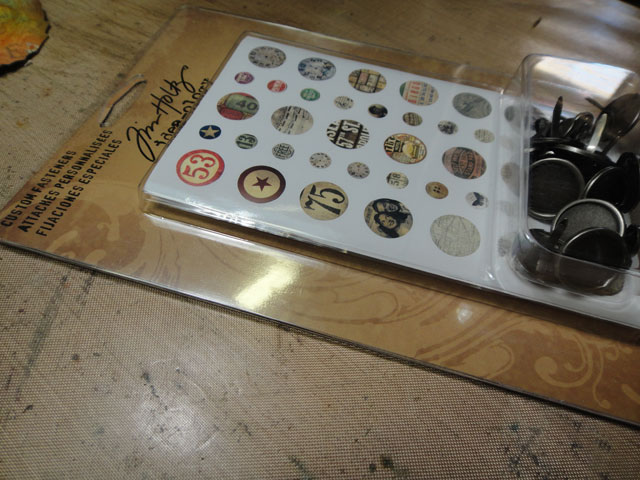 step 20: create a custom fastener by choosing the larger brad (the pack comes with large and small brads).
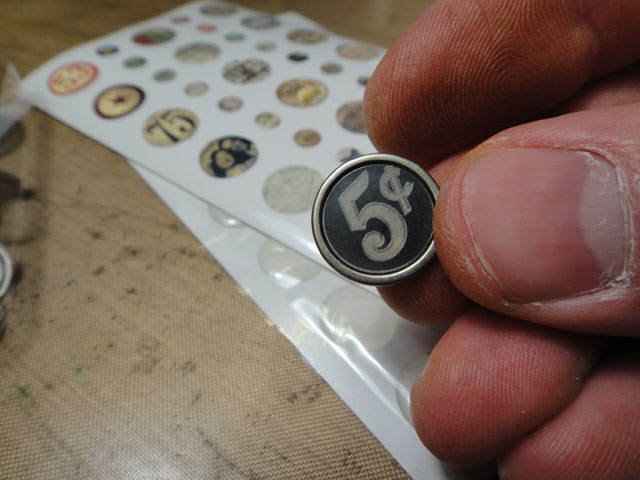 step 21: apply one of the included stickers into the center. *did you know: you can also use a 1/2″ punch to punch your own design from scrapbook papers or photos. so now you can always make brads to match your projects.
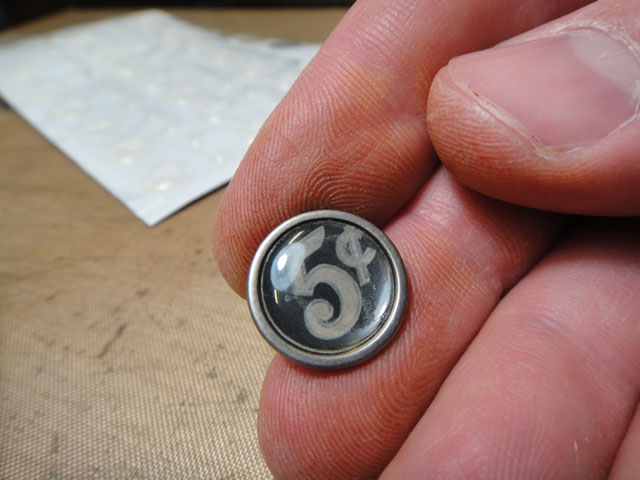 step 22: apply one of the included epoxy stickers over the top to finish it with a domed effect.
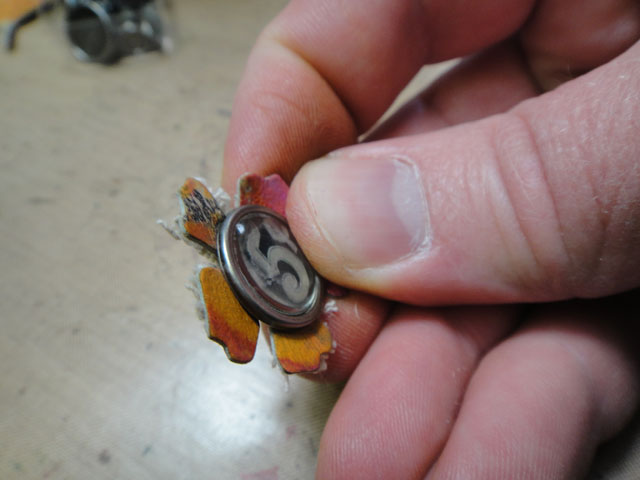 step 23: since this fastener will be the center of the flower, begin to apply the flower pieces to the brad going from smallest to largest.
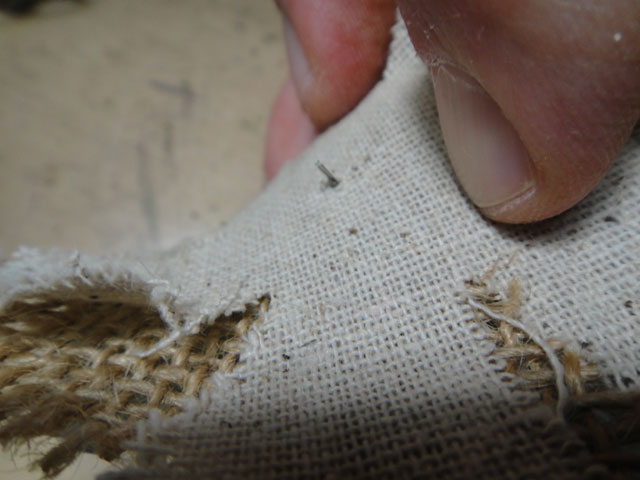 step 24: use the hole you pierced for the grunge, but the brad will go right through the fabric layers. continue until all layers have been applied. (i usually alternate grunge with fabric layers)
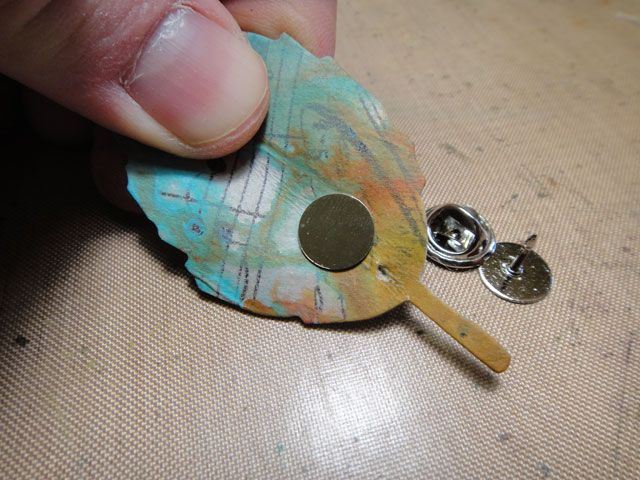 step 25: pierce a hole in the end of the leaf and press a clutch pin through the leaf to the left of the hole.
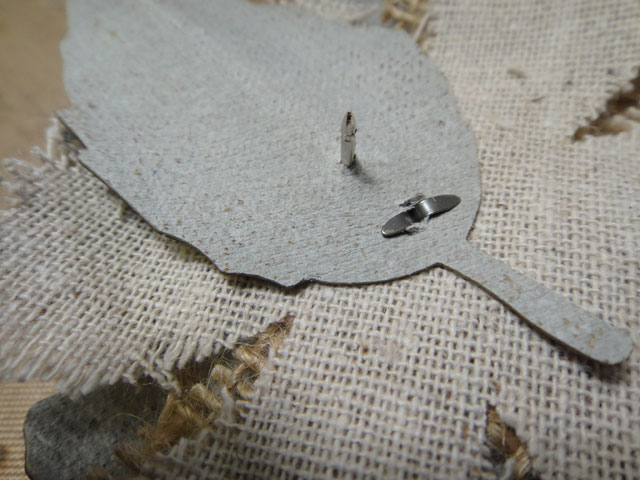 step 26: apply the leaf to the fastener as the final layer, squeeze the layers together, and open the fastener to secure.
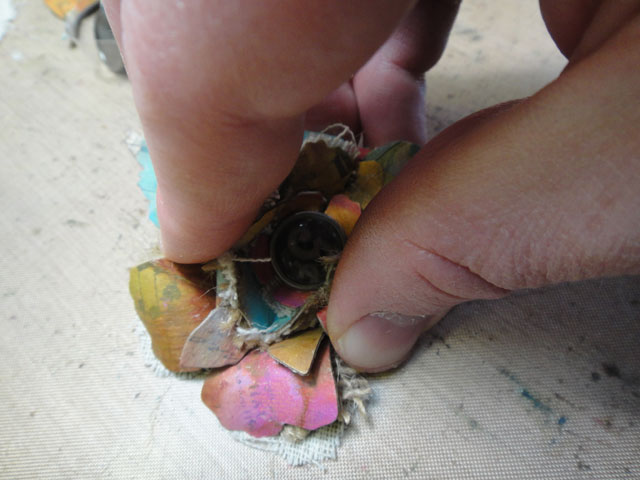 step 27: scrunch the flower (i mean really scrunch it) to get the grunge and fabric to come to life.
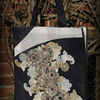
 pretty fun huh? so now you can pin it on a card or tag to give as a gift or how about decorating a jacket, tote, or yes…even a teddy bear.
hope you enjoyed this tutorial and i can only image all of the creative color combos, fabrics, and textures you will be assembling using the tattered floral die – this is definitely one of my most used dies ever!
—————————————————————————–
you know…i’d love to see what flowers you would create with this die so how about a little challenge???
create your own layered creation using the tattered floral die made from any kind of papers, materials, you name it. use any kind of inks, sprays, paints, stamps, or stencils. it can be any kind of project from a card, wearable, or mixed media…but it must use the tattered floral die.
deadline: you will have until friday MARCH 22nd to upload your project to the blog and share it with the world!!!
on saturday MARCH 23rd we will pick 5 winners who will EACH receive a $100 tim holtz prize bag filled with an assortment of creative goodness! now that’s a GREAT prize don’t you think?
so good luck and have a creative weekend everyone…t!m
*be sure to check your local stores for these supplies or you can
click the links below to purchase online…
(SSS=simon says stamp / IE=inspiration emporium)
GREAT NEWS! both of these online stores are offering a discount of 10% off your purchase – use the following codes with your order:
(SSS code: THFEBTAG / IE code: timtime)
|
|
|
|
|
|
|
|
|
|
|
|
|
|
|
|
|
|
UPLOAD YOUR PROJECT: here's the place to share your own project
using the Tattered Floral die right here on my blog!
To Get Started:
1. click on the (add your link) button at the bottom of the post.
2. after you enter your info, click (next step) and you'll be able to
select the photo you wish to display.
*note: you may link from your blog or from a public hosting site.
please only post your project photo relating to this month's tag.
| | | | |
| | | | |
| | | | |
| | | | |
| | | | |
| | | | |
| | | | |
| | | | |
| | | | |
| | | | |
| | | | |
| | | | |
| | | | |
| | | | |
| | | | |
| | | | |
| | | | |
| | | | |
| | | | |
| | | | |
| | | | |
| | | | |
| | | | |
| | | | |
| | | | |
| | | | |
| | | | |
| | | | |
| | | | |
| | | | |
| | | | |
| | | | |
| | | | |
| | | | |
| | | | |
| | | | |
| | | | |
| | | | |
| | | | |
| | | | |
| | | | |
| | | | |
| | | | |
| | | | |
| | | | |
| | | | |
| | | | |
| | | | |
| | | | |
| | | | |
| | | | |
| | | | |
| | | | |
| | | | |
| | | | |
| | | | |
| | | | |
| | | | |
| | | | |
| | | | |
| | | | |
| | | | |
| | | | |
| | | | |
| | | | |
| | | | |
| | | | |
| | | | |
| | | | |
| | | | |
| | | | |
| | | | |
| | | | |
| | | | |
| | | | |
| | | | |
| | | | |
| | | | |
| | | | |
| | | | |
| | | | |
| | | | |
| | | | |
| | | | |
| | | | |
| | | | |
| | | | |
| | | | |
| | | | |
| | | | |
| | | | |
| | | | |
| | | | |
| | | | |
| | | | |
| | | | |
| | | | |
| | | | |
| | | | |
| | | | |
| | | | |
| | | | |
| | | | |
| | | | |
| | | | |
| | | | |
| | | | |
| | | | |
| | | | |
| | | | |
| | | | |
| | | | |
| | | | |
| | | | |
| | | | |
| | | | |
| | | | |
| | | | |
| | | | |
| | | | |
| | | | |
| | | | |
| | | | |
| | | | |
| | | | |
| | | | |
| | | | |
| | | | |
| | | | |
| | | | |
| | | | |
| | | | |
| | | | |
| | | | |
| | | | |
| | | | |
| | | | |
| | | | |
| | | | |
| | | | |
| | | | |
| | | | |
| | | | |
| | | | |
| | | | |
| | | | |
| | | | |
| | | | |
| | | | |
| | | | |
| | | | |
| | | | |
| | | | |
| | | | |
| | | | |
| | | | |
| | | | |
| | | | |
| | | | |
| | | | |
| | | | |
| | | | |
| | | | |
| | | | |
| | | | |
| | | | |
| | | | |
| | | | |
| | | | |
| | | | |
| | | | |
| | | | |
| | | | |
| | |
