 "believe" – tim holtz 2007
supplies:
craft sheet (ranger)
adirondack alcohol inks: denim, stream, stonewash (ranger)
pearl metallic mixative (ranger)
blending solution (ranger)
jet black archival ink pad (ranger)
ink applicator tool (ranger)
glossy cardstock (ranger)
stamp set (stampers anonymous)
ghost snowflakes (heidi swapp)
tag and embellishments
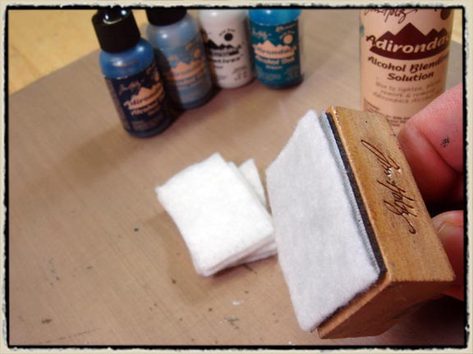
step 1: attach a piece of felt (this is regular craft felt) to the ink applicator tool.
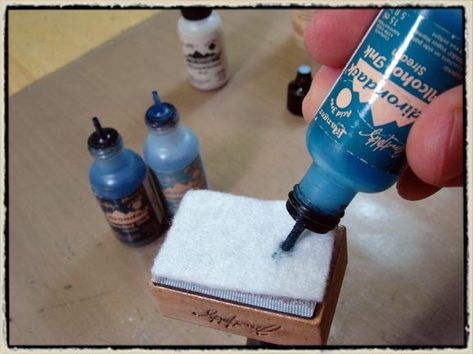
step 2: remove caps from alcohol inks and ink up applicator tool by pressing the nib of the bottle into the felt and giving it a squeeze for about 2 seconds (*tip: make sure the nib is into the felt or ink could squirt out everywhere – experience talking here!)
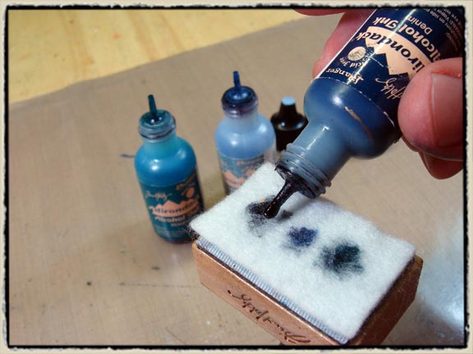
step 3: repeat inking the tool with whatever colors you want to use. (*tip: just be sure to apply the colors next to each other and not directly on top of each other. it’s also important to remember to not over-ink the tool, we can always add more ink later).
step 4: shake the metallic mixative before opening the bottle and apply ONE DOT of mixative on to the felt. (*tip: metallic mixatives are very concentrated so too much could ruin your background)
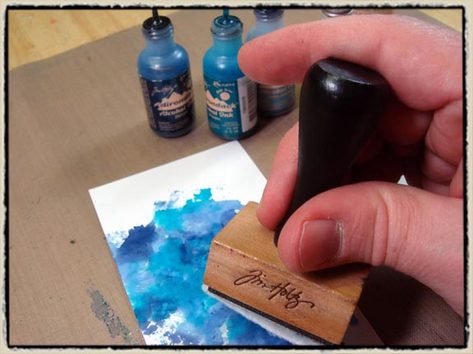
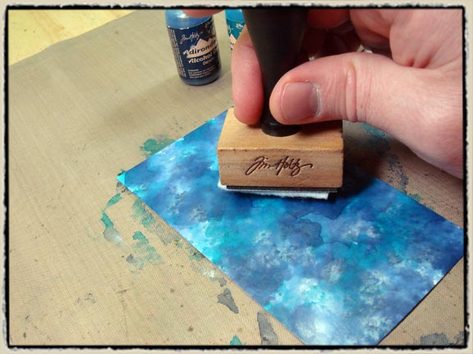
step 5: begin stamping tool on to the glossy side of a piece of glossy cardstock – tap, tap, tap!(*tip: glossy cardstock is NOT photo paper and is very different. it is clay coated instead of emulsion coated so don’t use alcohol inks on photo paper)
step 6: continue stamping ink tool on to glossy cardstock until entire area is covered with ink. if you need to re-ink the felt, just add more – there is no need to try to match up the colors on the felt it doesn’t matter, honest! (*tip: be sure you are pouncing the tool to get the ink on the paper – you should be making a pounding sounds here!)
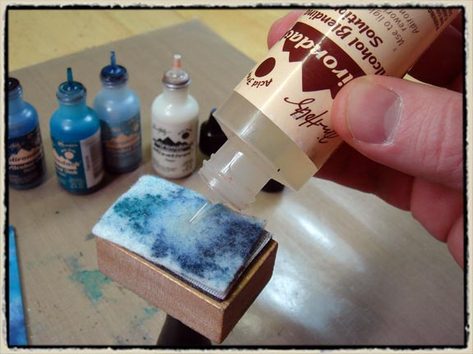
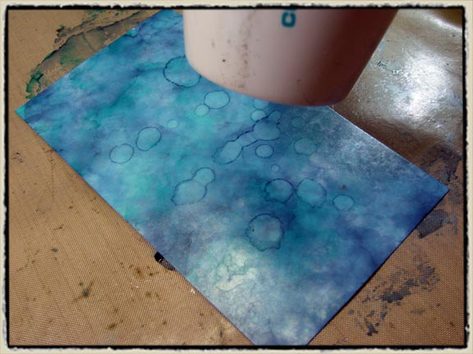
step 7: once your paper is inked, apply a 2 second squeeze of blending solution to the felt on the tool – anywhere is fine. (*tip: blending solution will blend, lighten, or remove the alcohol ink so if you happen to get ink where you don’t want it – your hands possibly?, then just apply blending solution directly to it and wipe it off)
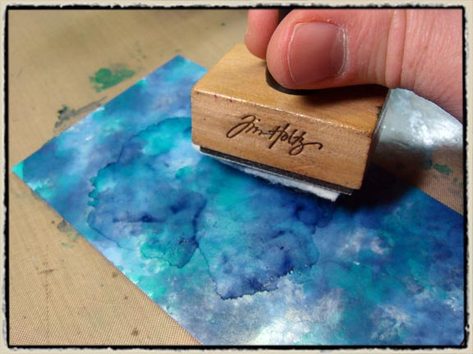
step 8: stamp the tool over your background and watch in amazement as the colors and metallics blend and marbleize. continue stamping until you’re happy with the background (*tip: i never tire of watching this part, but don’t over do it with the blending solution or all of your color will disappear)
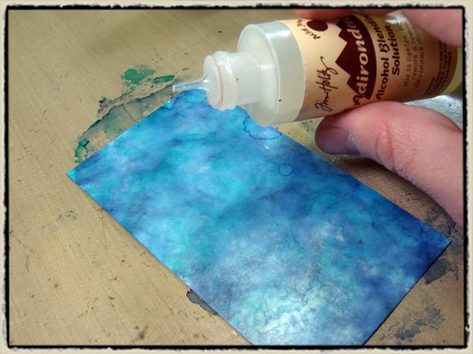
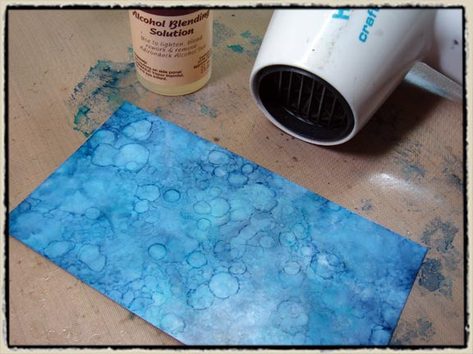
step 9: my favorite part, i want to create a snowy effect on my background so GENTLY shake the blending solution over the background – just a little at a time.
step 10: immediately heat the drips with your heat tool to keep them from spreading out and the heat bleaches out the color. (*tip: don’t worry the inks won’t ignite from heat, just open flames)
step 11: continue shaking on blending solution and drying in between each application until your desired look is achieved.
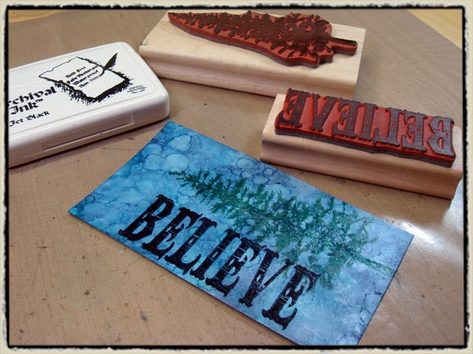
step 12: ink stamp with archival ink pad and stamp images. let dry. (*tip: i prefer using archival ink vs. a solvent ink because archival won’t react with the alcohol inks like the "others" can).
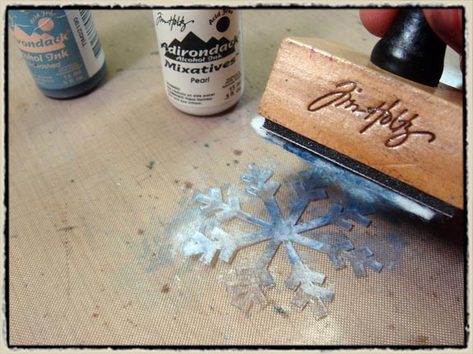
step 13: re-ink the tool (same piece of felt is fine), and let’s ink up our embellishments – that’s right! tap ink tool on to the back of the ghost snowflakes – use whatever colors you would like, i chose to use more pearl mixatives on these.
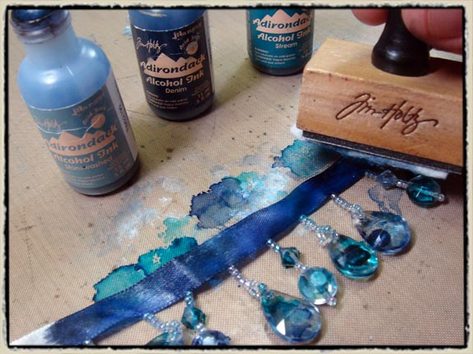
step 14: tap ink tool on the the beaded trim, ribbon and all, i chose to add more blue to these beads. (*tip: you can also drip the inks directly on to the beads for more color)
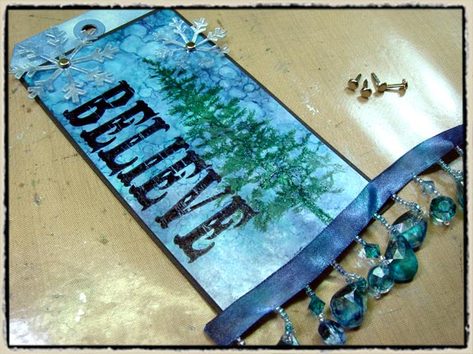
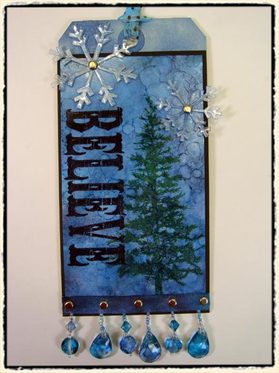
step 15: assemble the tag by adhering the glossy cardstock cardstock mat and then on to the tag (*note: i inked the top portion of the tag with the remaining ink on the ink tool – not the best surface for alcohol inks, but it works.), and embellish.
