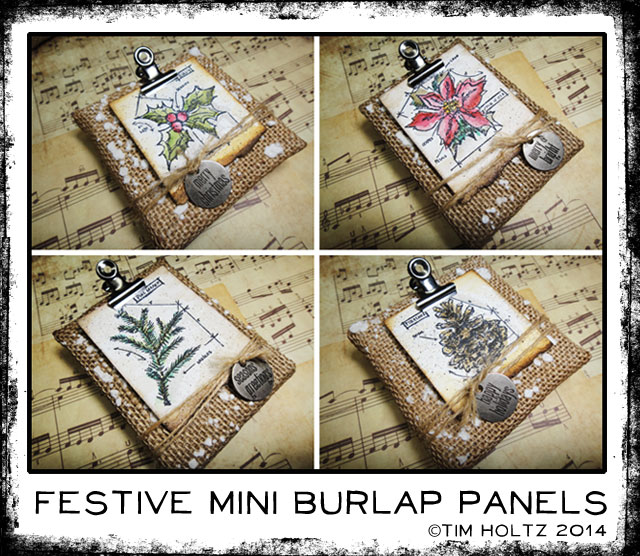
 as the holiday season approaches the last weekend before the magic of christmas day, i wanted to share a simple festive gift idea that’s perfect for friends, neighbors, and holiday visitors. these mini burlap panels are quick to make, and the perfect way to share the spirit of the season. so even though your crafting time might be a little short right now, this tutorial will make efficient use of every minute of it. i hope you’re enjoying this most wonderful time of the year – merry christmas…t!m
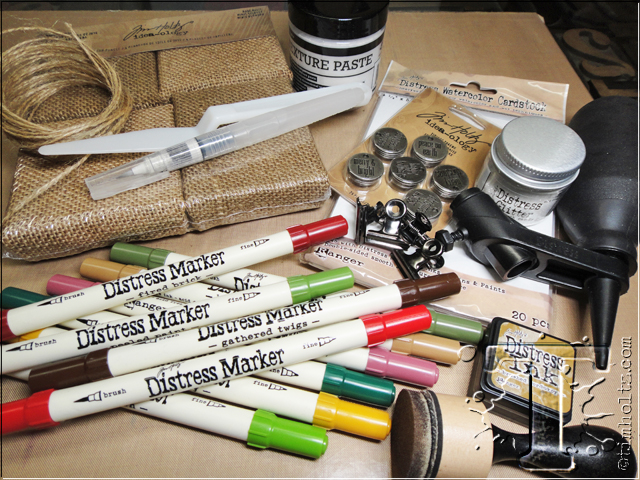
supplies:
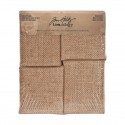
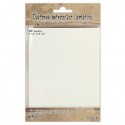
- surfaces: mini burlap panels, distress watercolor cardstock
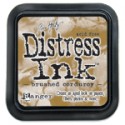
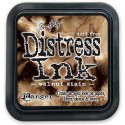
- distress ink: brushed corduroy, walnut stain
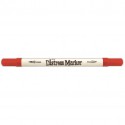
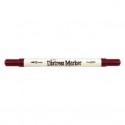
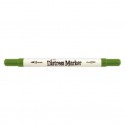
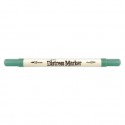
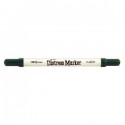
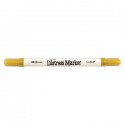
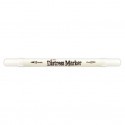
- distress markers: festive berries, fired brick, peeled paint, mowed lawn, pine needles, wild honey, vintage photo, gathered twigs, walnut stain, pumice stone, picket fence
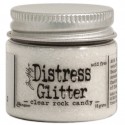
- distress glitter: rock candy
- archival ink: jet black
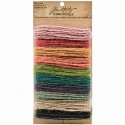
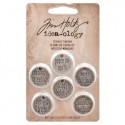
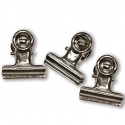
- embellishments: jute string, tidings tokens, hinge clips
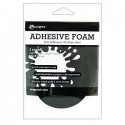
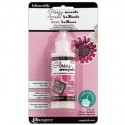
- adhesives: foam tape, glossy accents
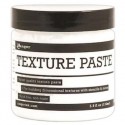
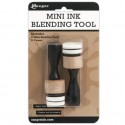
- tools: craft sheet, waterbrush/detailer, distress marker spritzer, mini ink blending tool, heat tool, palette knife, texture paste
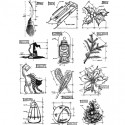
- stamps: cms203 mini blueprints 7
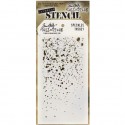
- layering stencil: ths021 speckles
 before you begin, gather your supplies in one place as this will help make your creative time far more efficient.
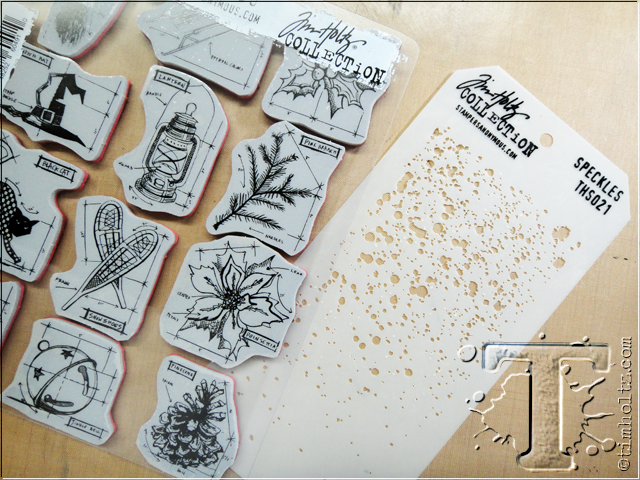 next, choose your favorite mini blueprint stamp set to color and the speckle layering stencil.
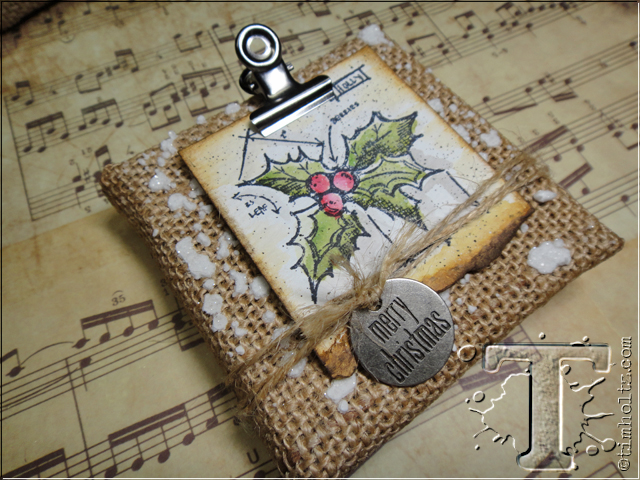
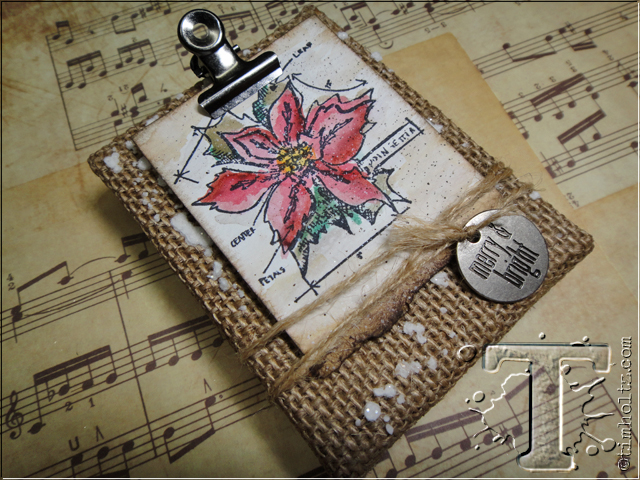
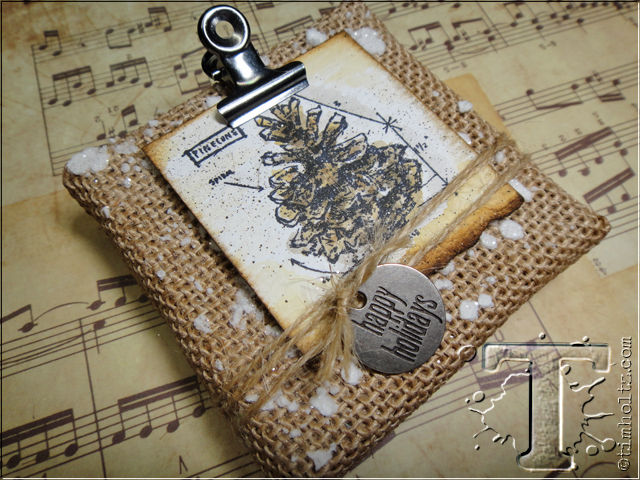
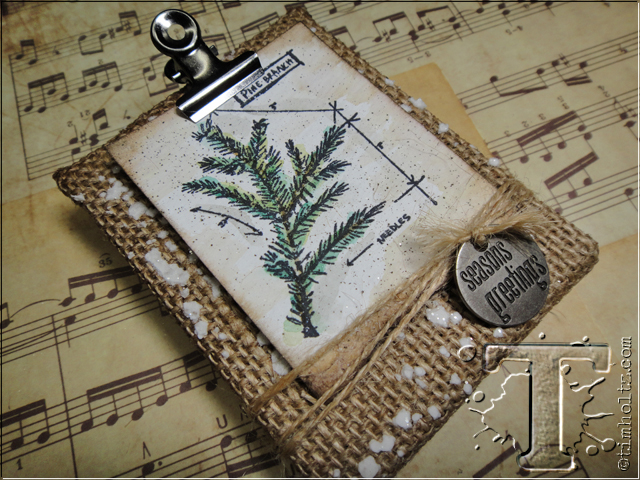
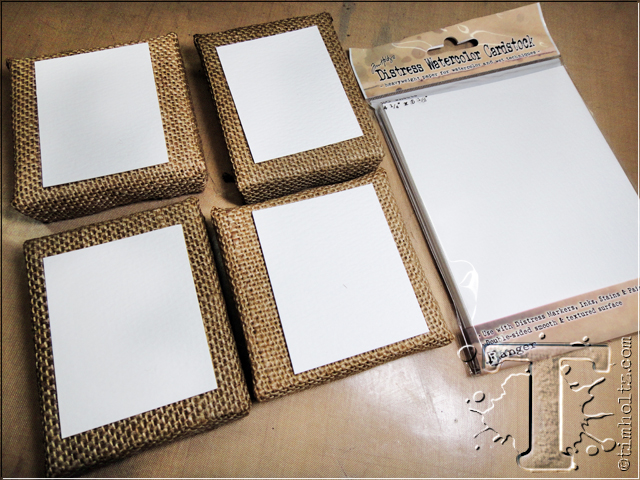 step 1: quarter cut a single sheet of distress watercolor cardstock to 2 1/8” x 2 3/4”. one single sheet is perfect for all four mini burlap panels.
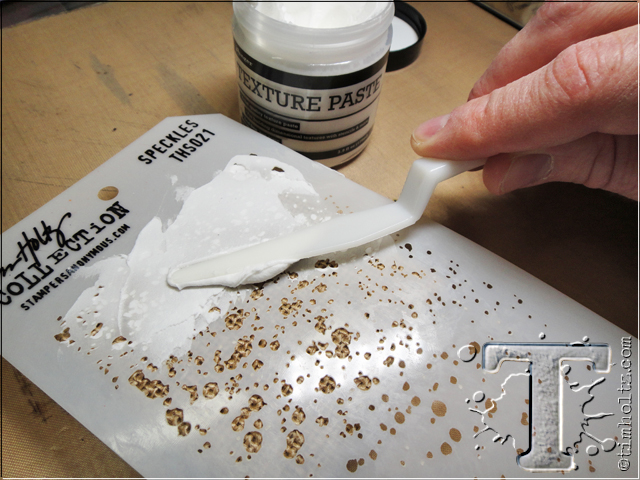 step 2: place the speckles layering stencil on the mini burlap and apply a medium layer of texture paste using a palette knife.
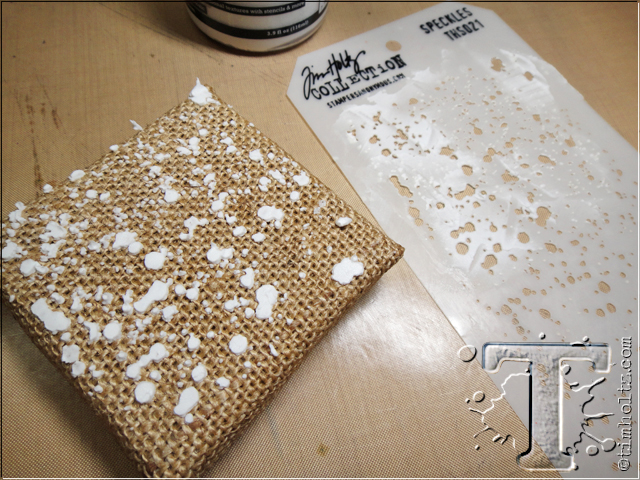 step 3: once covered, lift the stencil straight off and set it aside.
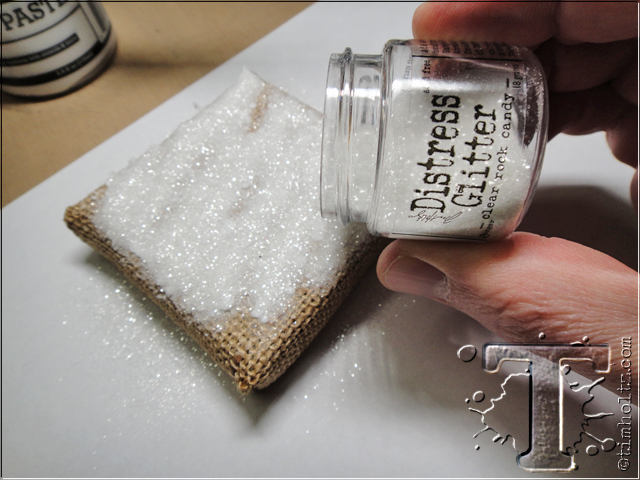 step 4: immediately cover wet texture paste with rock candy distress glitter.
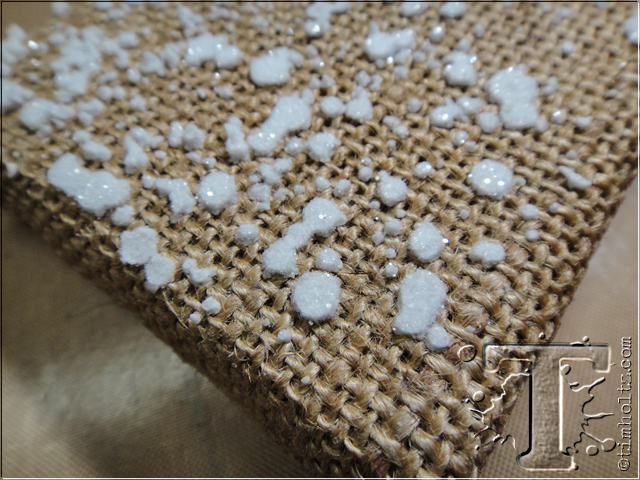 step5: remove excess glitter, place back in the jar, and allow the glittered texture paste to air dry.
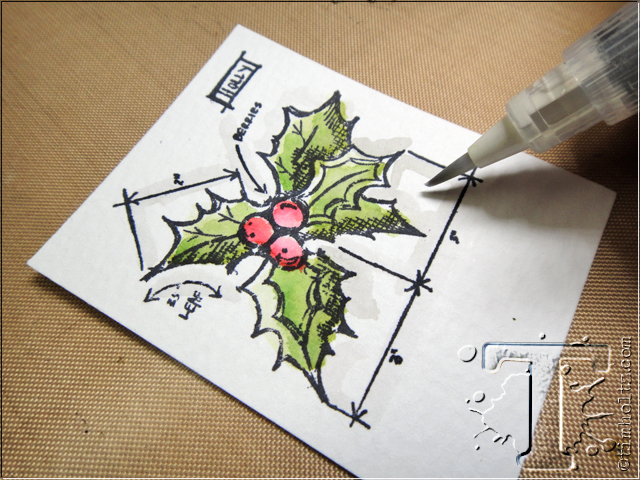
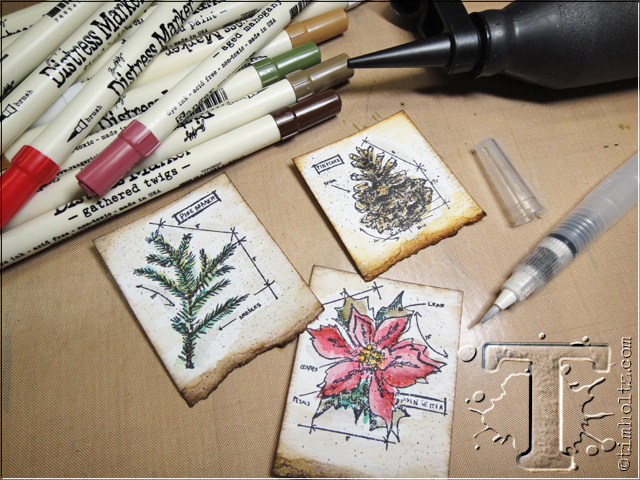
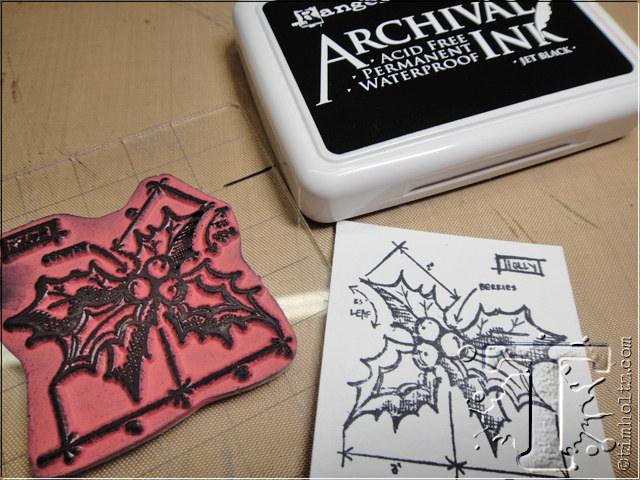 step 6: stamp a mini blueprint images on to either side of distress watercolor cardstock. note: i prefer to stamp on the texture side since i like the way it watercolors, but either side will work.
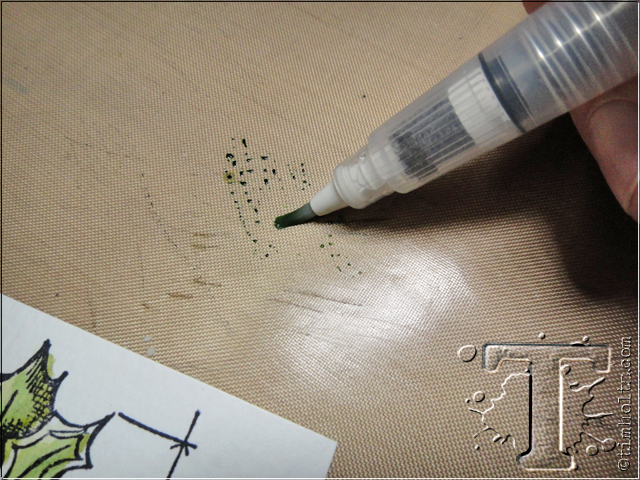
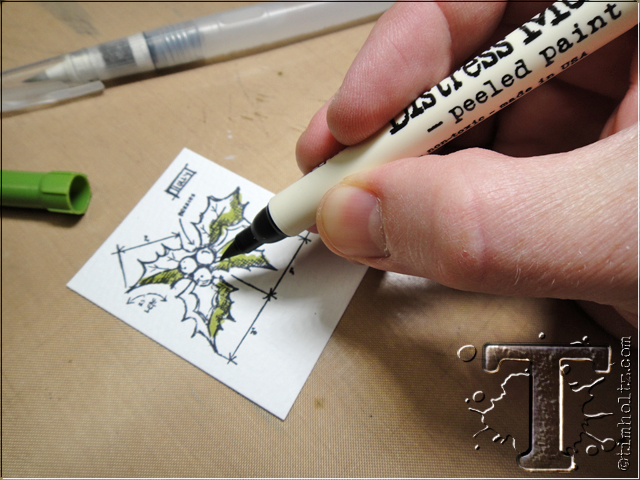 step 7: begin coloring part of the image with the brush nib of a distress marker.
 step 8: blend color using a detailer waterbrush by pulling color into the open areas.
 step 9: take a second tone of the color used (either lighter, brighter, or darker) and scribble it on to the craft sheet.
 step 10: pick up some of the color using the tip of the waterbrush.
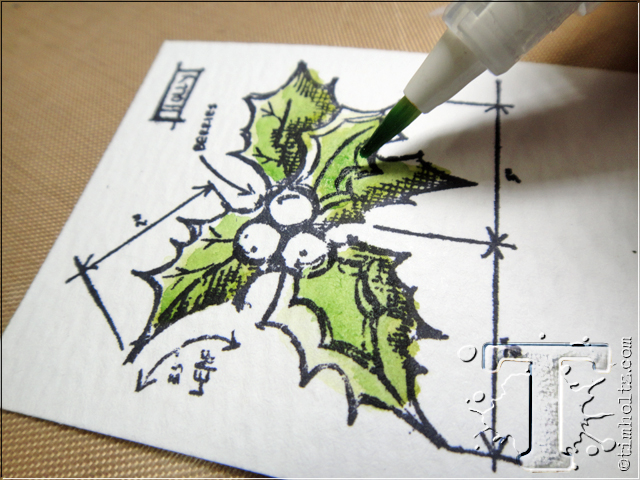 step 11: apply the second tone over the colored areas to blend and highlight. note: the reason i color this way is to avoid coloring directly on to wet paper with the nib of the marker as it can “pill” the paper. coloring wet on wet makes it easier to blend as well.
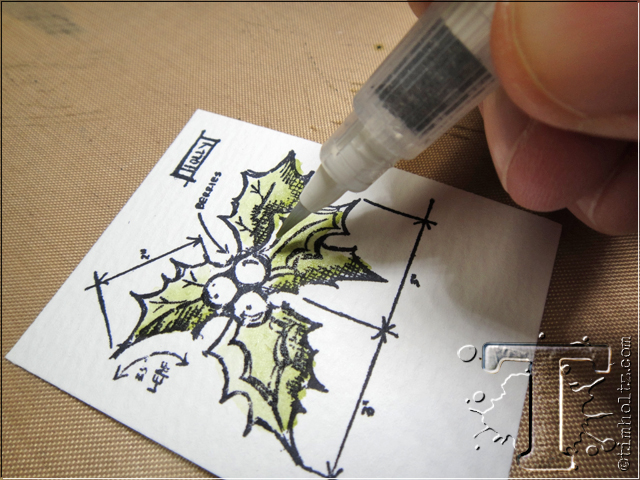
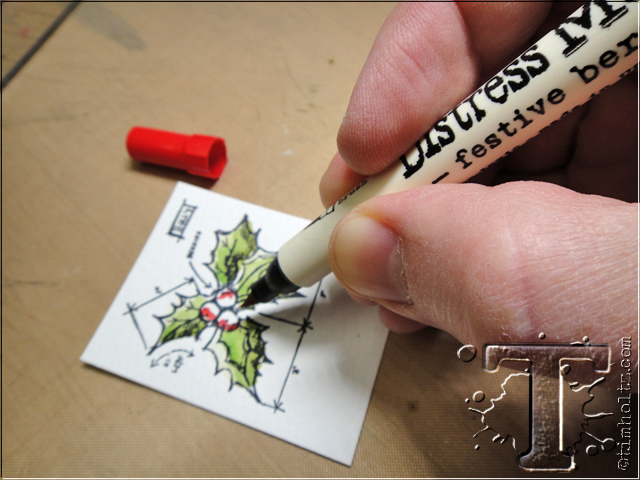 step 12: color part of the berries with red distress marker.
 step 13: blend color using a detailer waterbrush by pulling color into the open areas.
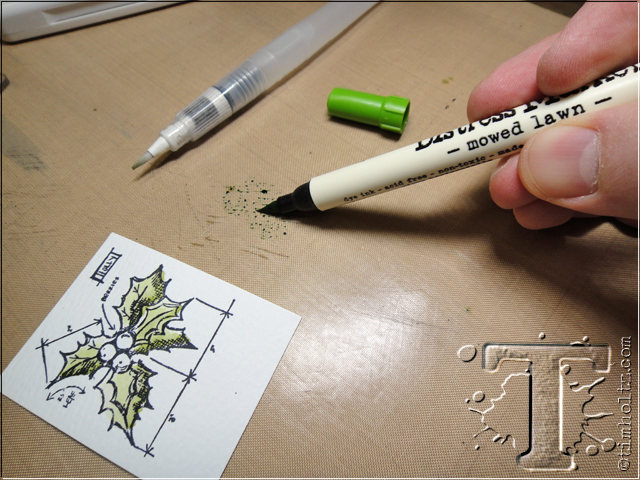
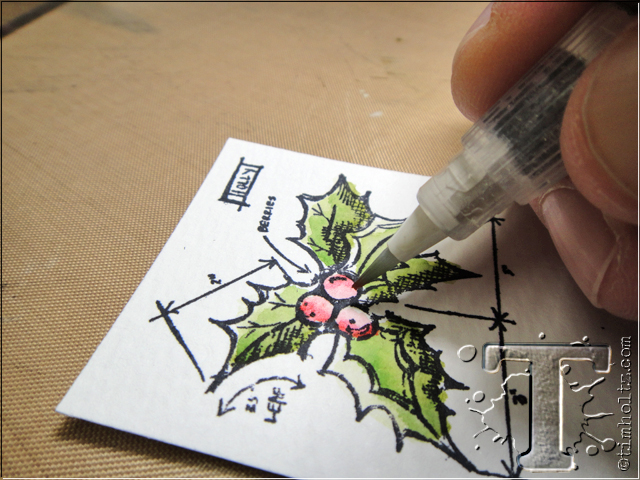
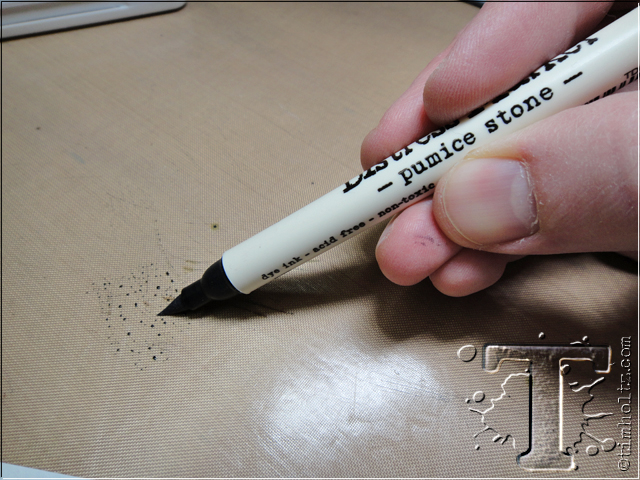 step 14: scribble pumice stone distress marker on to the craft sheet.
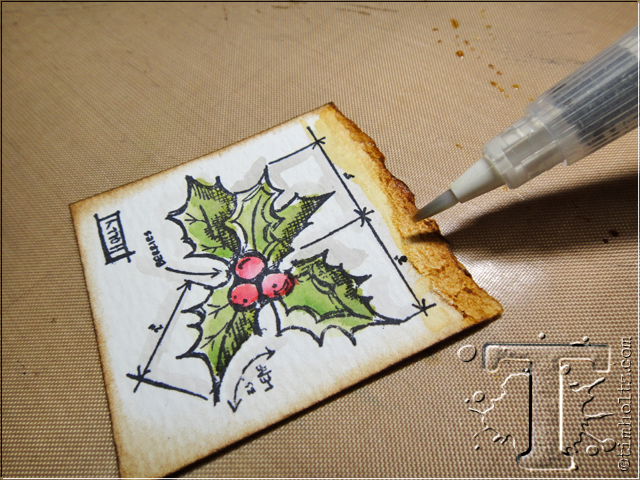
 step 15: pick up color from the craft sheet using a waterbrush and color over the blueprint lines and along a couple of edges of the image to create a simple drop shadow effect.
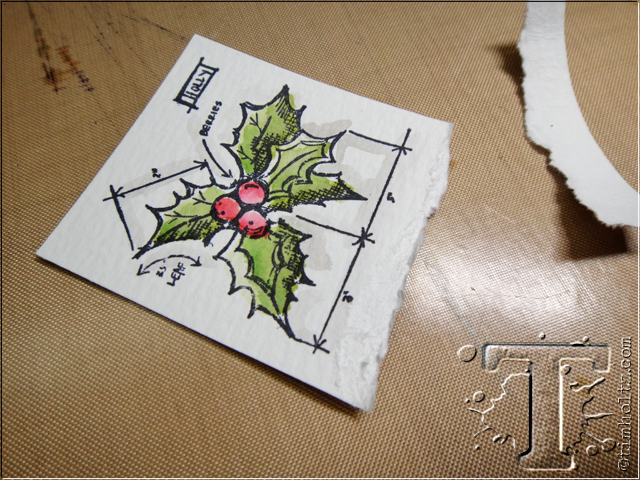 step 16: make sure the entire image is dry, and tear the bottom edge of the watercolor cardstock.
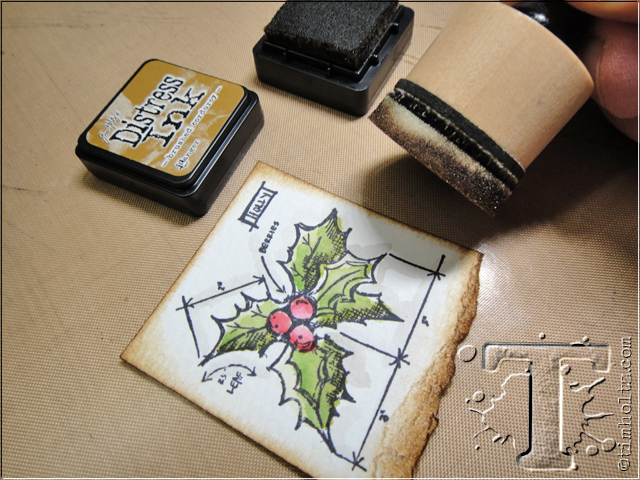 step 17: ink the edges with distress ink using an ink blending tool.
 step 18: drag a clean the waterbrush along the torn inked edge to wick the color into the paper giving it a “burnt” effect.
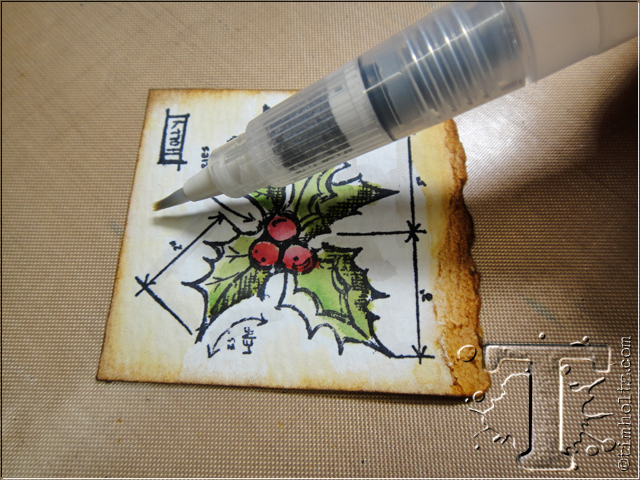 step 19: using a clean waterbrush, lightly pull some of the inked edge color rot fill in select areas of the background – do not brush over the area you’ve already colored.
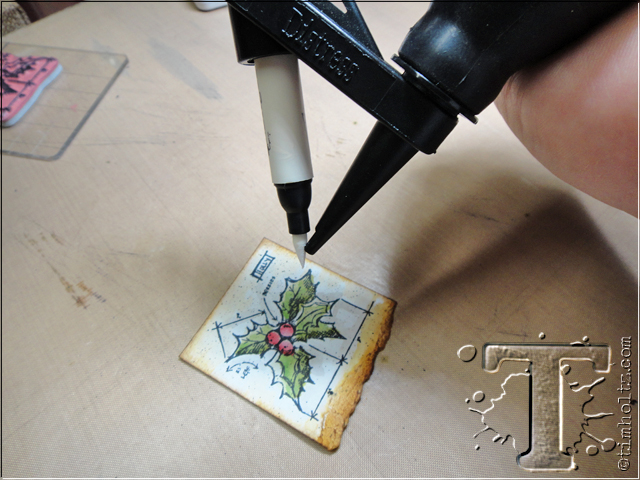 step 20: lightly spritz over the background using a distress marker spritzer with a dark color (for a vintage effect), and picket fence (for a snowy effect).
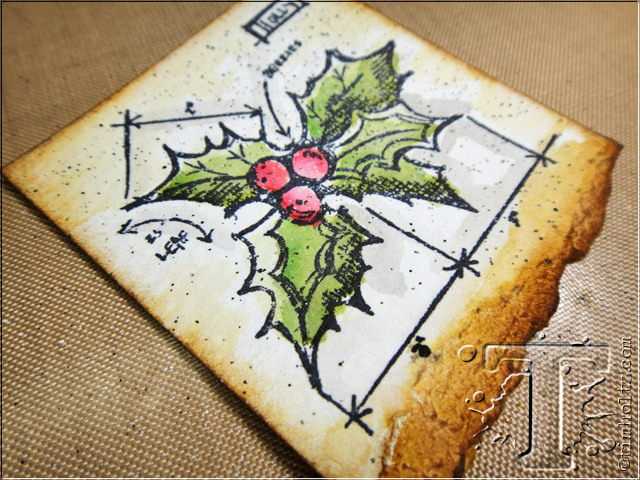 *i love the effect of using both colors of markers – that snow is perfect!
 *remember you can make several of these at once so when you’re in coloring mode – go for it!
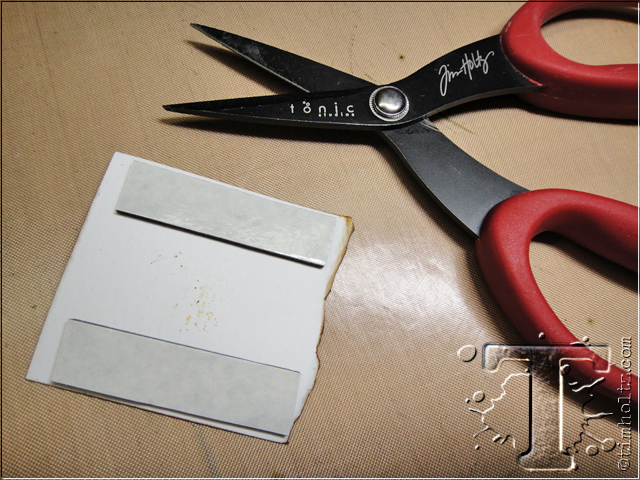 step 21: apply two strips of foam tape to the back edges of your watercolor as shown.
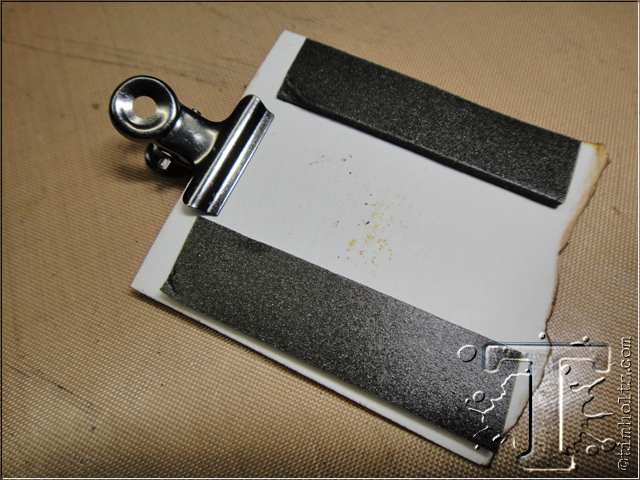 step 22: remove the paper liner from the foam tape and attach a hinge clip between the foam tape as shown.
 step 23: apply glossy accents over the foam tape. note: this step is important since we’re adhering this to a textured, glittered, fabric surface and the tape is just not sticky enough…
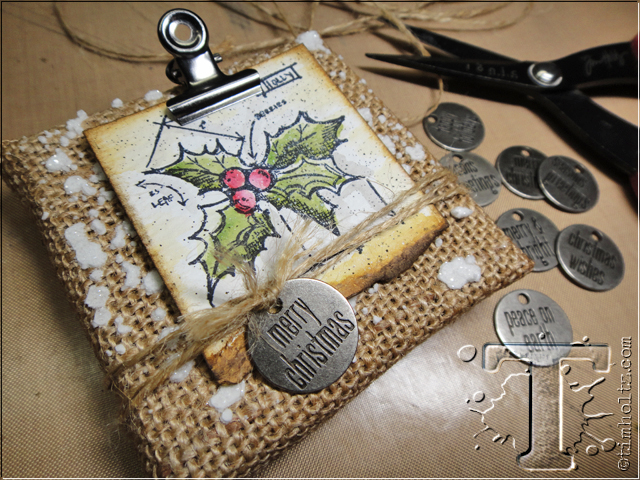 step 24: press and hold it on to the burlap panel, and wrap a piece of jute string around a few times and tie on a tidings token..finished!
*be sure to check your local stores for these supplies or you can click the links below to purchase online…
(SSS=simon says stamp / IE=inspiration emporium)
                           |


