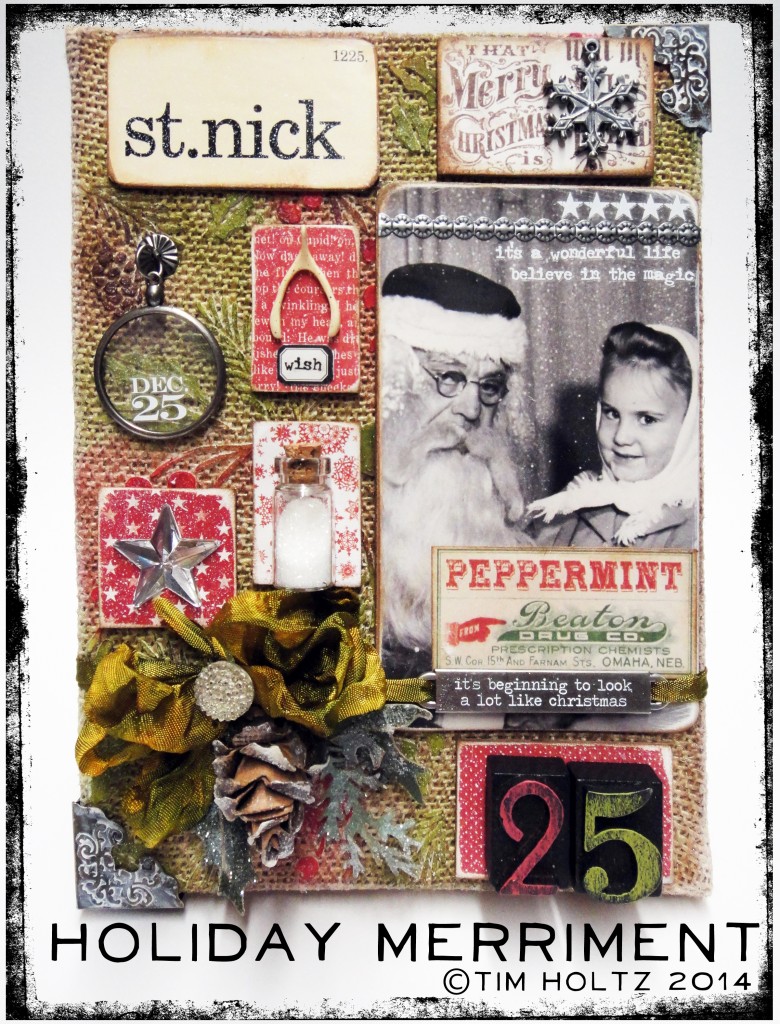
creating for the holidays is so much fun! i love to make all types of projects big and small, from tags and cards to home decor. it’s always fun to share ideas here on the blog, but sometimes those ideas are just not enough. i get emails from many of you who have been inspired by all of the wonderful seasonal products released this year, but struggle with ideas to put them all together. so today i thought why not help you out and teach you a mini-class! let’s clear off that craft table, roll up those sleeves, turn on your favorite christmas tunes, and get ready to fill your creative spirit with holiday merriment…
supplies:
- surfaces: 6”x8” burlap panel, merriment paper stash, chipboard
- distress spray stain: peeled paint
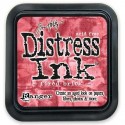
- distress ink: fired brick, peeled paint, gathered twigs, frayed burlap
- distress paint: fired brick, peeled paint, picket fence
- distress glitter: clear rock candy
- mediums: texture paste
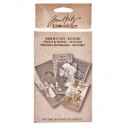
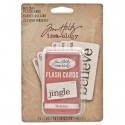
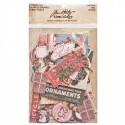
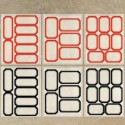
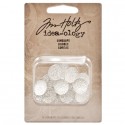
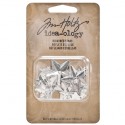
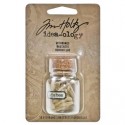
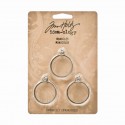
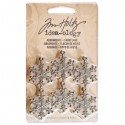
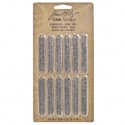
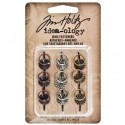
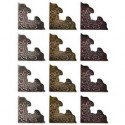
- embellishments: found relatives occasions, holiday flashcards, holiday ephemera, gumdrops, mirrored stars, corked vials, vial labels, wishbones, monocle, ring fastener, letterpress, snowflake adornment, crinkle ribbon, holiday word band, christmas remnant rubs, industrious stickers frames/trims, metal corners
- adhesives: matte multi-medium
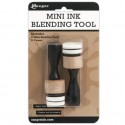
- tools: craft sheet, mini ink blending tool, palette knife, mister, heat tool, scissors, sanding grip
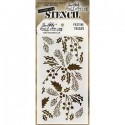
- stencil: layering stencil THS029 festive
- dies: bigz tattered pinecone, festive greenery
- misc: push pin, glue gun, toothpick, toothbrush
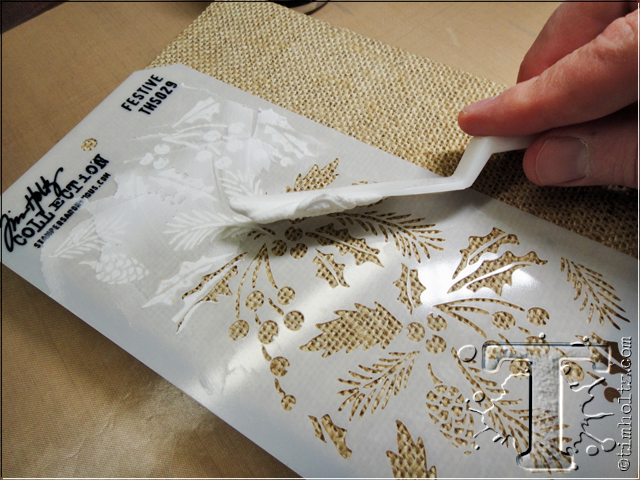
step 1: place layering stencil along the left of the burlap panel, and apply texture paste using a palette knife.
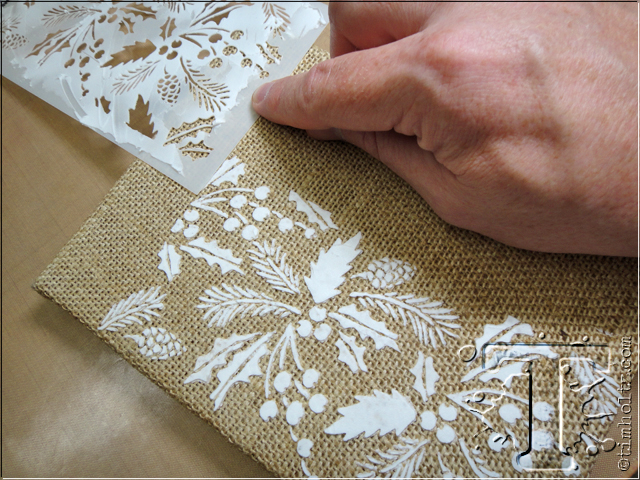
step 2: reposition the bottom area of the stencil to the top right portion of the burlap panel.
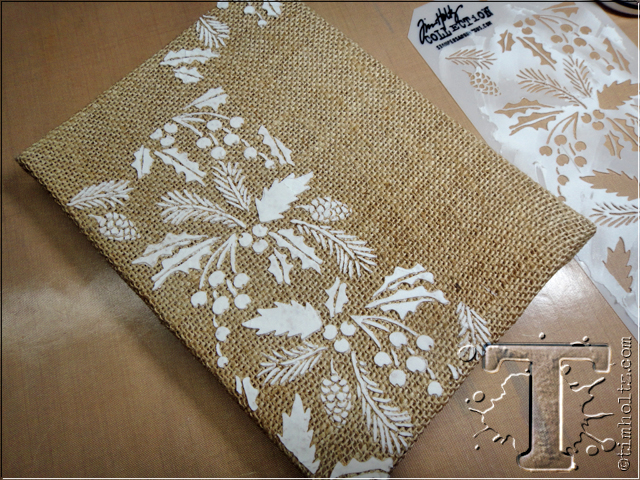
step 3: apply texture paste using palette knife, remove stencil, and wash with warm water to remove texture paste.
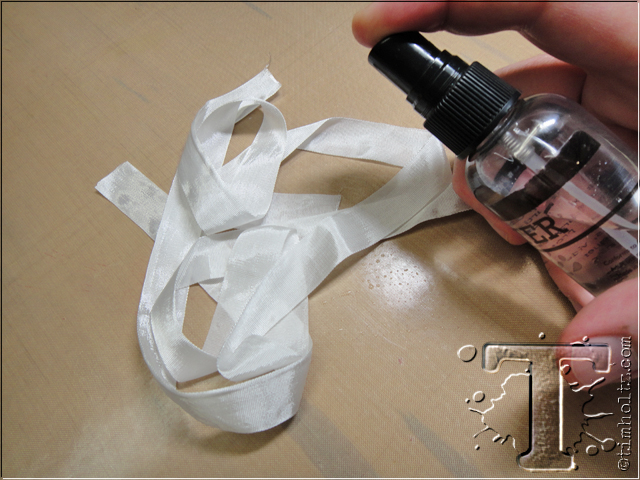
step 4: cut two pieces of crinkle ribbon (18” and 24”) and mist both pieces with water.
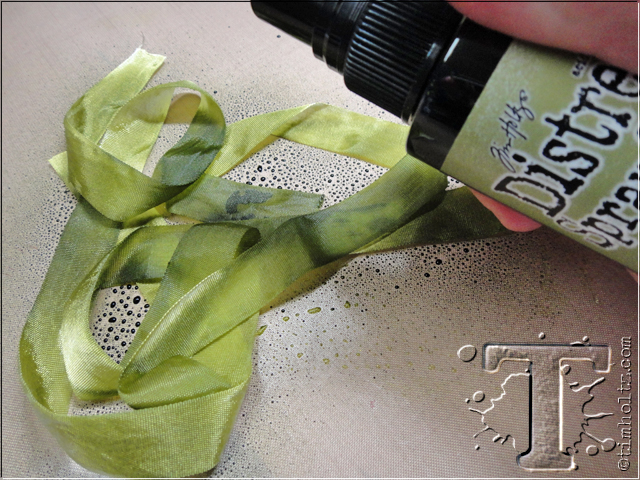
step 5: spray ribbons with distress spray stain.
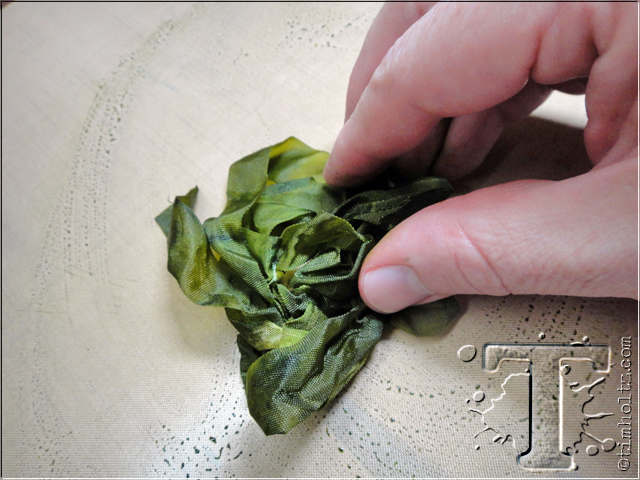
step 6: crinkle ribbon into a ball a let dry or dry with heat tool.
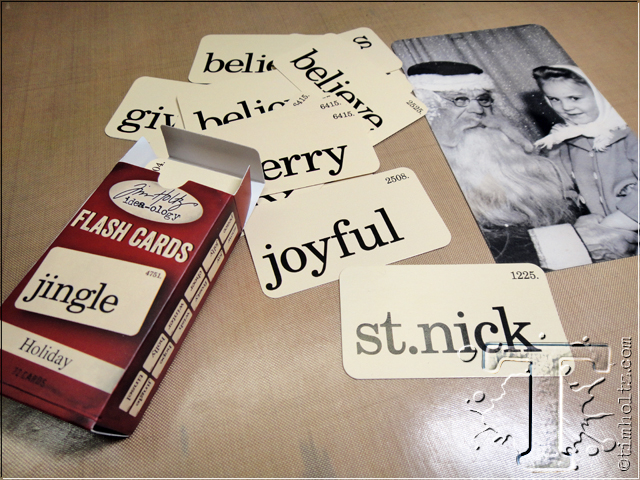
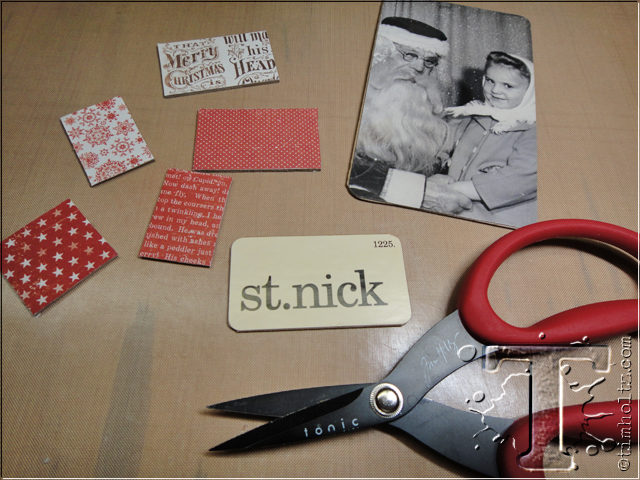
step 7: select holiday flash card and found relative (or use your own photo).
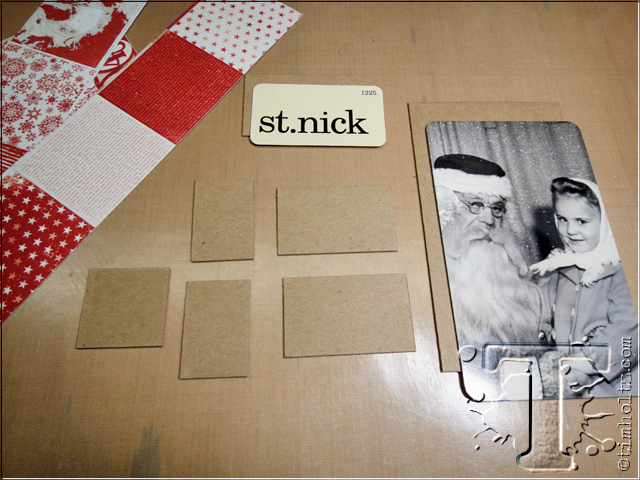
step 8: cut various chipboard pieces making sure to cut one the size of the photo, and one the size of the flash card – all others can be any size.
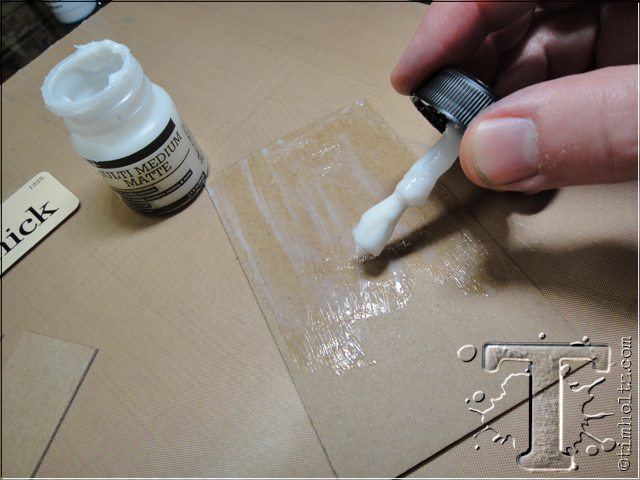
step 9: apply multi-medium to photo sized chipboard.
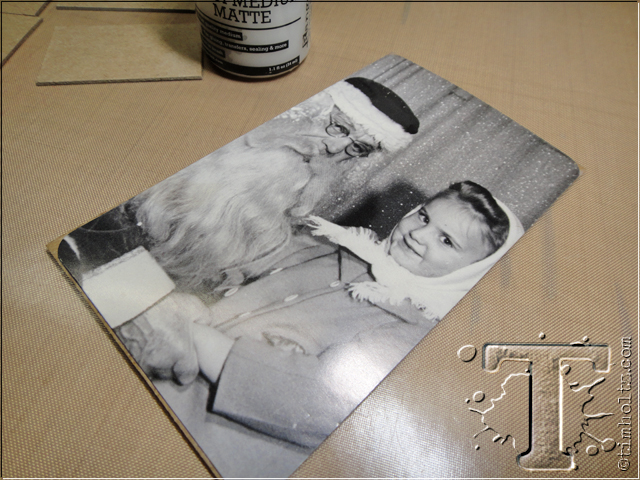
step 10: adhere photo to chipboard and hold in place to dry.
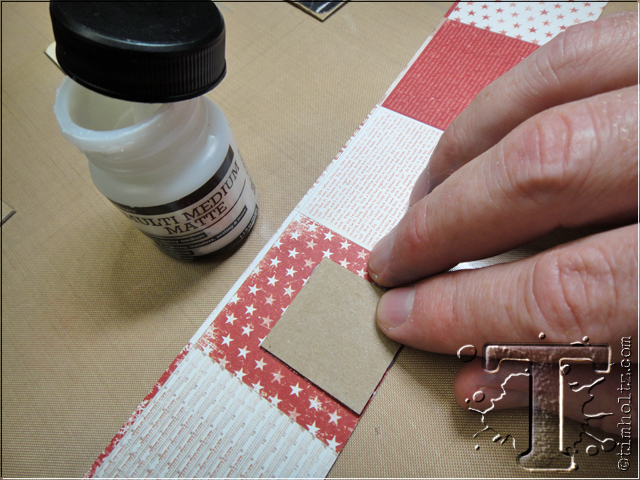
step 11: apply multi-medium to smaller chipboard pieces and adhere to assorted papers.
step 12: adhere flash card to remaining chipboard piece.
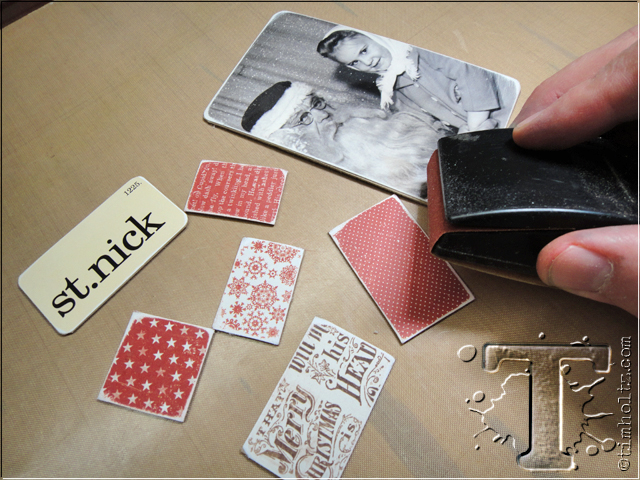
step 13: sand and scuff the edges of all chipboard pieces using sanding grip to reveal white core of cardstock.

step 14: ink the edges of sanded pieces with distress ink using ink blending tool.
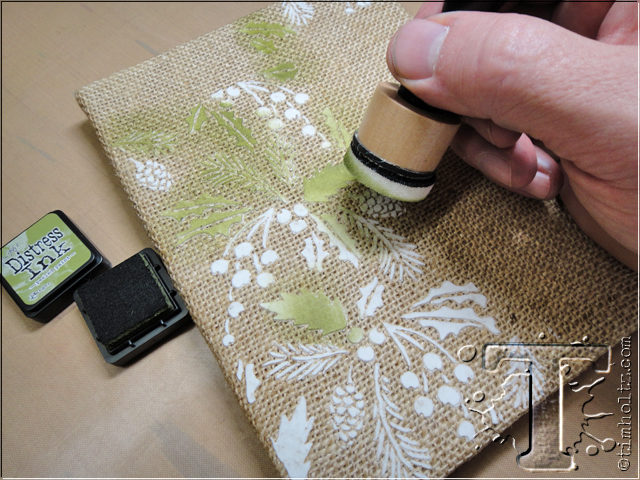
step 15: using a mini blending tool, begin inking various areas of texture paste design.
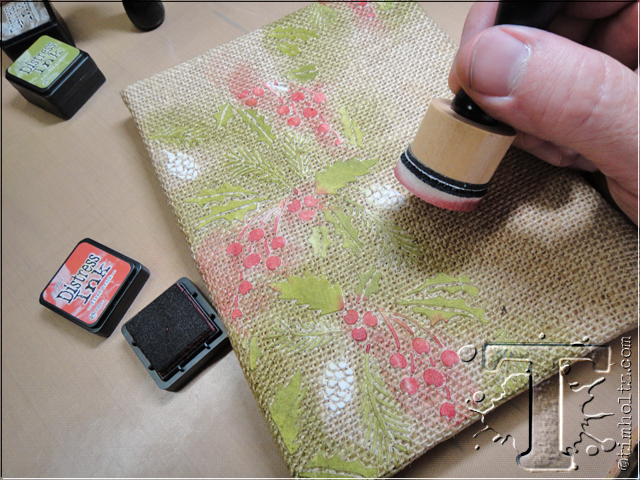
step 16: continue with various colors inking individual areas.
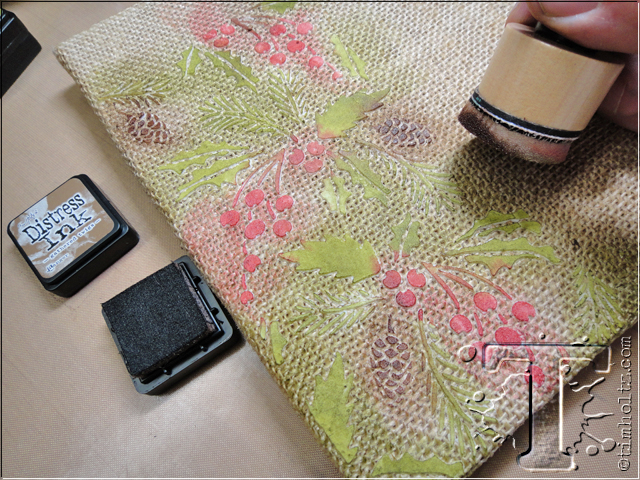
step 17: add shadow and shading with brown ink as the final layer.
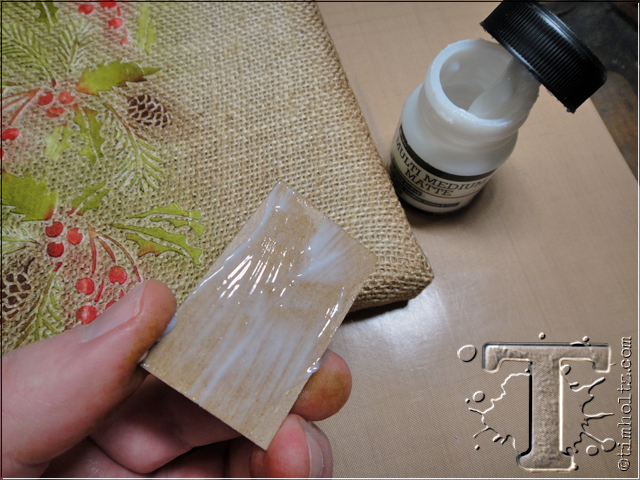
step 18: apply multi-medium to the back of the chipboard pieces.
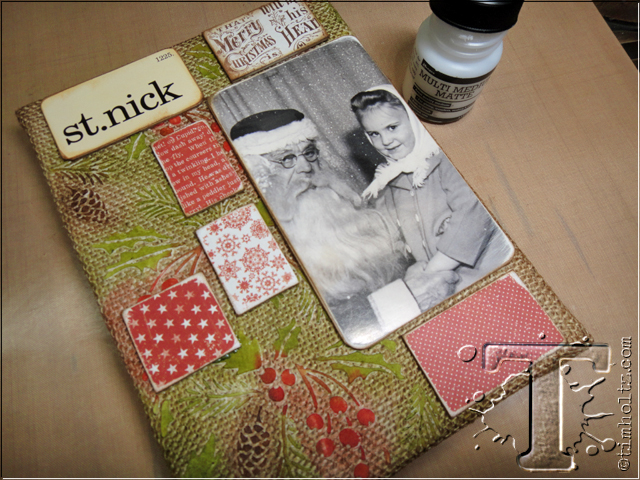
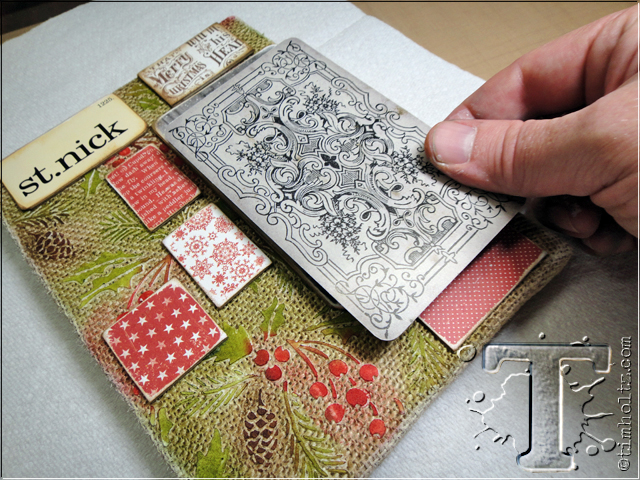
step 19: adhere to burlap panel creating various spacing in between tiles.

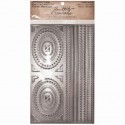
step 20: select numbers, initials, or a small word from letterpress.
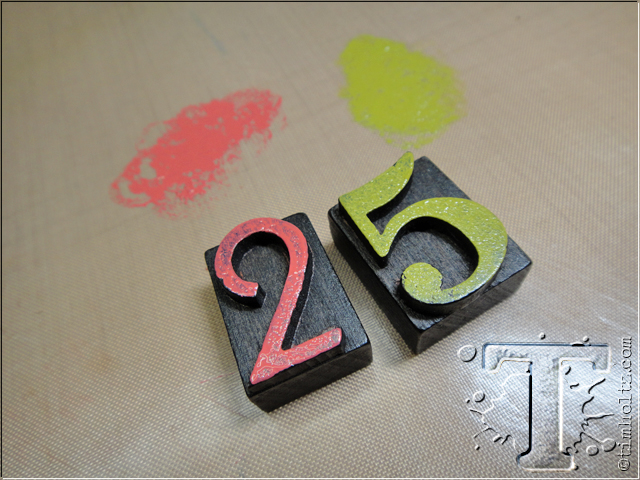
step 21: paint the raised portion of the letterpress by applying distress paint to craft sheet and lightly tap the letterpress into the paint, let dry.
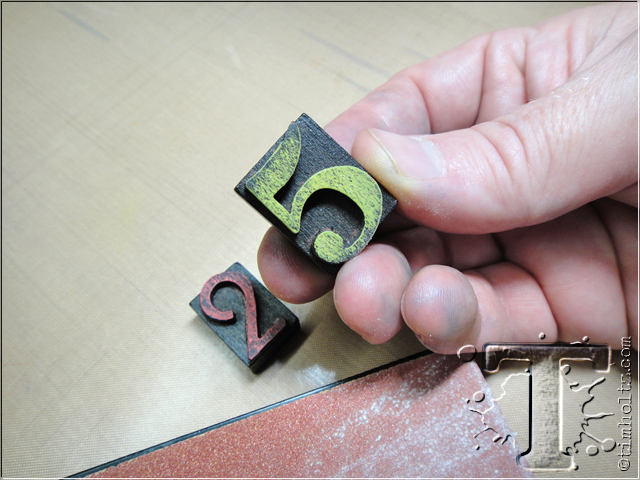
step 22: scuff the painted letterpress by swiping over a sanding grip to remove some paint.
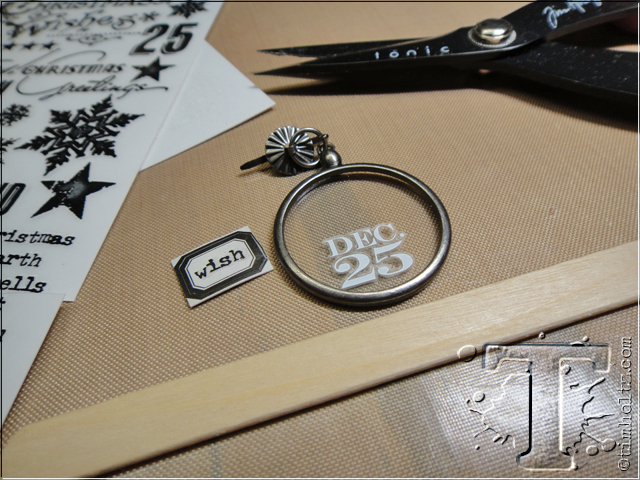
step 23: apply remnant rubs to vial label and monocle.
step 24: using a large push pin or drill, pierce a hole through the wooden base of the burlap panel.
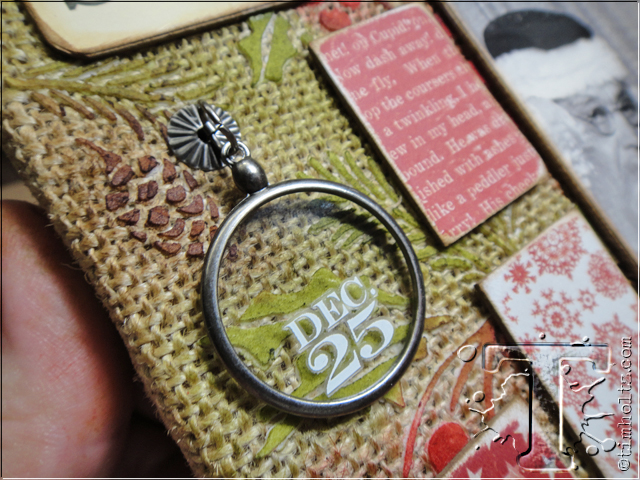
step 25: attach the monocle to the burlap panel using a ring fastener.
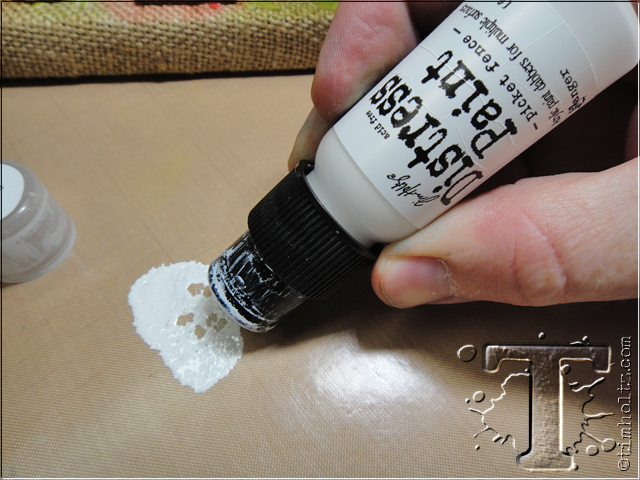
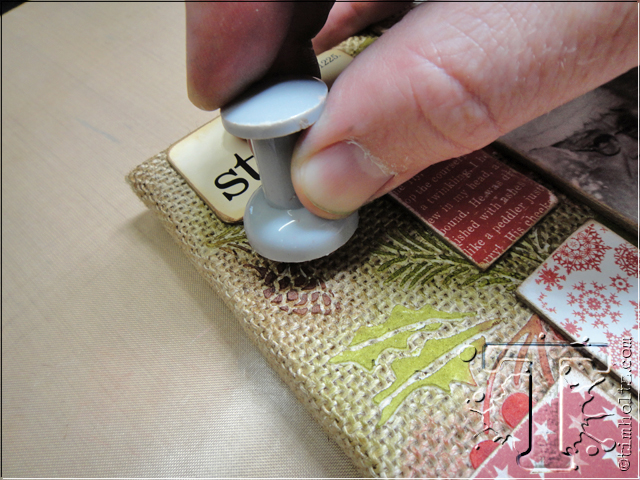
step 26: shake distress paint and dab paint on to craft sheet to make sure the tip of the dabber is saturated with paint.
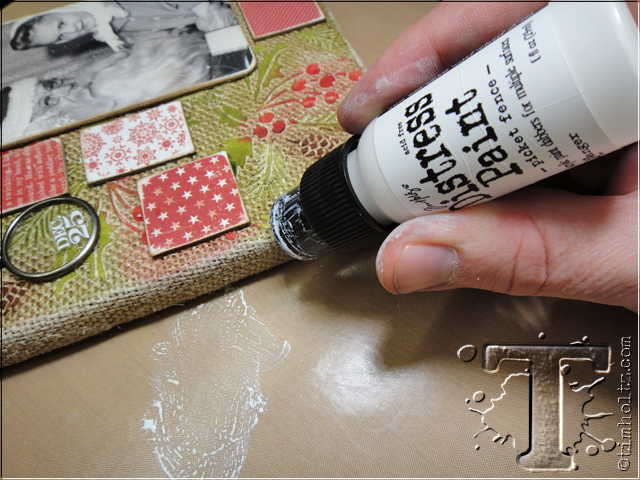
step 27: lightly swipe paint dabber along the edge of the burlap panel to distress.
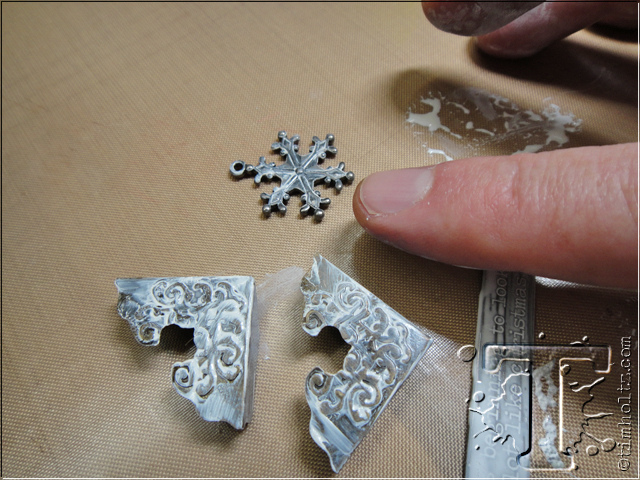
step 28: wipe up paint from craft sheet with your finger and apply to various metal embellishments.
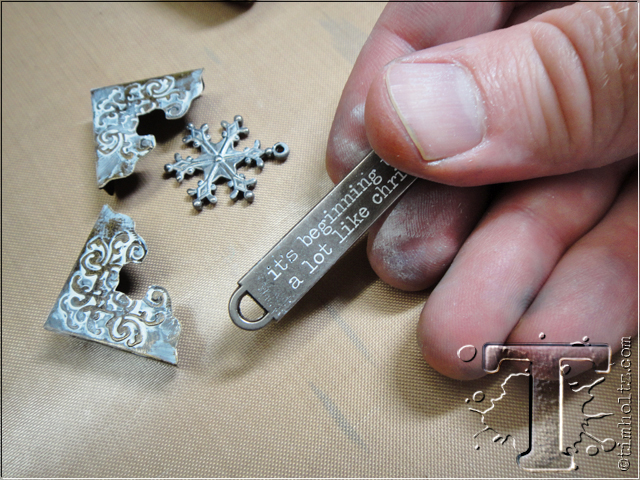
step 29: as paint starts to dry on the metal, wipe away excess with your fingers.
step 30: place a scrap piece of paper (or another found relative card) over your photo.
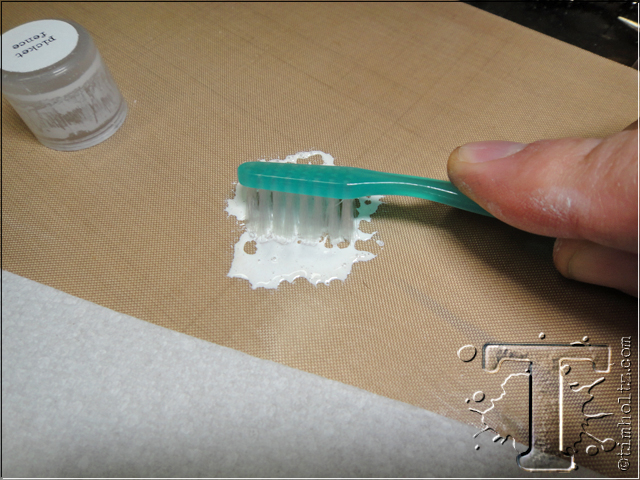
step 31: dip a paint brush or splatter brush into wet white paint.
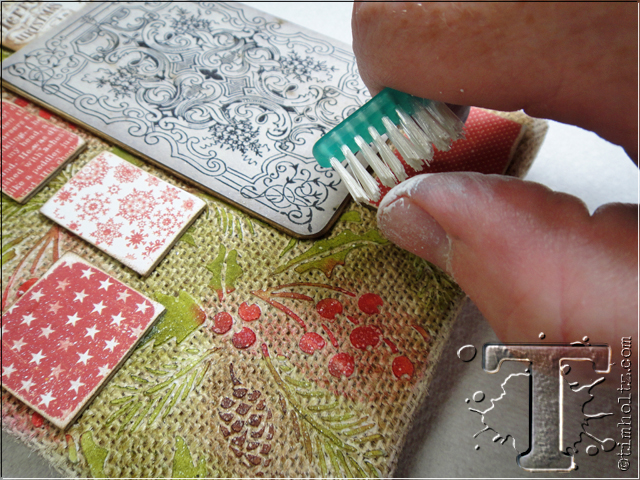
step 32: lightly splatter paint over entire burlap panel for a snowy effect, let dry.
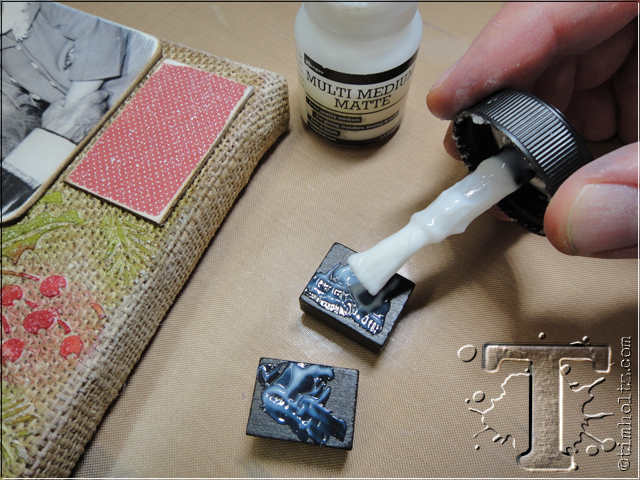
step 33: adhere letterpress to chipboard piece with multi-medium.
step 34: brush multi-medium into all areas of metal corners.
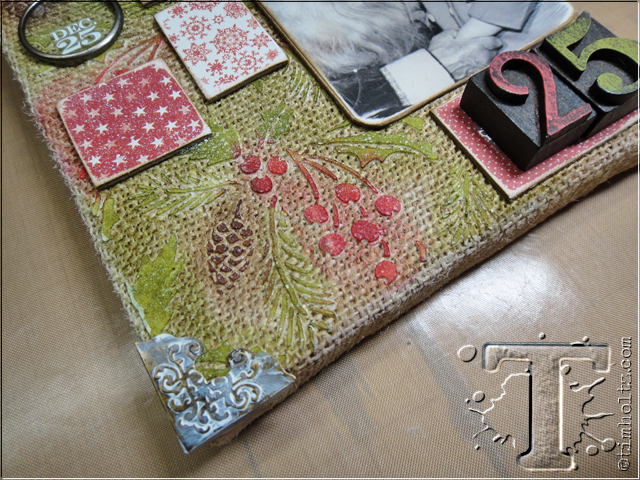
step 35: adhere metal corners to burlap panel and hold in place to dry.
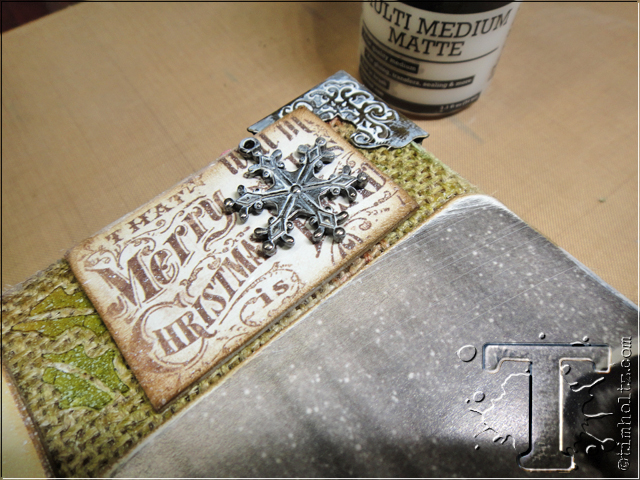
step 36: adhere snowflake adornment to chipboard piece with multi-medium.
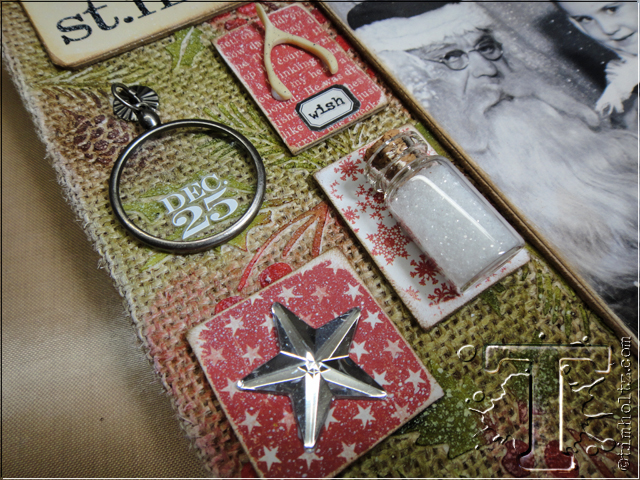
step 37: adhere mirrored star, wishbone and corked vial (filled with distress glitter) to chipboard pieces using multi-medium.
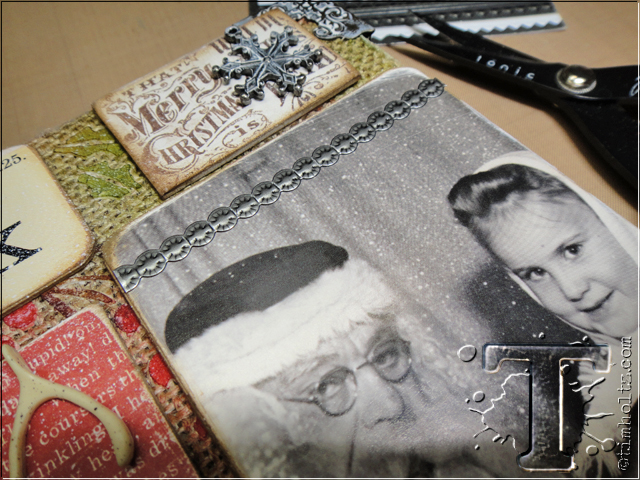
step 38: attache a strip of industrious sticker to the top of the photo.
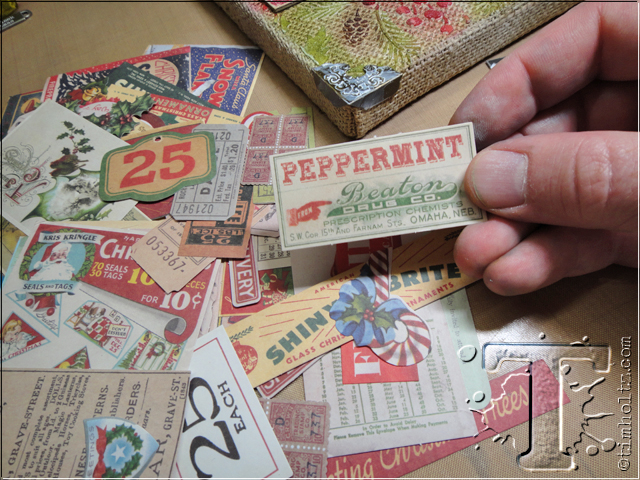
step 39: select some of your favorite holiday ephemera pieces.
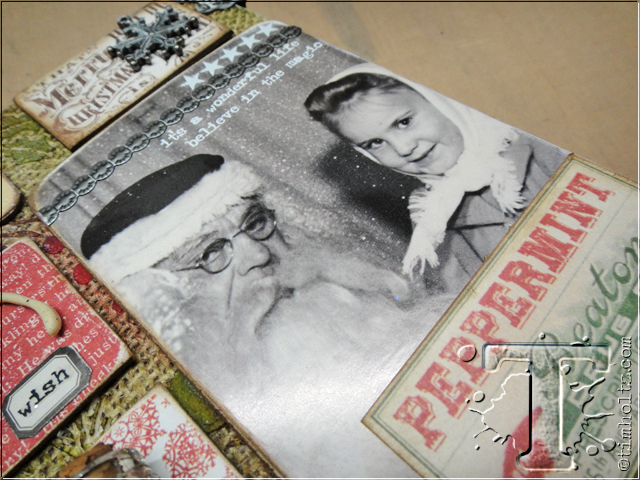
step 40: adhere ephemera to photo using multi-medium, and apply a few remnant rubs for a collage effect.
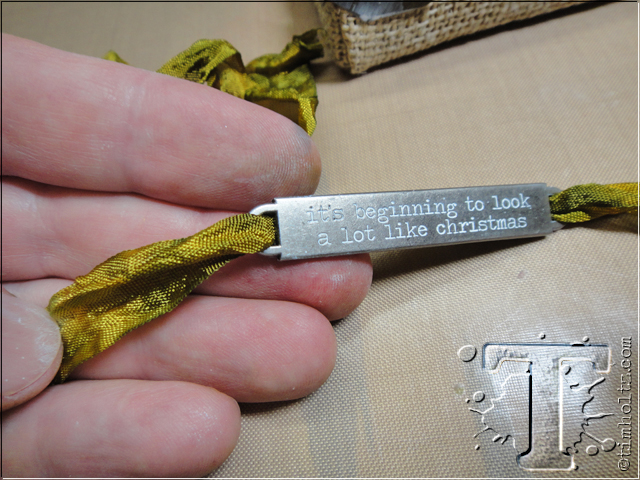
step 41: slide shortest piece of colored crinkle ribbon through word band as shown.
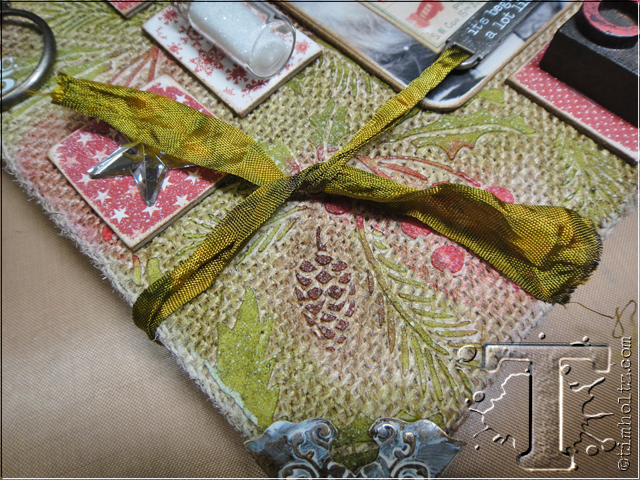
step 42: wrap ribbon around burlap panel and tie ends of ribbon together.
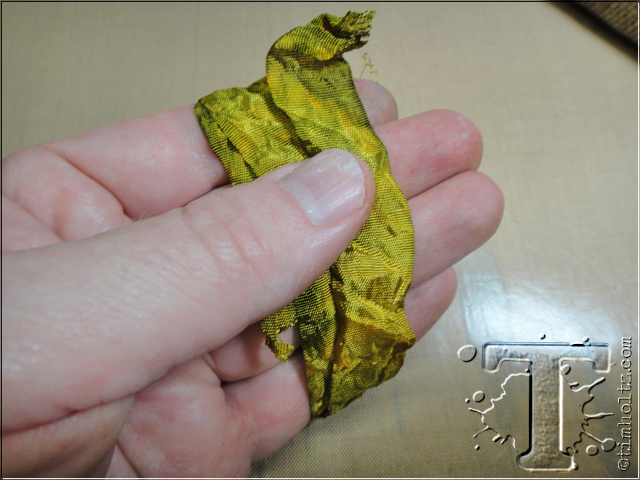
step 43: wrap longer piece of colored crinkle ribbon around your four fingers as shown.
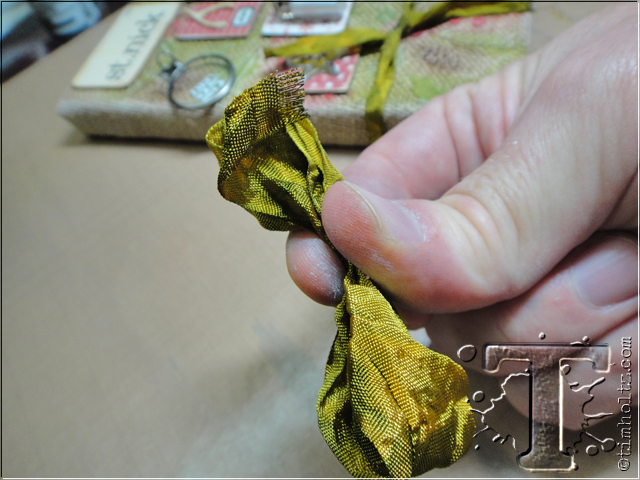
step 44: slide ribbon off your fingers and pinch in the center of the loops.
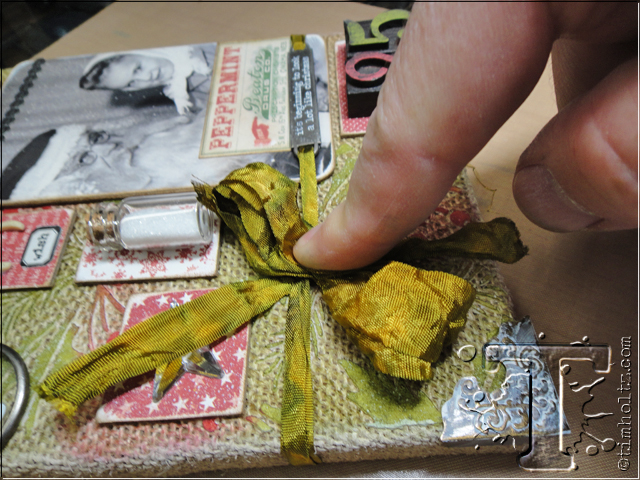
step 45: place gathered ribbon into center of tied ribbon around panel.
step 46: take ends of panel ribbon and tie around loops twice to create a knot.
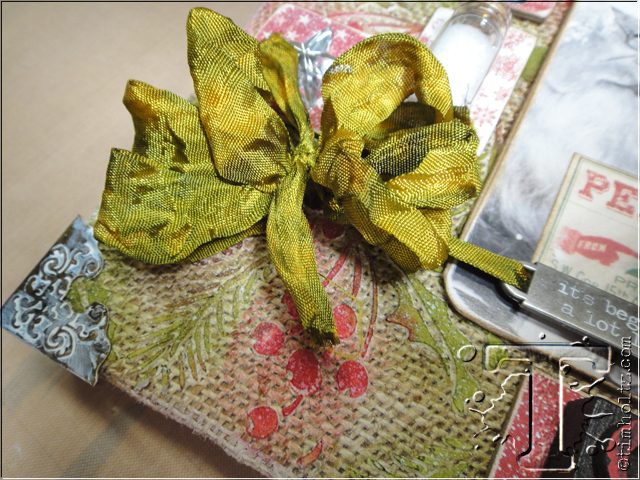
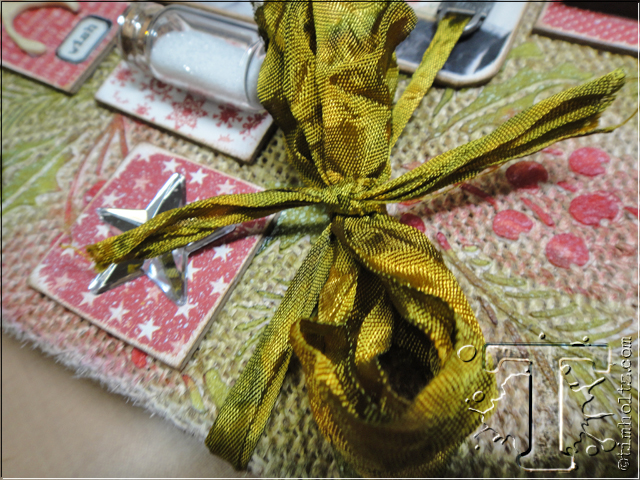
step 47: fluff out the loops with your fingers to create a bow – trim excess ribbon.
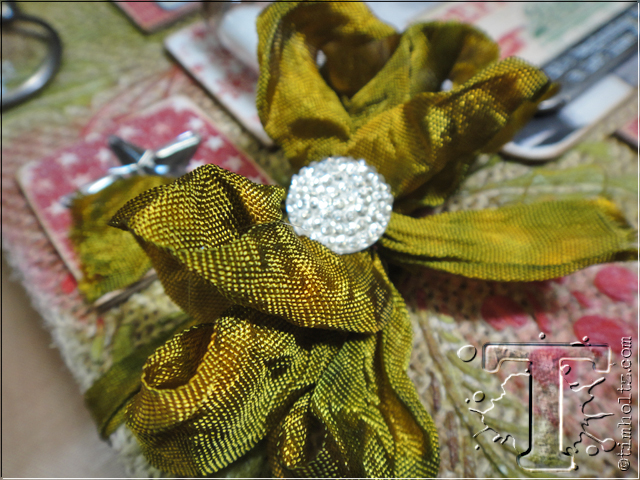
step 48: adhere a gumdrop to center of ribbon over knot.
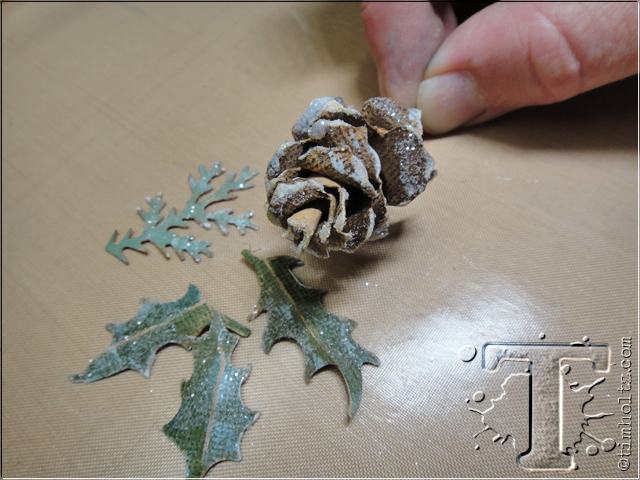
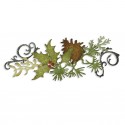
step 49: die cut several holly, pine, and juniper pieces from cardstock, and create a pinecone from cardstock with a touch of white paint and glitter on the tips – follow this video here to learn how:
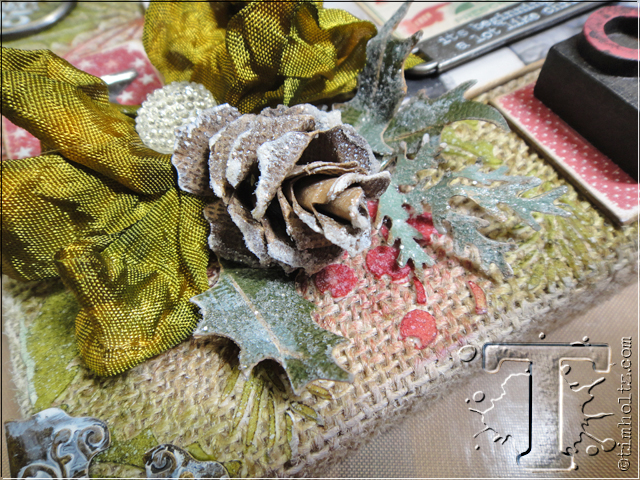
step 50: adhere pine and greenery around bow using a hot glue gun.
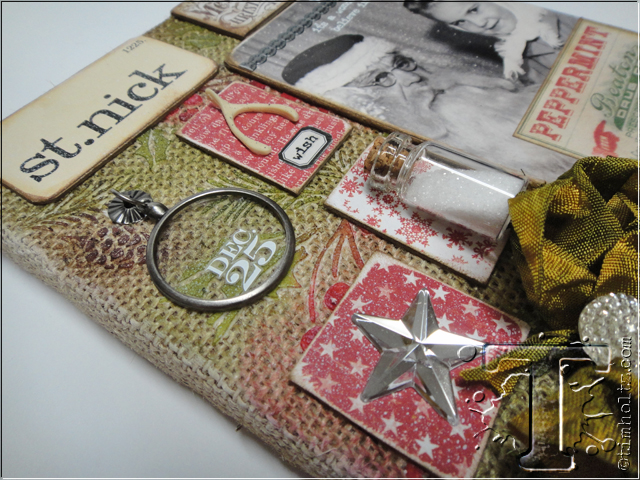
the details: i love the colorful texture of the stenciled burlap panel.
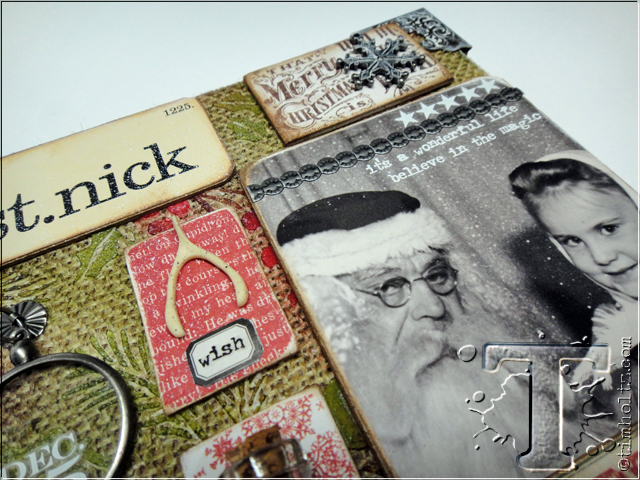
the details: by adding an embellishment to the chipboard pieces, it highlights each individual element.
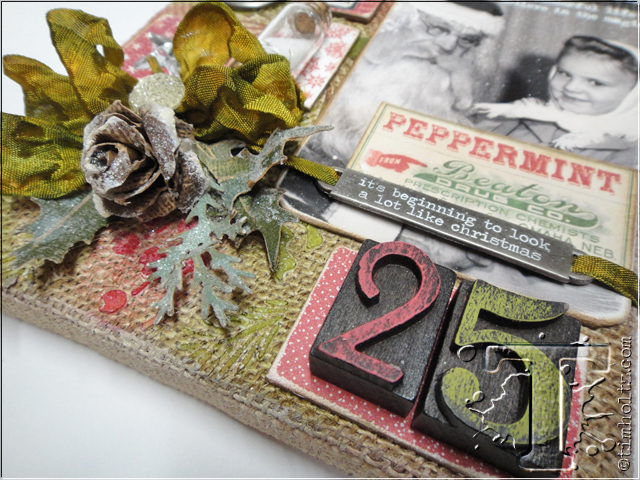
the details: the addition of the die cut greenery and pinecone as well as the worn wooden letterpress really gives this panel dimension.
well i hope you enjoyed this mini-class and are inspired to create one of these festive burlap panels for yourself, or for a gift this holiday season. remember you can incorporate your own christmas photos and mementos to make it even more personal. just remember to have fun and more importantly enjoy the holiday merriment…t!m
*be sure to check your local stores for these supplies or you can click the links below to purchase online…
(SSS=simon says stamp / IE=inspiration emporium)
                                  |


