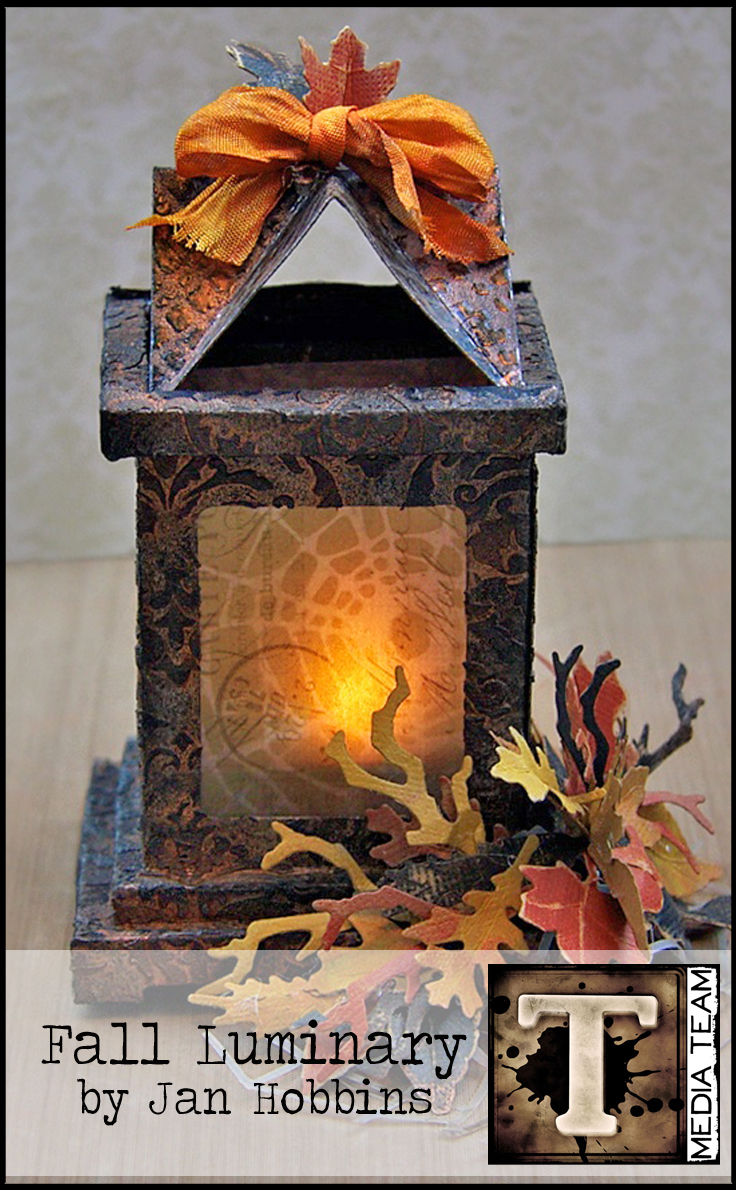
with a chill in the air, the sunlit days getting shorter, and the leaves on the trees starting to change to a warm colorful palette, that means fall is definitely here. media team jan hobbins creates a warm, festive project to adorn your home this season, and shares her ideas for adding texture to your die cuts with a few colorful surprises…t!m
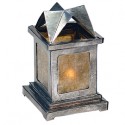
Hi everyone, Jan here today sharing a project using the 3-D Luminary die, and using stencils to give your die-cuts dimension. I love candlelit lighting for my Halloween/fall decorated home, so this safer(battery operated candle) luminary is perfect. I might need to make a few more! I think these would look fantastic on a dinner table.
Supplies:
- Surfaces: Wallflower Vellum, Core-dinations Distress Cardstock
- Dies: 3-D Luminary, Autumn Gatherings Decorative Strip, Cobwebs Decorative strip
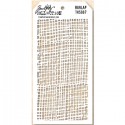
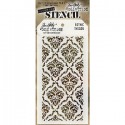
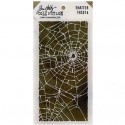
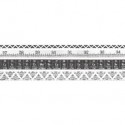
- Layering Stencils: THS026 Gothic Stencil, THS014 Shatter, THS007 Burlap
- Embellishments: Tissue Tape – Laboratorie, Crinkle Ribbon
- Distress Ink: Black Soot, Embossing Ink
- Distress Paint: Black Soot, Walnut Stain
- Distress Spray Stain: Spiced Marmalade, Antiqued Bronze
- Mediums: Ranger Texture Paste
- Embossing Powder: Ranger Clear Embossing Powder
- tools – palette knife, Non-Stick Craft Mat, Heat It Tool, Mini Ink Blending Tool; Vagabond
- Adhesive
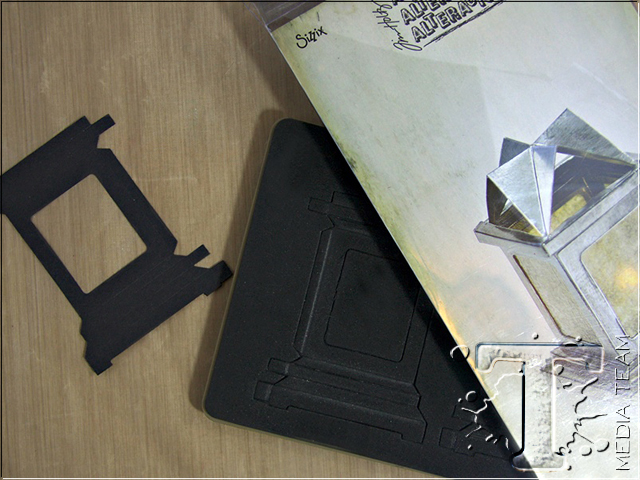
Cut out four main sections of the Luminary die with Ranger’s black cardstock.
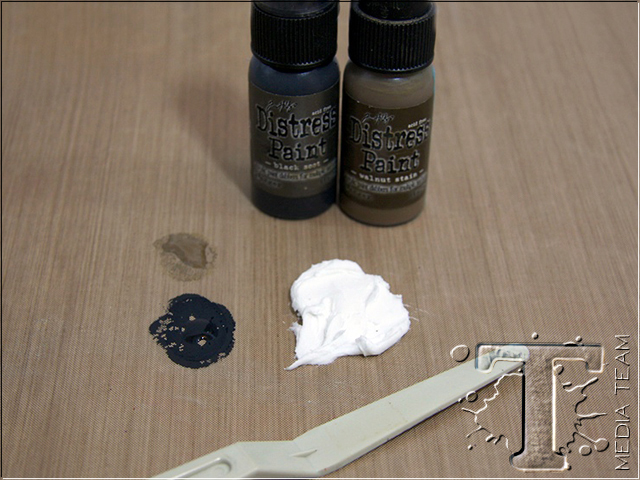
The first step in creating texture on my die-cut pieces, is to color my texture paste. The texture paste comes in white, but I wanted to have a color very close to my cardstock. I applied a small amount of the paste, black soot paint, and a very small amount of Walnut Stain paint to my non-stick mat and blended these together.
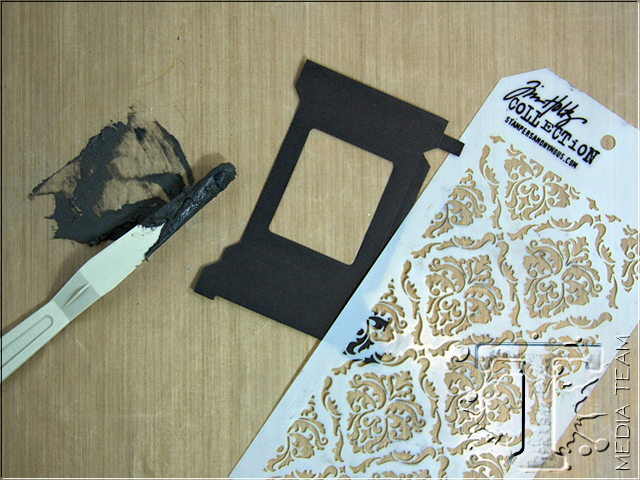
When I achieved the color I wanted, I applied this to each piece using the Gothic stencil.
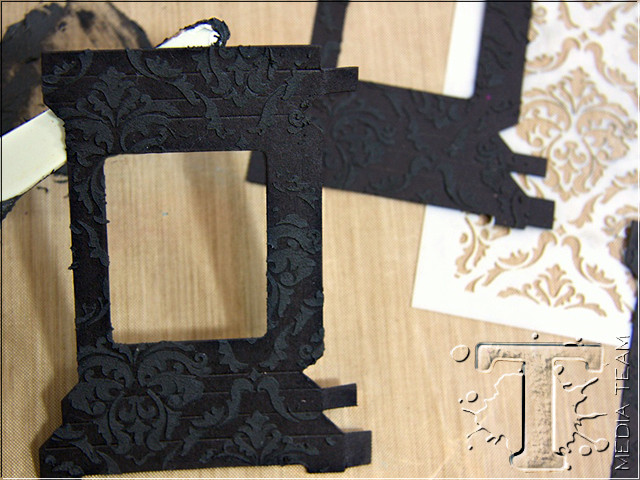
Set these pieces aside to dry.
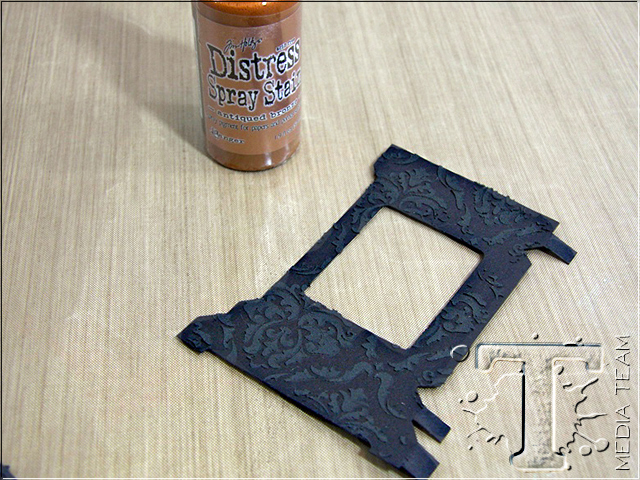
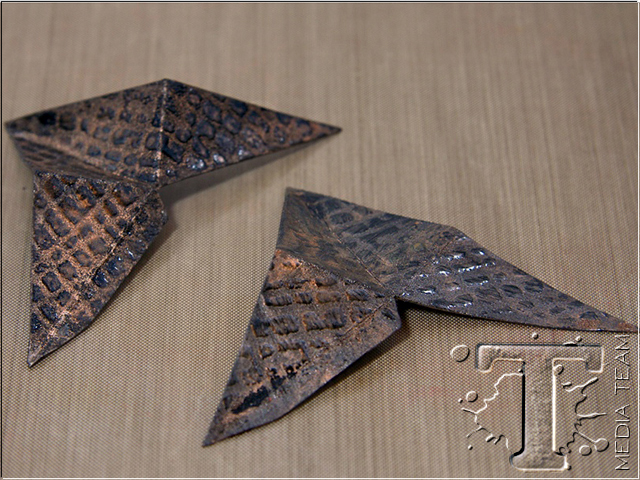
For this step, I used Antique Distress Spray Stain in Antiqued Bronze. When I sprayed my first piece I did not fold along the score lines. Once the spray was applied, the score lines were hard to find, so I decided to fold them first. You might lose some of the lines, but they are easy to go over with a bone folder.
For this step, I used Antique Distress Spray Stain in Antiqued Bronze. When I sprayed my first piece I did not fold along the score lines. Once the spray was applied, the score lines were hard to find, so I decided to fold them first. You might lose some of the lines, but they are easy to go over with a bone folder.
Saturate your die-cut with the spray.
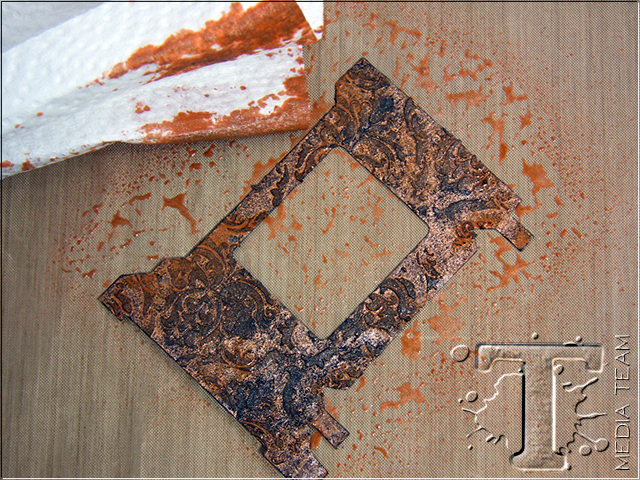
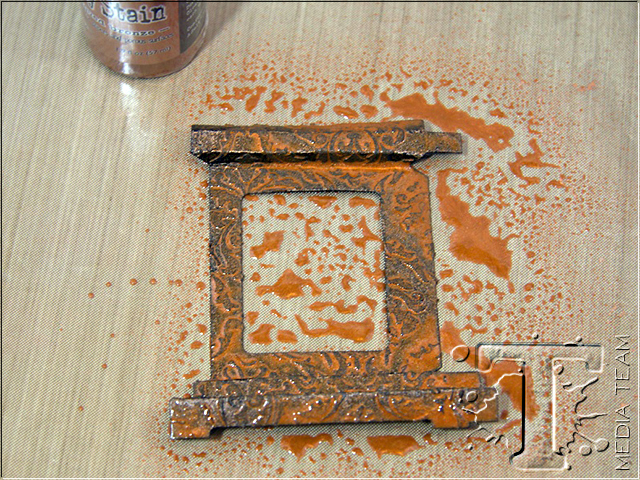
Let the spray stain sink in a bit, and then dab off the excess with a piece of paper towel or cloth. The longer you let it sit, the more saturated the color. I also like to leave more color in the recessed areas.
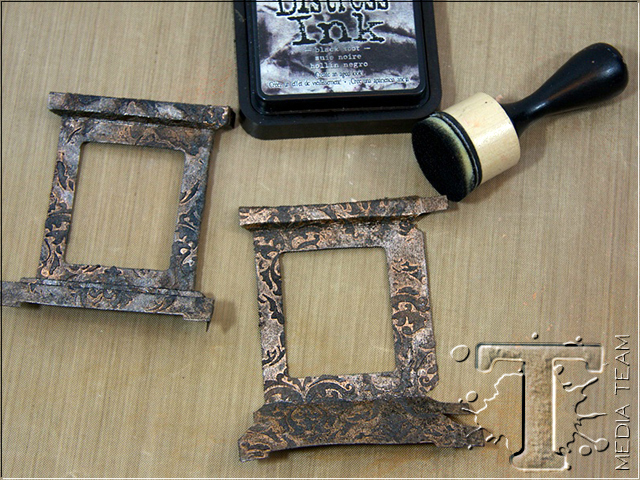
After my pieces had dried, I lightly applied Black Soot Distress Ink to the raised areas of my textured pattern.
Before I assembled my luminary, I wanted to add in vellum to the window openings. I cut out pieces of Wallflower vellum slightly larger than the window openings.
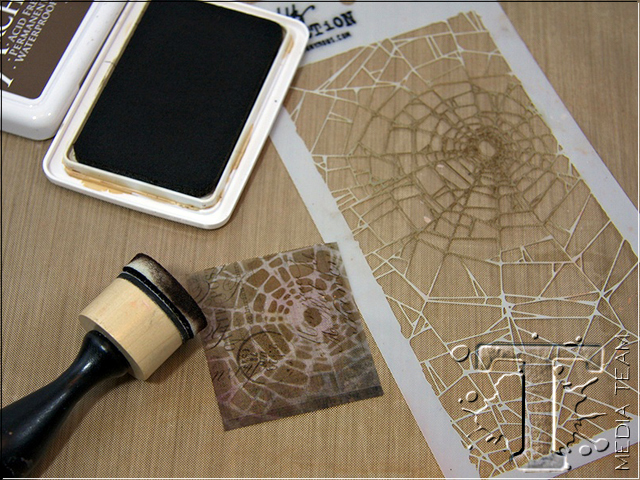
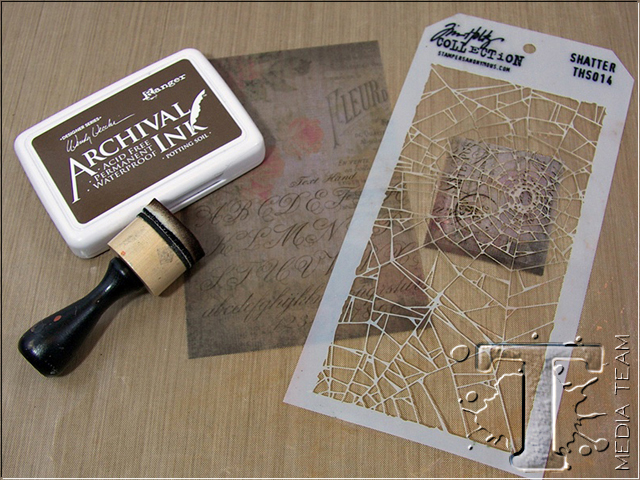
Next I applied Potting Soil Archival Ink with the Shatter stencil to each piece. I used areas of the stencil that were a small pattern as my windows are quite small. I heat set the ink before adhering the vellum to my window openings.
Fold each piece along the scored lines. The bottom is an accordion fold and the top is an “U” shape. Apply adhesive strips to the tabs. Assemble the sides together.
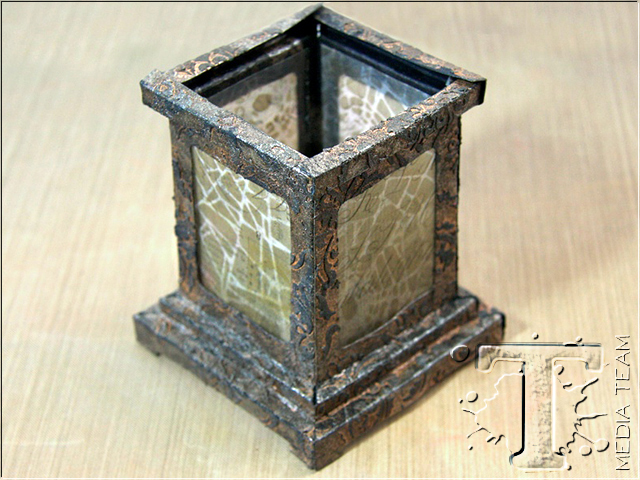
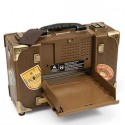
This is what you luminary should look like.
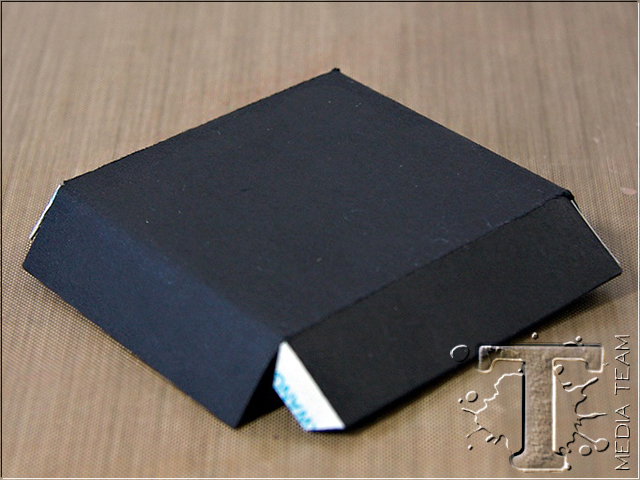
Die-cut one luminary platform with black cardstock. Apply adhesive to the tabs and construct the platform.
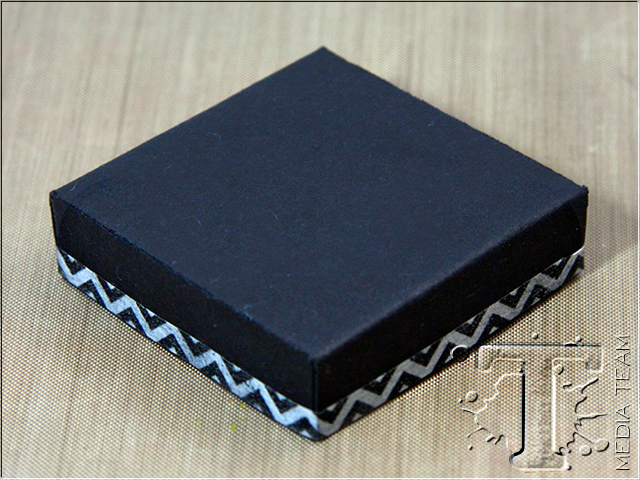
I applied a strip of Laboratorie tissue tape around the exterior for added strength. A small battery operated tealight sits on this.
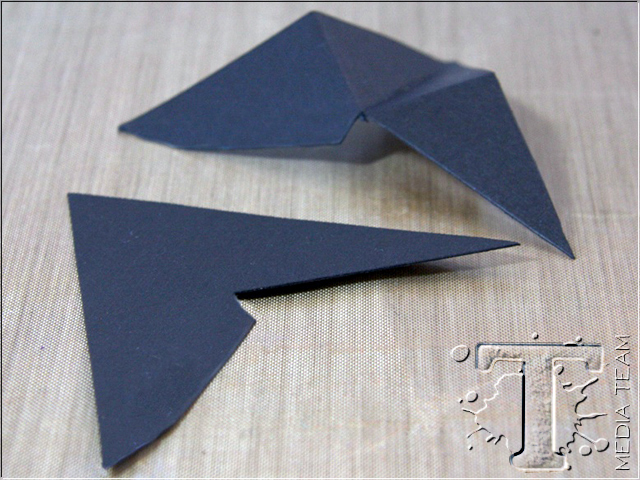
Now for the top of the luminary. die-cut two of the roof pieces from black cardstock.
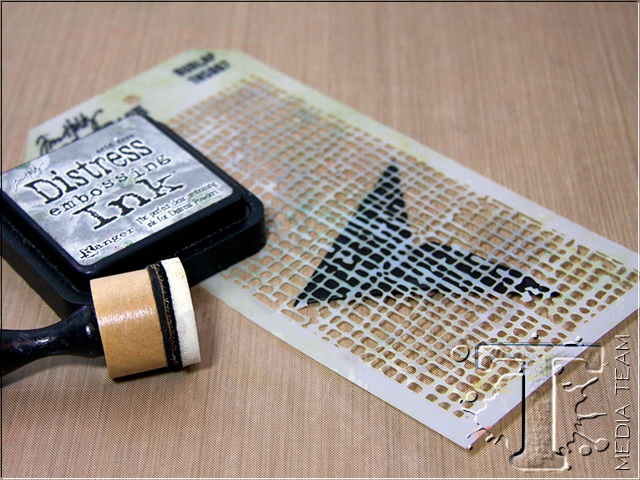
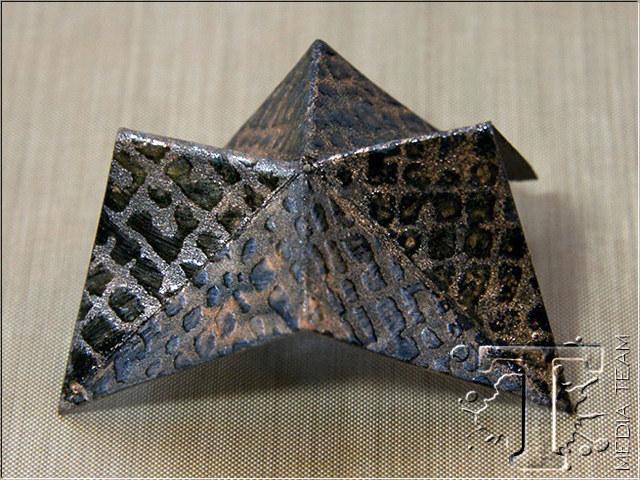
Using the Burlap stencil, I applied clear Distress Embossing ink on top of each roof piece.
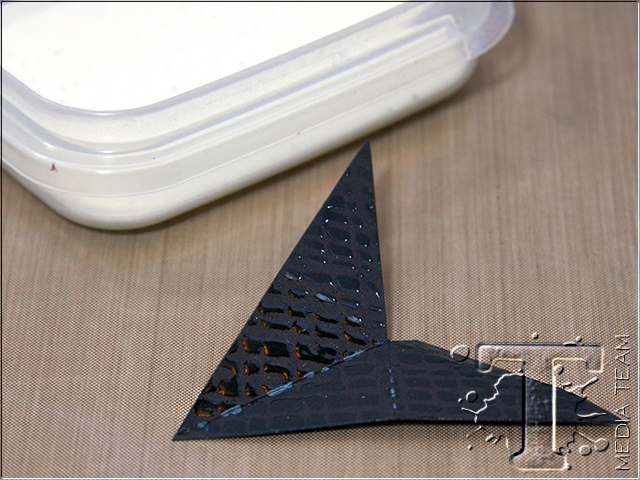
Apply clear embossing powder to the inked piece, shake off the excess and heat set. Your embossed pattern acts as a resist.
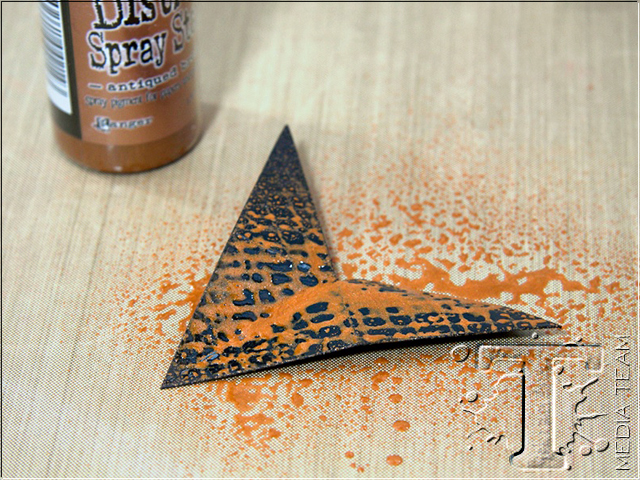
Saturate the roof piece with Antiqued Bronze Distress spray, let it sit for a minute and then dab off the excess.
This is what your roof pieces look like when dried. Apply adhesive to the tabs.
Adhere the two sections together and then adhere to the luminary base.
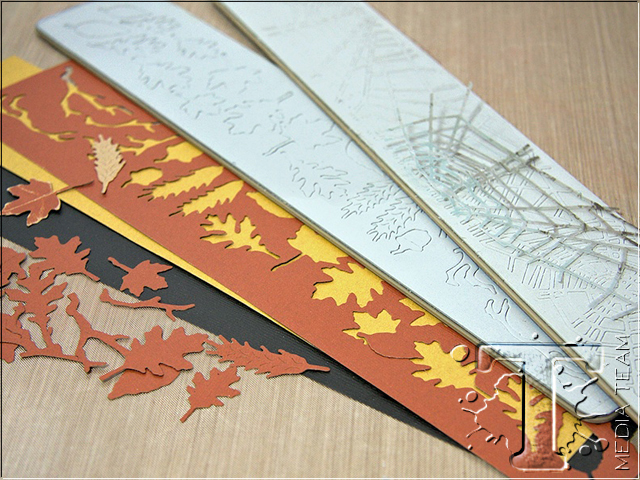
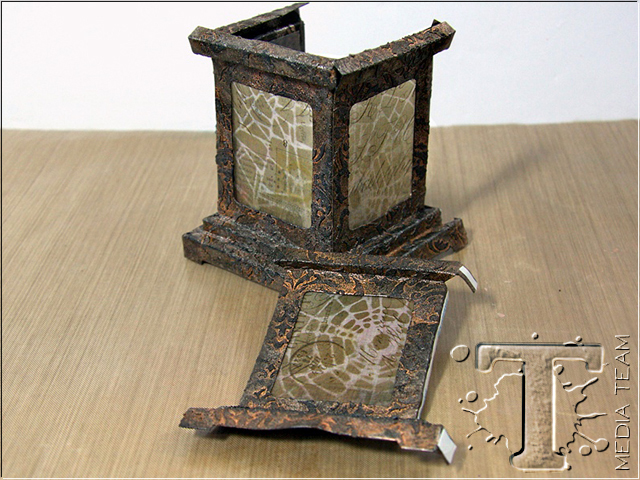
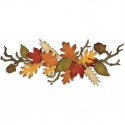
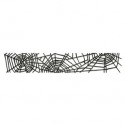
For the embellishing of my luminary, I used various colors of cardstock to die-cut leaves and branches from the Sizzix Autumn Gatherings Decorative Strip. The web was die-cut with Wallflower vellum and the Cobwebs Decorative Strip. I cut off a piece of the long strip to use as a base for all my leaves. The cardstock pieces were sanded and shaped before adhering to the web piece. the cluster of leaves were then adhered to the corner of the luminary.
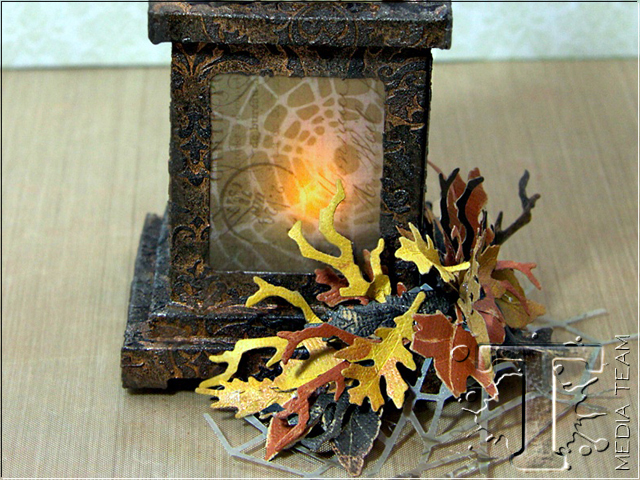
I adhered the different pieces with a hot glue gun to my web piece. I saved a few for the top of my luminary. These I wrapped with a small piece of Crinkle Ribbon that was colored with Spiced Marmalade Distress Spray. I adhered this piece to the top of my luminary.
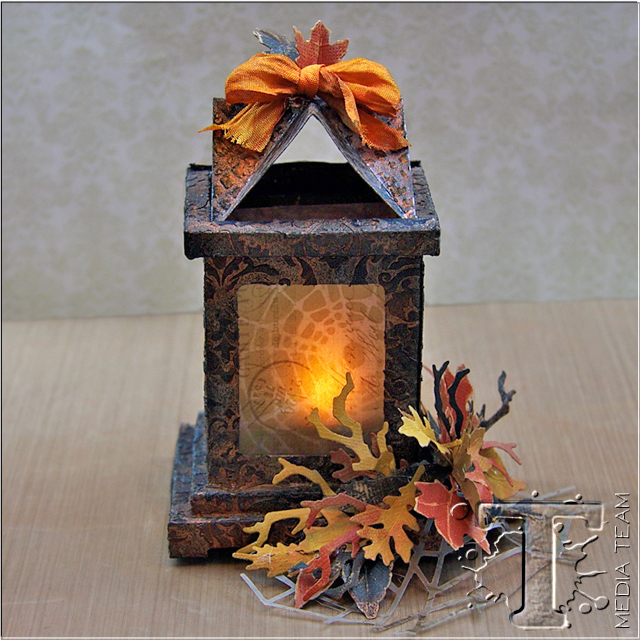
I love how the inked shattered vellum windows look when the candle is lit.
I hope you enjoyed my tutorial and I’ve encouraged you to use those stencils! Thanks for stopping by,
Jan
NOTE: For a more in-depth look as assembling the 3-d luminary die click here.
—
*be sure to check your local stores for these supplies or you can click the links below to purchase online…
(SSS=simon says stamp / IE=inspiration emporium)
                |
Pin it to remember it!