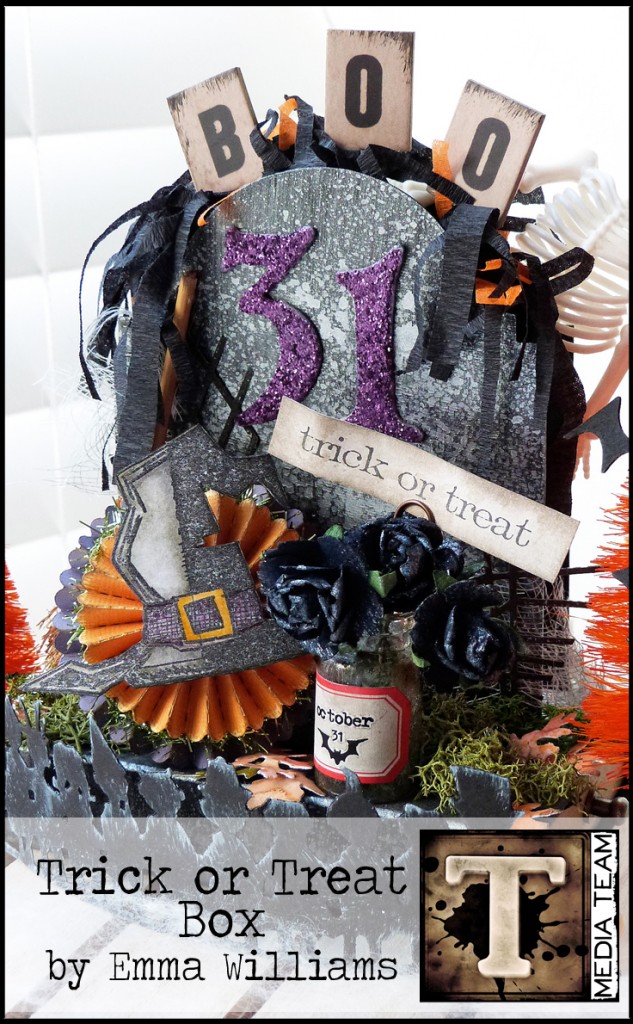
today media team Emma Williams shares a fun Halloween project that would make a great decorative centerpiece to greet your ghoulish guests this Halloween. it’s always amazing to see how die cut shapes can be transformed into anything imaginable…t!m
Hello everyone, Emma here! Like many people, I absolutely love Halloween and I love decorating the house with various decor and if I have the time, I adore creating my own pieces to display and when I started to prepare for the project that I’m sharing today, I thought ~ “what would I love as part of my Halloween display?”. And the answer was ~ a very special treat box filled with chocolates and candy. So, with the help of some Tim Holtz products, that’s exactly what I created and here’s how I did it…
Supplies:
- Surfaces: Ranger Black Cardstock, Ranger Kraft Cardstock, chipboard, Grungeboard, Distress CollectionCore’Dinations Paper Pad, Watercolor Cardstock
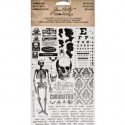
- Stamps: Simple Sayings, Halloween Blueprints 3
- Dies: Cabinet Card, Gothic Boo, Mini Paper Rosettes, Halloween Shadows, Cobwebs, Mini Skull and Bats, Autumn Gatherings
- Distress Inks: Black Soot
- Archival Ink: Jet Black
- Distress Markers: Wild Honey, Spiced Marmalade, Seedless Preserves, Pumice Stone
- Distress Stain: Brushed Pewter, Spiced Marmalade, Antique Bronze
- Distress Paint: Black Soot, Dusty Concord, Picket Fence
- Distress Crackle Paint: Rock Candy
- Distress Glitter: Seedless Preserves
- Mediums: Multi Medium, Glossy Accents, Gesso, Ranger Clear Embossing Powder
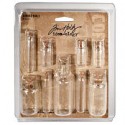
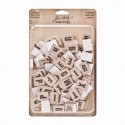
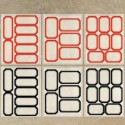
- Embellishments: Hitch Fasteners, Woodland Trees, Alpha Chips, Corked Vials,Vial Labels, Apothecary Remnant Rubs, Winter Tinsel Twine, Laboratorie Tissue Tape, Memo Pin
- Tools: Vagabond, Craft Sheet, Paint Brush
- Other: Paper Roses, Cotton Spools, Crepe Paper, Cheesecloth, Moss and Broomstick
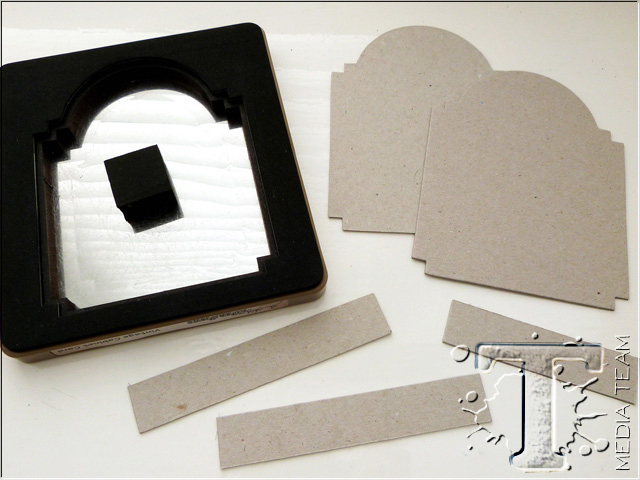
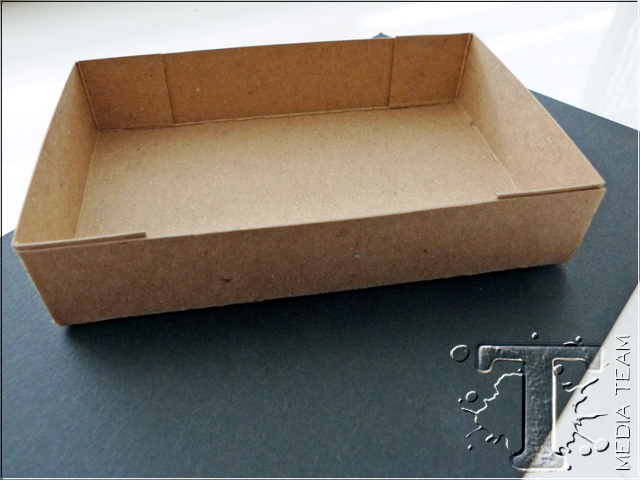
To create the first of the upright container section of my treat box, I used the Cabinet Card die to die cut two shapes from chipboard. Also, cut two pieces of chipboard measuring 3.5” x 0.75” and one further piece measuring 3.25” x 0.75”.
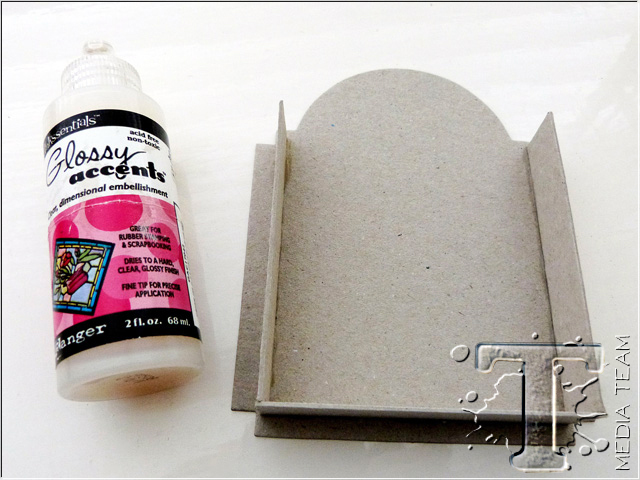
Attach the three straight edge pieces of chipboard onto one of the Cabinet shape die cuts, using a small amount of Glossy Accents along the edge of the chipboard to secure it in place and leave to dry.
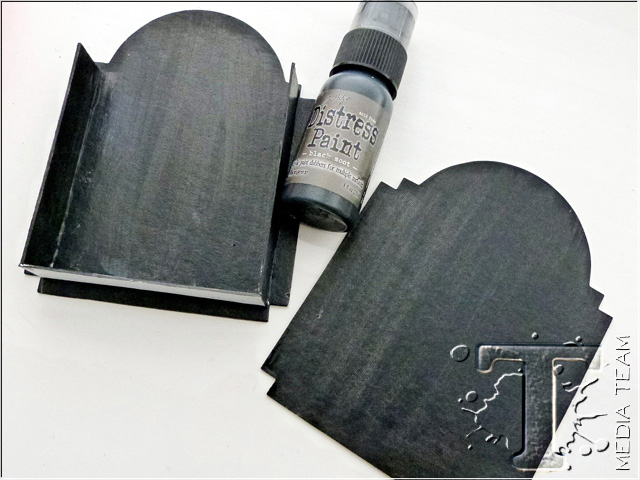
Coat all the pieces of chipboard, inside and out with Gesso and once dry, paint each section with Black Soot Distress Paint.
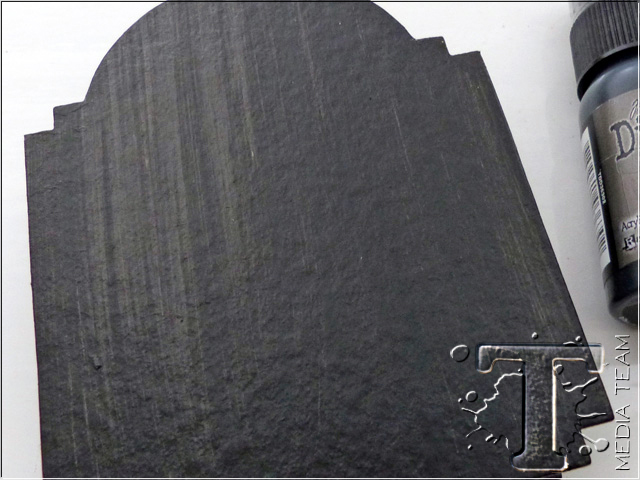
When the paint is dry, attach the remaining front section onto the box, again using Glossy Accents to secure it in place. Set the box aside so that the Glossy Accents can completely dry.
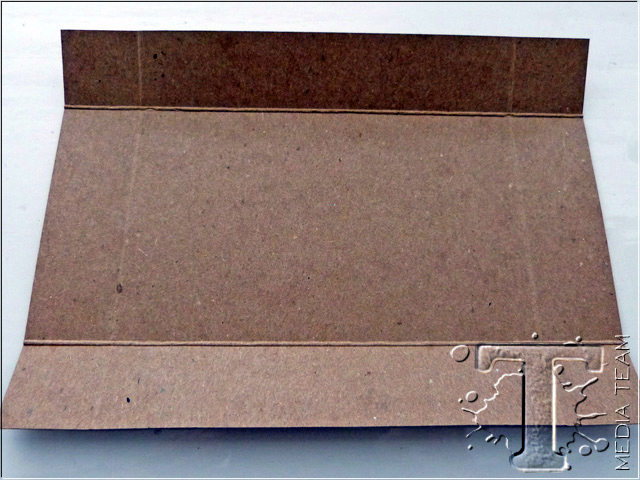
Moving onto the drawer section of the box, cut one piece of black card, 9” x 5” and a piece of kraft card, 5” x 6⁷⁄₈”. Taking the kraft card, measure 1” from each side, score and fold along the scoreline.
With the card placed horizontally in front of you, make two vertical cuts along the folded scorelines at the top and bottom, cutting inwards and stopping at the 1” fold of the box.
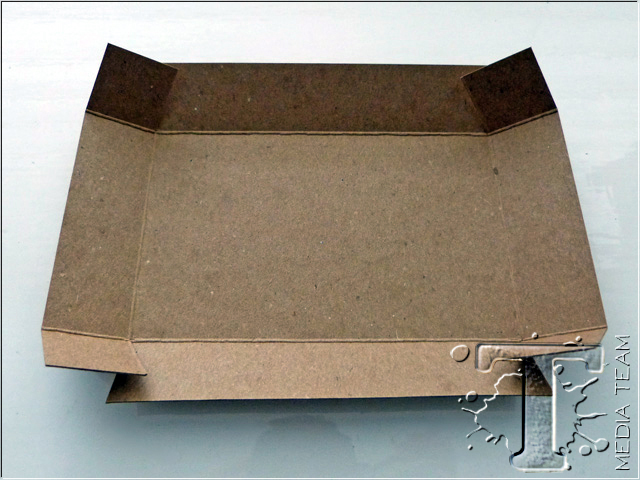
Place adhesive onto each of the tabs and fold the end sections of the card inwards to form a box.
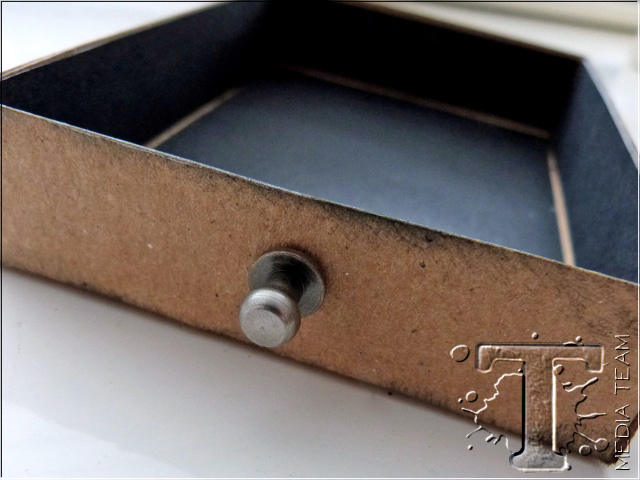
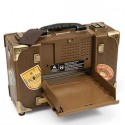
Attach a Hitch Fastener to both of the shortest sides of the drawer. Line the drawer with black card and ink the edges with Black Soot Distress Ink.
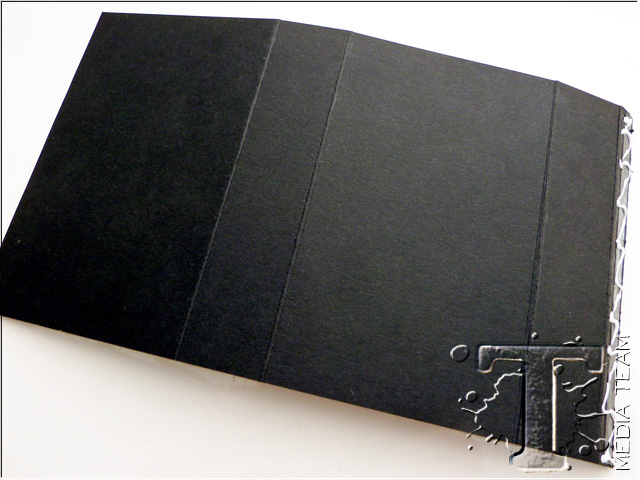
Take the black piece of card stock and place it with the longest edge, horizontally in front of you. Measuring from the left hand side, score vertically at 3¹⁄₈, 4¼”, 7³⁄₈” and 8½”. Fold along each scoreline and place adhesive along the ½” tab at the end. Attach the tab to form the cover for your drawer section.
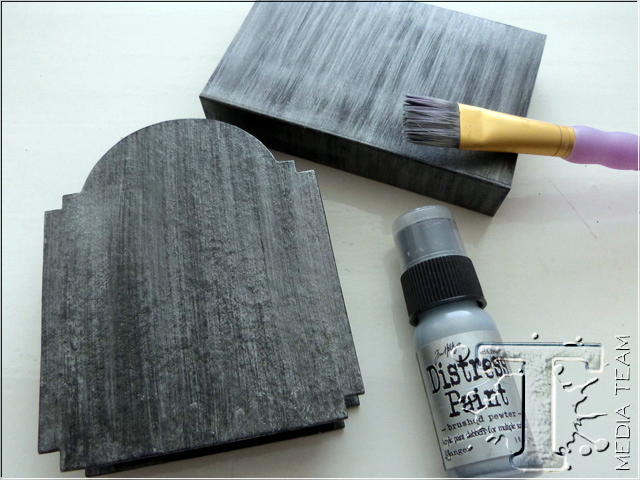
Dry brush a layer of Brushed Pewter Distress Paint over all the surface areas of both of the boxes and gently heat dry.
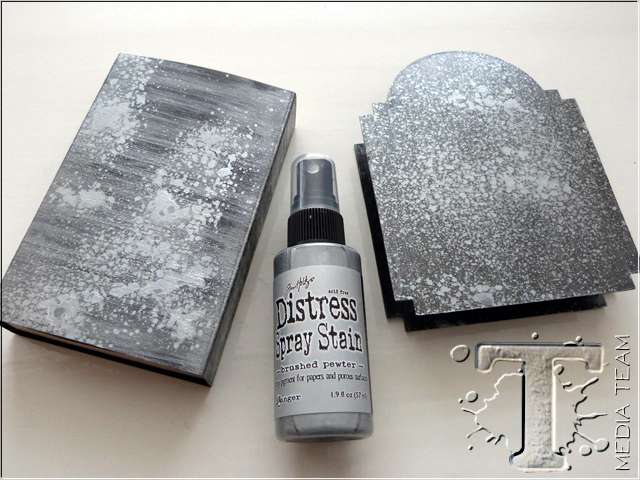
Spritz each of the painted boxes with Brushed Pewter Distress Stain Spray to create a granite stone, textured effect.
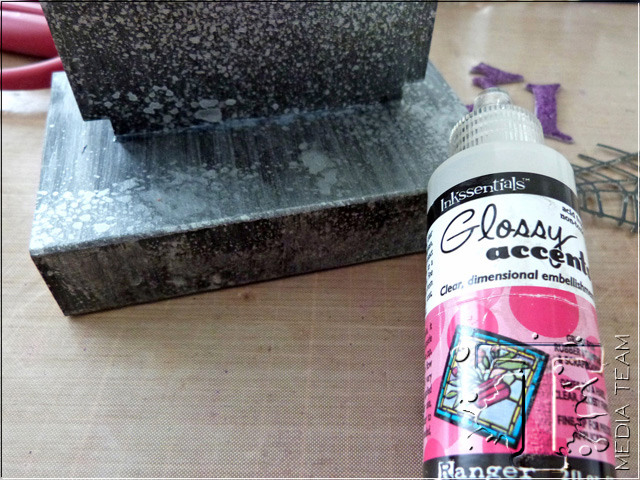
Using Glossy Accents, attach the Cabinet Card container box to the drawer section to create the completed treats box, which is now ready to decorate.
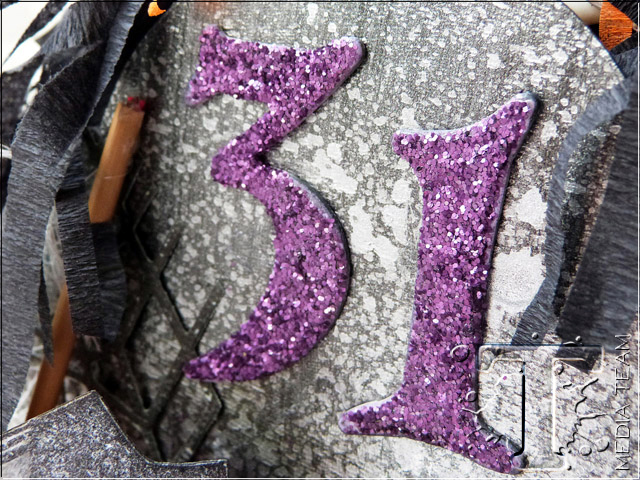
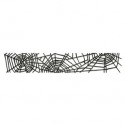
Attach the numbers to the main upright section of your treats box, together with some die cut Cobwebs, that I cut from Black Soot Core’Dinations card using the Cobwebs Decorative Strip die.
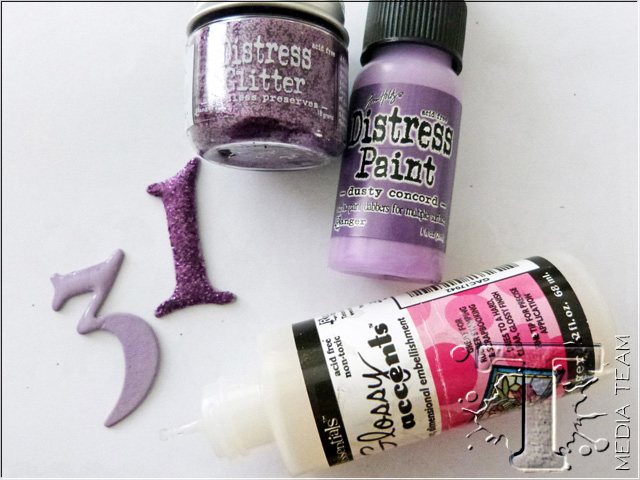
Now for the fun part ~ creating all your decorations and elements for the box. To begin, use the Gothic Boo die and die cut the numbers 31 from Grungeboard. Paint each number with Dusty Concord Distress Paint before adding a layer of Glossy Accents and whilst it’s still wet, sprinkle some Seedless Preserves Distress Glitter over the top. Tap away the excess glitter.
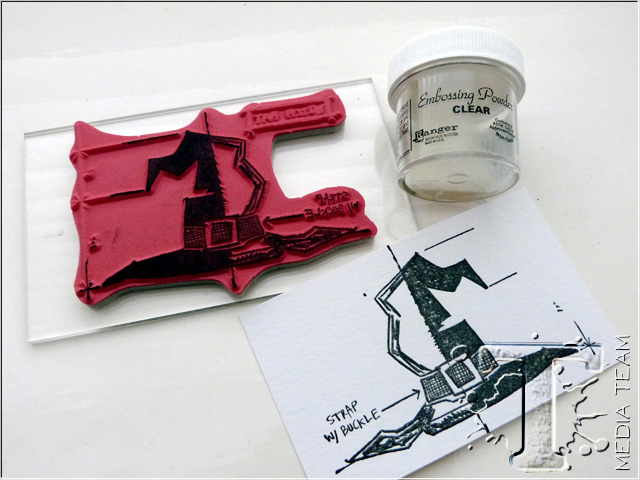
Stamp the witches hat image onto watercolour card. Heat emboss the image using clear embossing powder.
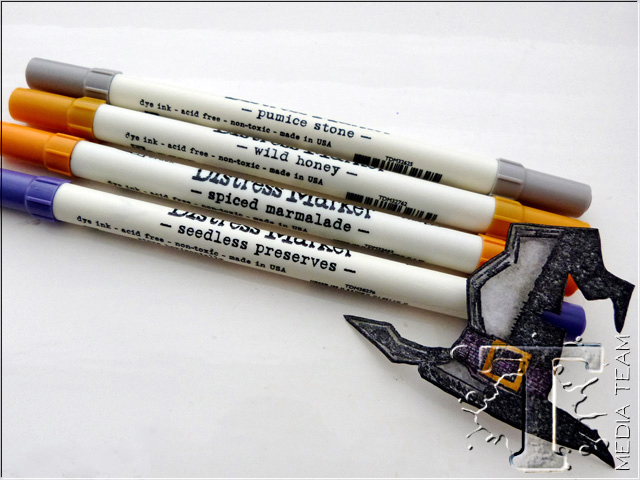
Colour the image with Distress Marker pens and cut around the outline of the hat.
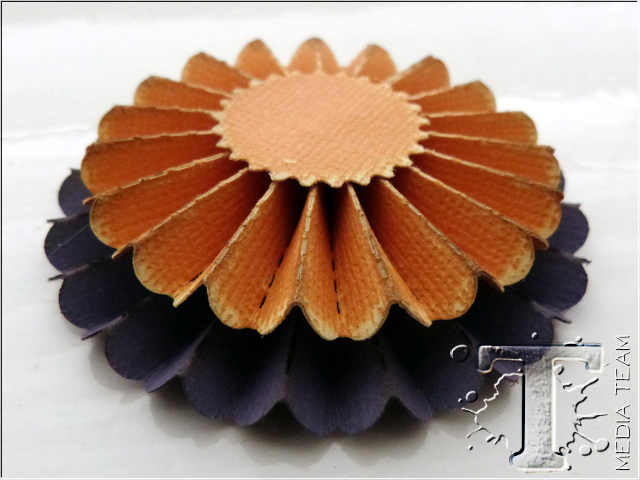
Using the Mini Paper Rosette Decorative strip die, make up two different sized rosettes from the Distress Core’Dinations cardstock pad and stack one rosette on top of the other.
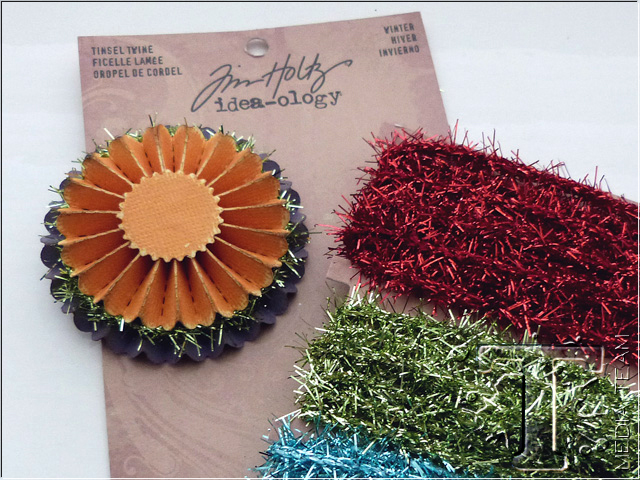
Wrap a piece of the green tinsel around the smaller of the two rosettes, securing it in place.
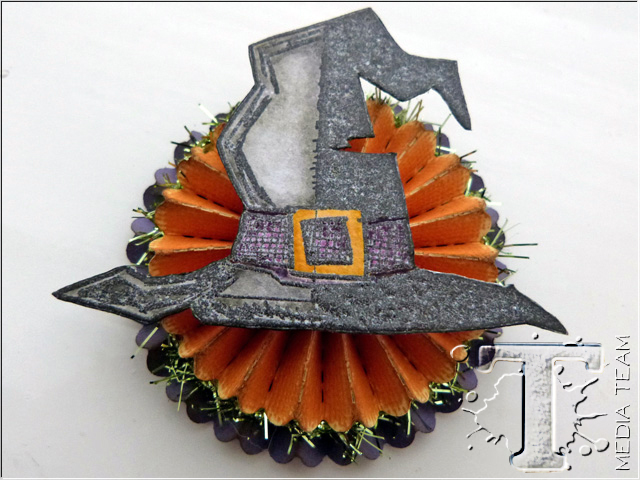
Attach the witches hat image to the centre of the stacked rosettes.
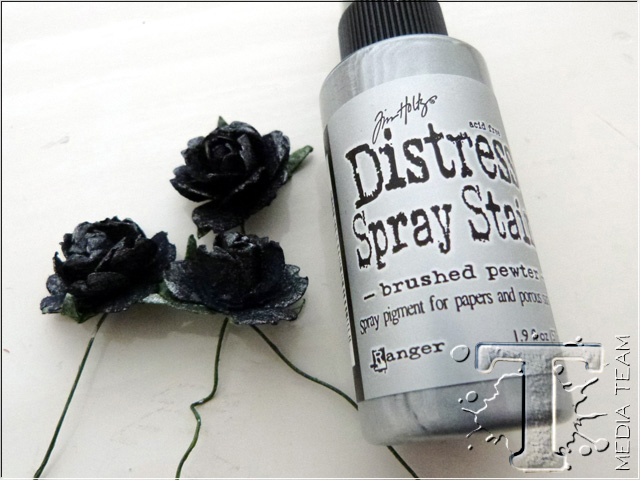
To create the vase of flowers, I began by spritzing some black paper flowers that I had in my stash using Brushed Pewter Distress Stain Spray.
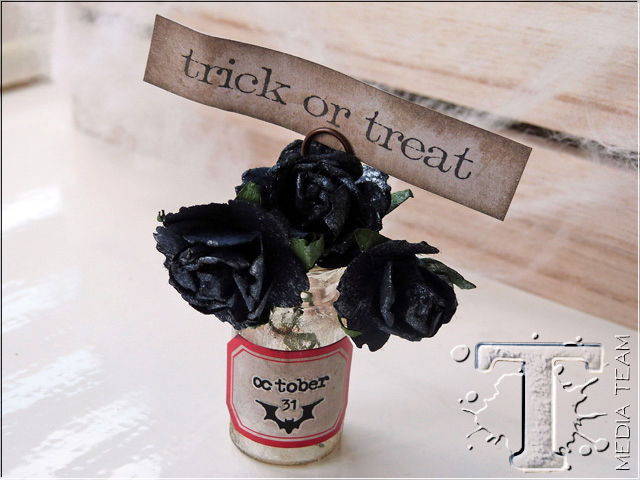
I then added the flowers to a Corked Vial bottle which I crackled using the method that Tim explains how to do, on page 54 of the Compendium of Curiosities Vol III. I smeared a small amount of Antique Bronze Distress Stain over the crackles on the bottle before attaching a Vial Label, inked with Black Soot Distress Ink. To complete the bottle, I added a Remnant Rub from the Apothecary set and then stamped the Trick Or Treat message onto a piece of cardstock, inked with Frayed Burlap Distress Ink and attached this to the flowers using a Memo Pin.
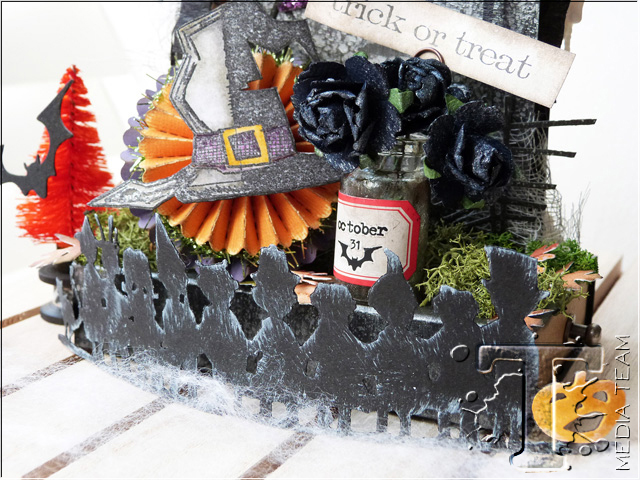
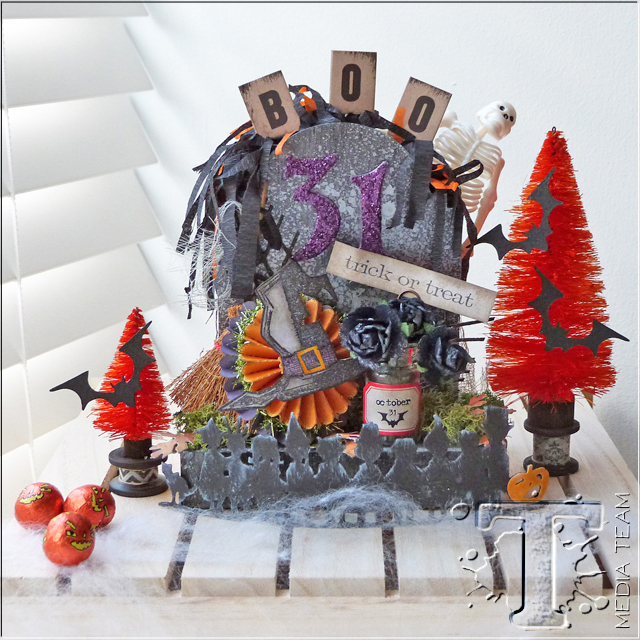
Arrange all the embellishments that you’ve created around the base of your treats box.
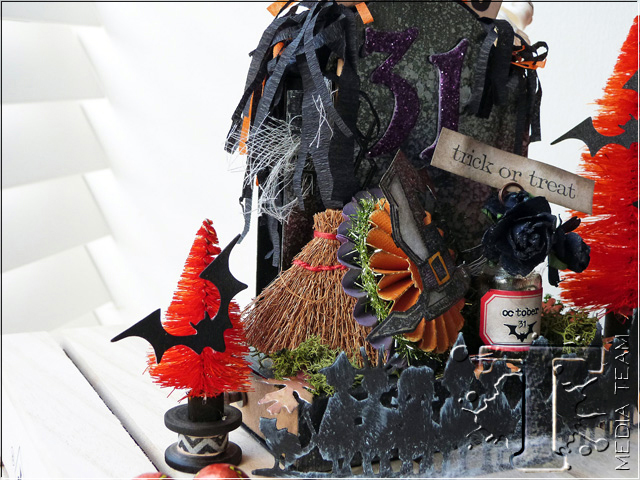
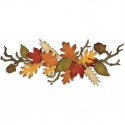
I also added some cut leaves die cut from the Autumn Gatherings die, that I had left over from a previous project, a small broom and some dried moss that I have in my craft stash.
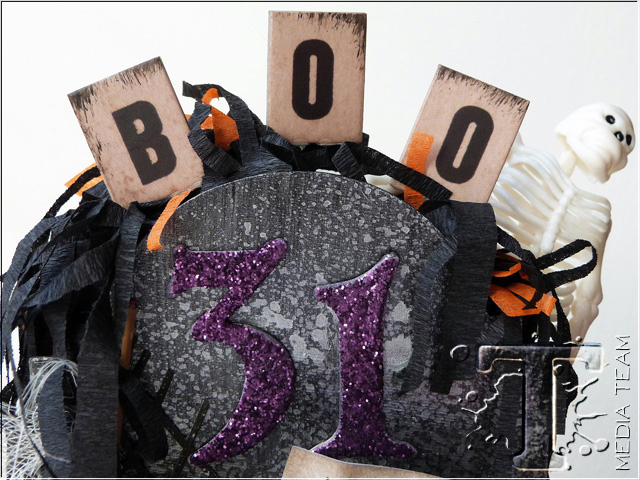
Using Alpha Chips, I added the “BOO” lettering, some shredded crepe paper and Halloween decorations into the upright section of the container. (image 24) (At this stage, you can also add sweets and lollipops into this container ~ let your imagination decide what you want to use it for).
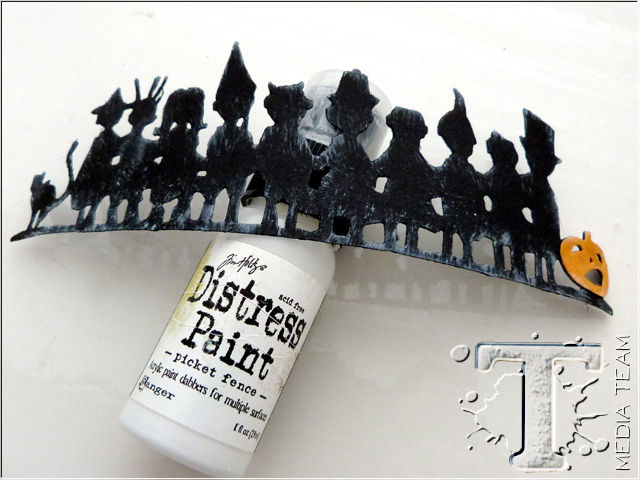
Take the Halloween Shadows Decorative Strip die and die cut the group of people from Black Soot Core’Dinations card and smear a little Picket Fence Distress Paint around the edges, to give the illusion of light shining onto each figure. Gently wrap the die cut around a circular object to give a curve.
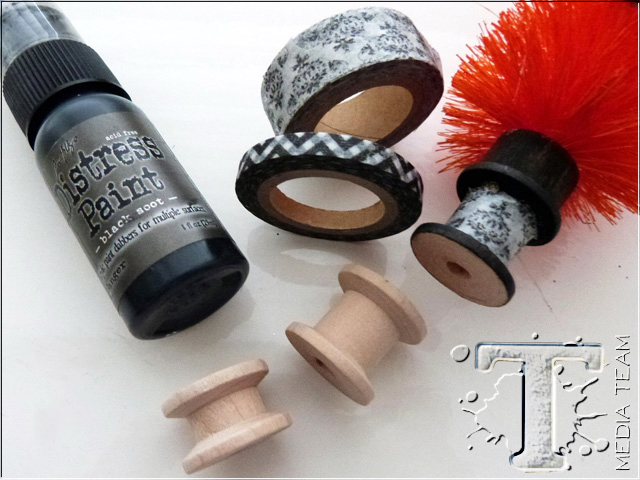
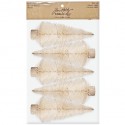
Finally, using Spiced Marmalade Distress Stain Spray, spritz two various sized Woodland trees. Whilst the trees are drying, take two sizes of empty cotton spools and paint them with Black Soot Distress Paint. Wrap some Laboratorie Tissue Tape around the spools.
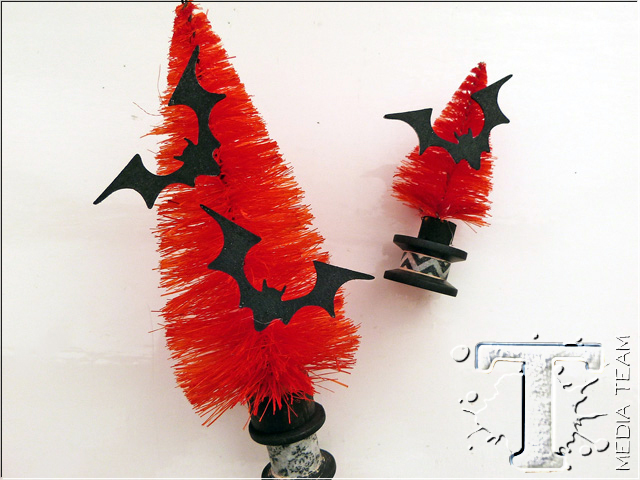
Attach the trees onto each of the painted and decorated spools, before attaching die cut bats.

Arrange and place the freestanding die cut and trees around your main chocolate treat box.

Now, all that’s left for you to do is fill the drawer with chocolates and treats and put your treat box in pride of place, ready for Halloween!
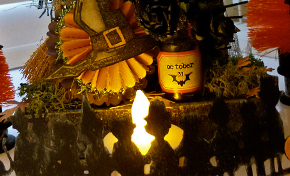
Also, if you choose, you can even add a battery operated tea light to light it up at night!
I really hope you’ve enjoyed my Treat Box tutorial and you will be inspired to create one of your own ready for Halloween and what’s so much fun about this box, once you have the basic shape,
you can decorate in any way that you want. You can make it as elaborate or as simple as you choose but the best part is, you get to fill it with treats of your choice and know that you’ve created it.
Thank you for stopping by today!
Emma
—
*be sure to check your local stores for these supplies or you can click the links below to purchase online…
(SSS=simon says stamp / IE=inspiration emporium)
                             |
Pin it to remember it!