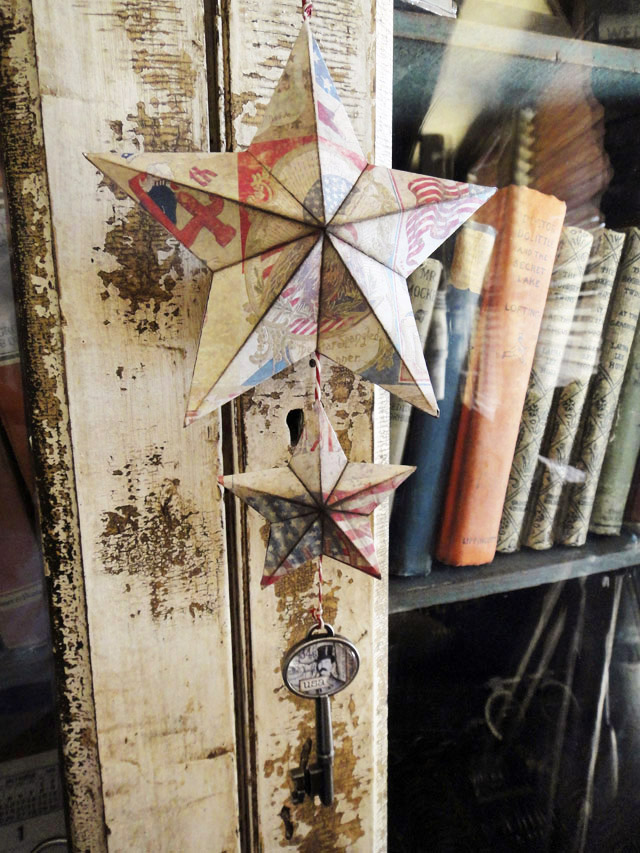
 today i have one last project to share to help you decorate for summertime. funny thing, it’s another product from the holiday season that we’re giving a new use for, so you just may have this in your stash. these dimensional stars are pretty easy to make especially with my 3-d star die from sizzix. see for yourself…
supplies: 3-d star die, crease pad, vagabond, seasonal paper stash, collage keys, paper string, distress ink, ink blending tool, glossy accents, scissors, bone folder
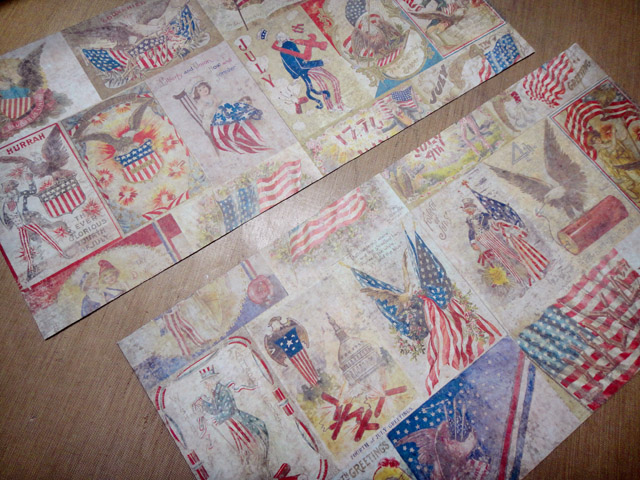 step 1: cut a 12”x12” piece of seasonal paper in half to 6”x12”
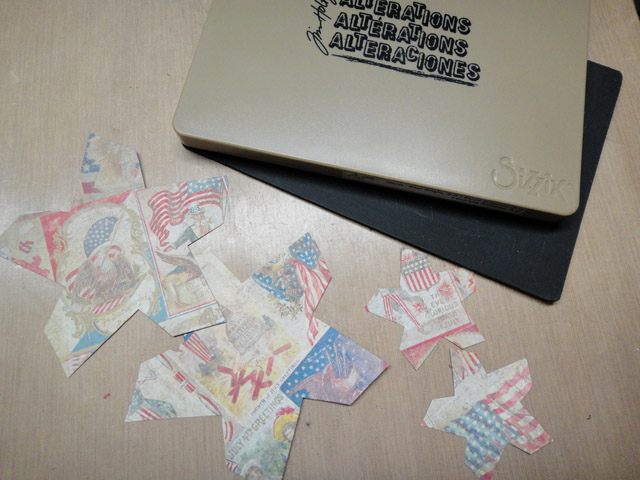 step 2: cut both pieces, but one at a time using a crease pad with your vagabond. *the crease pad replaces the top clear cutting pad and will cut and score your paper perfectly without cutting through the crease rule of the die.
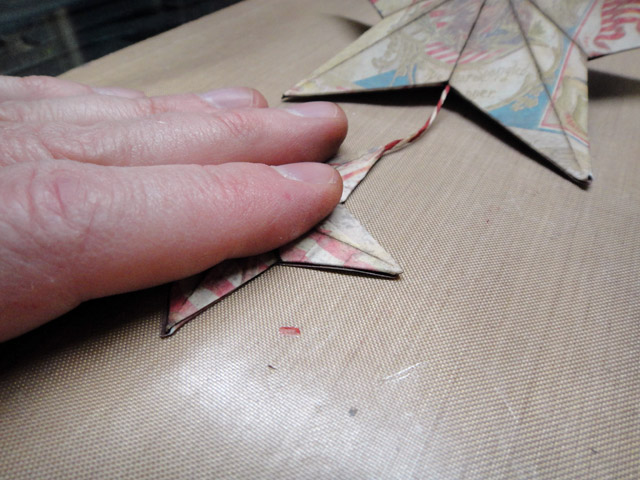
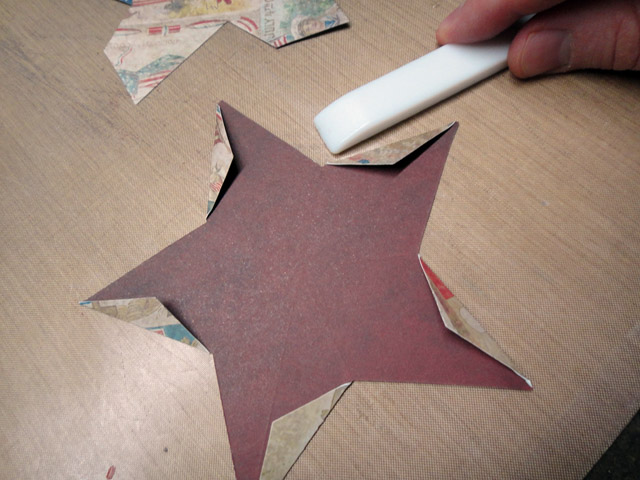 step 3: place the star face down and fold the side tabs back on the score line and crease with bone folder.
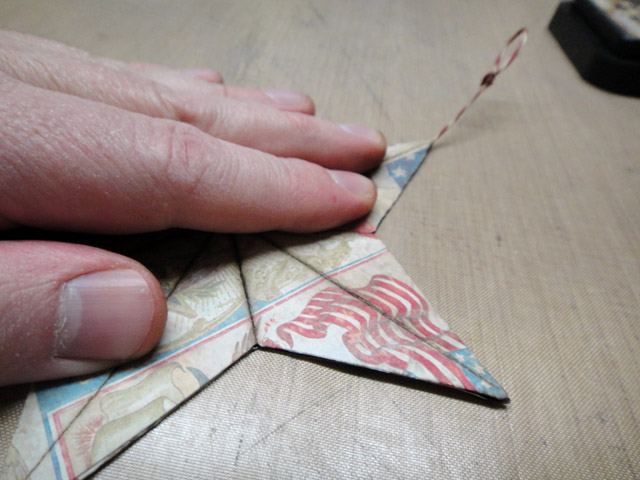
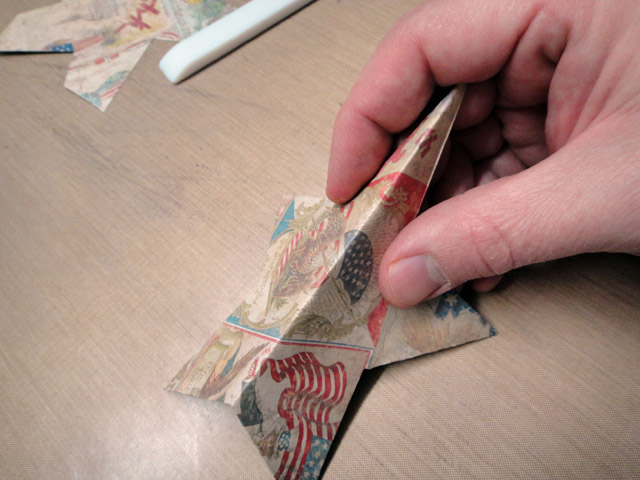 step 4: turn star over and fold in half from the point to the indent as shown.
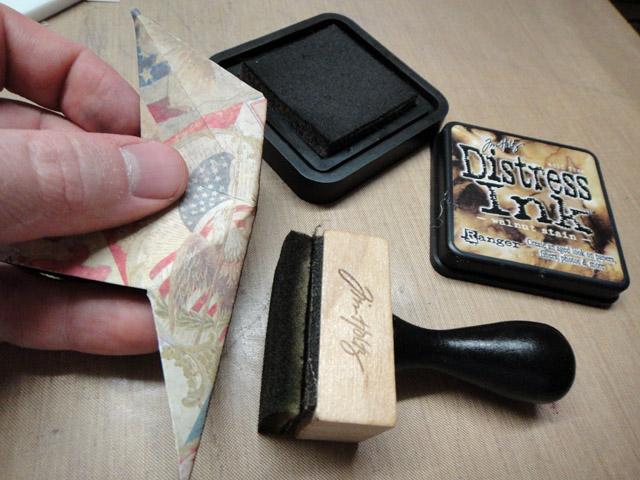 step 5: ink the fold with distress ink using ink blending tool.
 step 6: repeat steps 4-5 four more times around the star.
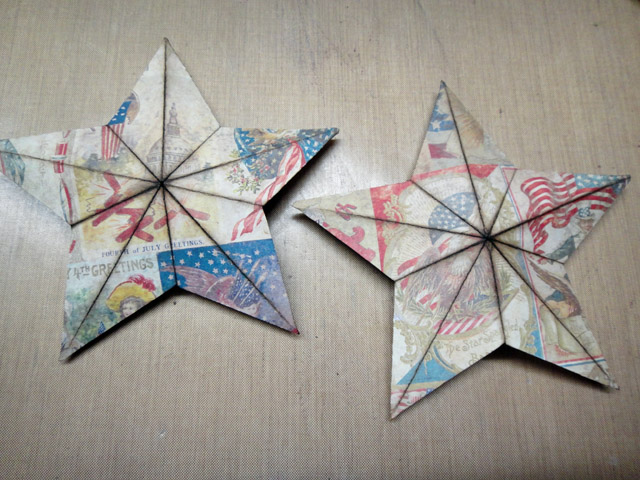 step 7: follow these steps for all die cut stars.
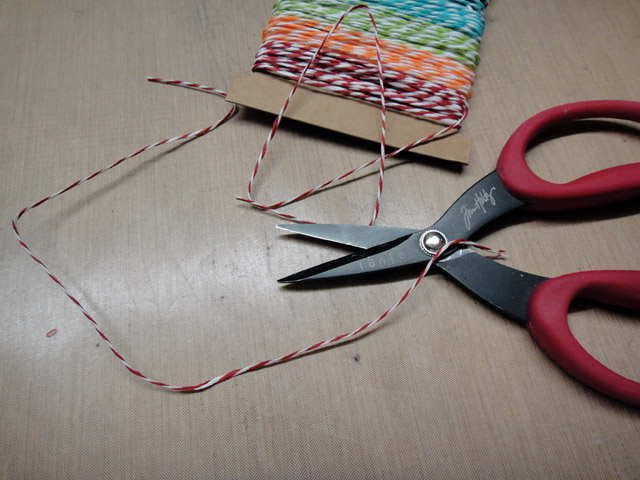 step 8: cut a 12” piece of paper string.
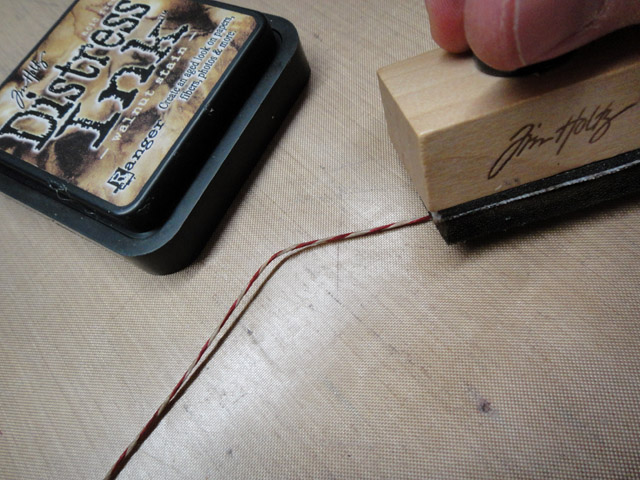 step 9: ink the paper string with distress ink and ink tool.
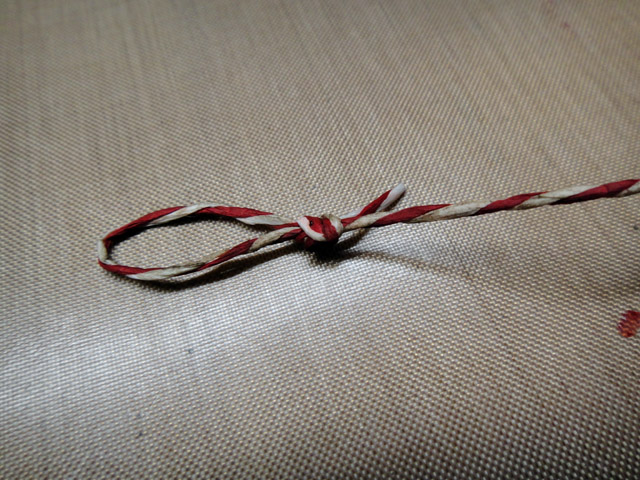 step 10: tie a loop knot on one end of the string.
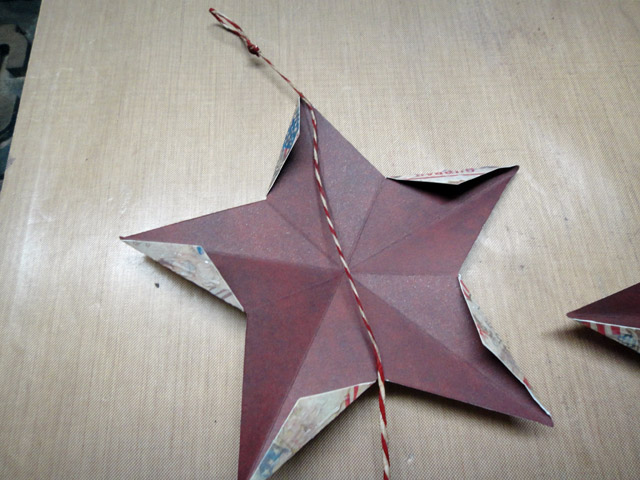 step 11: place one star face down and the paper string down the back of the star as shown.
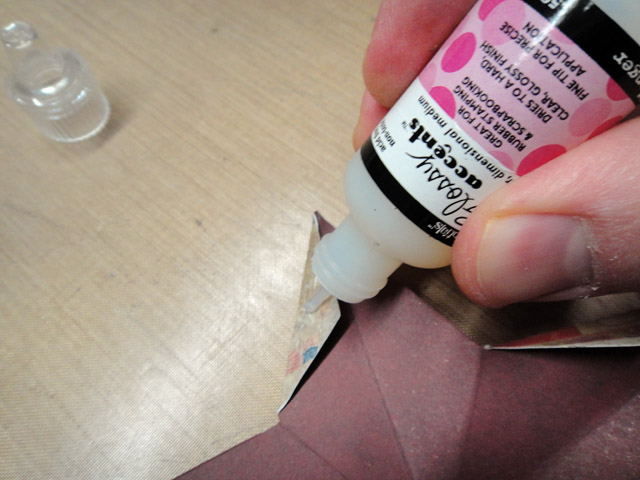 step 12: apply glossy accents to all folded tabs on both stars of the same size.
 step 13: place the second star on top of the bottom star and string and press flat until dry.
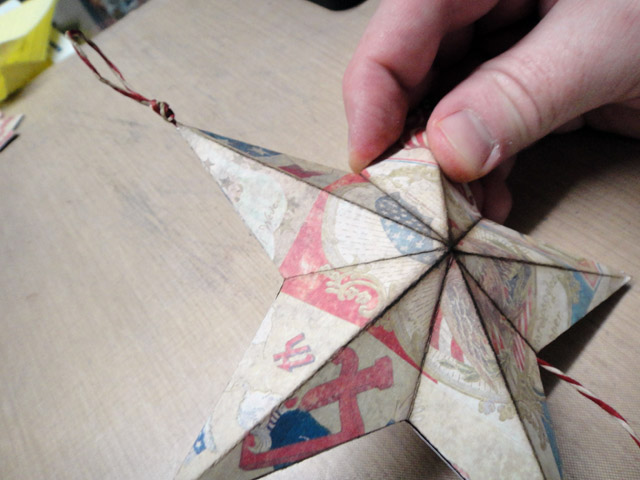 step 14: to “poof” up your star, simply grab opposite points of the star and push inwards – it’s like magic!
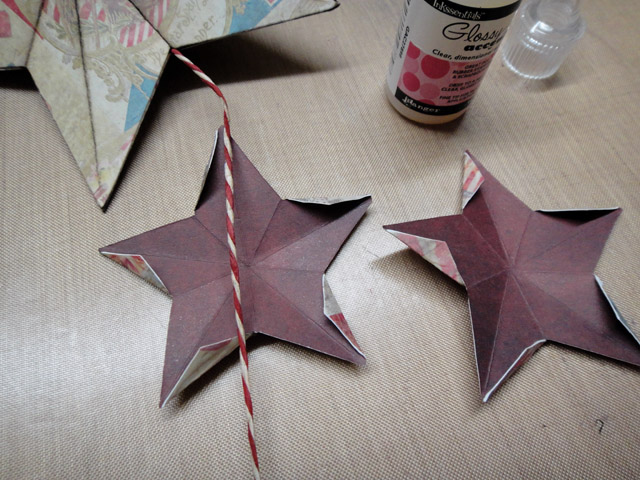 step 15: repeat the previous steps for the small star placing it below the large star.
 step 16: press flat and hold to dry.
 step 17: “poof” up the second star and adjust the distance of the stars. apply a drop of glossy accents to the base of the second star and let dry.
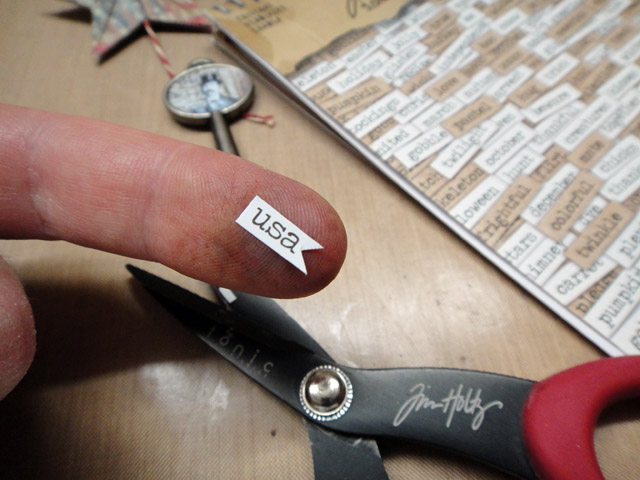 step 18: create a collage key using images from package. i wanted to change the art to fit the americana theme so i used a chitchat sticker.
 step 19: ink the edges of the chitchat sticker to give it dimension, and adhere to the collage key.
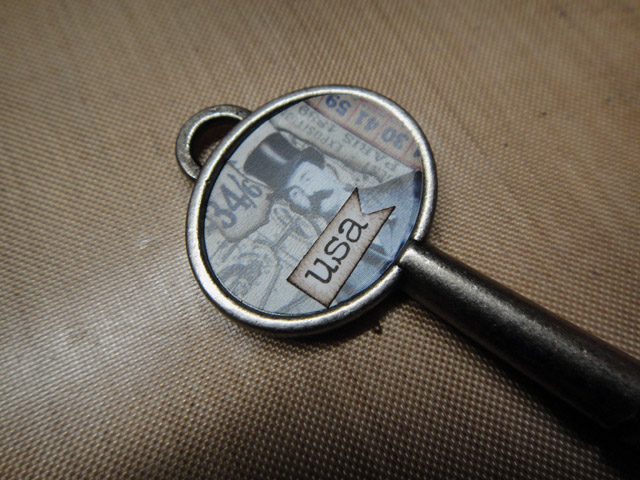
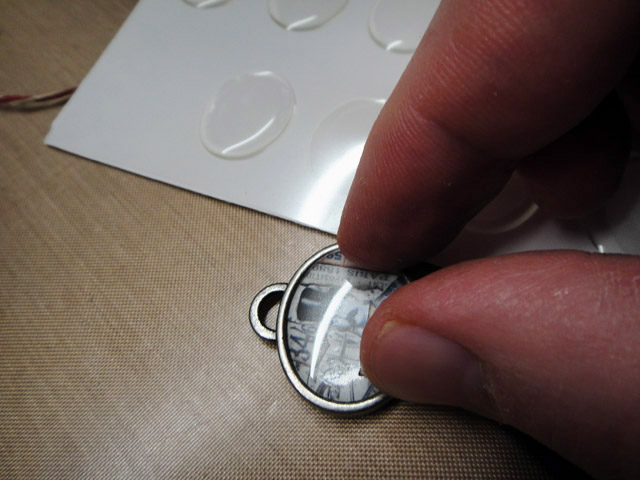 step 20: place epoxy sticker over collage art to finish key.
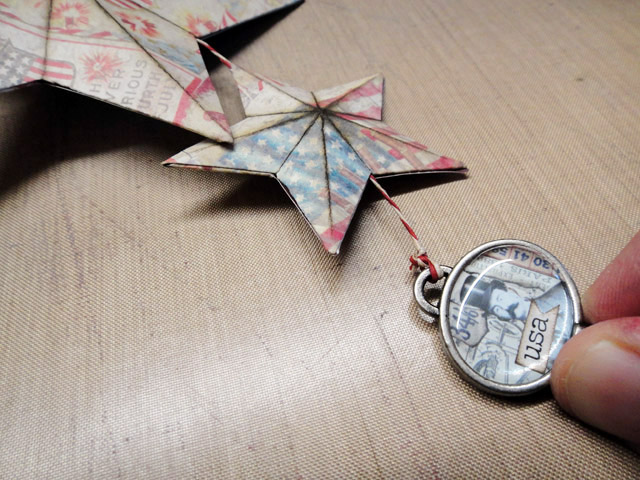 step 21: tie the key to the bottom of the string to add weight and help the stars to hang straight. *note: you can also use a word key or anything else to give it weight.
so hopefully you’ve been inspired this week with some creative ideas. of course if you’re not planning on decorating red, white, and blue you can definitely simply change out the paper or colors used and create projects that work for you. hope you’ve had fun trying some of these ideas – i sure did…t!m
|
|
|
|
|
|
|
|
|
|


