 today we’re taking a technique i’ve shared a few times here on the blog (usually around christmas) and turning it into something “useful” especially for summer. i mean we all know our creative supplies are useful, but this is something you can use around the house this summer for bbq’s or make as a fun gift to bring to a party! well today we are putting that plan in action and creating some festive party napkins, but there are a few tricks you need to know first so let’s get started…
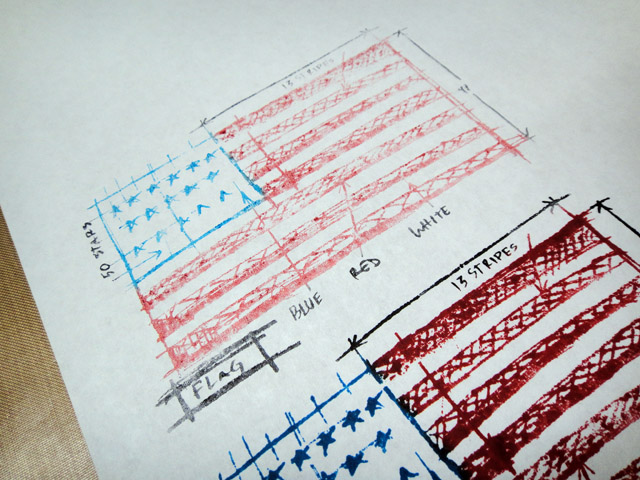
supplies: cut n’ dry felt, archival reinkers/vermillion/manganese blue/jet black, jet black archival ink pad, heat tool, americana blueprint stamp, grid-block
 step 1: stamp image on the fabric side of a piece of cut n’ dry felt using archival ink. *note: this must be on the felt and not foam.
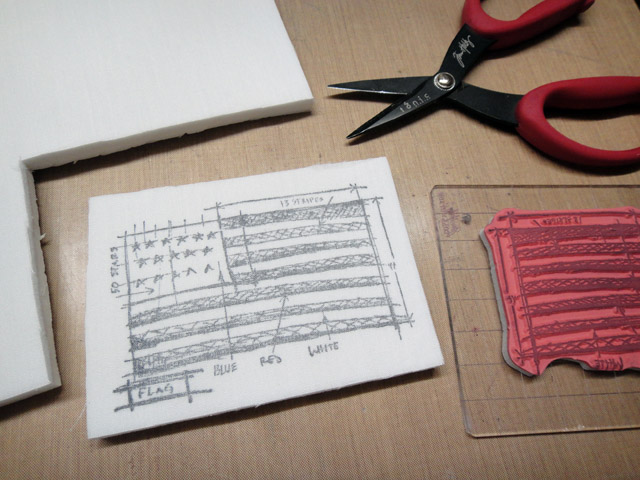 step 2: cut the piece of cut n’ dry to size of stamp.
 step 3: before we start adding ink, you need to choose the right type of ink.
*IMPORTANT: i’ve always used distress reinkers in the past when working on cards, but since these are going to be on napkins we need to use a permanent and waterproof ink (otherwise your guests may not appreciate the “hint” of color left on their face…lol so we are using archival reinkers).
 step 4: begin coloring “on” the image using archival reinkers.
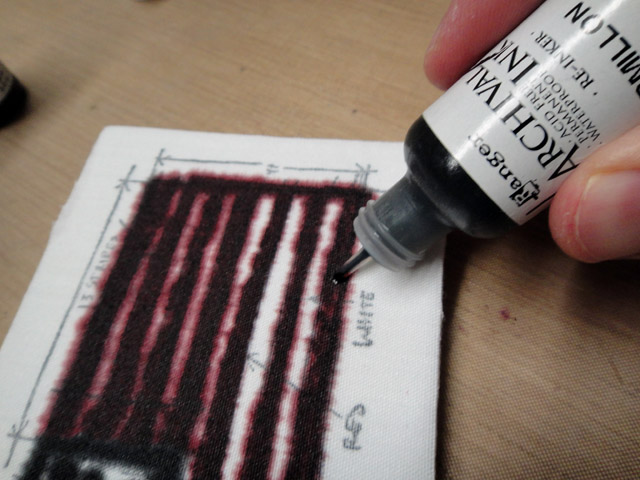 step 5: continue coloring the areas of the stamped image, but remember we only need to color on the image part and not necessarily fill any white space.
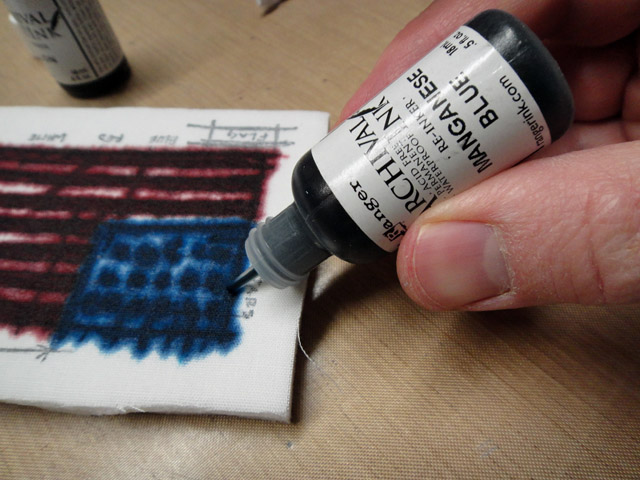 step 6: work on your next color area. the cool thing about cut n’ dry felt is that once 2 colors touch each other on the pad, they stop and will not cross contaminate.
 step 7: the last color i use on the pad is black. remember, you need to be sure to ink the areas you want to stamp out including text, etc.
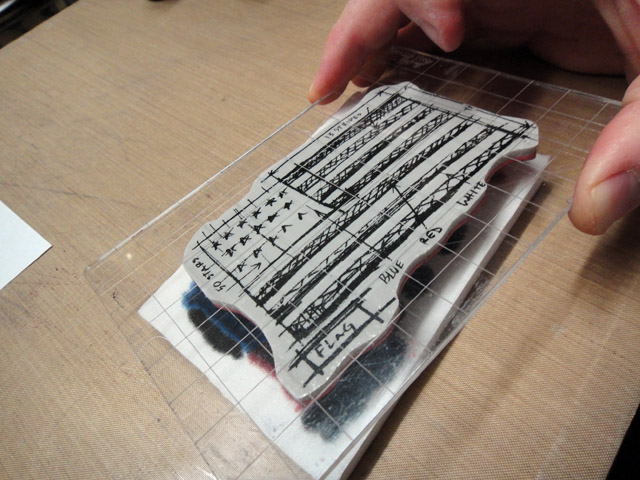 step 8: place the stamp over your newly created custom ink pad and lightly tap stamp on the pad – don’t press too hard!
 step 9: stamp the image on a piece of scrap paper a few times first to test it. if the ink is too heavy, be sure to tap lighter next time when inking the stamp.
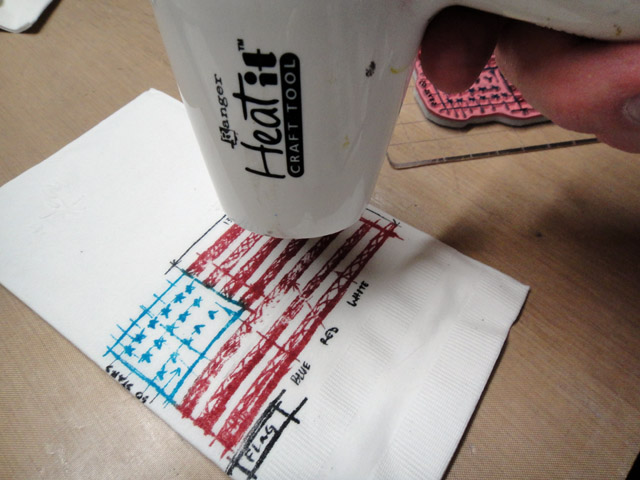 step 10: now just stamp on a plain paper napkin and immediately dry the ink with a heat tool to keep it from bleeding into the thin paper.
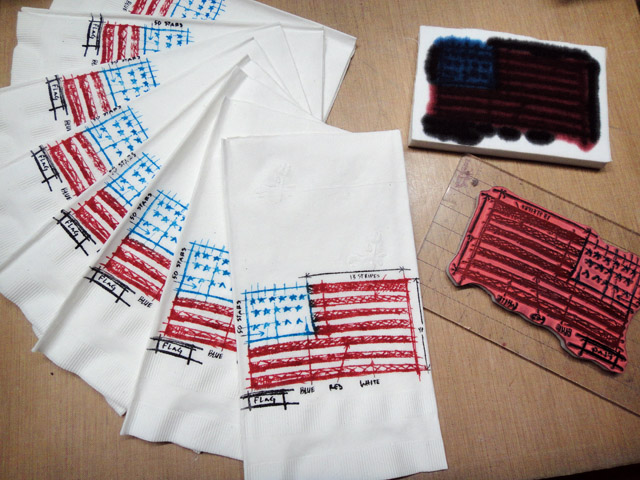 step 11: just keep inking and stamping on to paper napkins, paper plates, even paper cups to create the perfect party decor.
see i told you it would be “useful”. yet another idea to be use for lots of other seasons throughout the year right? well even if you’re not stamping napkins, i hope this reminder of an old favorite technique inspires you to make stuff. i have another cool project tomorrow that will have you seeing stars…literally…t!m
|
|
|
|
|
|
|
|
|


