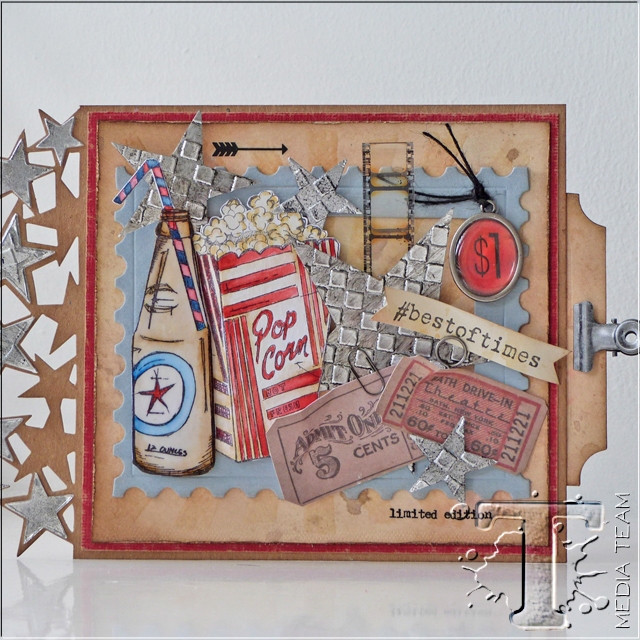
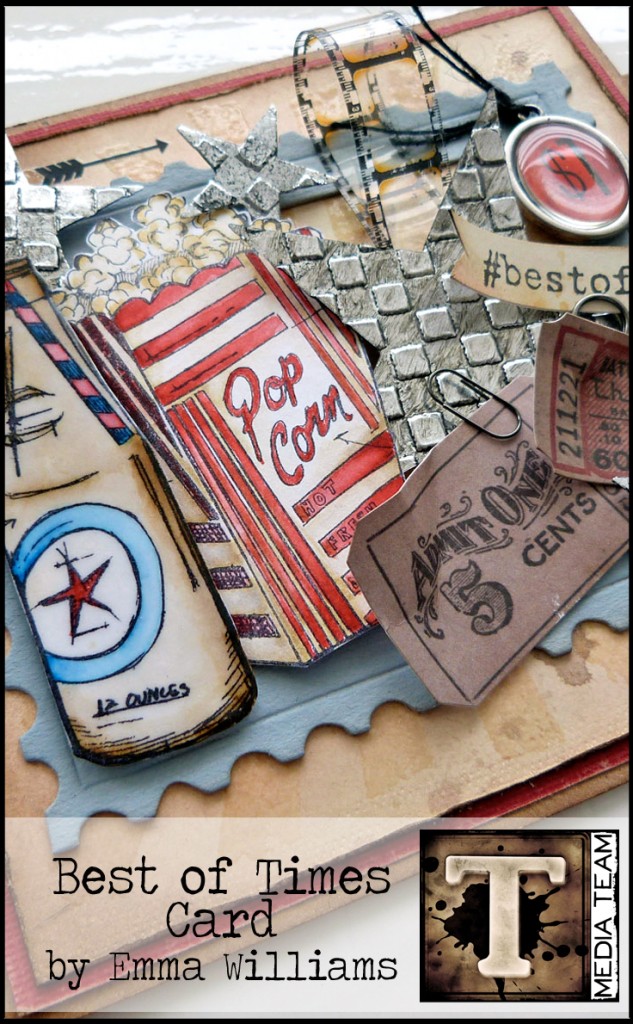
when it comes to creating any type of project, layering is a key element to me. media team member emma williams shows how to combine stamped images, die cuts, and ephemera to create this cool interactive card…t!m
I’m absolutely thrilled to be sharing my first tutorial with you today and for this tutorial, I chose to focus on two things that I love using in my projects ~ dimension and texture and with this in mind, I created a fun filled card with an element of surprise, using stamps and dies. I hope you’ll love this card as much as I loved creating it.
Supplies:
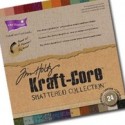
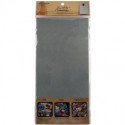
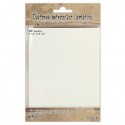
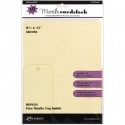
- Surfaces: Kraft-Core Shattered Cardstock, Grungepaper, Watercolor Cardstock, Manila Cardstock, Metal Foil Tape Sheets
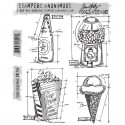
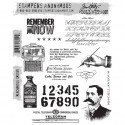
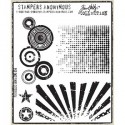
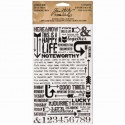
- Stamps: Treats Blueprint, Hashtags, Random Quotes, Merchantile, Psychedelic Grunge
- Layering Stencil: Rays
- Dies: Tim Holtz Alterations Postage Stamp Frame, Big Ticket, Stacked Stars, Crescent Moon and Stars, On The Edge Star Cluster, Sized Rectangles
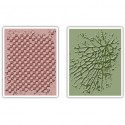
- Embossing Folders: Checkerboard & Cracked Texture Fades Set
- Distress Ink: Festive Berries, Walnut Stain; Distress Embossing Ink
- Ink: Archival Ink- Jet Black
- Distress Stains: Old Paper, Pumice Stone, Victorian Velvet, Picket Fence
- Distress Paints: Black Soot, Brushed Pewter, Weathered Wood
- Distress Markers: Salty Ocean, Festive Berries, Scattered Straw, Antique Linen
- Embossing Powder: Ranger- Clear
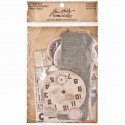
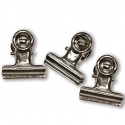
- Embellishments: Idea-ology Hinge Clip, Cash Keys, Film Ribbon, Expedition Ephemera Pack, Life Quotes Remnant Rubs, Mini Paper Clips, Memo Pin
- Tools: Craft Sheet, Heat Tool, Sanding Grip, Blending Tool, Tiny Attacher, Detailer Water Brush, Mister Bottle, Paper Distresser, Vagabond
- Adhesives: Foam Tape, Adhesive Tape, Multi Medium
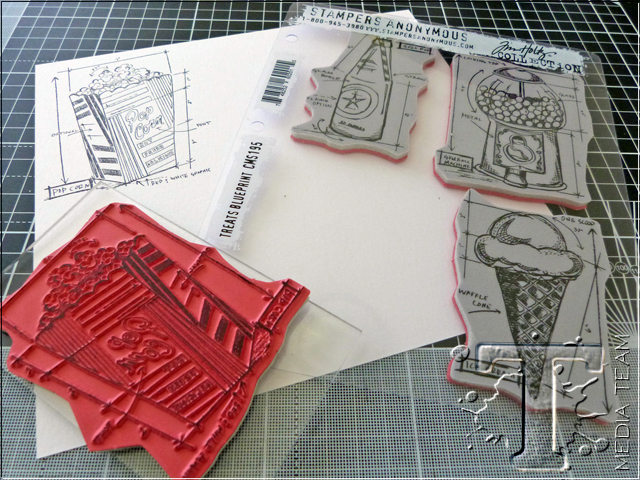
Apply black Archival Ink to the popcorn and soda pop stamps from the Treats Blueprint set and stamp the images onto the smooth side of the watercolour card stock.
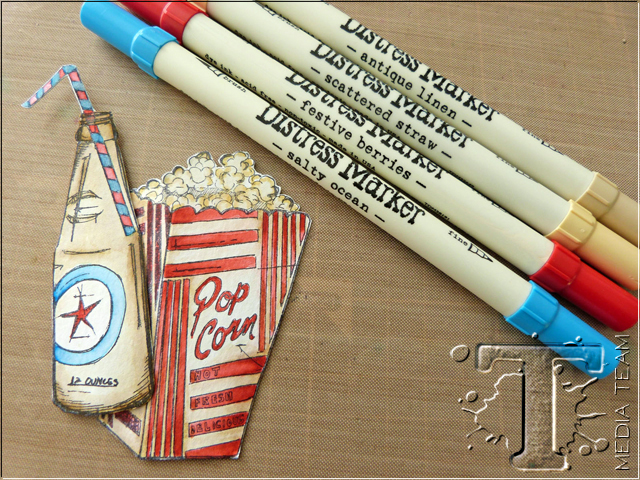
Cut around the outline of the main stamped image and using Distress Marker Pens, add a small amount of ink to your craft sheet and with a fine detailer water brush, add the first wash of colour to the image. Build up the colours gradually, adding more layers of ink where necessary to give light and shade to each of the images. Continue until both images are painted.
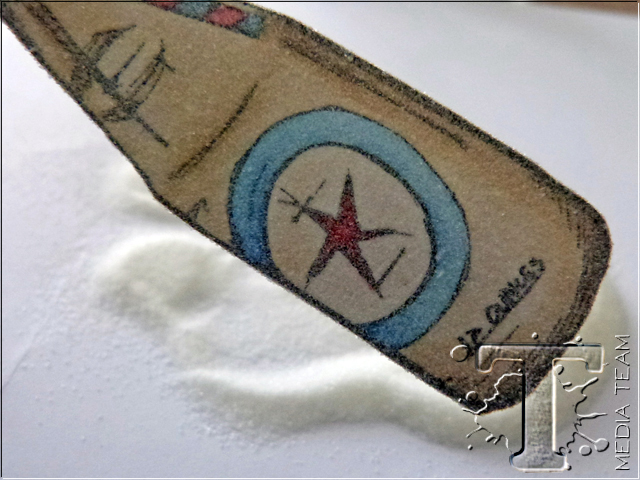
Once the images are completely dry, take the coloured soda pop bottle and dab a clear embossing ink over the entire surface of the card stock. Apply a layer of clear embossing powder and tap away the excess.
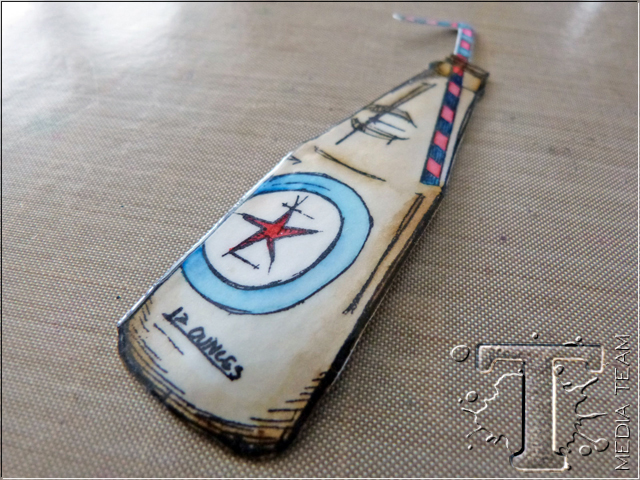
Heat emboss the powder until molten and shiny. At this stage you can repeat the process to give a really smooth and glossy look to the stamped image. (step 4) Set the two stamped images to one side for later.
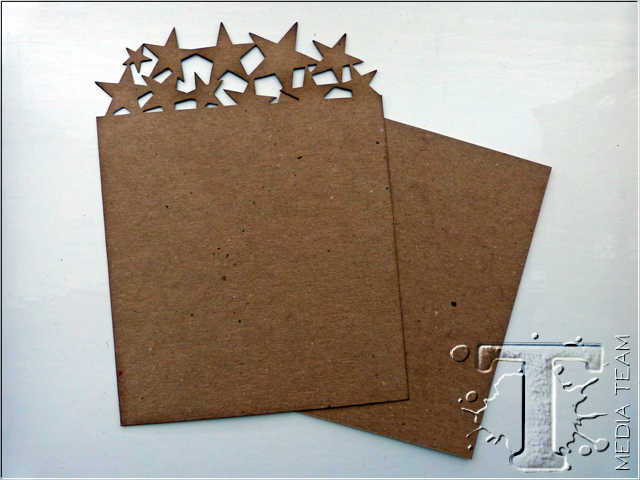
To create the card base, cut two pieces of kraft card, measuring 7.5” x 5.5” and 6” x 5.5”. Using the larger piece of card, place the Star Cluster On The Edge die onto the shortest edge and die cut the card to give a decorative border. Set aside.
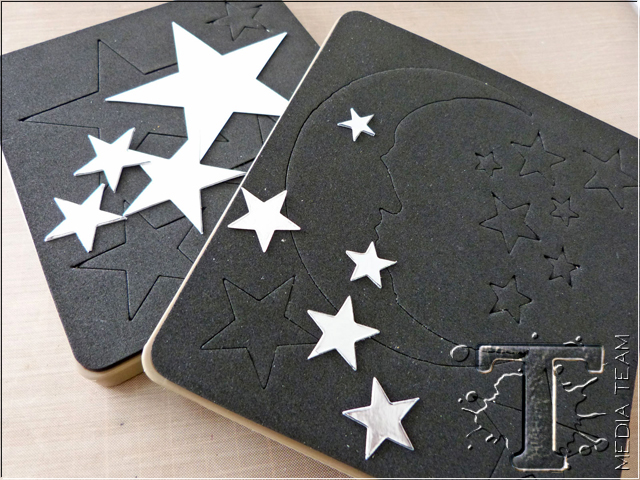
Apply a sheet of Metal Foil Tape over the top of a sheet of Grungepaper and using the Stacked Stars die and only the stars from the Crescent Moon and Star Die, die cut 11 various sized stars.
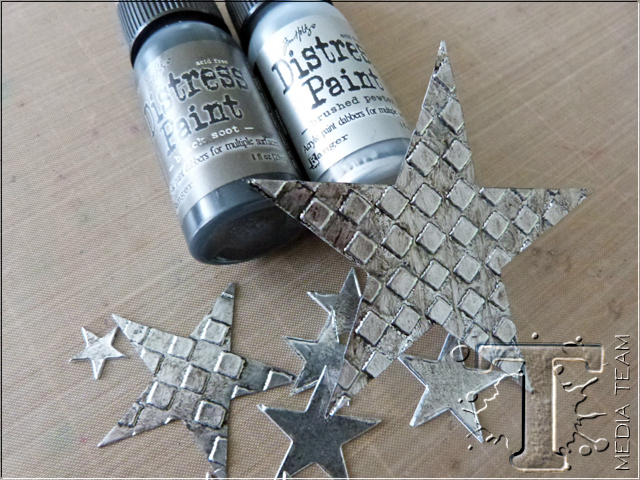
Emboss four of the largest die cut stars using the Checkerboard Texture Fade. Apply Black Soot Distress Ink over the surface of all the die cut metal stars. Wipe away some of the paint with a damp cloth and then apply a small amount of Brushed Pewter over the top, again removing a small amount of the paint with a damp cloth to reveal an industrial effect to the metal.
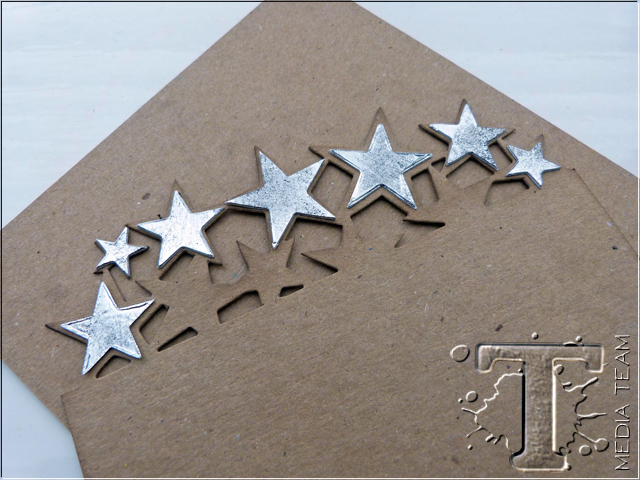
Attach seven of the plain die cut stars to the star cluster border and set aside four of the largest embossed stars which will be used to decorate the front of the card later.
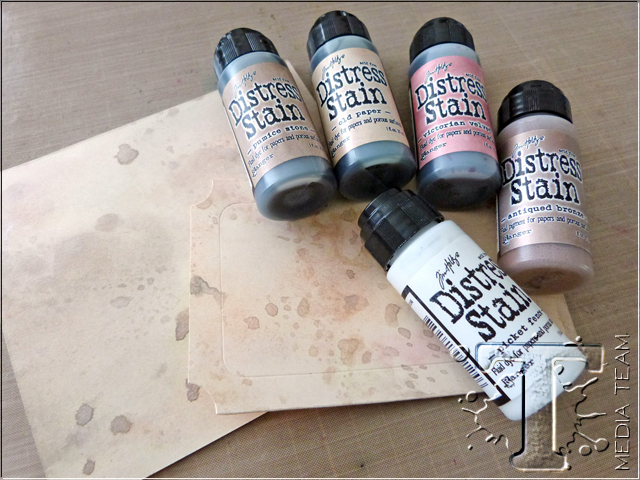
9.Cut a piece of Manila Card to measure 5.5” x 5” and then die cut a second piece of Manila Card using the Big Ticket Die. Apply Distress Stains to your craft sheet and spritz the ink with water. Swipe each piece of card through the stains to pick up as much ink as possible. Heat dry the card and if there are more droplets of ink on the sheet, then swipe the card through a second time to pick up the remainder.
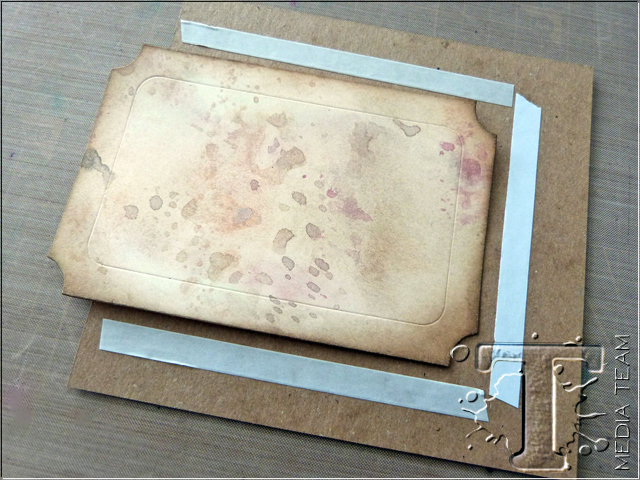
To assemble your card blank, take your smaller section of kraft card and place the inked ticket in the centre. This allows you to know where to attach the tape to create the pocket for the ticket to slide in and out. Apply tape around three sides of the ticket. (step 9) Attach the second piece of die cut kraft card directly over the top of the taped cardstock, ensuring that the opening (where no tape was placed) is on the right hand side and the decorative edge is on the left. You now have your basic card shape.
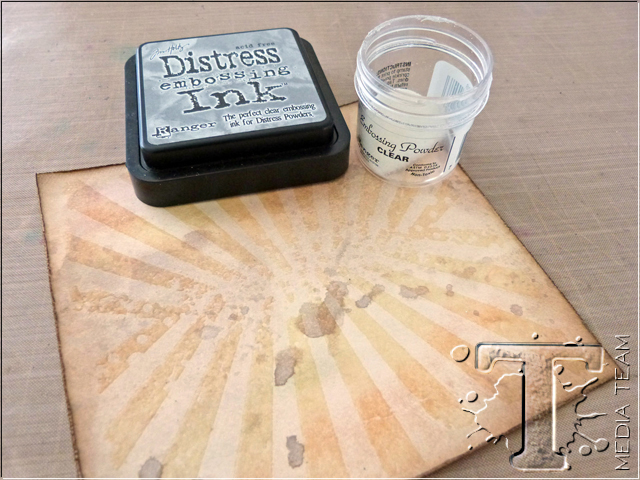
Apply clear embossing ink to the Rays stamp from the Psychedelic Grunge stamp set and stamp the image along the top section of the larger piece of inked Manila card. Turn the card 180° and once again, ink up the Rays stamp and stamp a second time to create a mirror image. Apply clear embossing powder over the top of the ink, tap away the excess and heat emboss until molten and shiny. (step 10) Ink and distress the edges of the card with Walnut Stain Distress Ink and then mount onto a piece of Core’Dinations card stock.
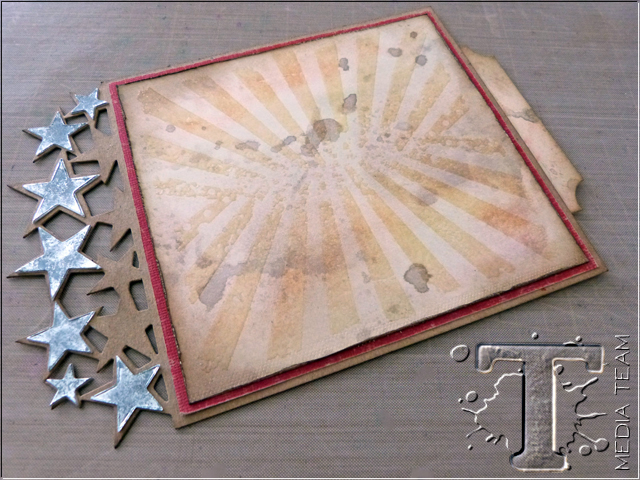
Attach the matted card stock onto the front of your card blank.
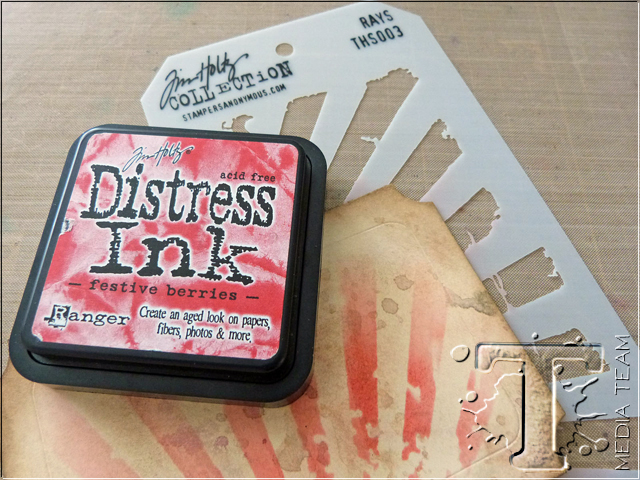
Place the Rays Layering stencil over the top of the previously inked die cut tag and using an Ink Blending Tool, apply Festive Berries Distress Ink through the stencil.
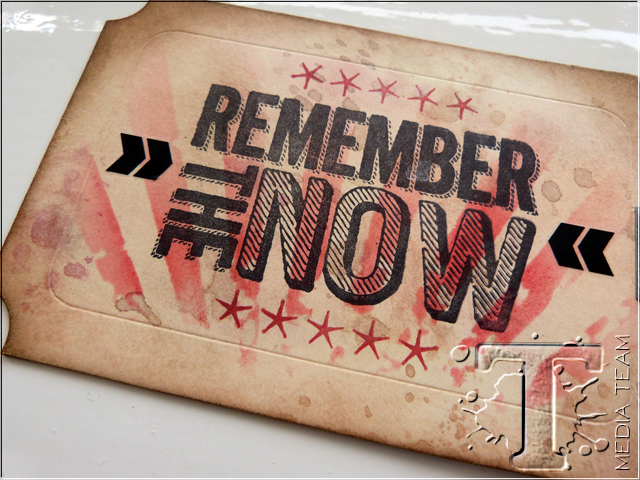
Ink the Remember The Now stamp with black Archival Ink and stamp centrally onto the ticket. Ink the stars from the Mercantile stamp set with Festive Berries Distress Ink and stamp these at the top and bottom of the quote. Apply arrows from the Life Quotes Remnant Rubs to the right and left of the quote.
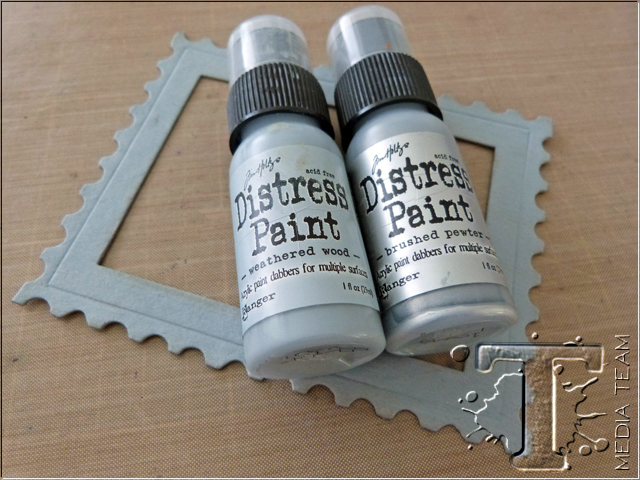
Place the largest of the Sized Rectangle Dies inside the central section of the Postage Frame Die to die cut a frame from chipboard. Paint the frame with Weathered Wood and Brushed Pewter Distress Ink.
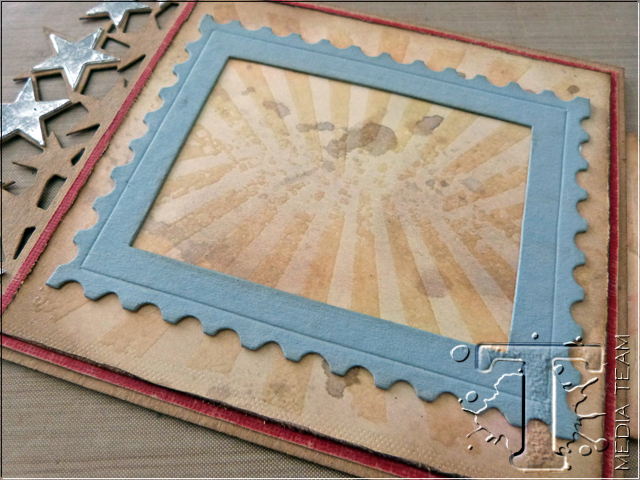
Once the frame is dry, attach to the front of your covered card blank.

Arrange and attach the remaining embossed metal stars and your stamped and painted images, placing them together with tickets from the Expedition Ephemera collection and attaching them within your die cut Postage Stamp Frame.
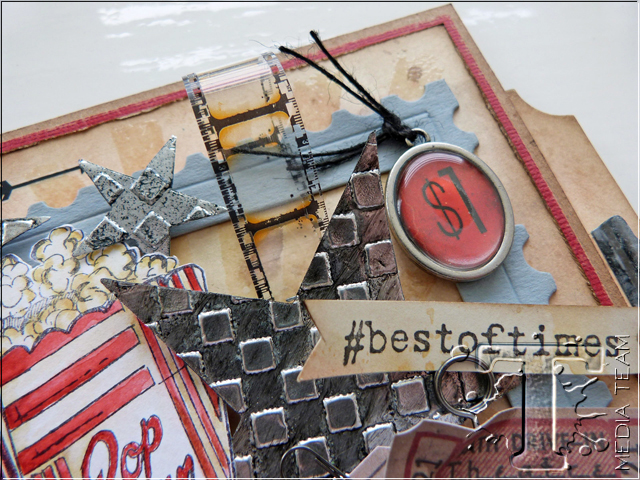
Add a loop of Film Ribbon, a Cash Key and attach a Mini Paper Clip to one of the Ephemera tickets.
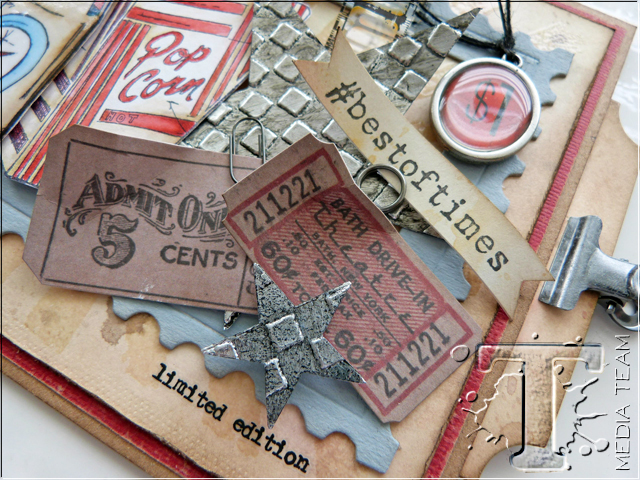
Finally, apply black Archival Ink to the “best of times” Hashtag stamps and stamp onto a piece of inked Manila card. Cut the strip of card into a banner shape and attach to the cluster of embellishments, using a memo pin. Apply Remnant Rubs around the outside of the Postage Frame.
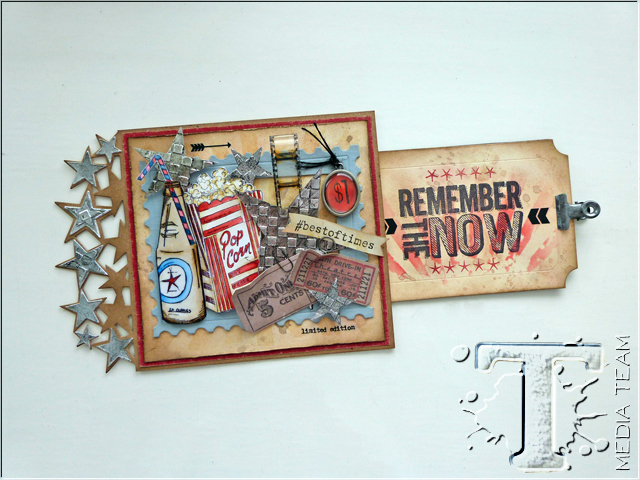
Place the ticket inside the pocket of your card, and add a Hinge Clip to allow you to slide the ticket in and out.
I hope you enjoyed this tutorial and I’ve inspired you with this project! Thank you so much for popping by today and for taking the time to look.
Emma
*be sure to check your local stores for these supplies or you can click the links below to purchase online…
(SSS=simon says stamp / IE=inspiration emporium)
|
|
|
|
|
|

|
|
|
|
|
|

|

|

|
|
|
|
|
|
|
|
|
|
|
|
|
|
|
|
|
|
|
|
|
|

|
|
|
|
|
|

|
|
|

|
|
|
|
|
|
|
|
|
|
Pin it to remember it!
Don’t forget to follow Tim Holtz on Pinterest for more great ideas and inspiration!


