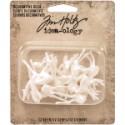
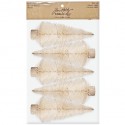
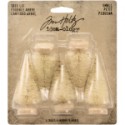
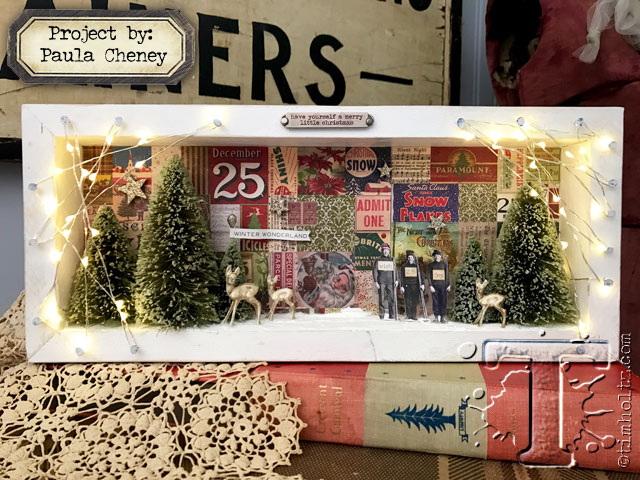
 bundle up and escape for the holidays to this winter wonderland created by paula cheney. i love every festive detail in this masterpiece of merriment including the gilded deer, icy woodland trees, and snowy textured landscape. however the highlight for me is definitely the illuminated effect created with wrapped tiny wired lights that cast a glow of holiday magic – absolutely stunning…t!m
supplies:
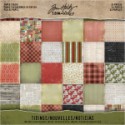
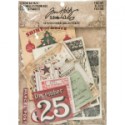
- surface: wood box, paper stash/tidings, ephemera/festive, holiday talk metallic stickers
- embellishments: woodlands, decorative deer, word bands/christmas, long fasteners
- ink: distress spray stain/bundled sage/forest moss, alcohol ink fixative/snow cap/gold, blending solution
- crayons: distress crayon/festive berries
- paint: distress paint/picket fence
- glitter: distress glitter/rock candy, distress glitter dust/vintage platinum
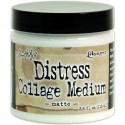
- mediums: distress collage medium/matte, glossy accents, distress grit-paste
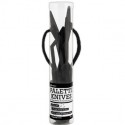
- tools: craft sheet, palette knife, mini snips, wire cutters, hammer, tack nails, drill
- misc: mini lights, hot glue
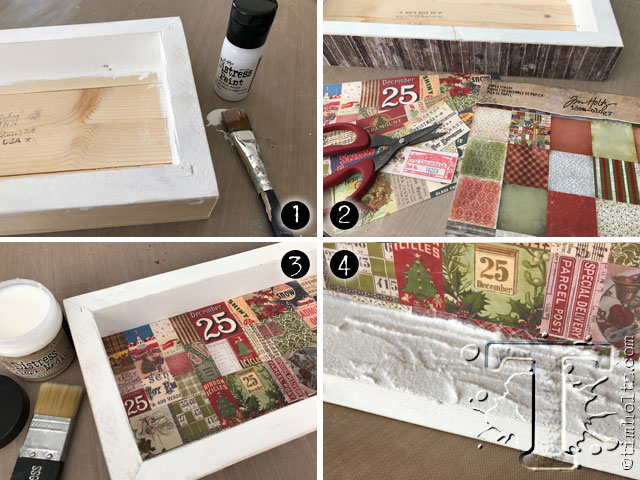 step 1: I purchased a 14 x 6” unfinished wood box at my local craft store. This box is made by Darice but any wood shadowbox would work. Paint the frame with Distress Paint Picket Fence. Once dry, use a Sanding Grip to distress the wood edges.
step 2: Cut strips of “wood” look paper from the Tidings Paper Stash to fit the outside of the box. Adhere with Distress Collage Medium.
step 3: Adhere the collage paper that is part of the Tidings Paper Stash, to the inside back of the box. It is easy to piece this paper no matter the size of box.
step 4: Using a palette knife, spread Distress Grit-Paste on the “floor” of the shadowbox. Immediately sprinkle Clear Rock Candy Dry Glitter over the Grit-paste and let dry. Yes, it’s just that easy to create textured snow!
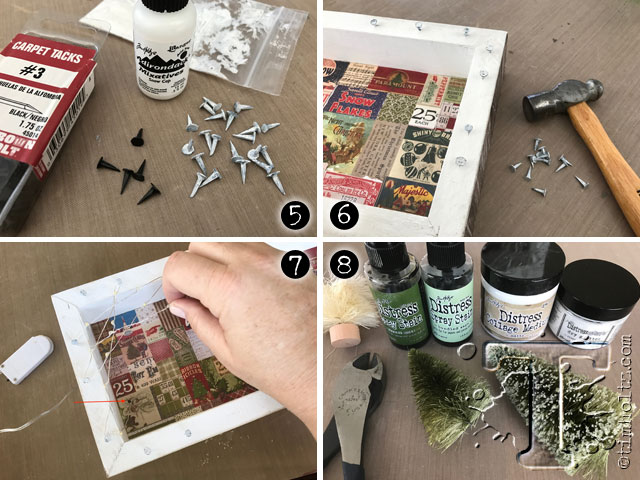 step 5: Place a few tack nails into a small plastic bag. Squeeze a bit of Snow Cap Alcohol Ink into the bag and roll the tack nails around. Pour out onto craft mat and let dry.
step 6: Hammer tack nails into the wood frame of the box.
step 7: Wrap fairy lights around the nails to crate a web effect. You might notice I drilled a hole in the box to thread the lights through to the front. If you do not have a drill, the lights can simply wrap around the frame into the box.
step 8: Use wire cutters to cut off the base of 3 Woodland trees. Make sure to cut the trees at different heights to create dimension. I also used two small Woodland trees to fill in the forest. Each of the trees got a tree trimming on the back with my Tonic Mini Snips so the trees would fit nicely into the box. Once cut to size, color the trees with Distress Spray Stain. I used Bundled Sage with a touch of Forrest Moss. When the Distress Spray Stain is dry, use your finger to paint the tips of each tree with Collage Medium, then roll in Clear Rock Candy Glitter. Let dry.
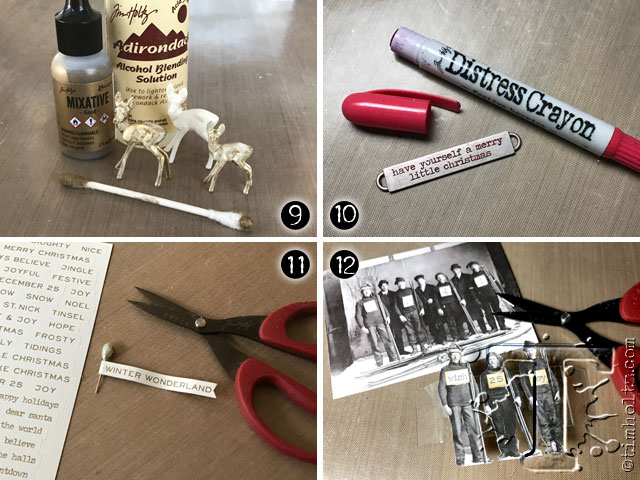 step 9: Squeeze a few drops of gold Mixative Alcohol Ink and Blending Solution onto the end of a Q-tip. Color each deer with the soaked Q-tip, then use the dry end to rub the Alcohol Ink around to create the right level of vintage gold over the deer.
step 10: Scribble the Festive Berries Distress Crayon over the words of a Christmas Word Band until the letters are filled with the red color. Wipe away the excess crayon leaving the red color in the words.
step 11: Adhere a strip of text from the Holiday Talk sticker sheet to a piece of scrap cardstock, leaving enough of the cardstock on the left to wrap around a pin. Using your Mini Snips, cut the right end with a dovetail to create a flag. The sharp tips are perfect for this kind of fussy cutting. Wrap flag around the courage pin. NOTE: you must use wire cutters to shorten the steel corsage pin.
step 12: Using the Mini Snips, fussy cut three skiers from a photo found inside the Festive Ephemera pack. Snip a word or number from the Holiday Talk sticker sheet and add to the front of each man’s sweater. Cut a small piece of plastic and adhere each skier with Collage Medium. Score each side of the plastic and bend it back. The plastic will allow you to secure the ends to the back of the box, yet the skiers will stand an inch away in the faux snow.
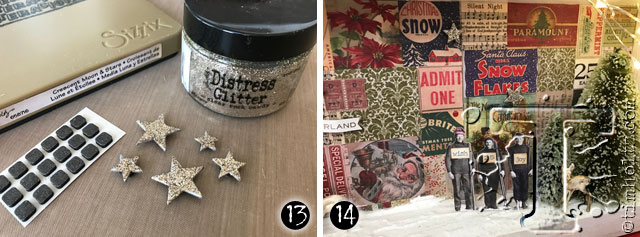 step 13: Cut multiple stars using the Crescent Moon and Stars Bigz Die. I love this die because the stars are so small! And since it’s a Bigz die, you can cut chipboard with it. After the stars were cut, I used Glossy Accents to adhere the Vintage Platinum Glitter to each star.
step 14: To fill the box, secure trees with hot glue then add all other details with Collage Medium.
