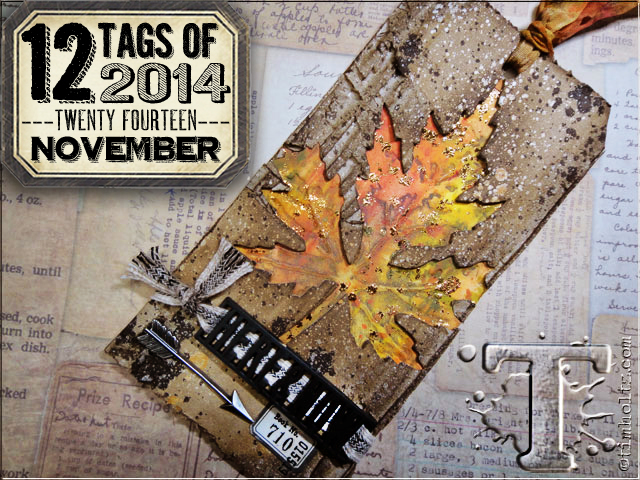
there’s nothing better than the warm colors of an autumn pallet. this time of year showcases nature’s beauty with the changing of the fall foliage into brilliant shades of gold, reds, and rust. living in the mountains of northern arizona we don’t necessarily get to encounter the same vivid colors i’ve seen in new england, but still fall has a presence here and i love it. this month i wanted to capture these rich hues with a textured tag to remind you to stop for a moment, look around you, and be present in the “here & now” of this colorful season…t!m
supplies:
- surfaces: #8 manila tag, corrugate cardboard
- layering stencil: speckles
- distress ink: gathered twigs, walnut stain
- distress spray stain: tarnished brass, walnut stain
- distress paint: ripe persimmon, rusty hinge, mustard seed, wild honey, crushed olive, forest moss
- distress embossing ink
- embossing powder: sticky
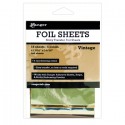
- foil sheets: vintage
- adhesive: glue n’ seal
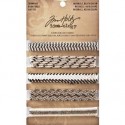
- trims: crinkle ribbon, naturals black & cream
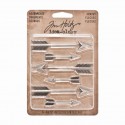
- embellishments: remnant rubs, arrow adornments, alpha parts/framed, vial labels
- tools: craft sheet, heat tool, mister, mini blending tool, tonic shears, paper distresser, vagabond
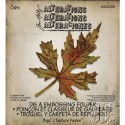
- dies: layered leaf set
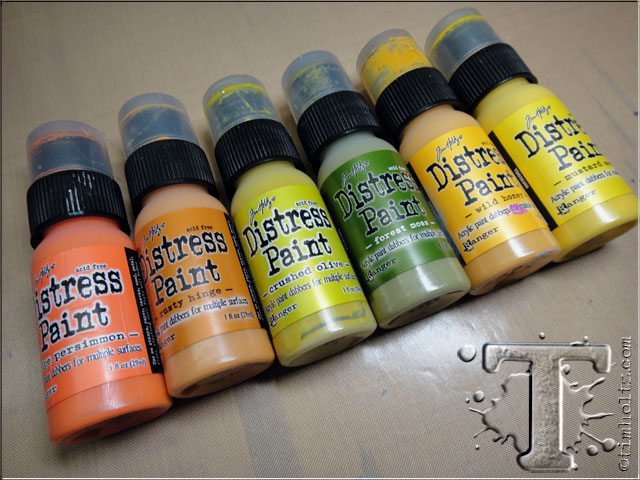
step 1: begin by selecting your color palette of distress paint. i chose distress paint for this technique due to their opacity and ability to react with water and layer without turning “muddy”.
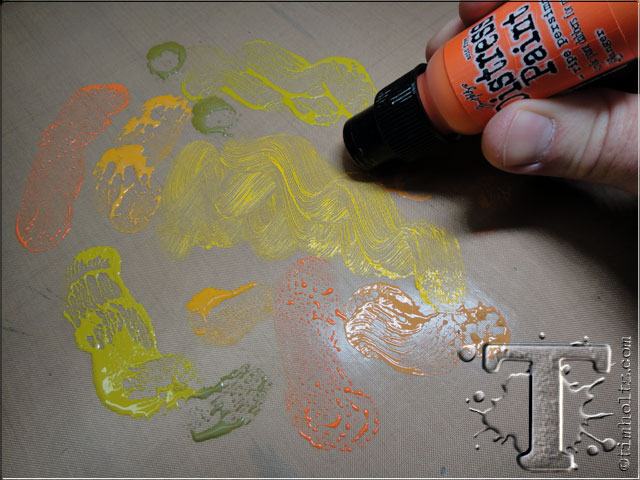
step 2: apply various colors of distress paint to a craft sheet by swiping directly over the surface.
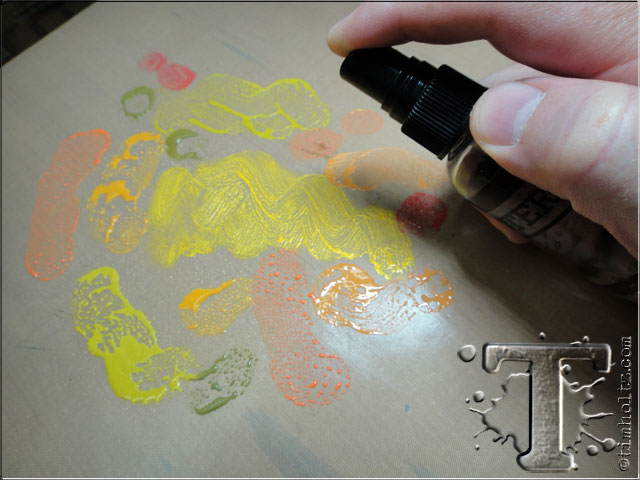
step 3: mist the distress paint with water from a mister to create droplets of color.

step 4: swipe a manila tag through the paint to cover the surface and create a base layer.

step 5: dry the base layer of paint with a heat tool. note: to blend the colors even more before drying trying misting the tag with water.
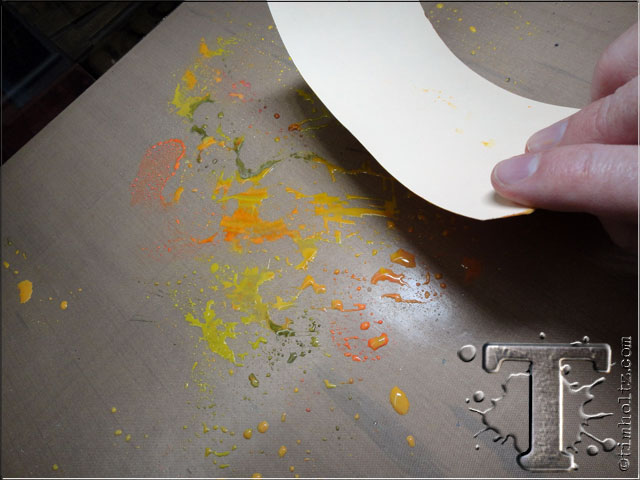
step 6: tap the dry tag into the remaining droplets of paint to build layers and dry tag completely once desired look is achieved.
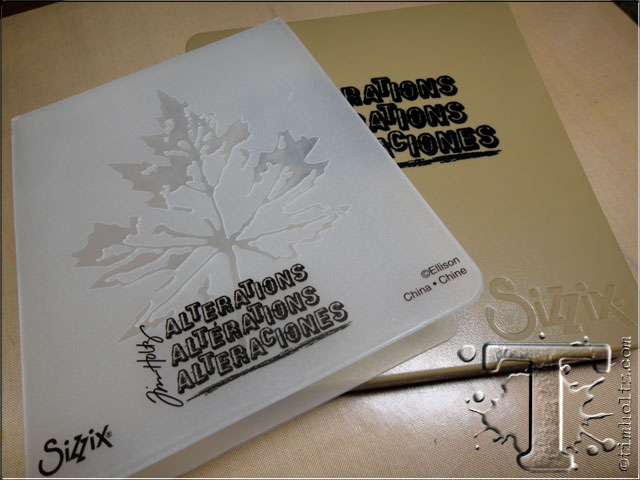
step 7: next we’re going to use the layer leaf die set. this set includes a bigz die and coordinating texture fade to cut and emboss the same design which can be used in so many different ways.
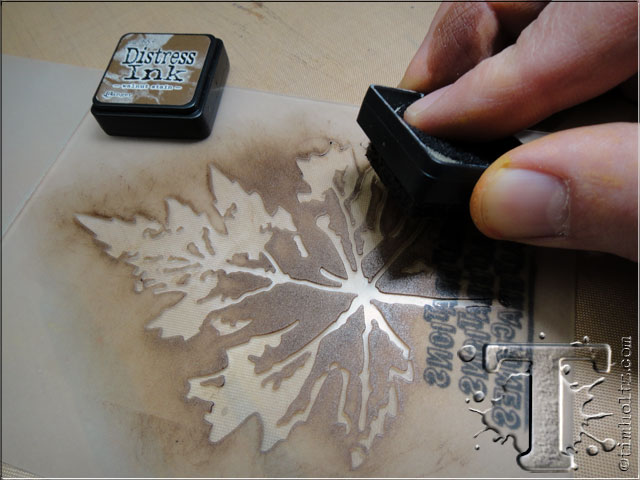
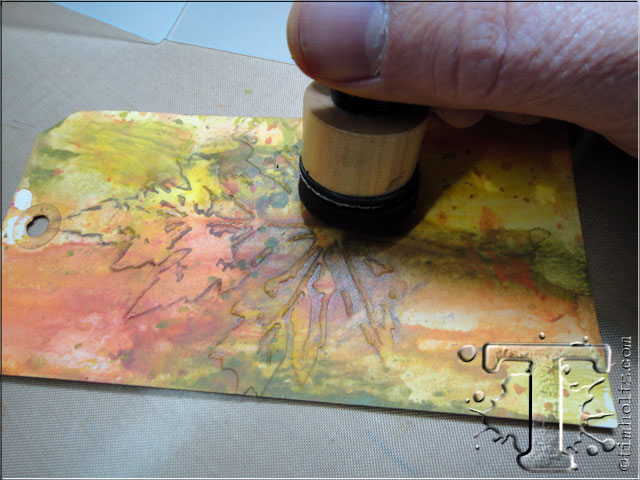
step 8: open the texture fade and swipe walnut stain distress ink around the the raised areas of the leaf as shown.
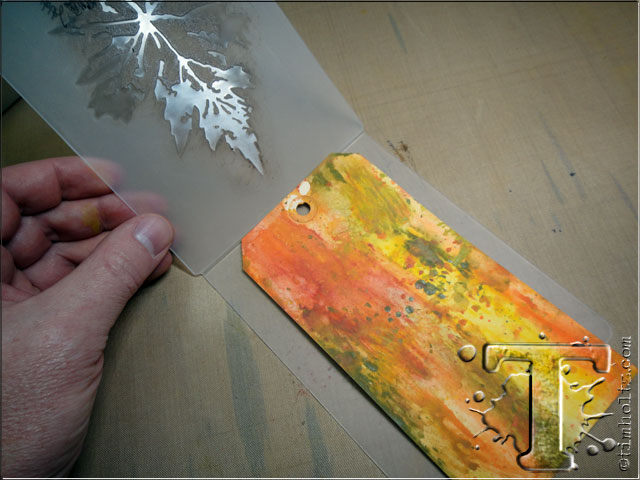
step 9: place the painted tag into the texture fade opposite of the inked side.
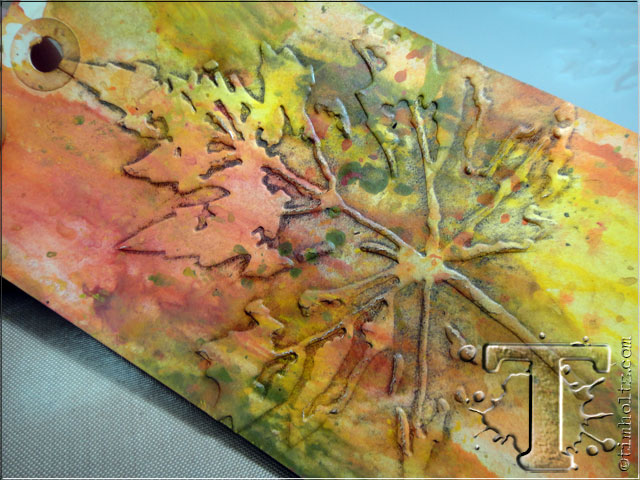
step 10: run the tag through the vagabond to emboss pressing the inked areas into the design to create a drop shadow – cool huh?
step 11: using a mini blending tool, swipe over the inked area to smudge the ink around to show the detail of the design.

step 12: place the speckles layering stencil over the tag. using a clean piece of blending foam, dab distress embossing ink through the stencil.

step 13: cover inked area with sticky embossing powder and replace excess powder back in the jar.
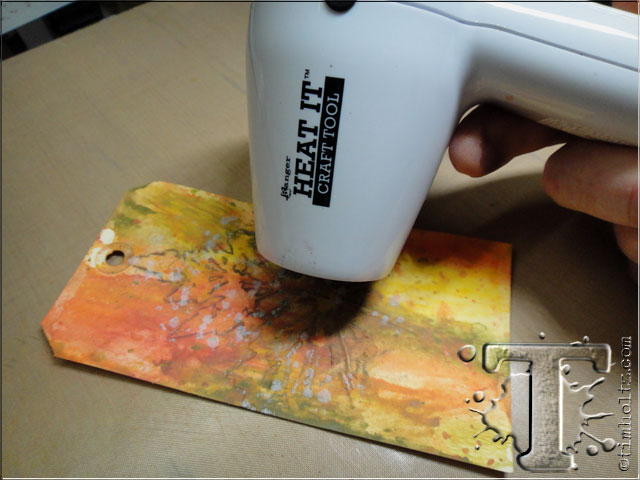
step 14: heat emboss the sticky embossing powder until it melts clear – do not overheat.
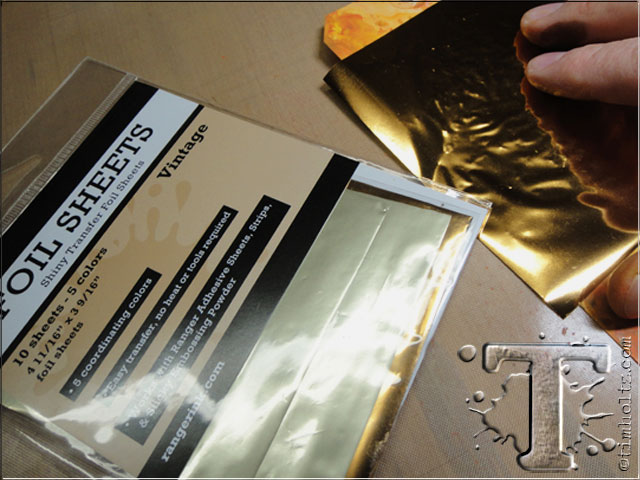
step 15: immediately press the dull silver side of the foil sheet over the embossed area and rub the sheet with your hands to transfer the foil.
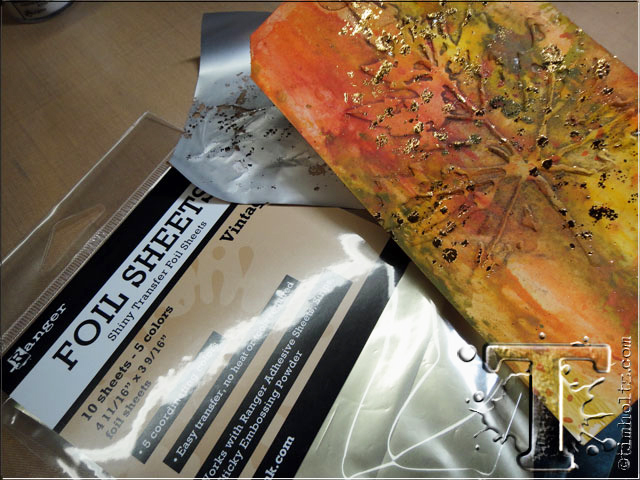
step 16: once the foil sheet feels cool to the touch, slowly lift the sheet to remove it – love those speckles of metallic!

step 17: start with a strip of corrugated cardboard from a box.
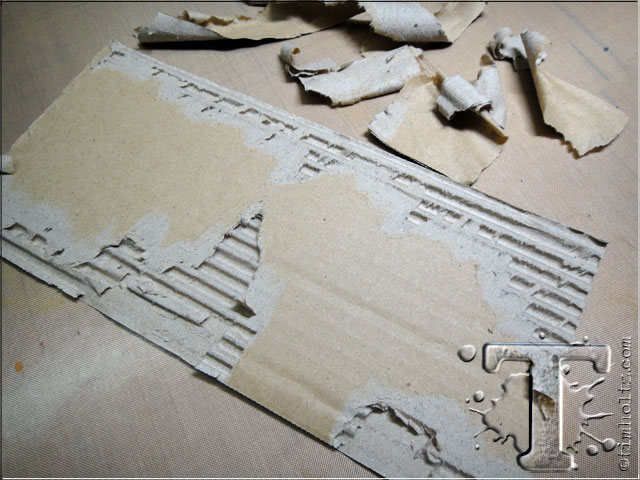
step 18: begin peeling away the top paper layer on one side of the cardboard to expose the corrugate until desired look is achieved.
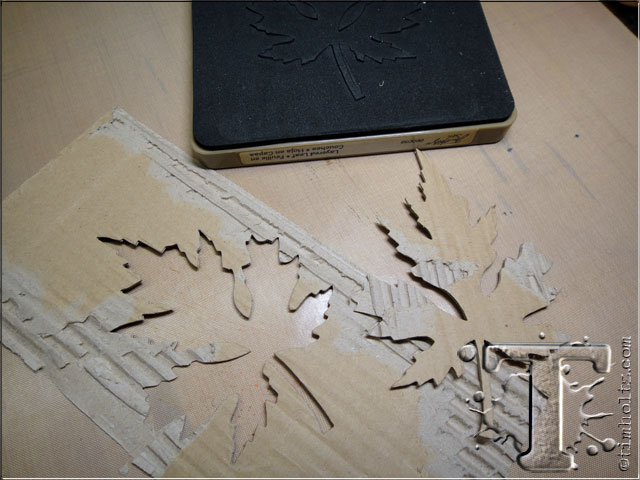
step 19: die cut the layered leaf shape through the cardboard.

step 20: ink the cardboard with distress ink using an ink blending tool.

step 21: spritz the cardboard with distress spray stain to create a spotter effect vs. misting the entire piece.

step 22: repeat the previous step using tarnished brass distress spray stain and dry with a heat tool. note: don’t forget to always wipe the nozzles of the spray stains after you’ve used them to avoid clogging.

step 23: apply glue n’ seal to the back of the cardboard using the included brush. (i am so happy ranger has brought back glue n’ seal since it’s my all time favorite paper to paper wet adhesive, and it dries completely matte)

step 24: position the cardboard over the embossed tag lining up the leaf design and press in place to secure.

step 25: cut off the excess cardboard from around the tag. the new tonic shears have a much longer blade which makes cuts like these so simple to do.
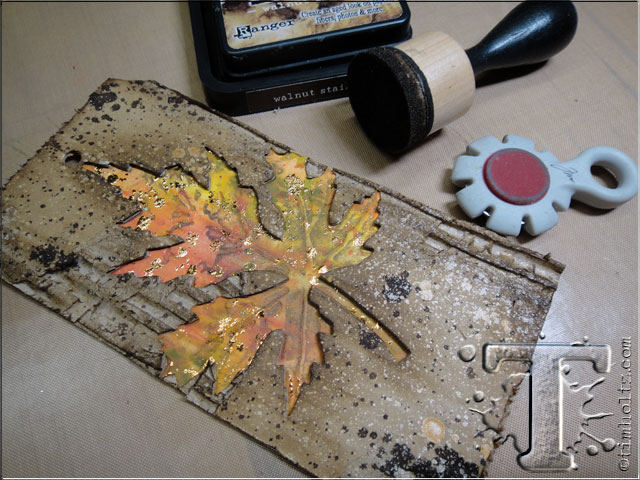
step 26: distress the edges of the tag with a paper distresser and ink with distress ink using an ink blending tool.
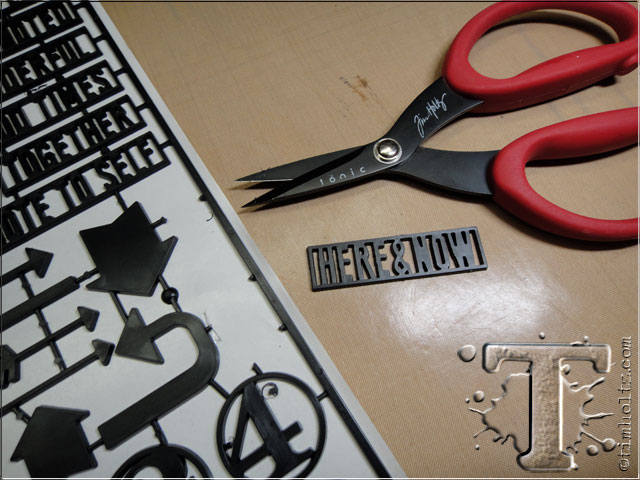
step 27: cut a word from the framed alpha parts and nip off deny excess plastic bits.
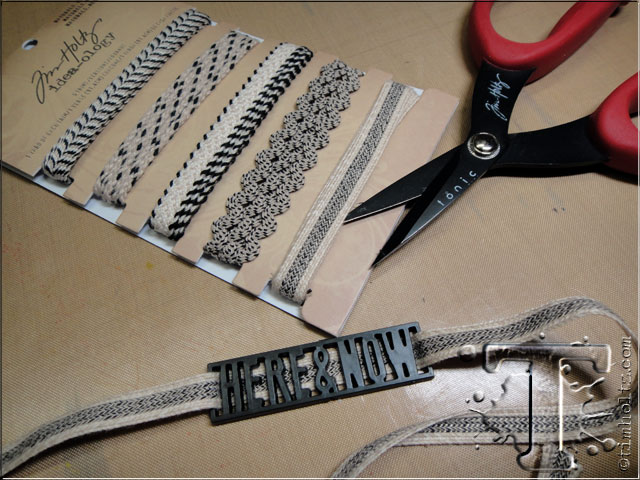
step 28: cut a piece of naturals trimmings and weave the ribbon behind the alpha part creating a ribbon slide.
step 29: tie the ribbon around the tag securing the ends in a knot.
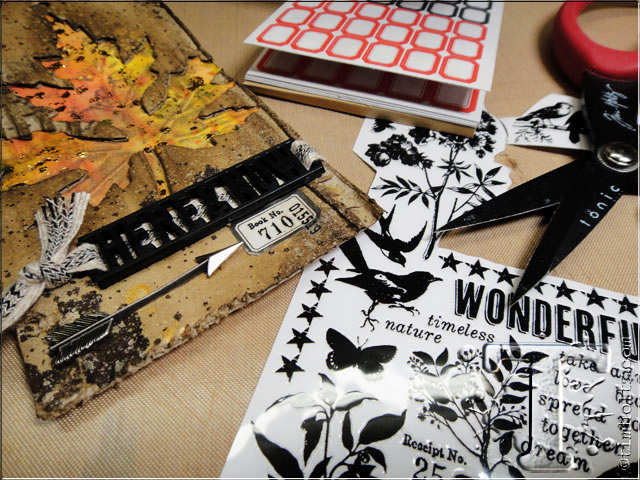
step 30: embellish the tag with an arrow adornment, vial label, and remnant rubs.
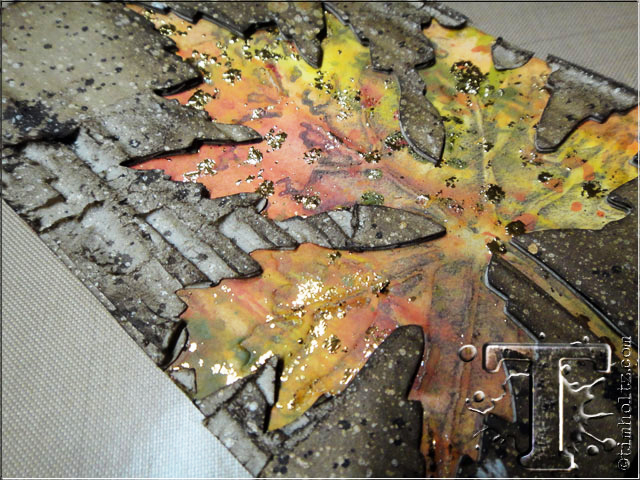
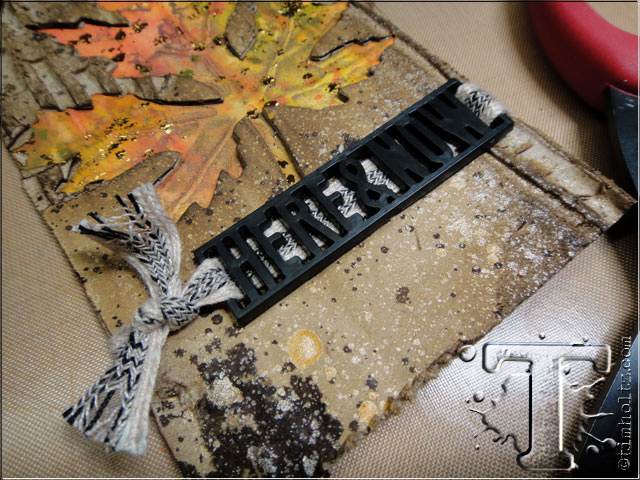
the details: the speckled effect of the foils and distress spray stain combined with the texture of the embossed leaf and corrugated cardboard makes this tag look like weathered woodgrain…
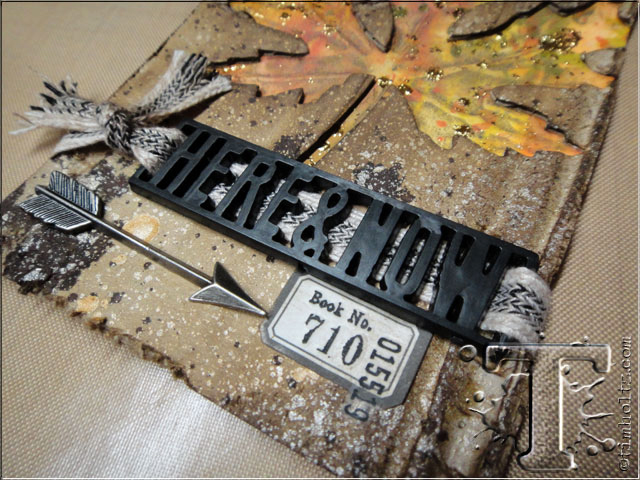
the details: when it comes to embellishing, try to create mini collages with various elements of texture and color…
*be sure to check your local stores for these supplies or you can
click the links below to purchase online…
(SSS=simon says stamp / IE=inspiration emporium)
GREAT NEWS! both of these online stores are offering a discount of 10% off your purchase – use the following codes with your order:
(SSS code: 10NOVTH / IE code: timtime)
                       |


