i always love the creative challenge of the 12 tags series. i’ve said it many times that for me, these tags are a way to express whatever artistic inspiration i may be feeling at the time. these tags are never planned in advanced, i’m literally always down to the wire when i create them on the last day of the month – it’s just what i do. so when i was in my studio ready to start this month’s tag, i looked at all of the previous tags i’ve done so far this year and really enjoy the versatility of each one…
– january: an industrial tag using metals and texture fades
– february: using layering stencils and faux chalkboard
– march: smudge stamping images with distress ink
– april: we used the new frameworks dies and tattered roses
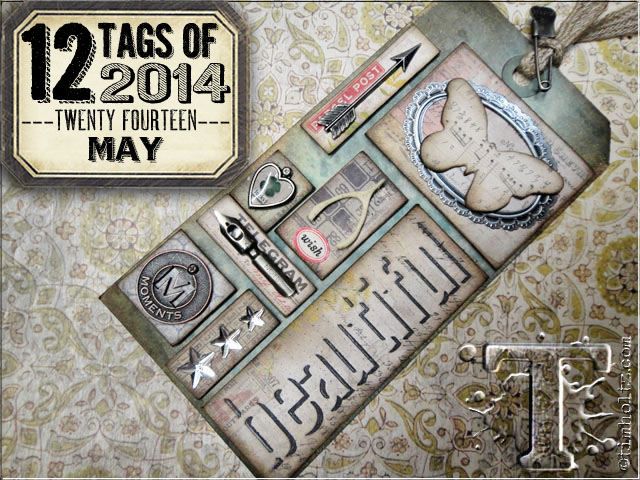
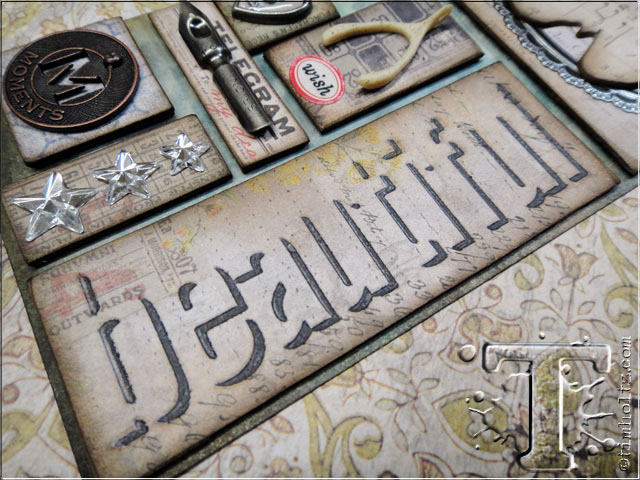
this month is really going to be a challenge for many of you since we’re using our favorite trinkets and embellishments (you know, that stash of things we collect just to admire and cherish the fact that we simply have them). well it’s time to put those treasures to use with a “creative composition” assignment. now as you take a deep breath, keep reading to see the simple process to layer and incorporate an eclectic mix of elements into an artful tiled tag. as you can imagine, i can’t wait to see what wonderful creations you share this month – let’s get started…t!m
supplies:
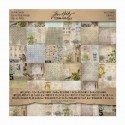
- surfaces: #8 manila tag, wallflower paper stash, chipboard
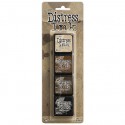
- shadow press: authentic
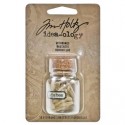
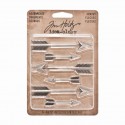
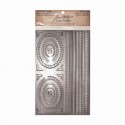
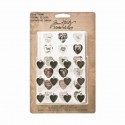
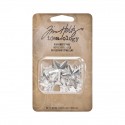
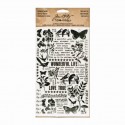
- embellishments: industrious stickers- frames & trims, adornments arrows, remnant rubs botanical, wishbones, vial labels, heart charms, pen nibs, muse tokens, mirrored stars, trinket pins, mini fasteners
- trimmings: linen ribbon
- distress ink: assorted
- archival ink: jet black
- mediums: matte multi-medium
- adheisves: collage glue stick
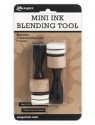
- tools: sanding grip, design ruler, mini ink blending tool, mister, heat tool, craft sheet, vagabond; tonic shears
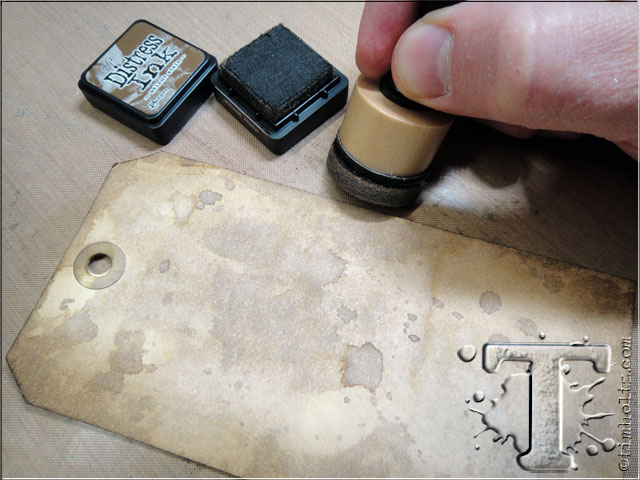 step 1: create a background on a manila tag using any colors of distress inks, stains, or paints (you’ll see at the end of this tutorial how various colors can impact your finished composition).
 step 2: next create a placeholder with a ShadowPress word so i embossed a piece of chipboard with “beautiful” ShadowPress.
*note: 2 sets of ShadowPress ARE AVAILABLE are released in april. there are still 3 more sets of ShadowPress being released in june…
here’s a demo video from cha (compliments of scrap time)…
 step 3: cut this sample piece to size (i will show the technique using ShadowPress later in the tag).
 step 4: since this word is the focal point, place it on the tag first for positioning.
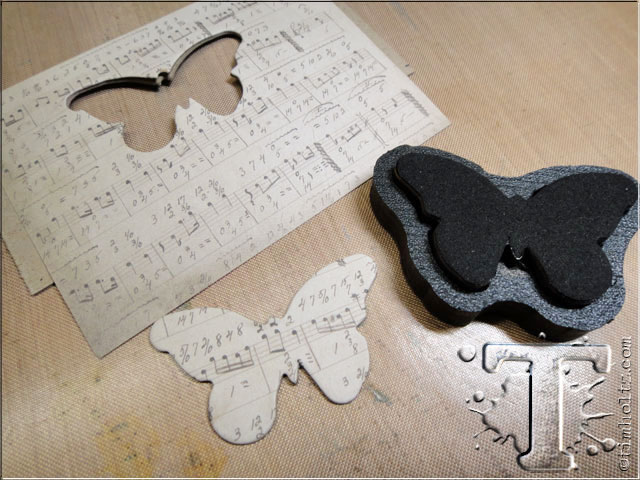 step 5: i want to start with a large embellishment to make it easier to explain the process of “tiles” so i die-cut an embellishment from covered chipboard using the mini movers & shapers butterfly die.
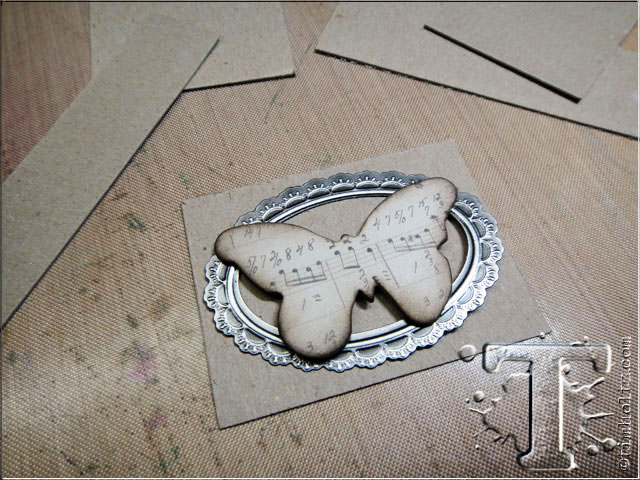
 step 6: place the cut piece over an industrious sticker frame ( i like the butterfly being larger than the frame).
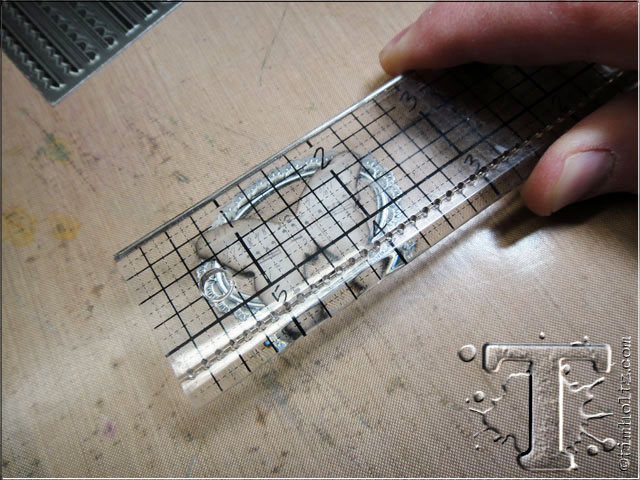 step 7: now we’re going to start our tiles for the tag by measuring the size of our embellishment. take a design ruler (since we can see through it) and place it over your embellishment (this makes it easy to see what size tile we need to cut).
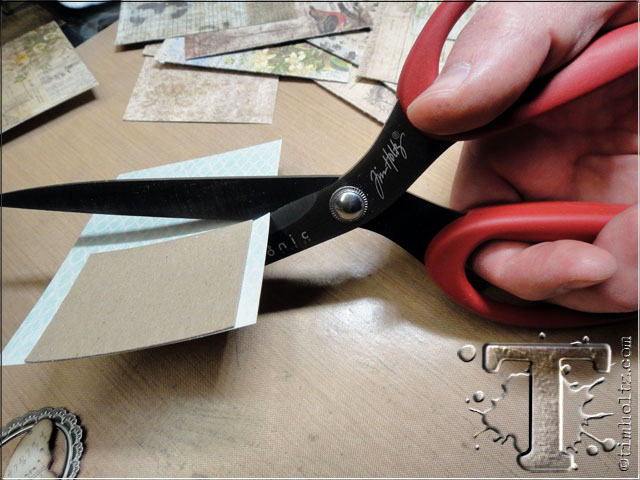
 step 8: cut a piece of chipboard or grungeboard to size and place your embellishment on the tile – do not glue anything at this point. *note: i used my tonic shears to cut the chipboard pieces with ease.
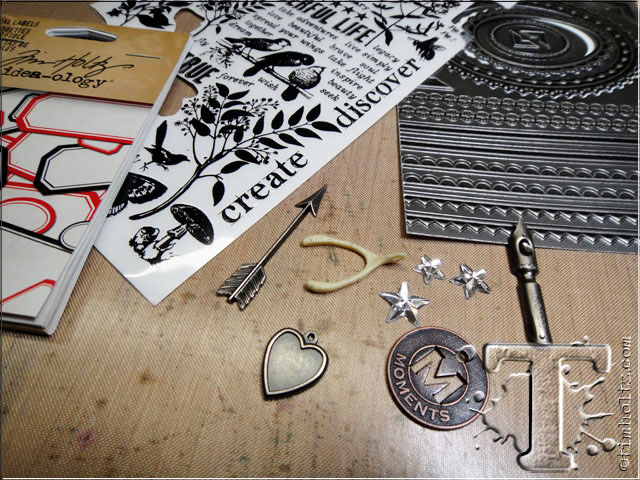 step 9: gather some of your favorite trinkets, findings, and treasures – c’mon you can do it.
 step 10: place the butterfly tile on your tag and begin filling in the tag with other trinkets, but leave enough space between them as each piece will be it’s own tile.
 step 11: measure the embellishments using a design ruler and cut a chipboard tile for each piece.
 step 12: place all tiles on the tag and trim any pieces if they don’t fit.
 step 13: next choose your background papers for the tiles. i’m using my new wallflower paper stash from idea-ology and chose the 3″x4″ collage sheet. *one thing i love about the paper stash is that it contains various design sizes in one pad like (12″x12″, 6″x6″, 3″x3″, and 3″x4″). this allows me to choose designs that have the right scale for the projects i’m working on.
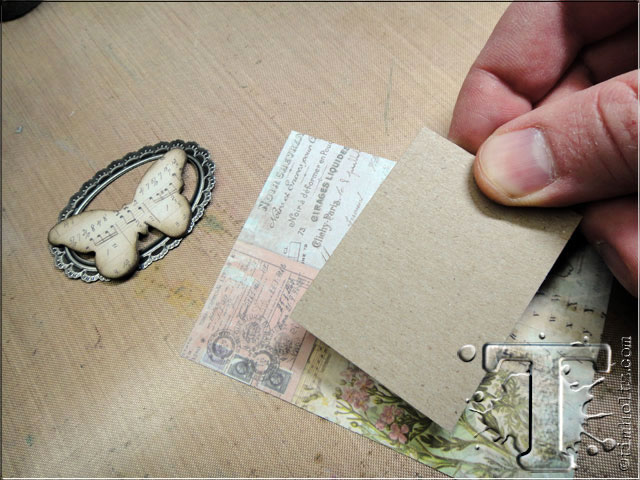
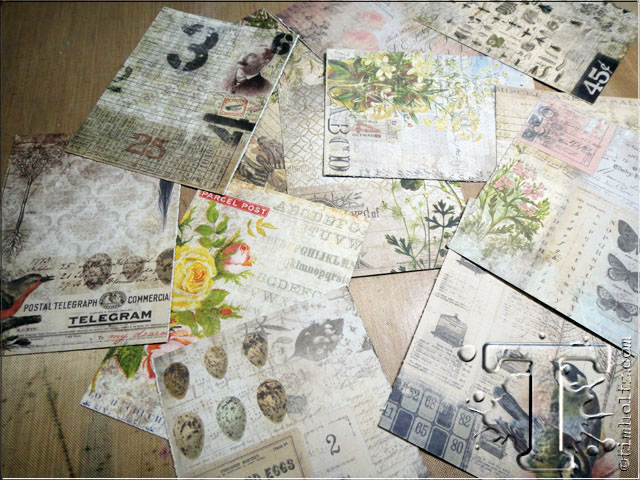 step 14: i cut the sheet of cardstock into the 3″x4″ cards as shown.
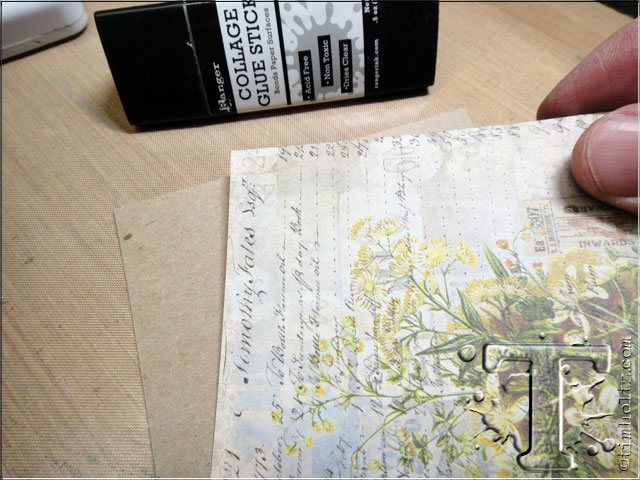 step 15: now it’s time to cover our chipboard tiles so let’s first do the ShadowPress tile by adhering a piece of cardstock to chipboard using a collage glue stick.
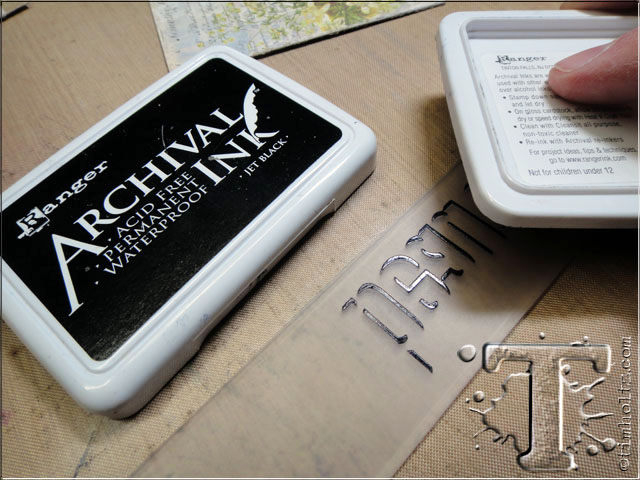 step 16: open up the ShadowPress debossing folder and lightly “tap” the archival ink on the RAISED side of the word only. do not rub the ink pad or press too hard – we only want ink on the raised shadow areas.
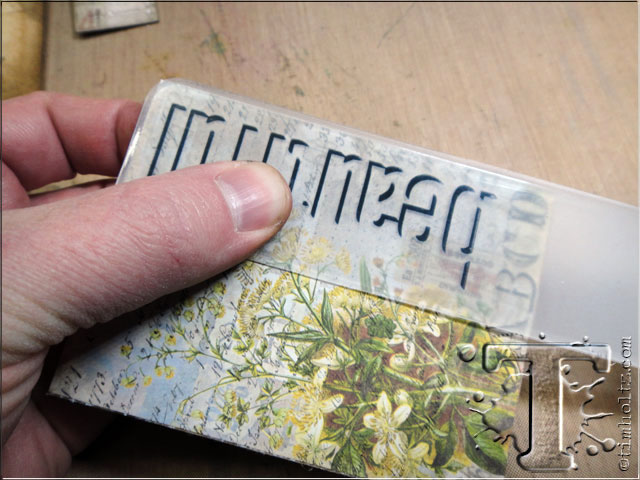 step 17: place the covered chipboard inside the inked ShadowPress and hold in place.
 step 18: i think it’s better to secure them with a piece of removable tape like washi/tissue tape before running it through the machine.
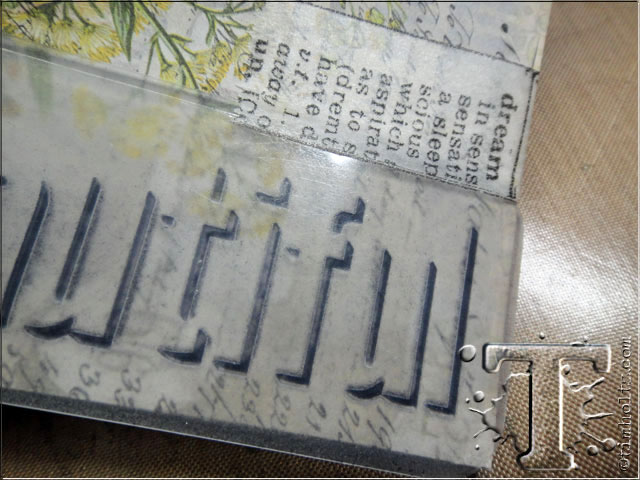
 step 19: once you’ve run the piece through your sizzix machine, carefully remove the ShadowPress from the chipboard to reveal your debossed shadow – so cool right? (note: you can simply clean the ink off of the ShadowPress with any stamp cleaner or soap and water)
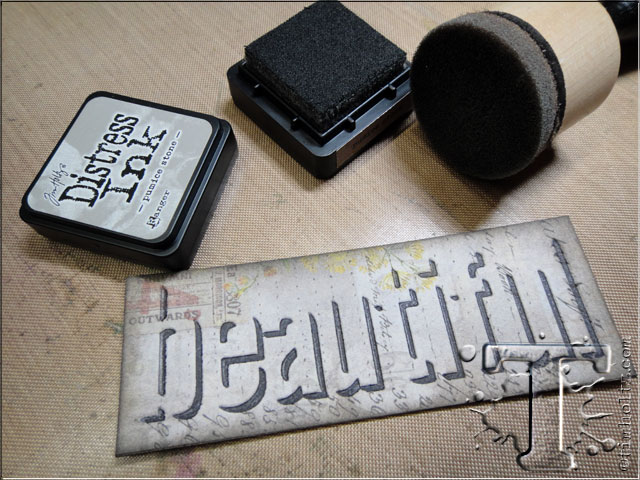 step 20: ink the edges of the ShadowPress tile with distress ink using a mini ink blending tool.
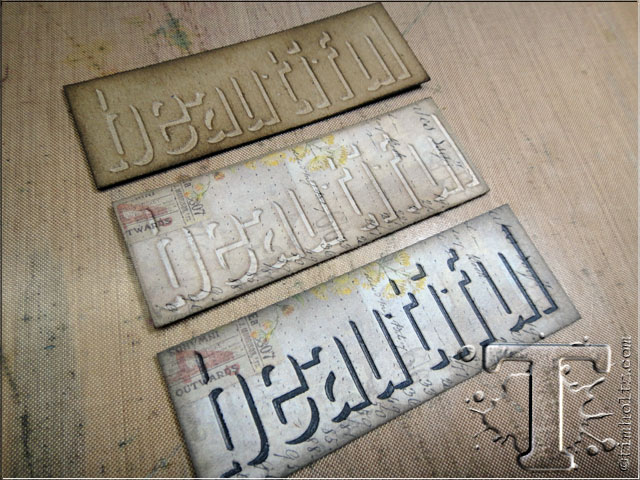 – i wanted to show you a comparison of ShadowPress since there are many options including not inking the folder. for this i suggest sticking with a plain background like the top piece. you can see on the second piece with the background, that the drop shadow gets lost on a printed background even when inks. the third piece shows what we just did by inking the folder. of course another option is to add color with a fine tip marker into the drop shadow after you deboss it if you choose not to ink the folder.
 step 21: cover the rest of the tiles by selecting the area of background paper for each one.
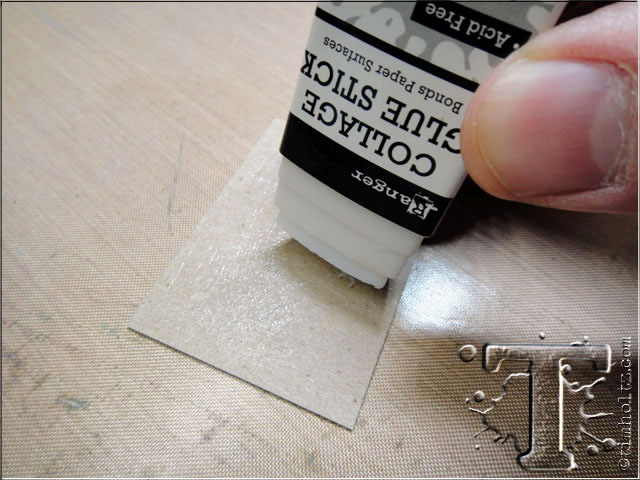 step 22: apply collage glue stick to one side of the chipboard.
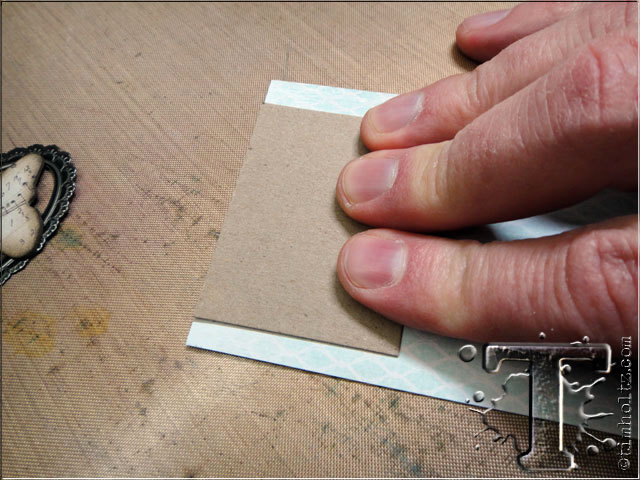 step 23: press and hold the chipboard to adhere to the BACK of the paper design you selected.
 step 24: trim the excess paper to the size of the chipboard tile. *i love my new tonic shears for projects like this – just so easy to make longer cuts with ease.
 step 25: sand the edges of the covered chipboard using a sanding grip. this will eliminate any rough edges and make it easier to ink.
 step 26: ink the edges of the sanded piece with distress ink using a mini ink blending tool.
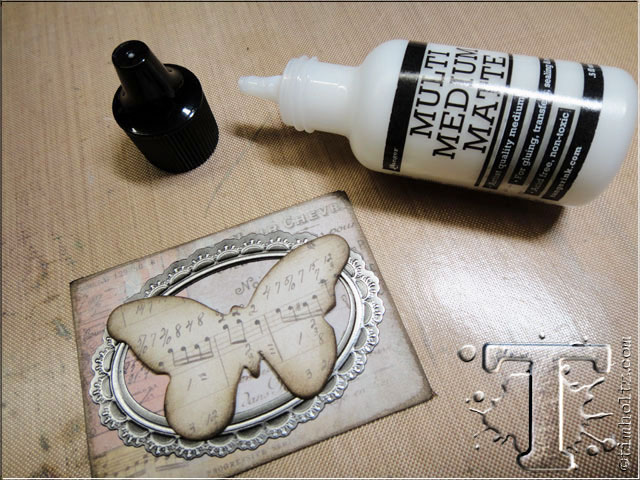 step 27: adhere your embellishment to the chipboard tile with multi-medium and set aside to dry.
 step 28: the adornment arrow tile.
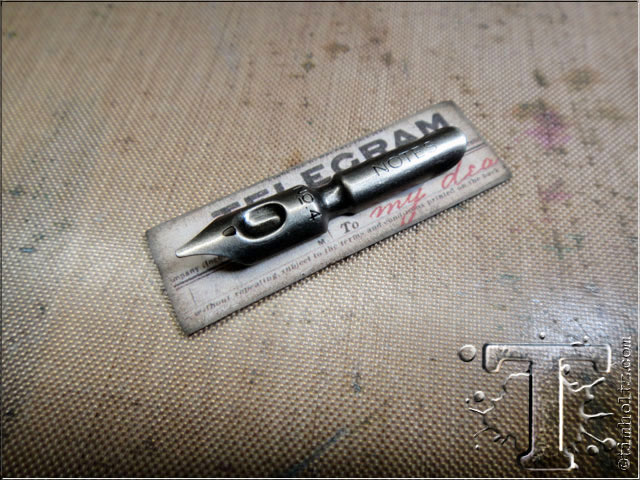 step 29: the pen nib tile.
 step 30: the muse token tile (attached with a mini fastener).
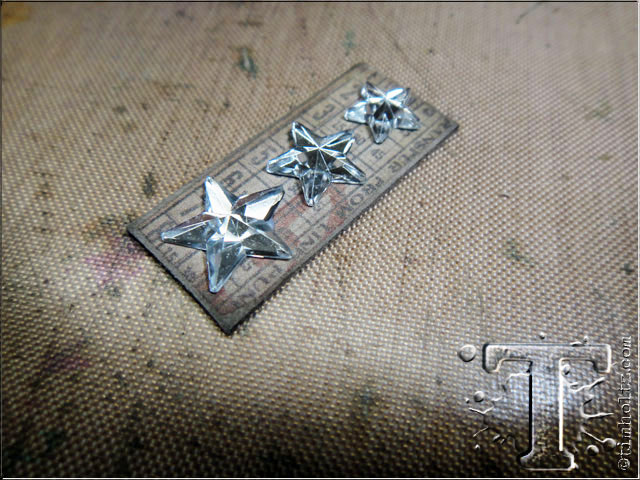 step 31: the mirrored stars tile.
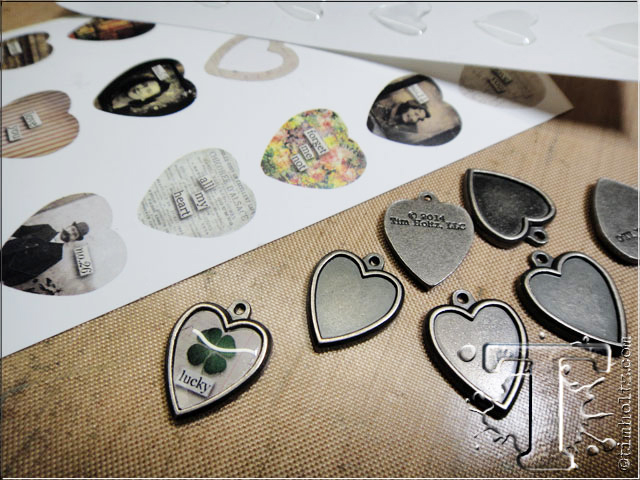 step 32: to create a heart charm, select one of the included heart collages and layer with an included heart epoxy sticker.
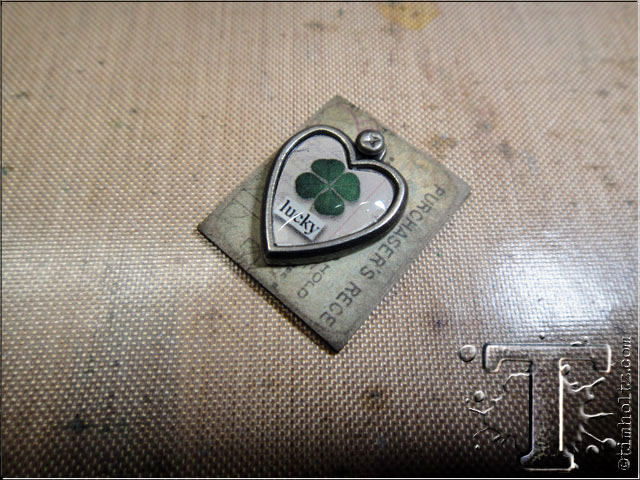 step 33: the heart charm tile (attached with a mini fastener).
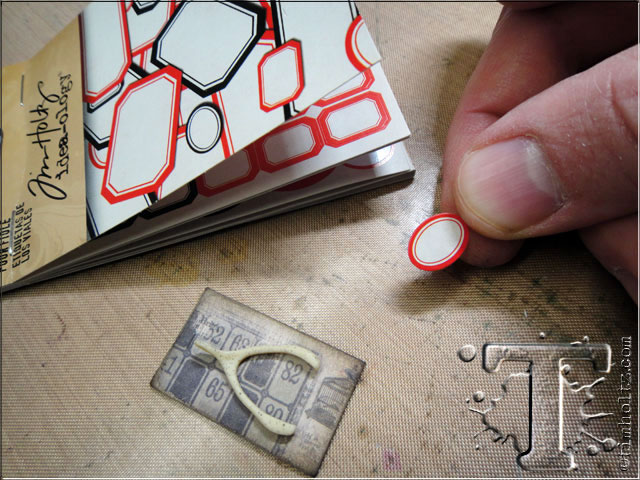 step 34: under the wishbone i added a small vial label – love these.
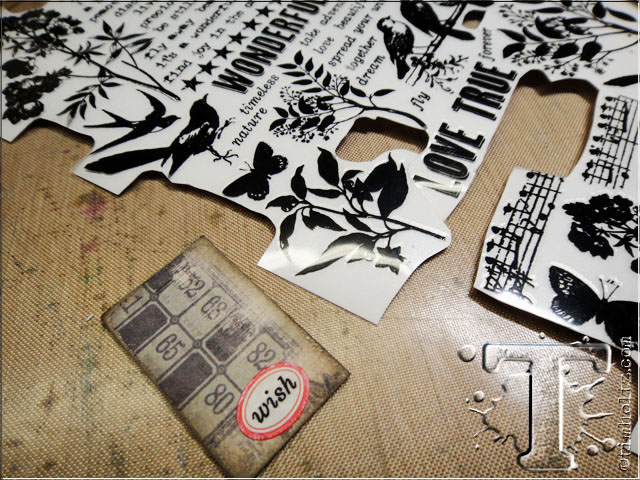 step 35: i applied a remnant rub to the vial label that says “wish”.
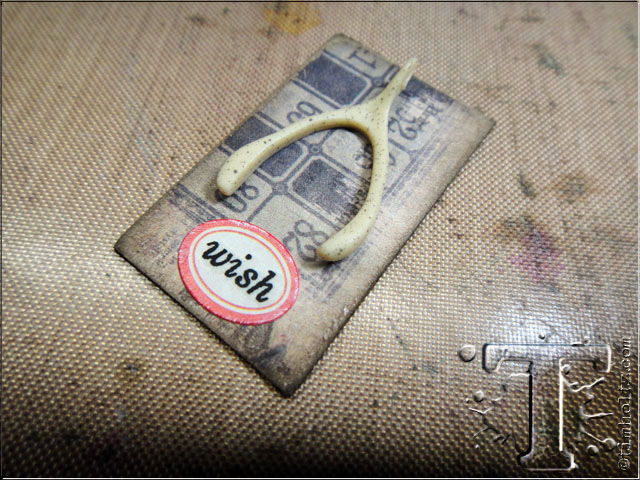 step 36: the wishbone tile.
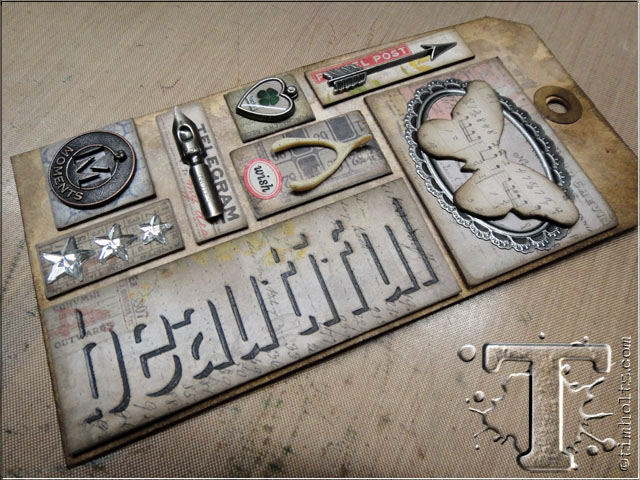 step 37: place all of your finished tiles on the background tag. now before you adhere anything, check out these next couple of photos to see what i was referring to in step 1 about the background color impacting your final composition.
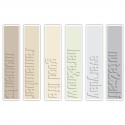
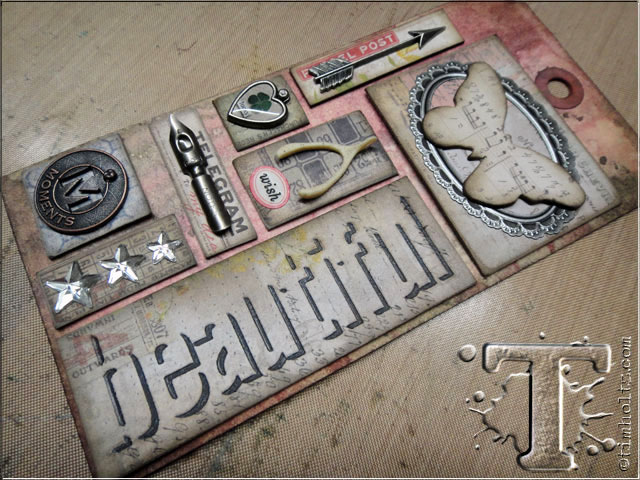 – here are the same tiles on a pinkish background – notice how certain tiles pop more than others?
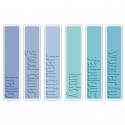
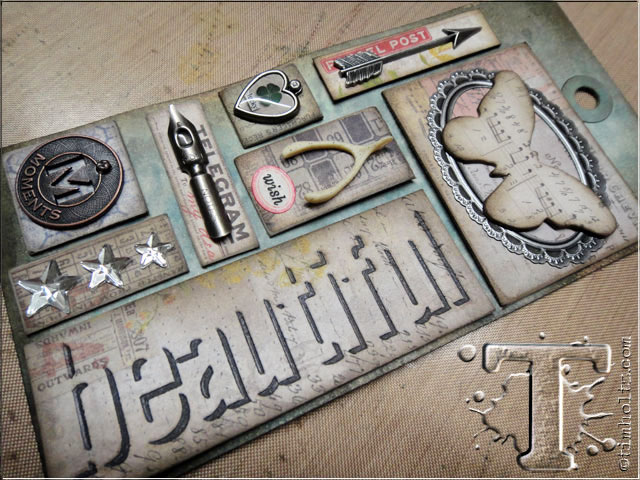 step 38: here are the same tiles on a blueish background – this ended up being my favorite so i actually changed the tag to this one. adhere all of the tiles to your background tag of choice using multi-medium and let dry.
 step 39: cut a piece of linen ribbon to tie through the top of the tag and ink with distress ink using a blending tool.
 step 40: using your fingers, begin to pull at the sides of the linen ribbon to expand it.
 – check out the difference inking and stretching the linen ribbon. love the versatility of creating various colors and widths of this natural ribbon.
 step 41: tie the linen ribbon through the top of the tag and fray the ends of the ribbon.
 *the details: love the depth and texture of these ShadowPress folders – they make such a statement on projects.
 *the details: how fun are these mini collage tiles? just some background papers and cool trinkets is all you need.
 *the details: don’t forget about your die-cuts since many of them make great embellishments too.
*be sure to check your local stores for these supplies or you can
click the links below to purchase online…
(SSS=simon says stamp / IE=inspiration emporium)
GREAT NEWS! both of these online stores are offering a discount of 10% off your purchase – use the following codes with your order:
(SSS code: MAY10TH / IE code: timtime)
 |
 |
 |
 |
 |
 |
|
|
 |
|
|
 |
|
|
|
 |
|
|
|
|
|
|
|
|
|
 |
 |


