
hard to believe the first month of this year has already flown by. it was certainly a busy one for me – how about you? did you remember to “make time” to do something creative??? or…we’re you “too busy” to create a tag last month??? remember it’s never too late to get started on the 12 tags of 2014. thanks to those of you who uploaded your tags last month, some really amazing and creative ideas. thanks also to our amazing friends at inlinkz for providing the innovative platform that has opened the doors to creative and interactive sharing on blogs throughout the world…
so are you ready for another tag? this month’s tag was certainly inspired by one of my favorite new stamps. i think the message is perfect, a reminder to us all that we need to recognize the people that do in fact, make our lives wonderful. so whether they are a close friend, family relative, or significant other, be inspired to make something creative for the one’s you love this month…t!m
supplies:
- surfaces: #8 manila tag, grungeboard, black cardstock
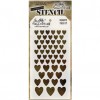
- layering stencils: hearts
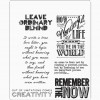
- stamps: cms182
- dies: mini movers & shapers heart die
- embellishments: industrious stickers borders
- trimmings: red & cream trimmings
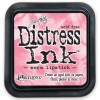
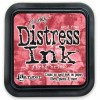
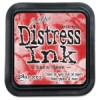
- distress ink: worn lipstick, barn door, fired brick, walnut stain
- distress stain: pumice stone, milled lavender, frayed burlap
- distress embossing ink
- embossing powder: frosted crystal, super fine detail clear
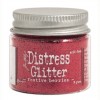
- distress glitter: festive berries
- mediums: glossy accents
- adheisves: foam tape
- tools: craft sheet, heat tool, ink blending tool, mister, scissors, paper distresser, chalk
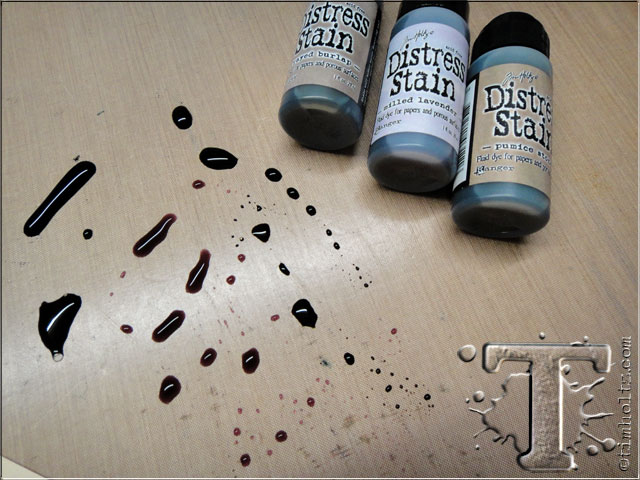 step 1: create background wash by swiping various colors of distress stain directly on to craft sheet.
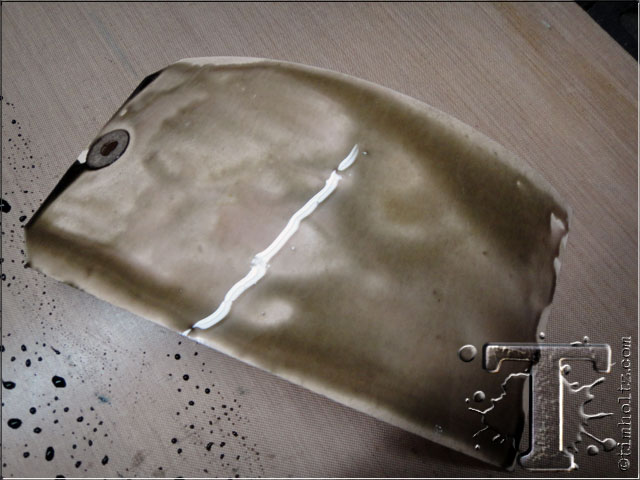 step 2: swipe manila tag through distress stain covering entire tag.
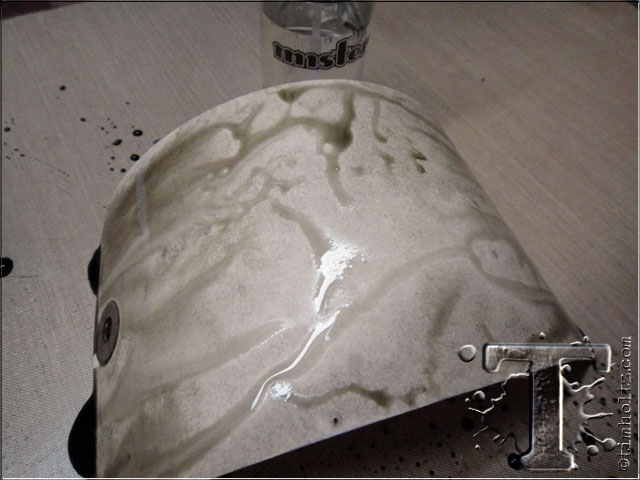 step 3: mist tag with water from mister to blend and lighten distress stain colors.
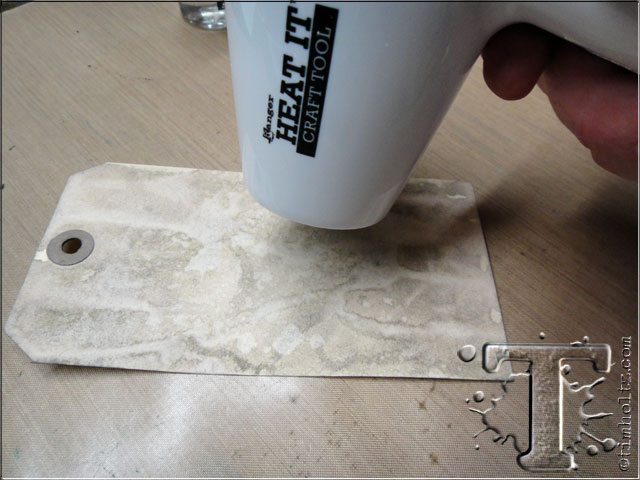 step 4: dry tag completely with a heat tool *note: it’s important that the tag is completely dry before moving on to the next step.
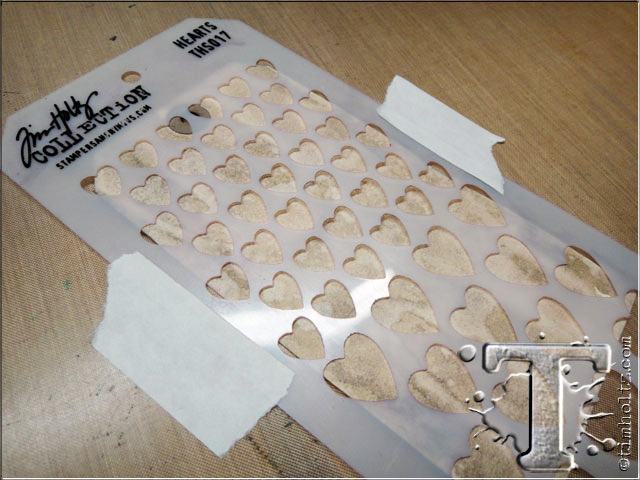 step 5: place layering stencil over tag and secure to craft sheet with tape.
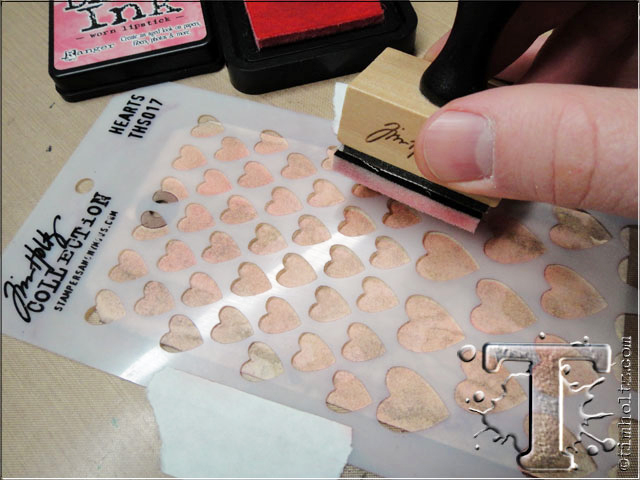 step 6: using ink blending tool, begin inking through entire stencil with lightest color of distress ink.
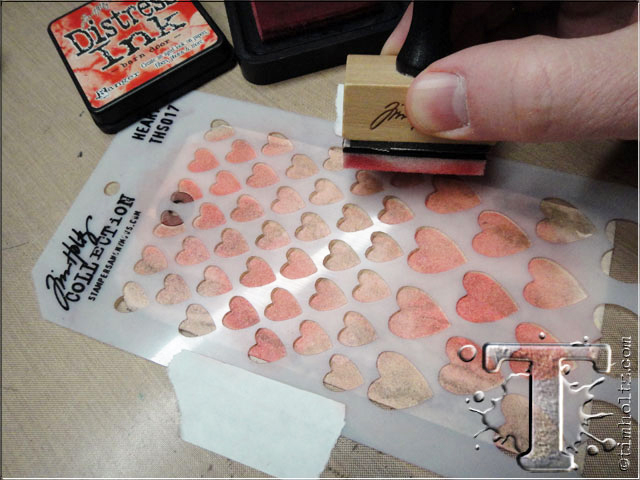 step 7: move on to middle color of distress ink, but only ink through various places of the stencil.
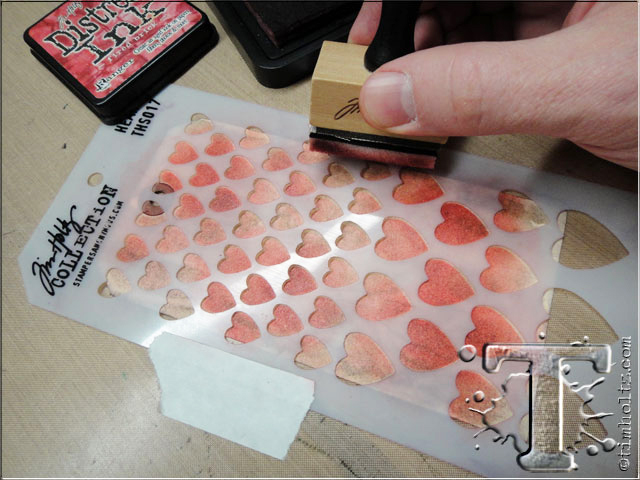 step 8: finish with the darkest color of distress ink, adding shadow through various places of the stencil.
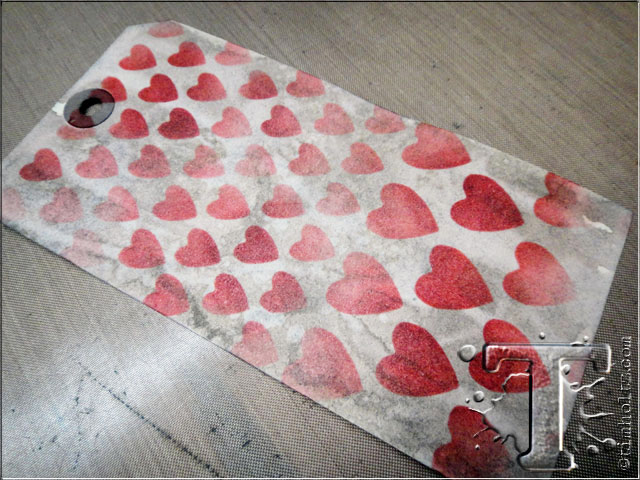 *this is the gradient effect we get through the layering stencil by working from light to dark colors with the ink blending tool – i love how the edges fade out.
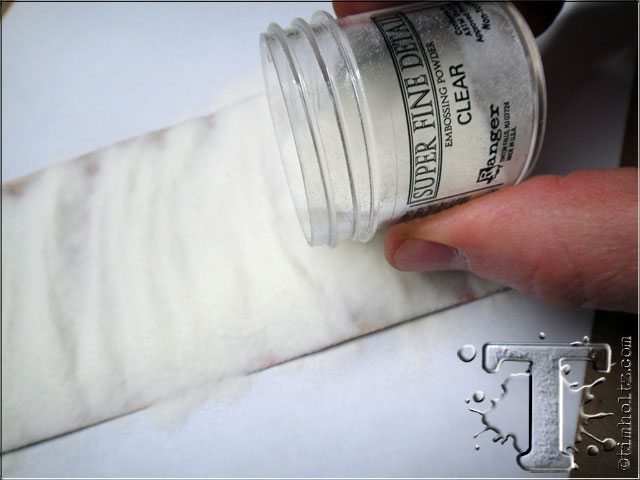 step 9: remove the layering stencil and immediately cover inked tag with super fine detail clear embossing powder.
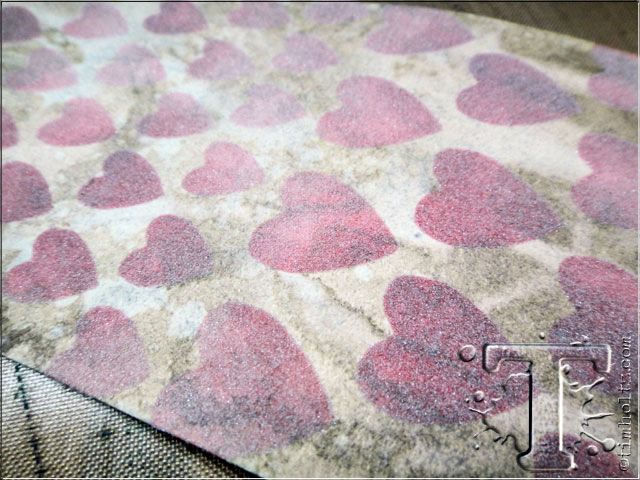 step 10: remove the excess powder by lightly tapping tag (do not “flick”), the powder will stick to the distress ink (such a cool feature of distress ink).
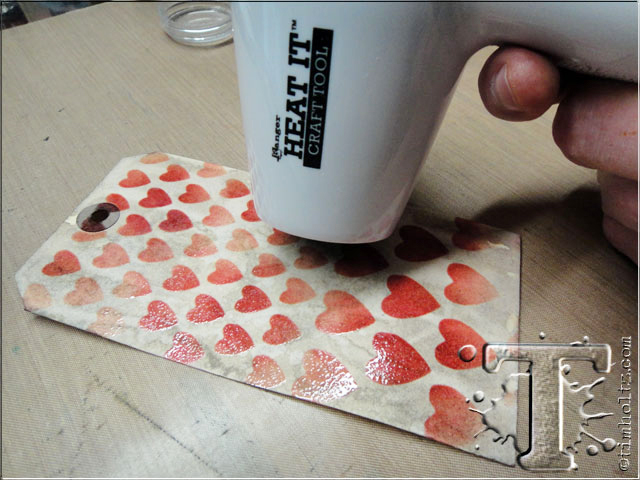 step 11: heat emboss the design using a heat tool until the embossing powder melts clear and shiny.
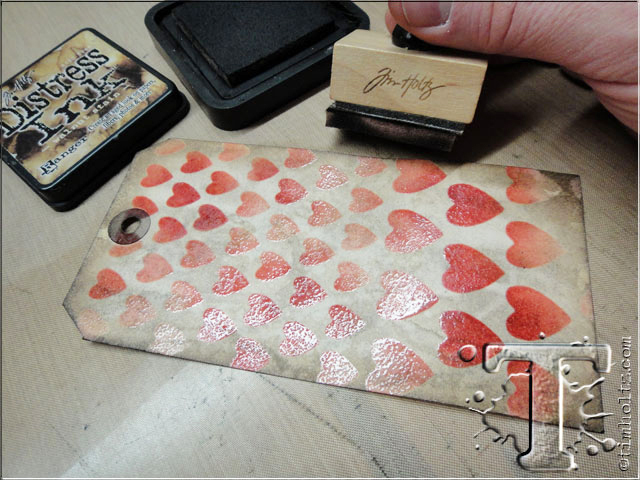 step 12: ink the edges of the embossed tag with a darker color of distress ink using ink blending tool.
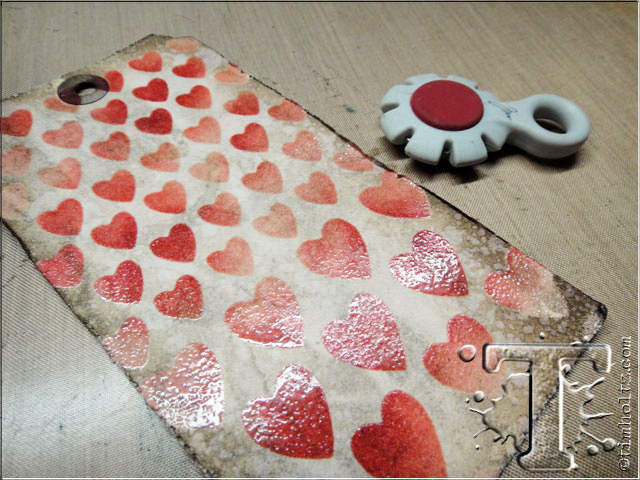 step 13: tatter the edges of the tag using a paper distresser.
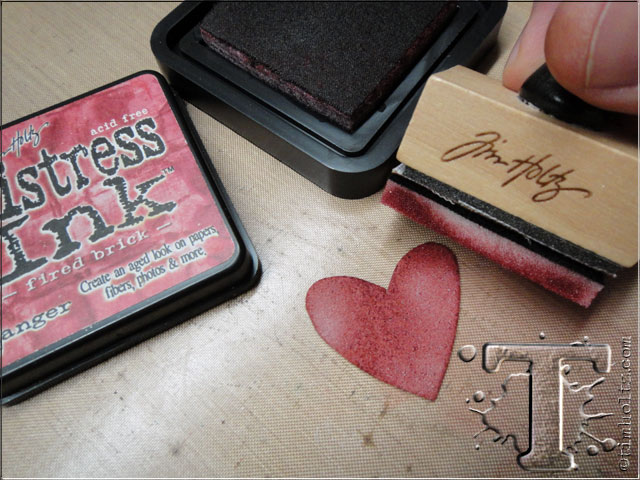 step 14: cut a heart from grungeboard or chipboard and ink with red color of distress ink.
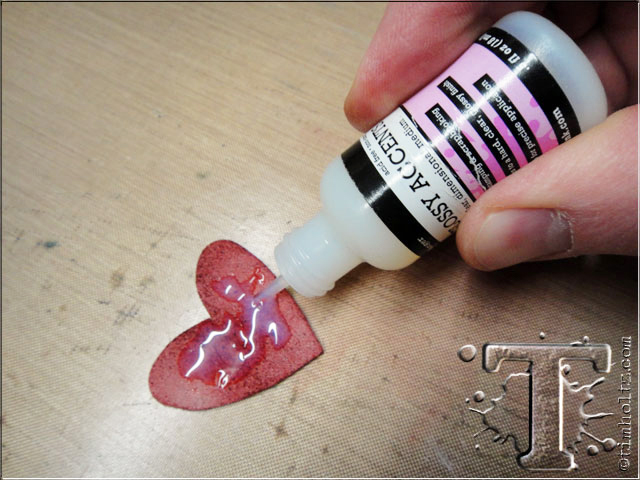 step 15: apply glossy accents over inked heart and spread out with your finger.
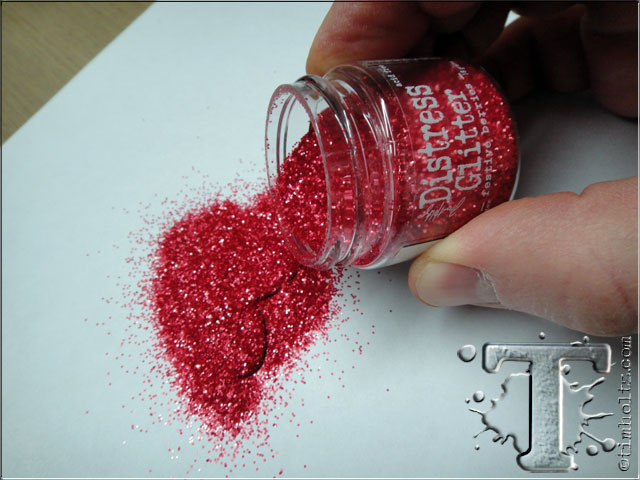 step 16: cover heart with distress glitter, tap off excess, and let dry or dry with heat tool.
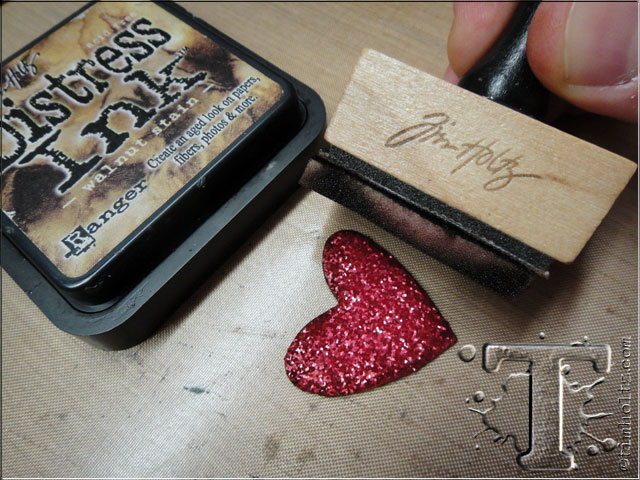 step 17: once glossy accents is dry and glitter is set, ink the edges with distress ink using an ink blending tool to create a vintage tarnished effect (such a cool feature of distress glitter).
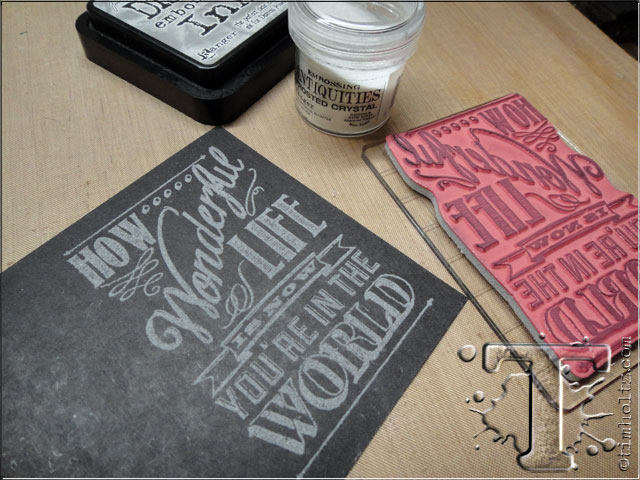 step 18: stamp image on black cardstock with distress embossing ink and cover with frosted crystal embossing powder.
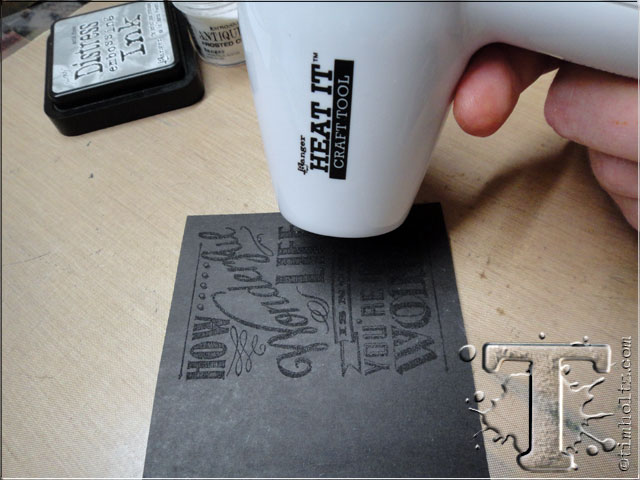 step 19: heat emboss the powder until it becomes matte (do not overheat or powder will become shiny and the technique will not work).
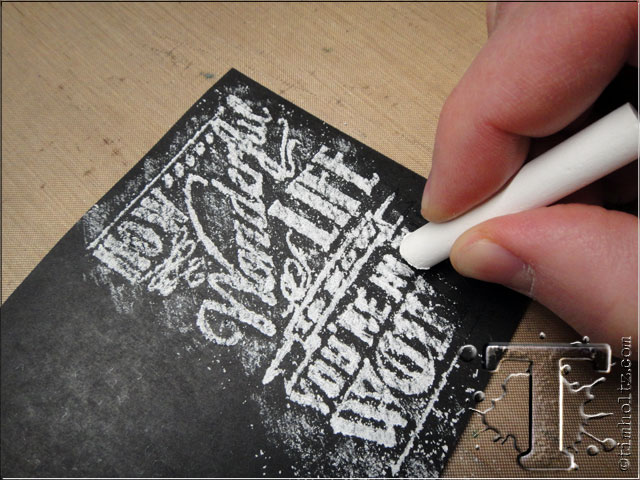 step 20: scribble over image with white chalk covering the design.
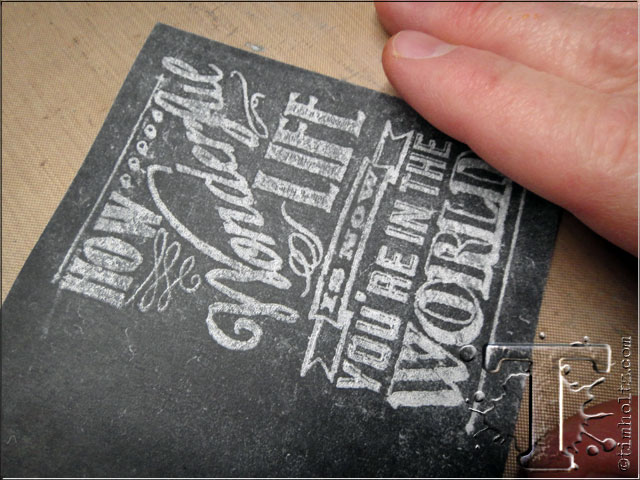 step 21: using your hand (not a towel) wipe over the design to remove excess chalk – the texture of frosted crystal embossing powder grabs on to the chalk. *note: if you wipe over the image and remove too much chalk, simply reapply chalk and wipe excess off again.
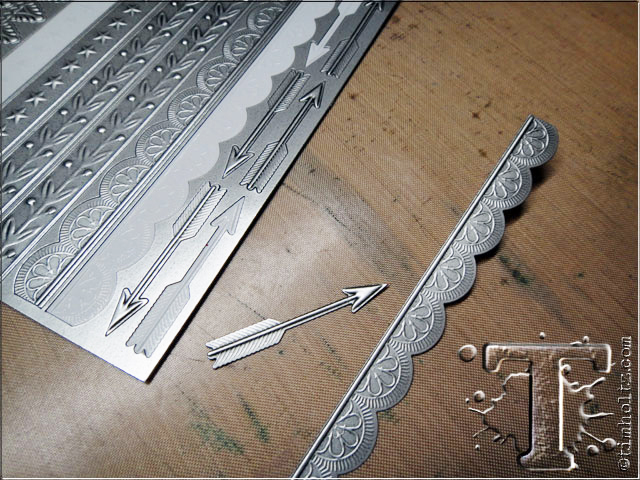 step 22: remove accent pieces from industrious stickers.
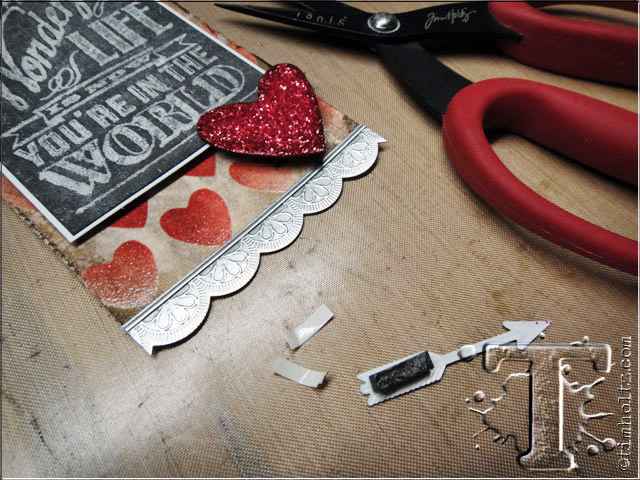 step 23: assemble the tag layering the elements with foam tape for added dimension.
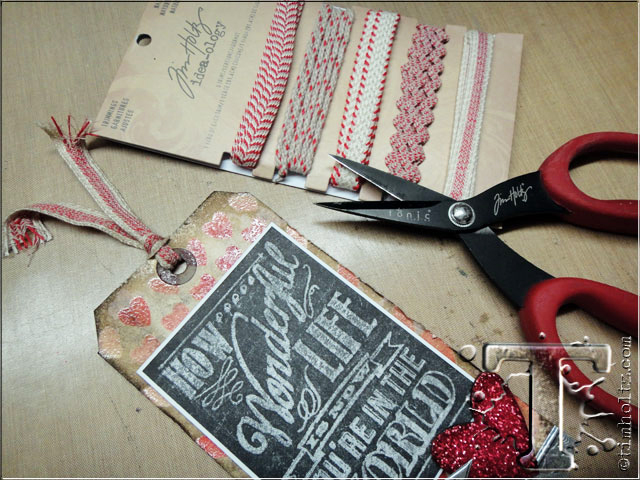 step 24: finish the tag by tying a piece of trimmings through the top.
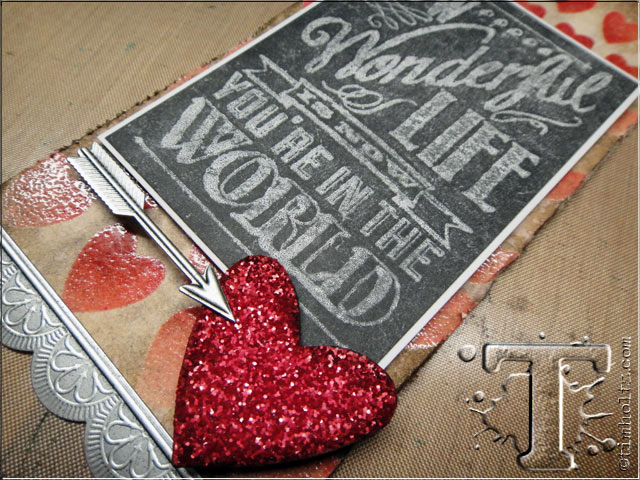 the details: i really like the combination of textures on the tag: the soft chalkboard quote, the shiny embossed stencil design, and the chunky distress glittered heart.
*be sure to check your local stores for these supplies or you can
click the links below to purchase online…
(SSS=simon says stamp / IE=inspiration emporium)
GREAT NEWS! both of these online stores are offering a discount of 10% off your purchase – use the following codes with your order:
(SSS code: FEBTH10 / IE code: timtime)
 |
 |
|
|
|
|
 |
 |
 |
 |
|
|
|
|
|
|
|
|


