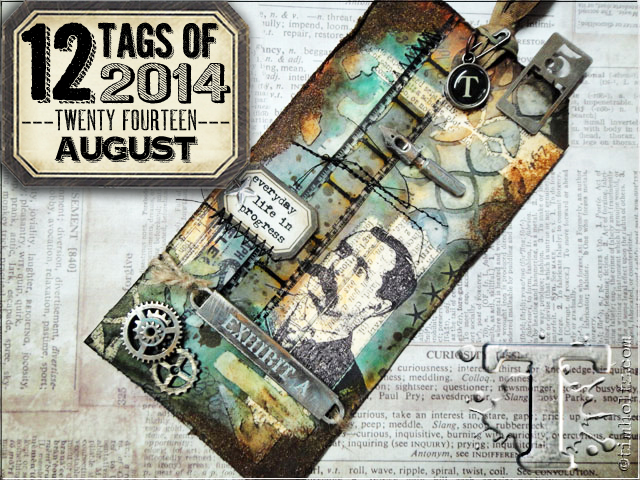
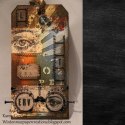
our style is as unique as our individual personality, the art we make is an expression of that, and sometimes we simply have to follow that creative muse… now usually i try to have an idea of what i want to create before i start the tag each month however this month i didn’t plan a thing. instead i just gathered some of my favorite stamps, stencils, idea-ology findings, and distress products in a pile on my table. i wanted to create something for the art of it. this tutorial will give you a glimpse into my creative process (however crazy it may be), and you will see that like anyone else who creates, i change my mind along the way, think of new ideas that probably should have been done before something else, but nevertheless i just keep going until i’m happy with the end result. i’ve learned long ago to embrace my imperfections and that sure makes creating so much more enjoyable. so whether you’re obsessed with distress, or clean and simple is your thing, perhaps your happy place is bright colors, heck maybe even glitter is your sparkly obsession, this month i challenge you to create showcasing your own creative muse. it doesn’t get any better than that…t!m
supplies:
- surfaces: #8 manila tag
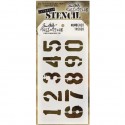
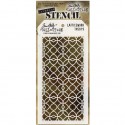
- layering stencils: numbered, speckles, latticework,
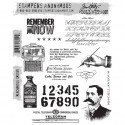
- stamps: cms189
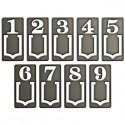
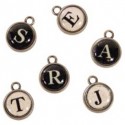
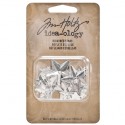
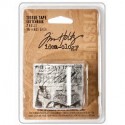
- embellishments: mini gears, pen nibs, word bands, stencil marks, type charms, mirrored stars, tissue tape, vial labels, remnant rubs, film strip ribbon, crinkle ribbon, jute string
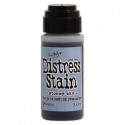
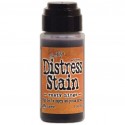
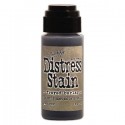
- distress stain: evergreen bough, stormy sky, rusty hinge, frayed burlap
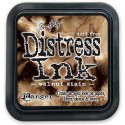
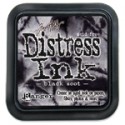
- distress ink: walnut stain/black soot
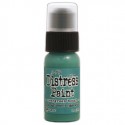
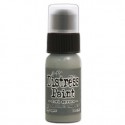
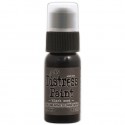
- distress paint: evergreen bough, iced spruce, antiqued bronze, black soot
- distress embossing powder: vintage photo
- distress embossing ink
- archival ink/jet black
- mediums: texture paste, multi-medium- matte
- tools: mini ink blending tool, palette knife, mister, craft sheet, heat tool, grid-blocks, scissors, paper distresser
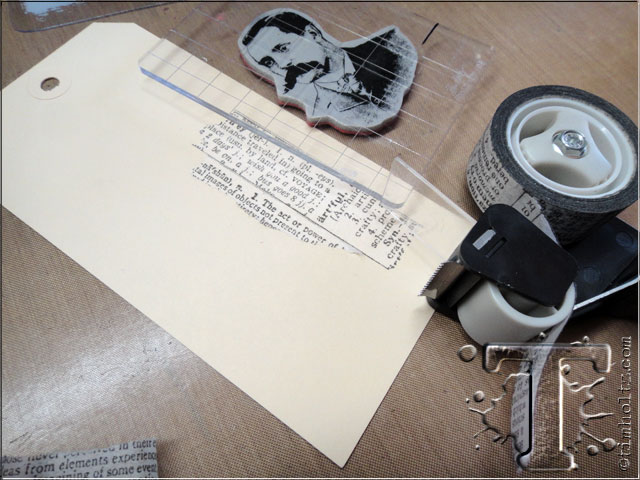 step 1: i wanted to create a mask area for my focal image so i adhered strips of torn tissue tape about the size of the image to the tag.
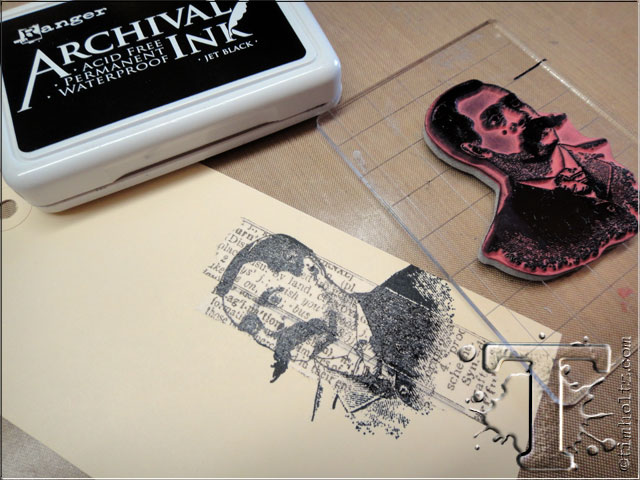 step 2: stamp the image with jet black archival ink.
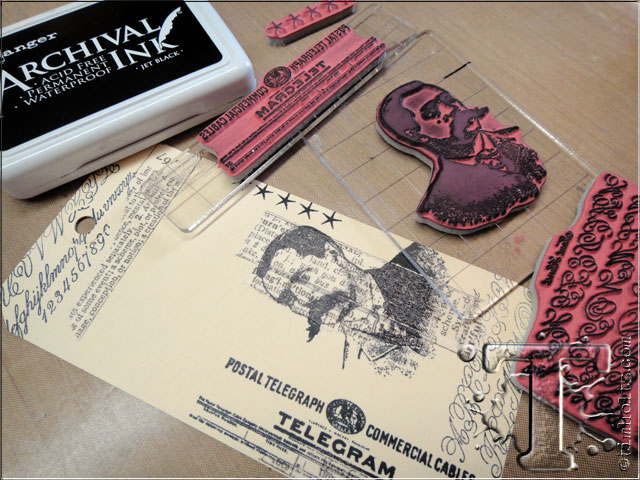 step 3: repeat the previous steps for any additional images and dry the ink with a heat tool.
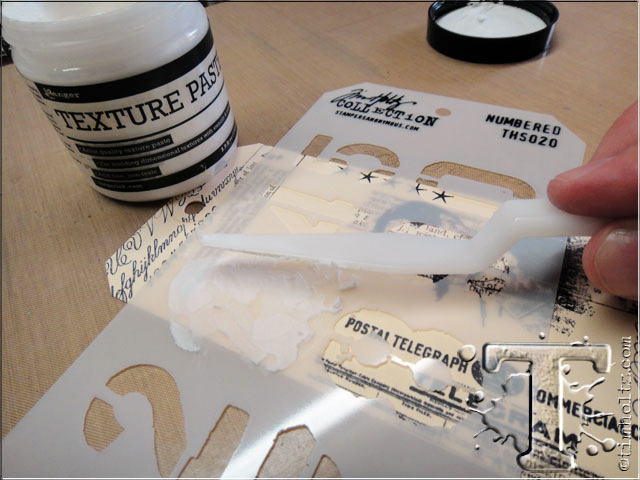 step 4: place a layering stencil over the tag and apply texture paste using a palette knife.
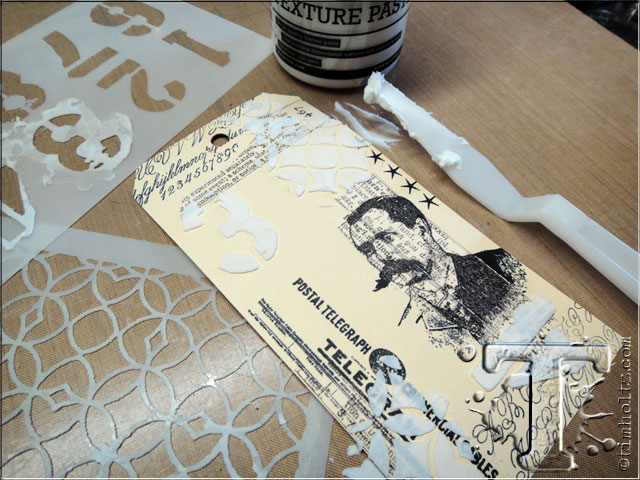 step 5: repeat in various areas of the tag using any stencil designs you choose and let paste dry completely.
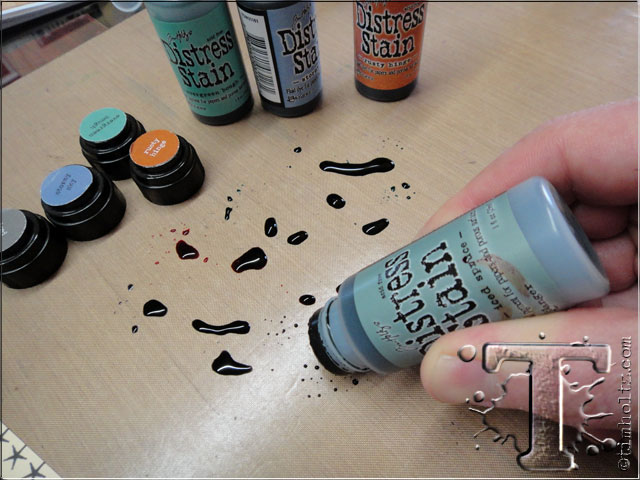 step 6: apply several colors of distress stain to the craft sheet.
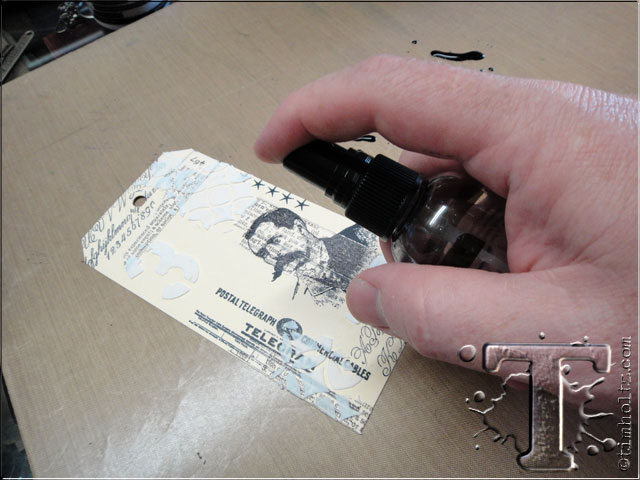 step 7: lightly mist the tag with water using a mister.
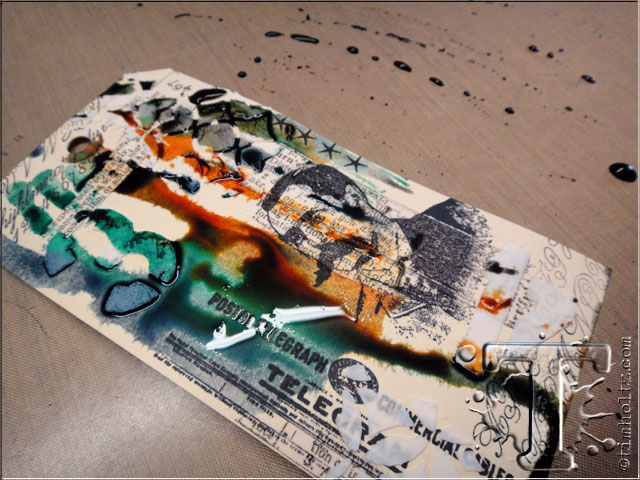 step 8: swipe the tag through the stains one time to create random color areas.
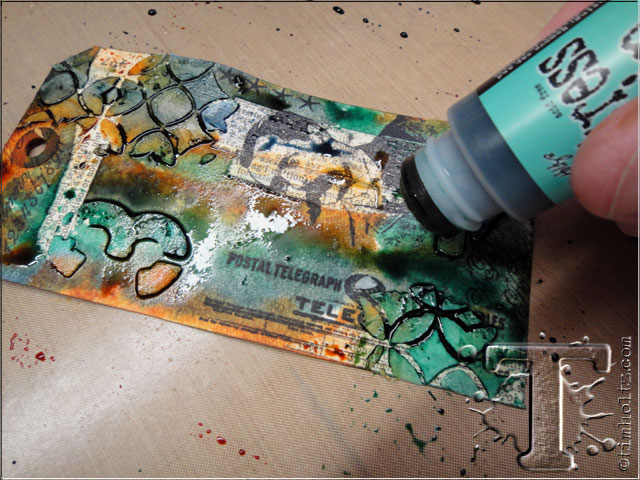 step 9: fill in color areas using distress stain directly from the bottle and mist with water to blend.
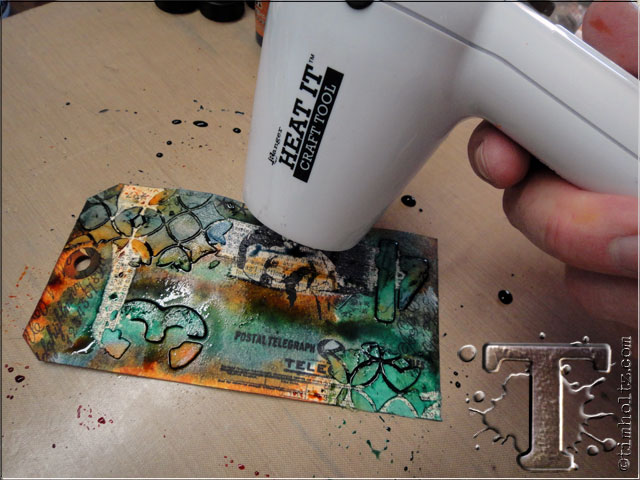 step 10: dry tag completely with a heat tool – notice how the ranger texture paste will absorb color? so cool. (if you haven’t checked out the texture paste video yet, click here to watch it)
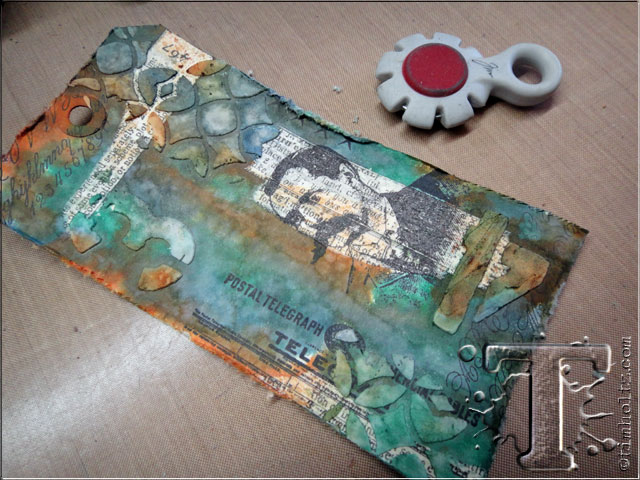 step 11: drag a paper distresser along the edges to tatter.
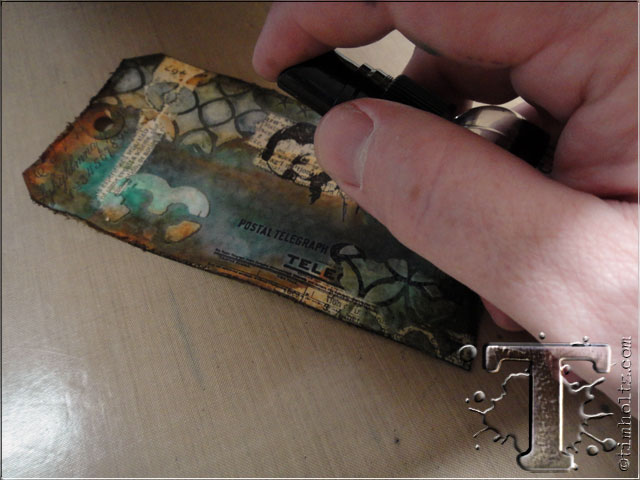 step 12: at this point i decided the background was too dark so i sprayed the entire tag with water (this is why i like to stamp in archival ink most of the time because i never know when i might have to wet the whole dang thing).
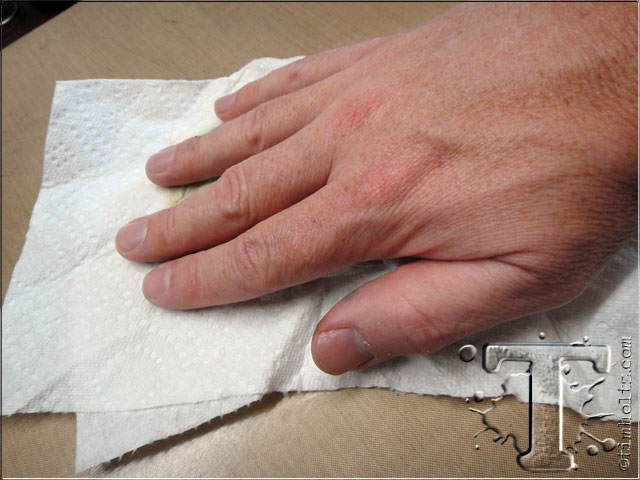 step 13: next i placed a paper towel over the tag to lift off some of the excess color and dried that tag again with a heat tool.
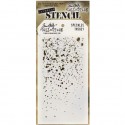
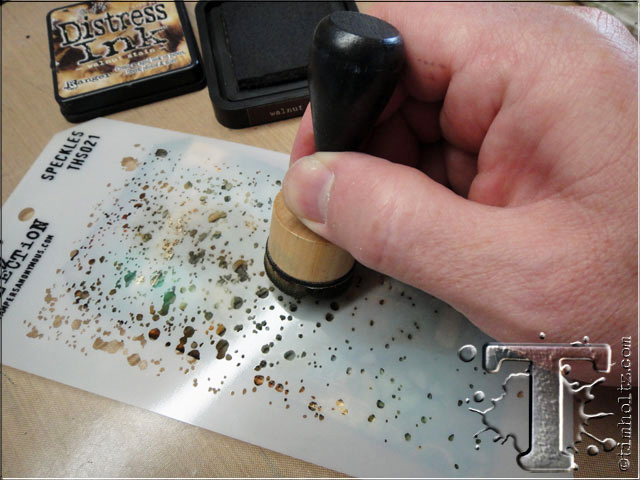 step 14: place the speckled layering stencil over the tag and ink with distress ink using an ink blending tool – this will create “planned” specks of ink.
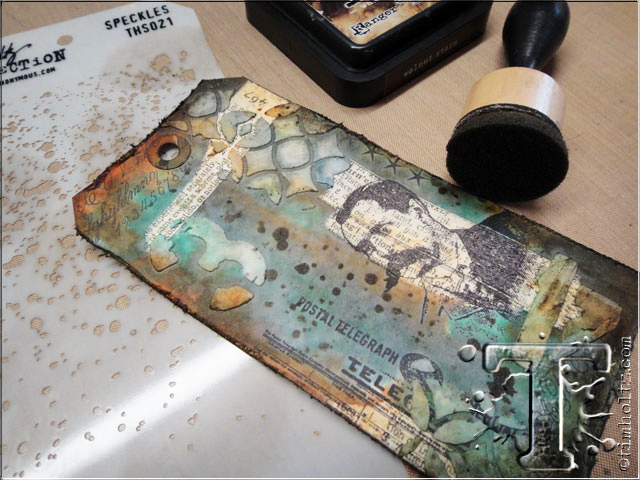 step 15: continue adding ink specks to fill in areas of your background and ink the edges of the tag with distress and the mini blending tool.
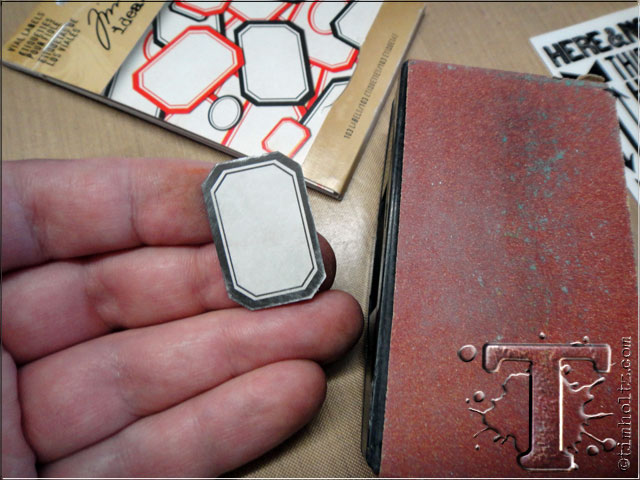 step 16: remove a vial label from the sheet and scuff the edges using a sanding grip.
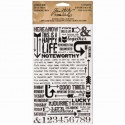
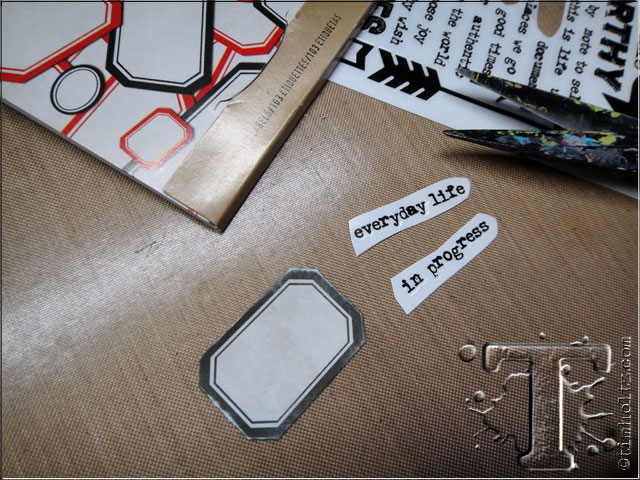 step 17: cut various words from remnant rubs (i like using these random words to express my creative thoughts).
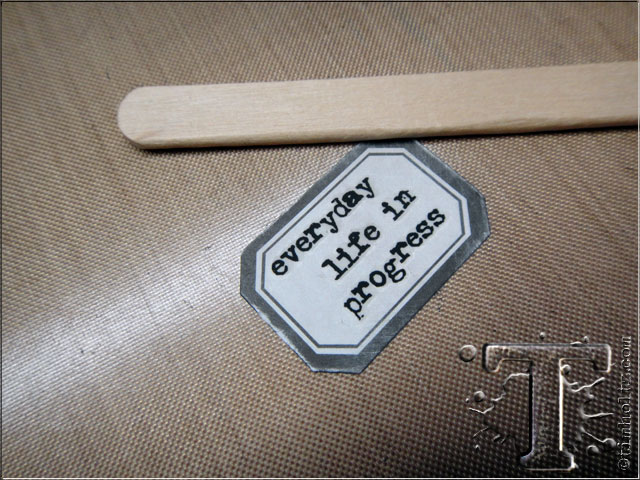 step 18: apply remnant rubs to vial label with a craft stick.
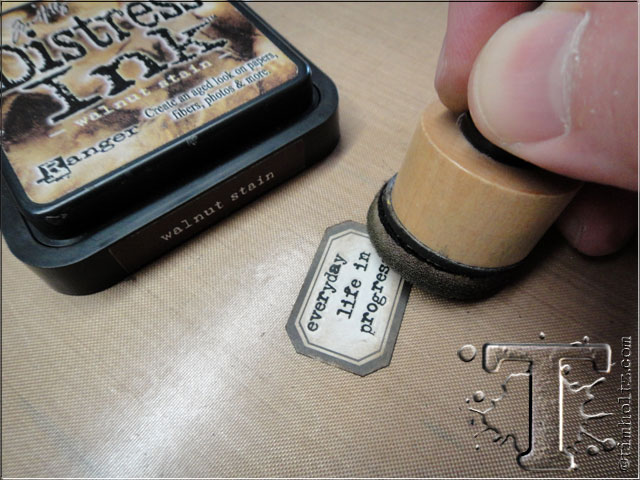 step 19: ink the vial label AFTER the remnant rubs are applied since rubs can’t stick to the resin in distress if you were to ink first.
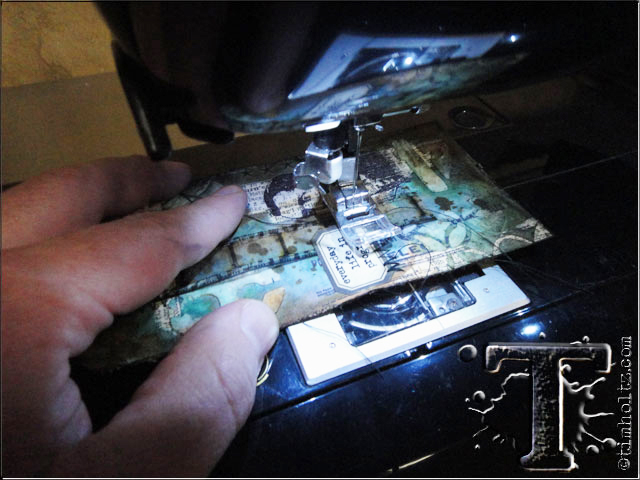 step 20: cut a piece of film strip ribbon and attach the film strip and vial label to the tag by sewing it in random places.
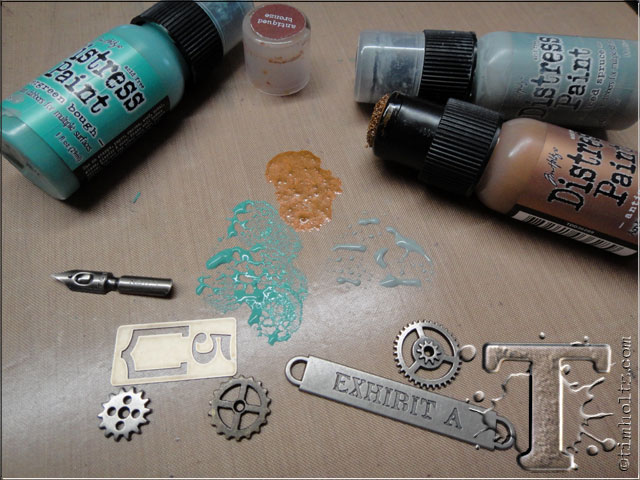 step 21: dab various colors of distress paint to craft sheet for a palette to alter any embellishments.
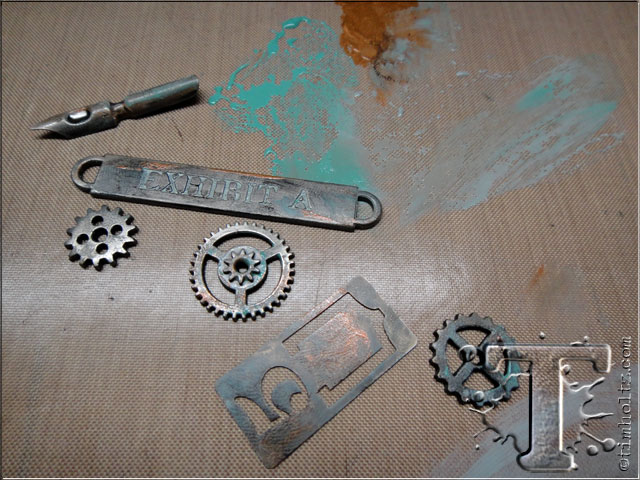 step 22: using your finger, dab and wipe various colors over the embellishments.
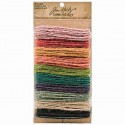
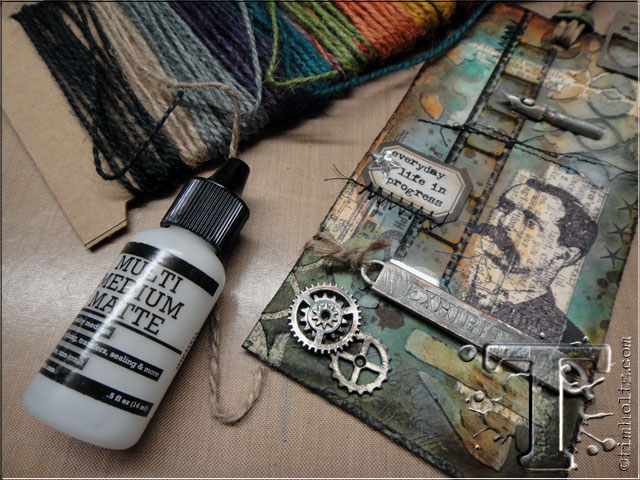 step 23: adhere elements to the tag using multi-medium and tie on word band with jute string.
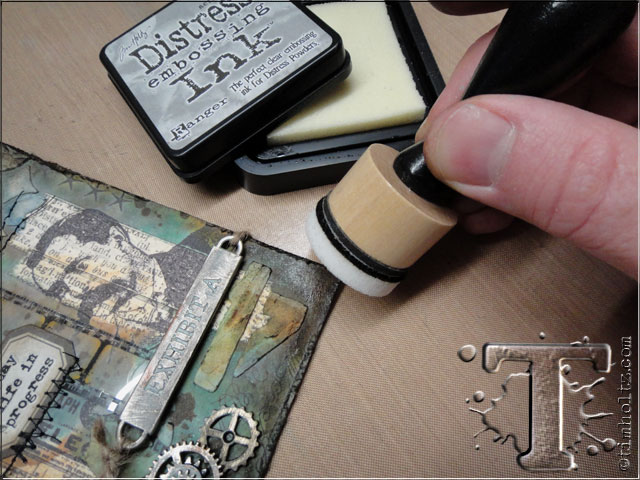 step 24: using a clean mini blending foam, lightly dab distress embossing ink to various corners and areas of the tag.
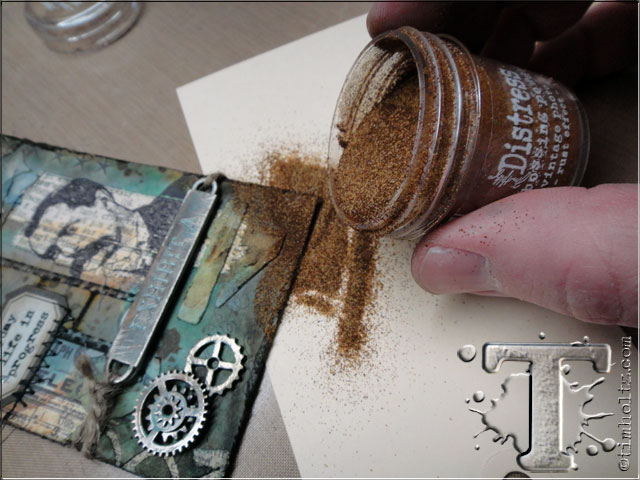 step 25: this time i want to share another cool way to use distress embossing powder…creating a rust effect! shake distress embossing powder first, and pour over embossing ink areas.
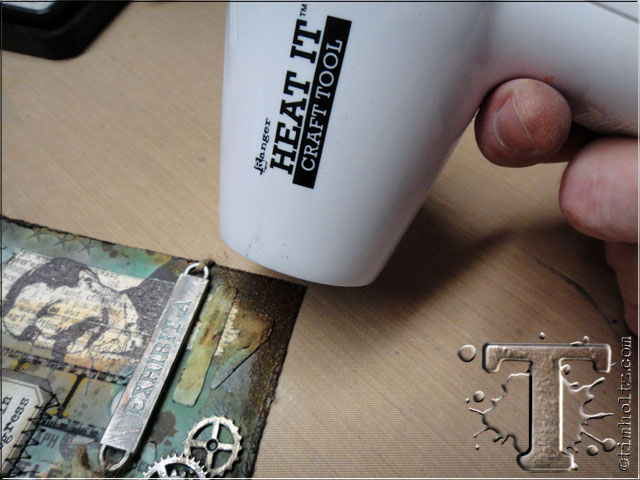 step 26: heat emboss the powder until the color begins to darken, let cool, and remove any release crystals from distress powder by wiping over the embossed areas with your fingers.
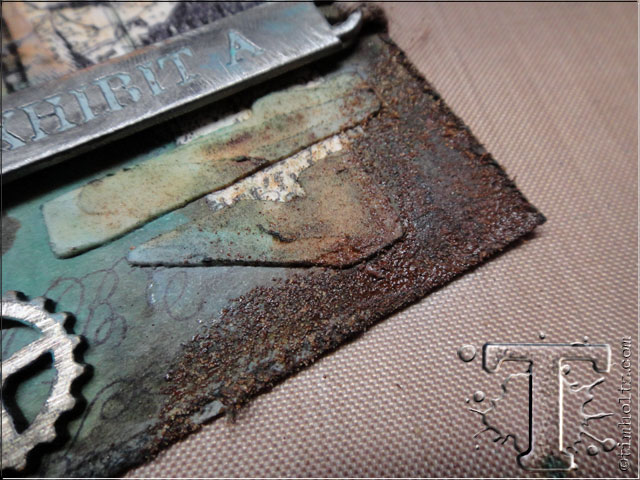 *check out that cool rust texture – love it!!!
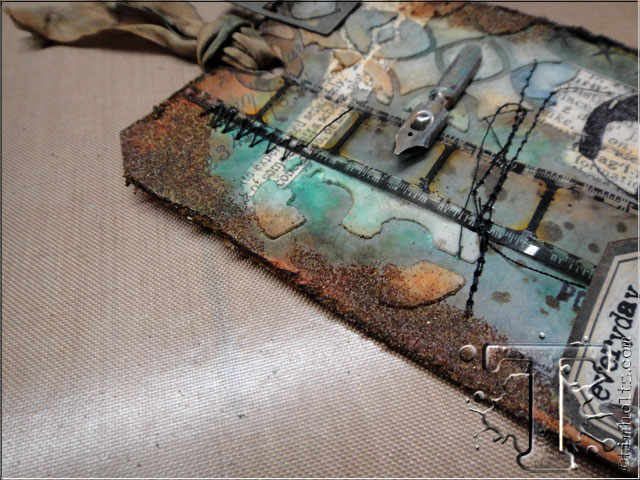 step 27: stain a piece of crinkle ribbon using distress stain and tie it through the top of the tag. (note to self: this is what i meant when i said that some steps would have been better done before others since embossing the distress powder along this edge began to melt the film strip ribbon)
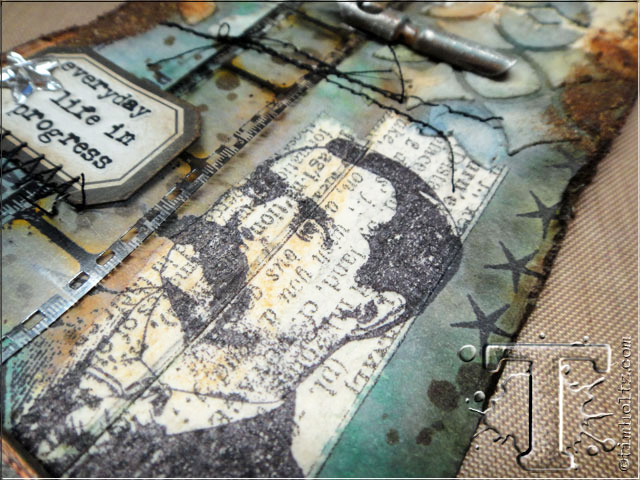 *the details: i think the resist of the tissue tape and stamped image is a great effect since you can see the designs of both layers.
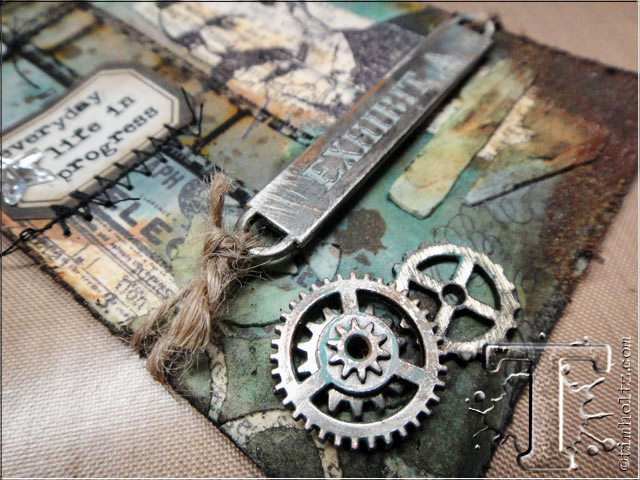 *the details: the colors of the stained texture paste, layered metal elements, and distress embossing powder rust makes me so happy!
*be sure to check your local stores for these supplies or you can
click the links below to purchase online…
(SSS=simon says stamp / IE=inspiration emporium)
GREAT NEWS! both of these online stores are offering a discount of 10% off your purchase – use the following codes with your order:
(SSS code: AUGTH10 / IE code: timtime)
 |
 |
 |
 |
 |
 |
|
 |
 |
|
 |
|
|
|
 |
 |
 |
 |
|
|
|
 |
|
|
|
 |
 |
 |
 |
|
|
 |
|
|
 |
 |
 |
 |
 |
 |
|
|
| | | | |
| | | | |
| | | | |
| | | | |
| | | | |
| | | | |
| | | | |
| | | | |
| | | | |
| | | | |
| | | | |
| | | | |
| | | | |
| | | | |
| | | | |
| | | | |
| | | | |
| | | | |
| | | | |
| | | | |
| | | | |
| | | | |
| | | | |
| | | | |
| | | | |
| | | | |
| | | | |
| | | | |
| | | | |
| | | | |
| | | | |
| | | | |
| | | | |
| | | | |
| | | | |
| | | | |
| | | | |
| | | | |
| | | | |
| | | | |
| | | | |
| | | | |
| | | | |
| | | | |
| | | | |
| | | | |
| | | | |
| | | | |
| |
