 it’s been a while hasn’t it? well things have been busy as usual since we’ve been back from stampaway. it was a great show, lots of excited and creative people to demo to, ideas shared, and boy did everyone shop! thanks to those who attended the show. i got back to the studio to a pile of deadlines so it was definitely an insane week around here. luckily this weekend gave me a chance to get caught up on everything and take a little “me time”. one thing i really love to do is to organize my space, go through my studio and discover things i forgot i had, set things aside with new ideas to finally use them. well today was one of those days…
a little back story: just before cha my friend debi adams (who is queen of estate junkin’) went to a sale and found this little cabinet. debi is one of my friends who loves junkin’ as much as i do and often looks for stuff for me when she’s out. she’ll send pics of stuff that i might like and get it for me and ship it – so that day she text me this photo and wrote “20 bucks?”…
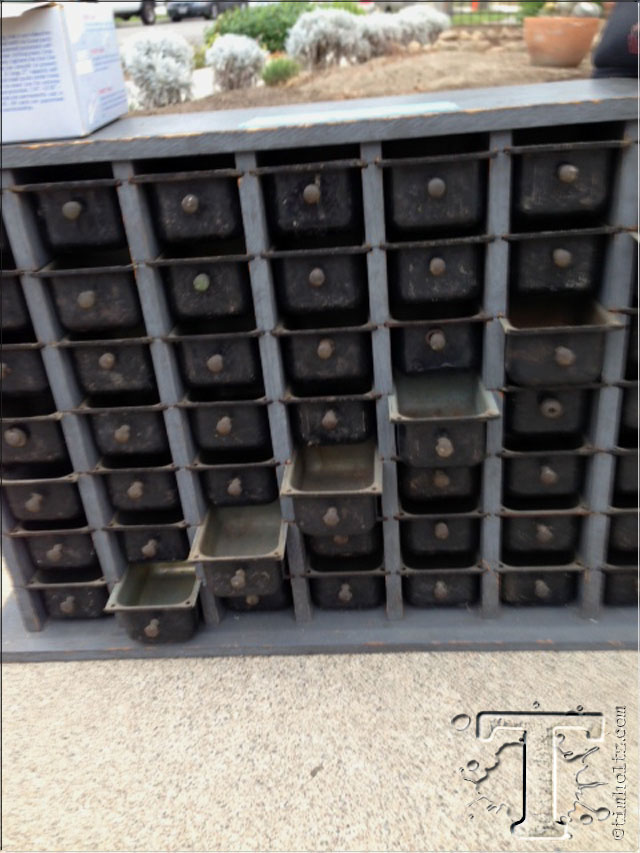
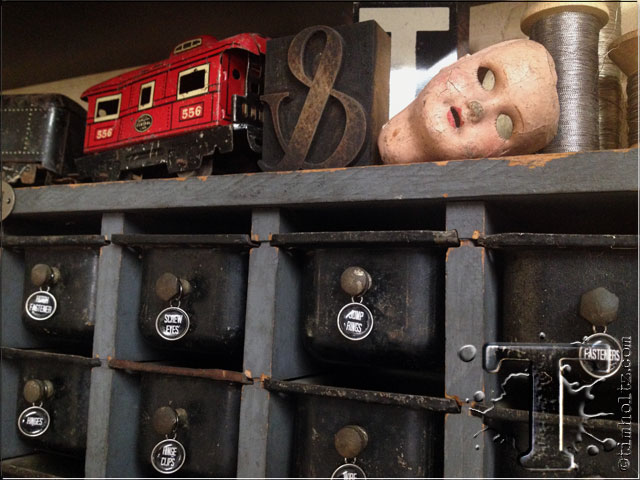
i replied “SERIOUSLY?” meaning are you kidding what a deal? she in turn must have thought i was unhappy with the price so she offered the guy $15 for it which he accepted and text back “okay how about $15?”. i couldn’t reply fast enough and said “SOLD!”. well this cool little cabinet is made of wood and filled with 56 little metal enameled drawers with rusty pulls. after cha debi shipped me this treasure and i’ve been wanting to find a home for it ever since, and like i said today was the day…
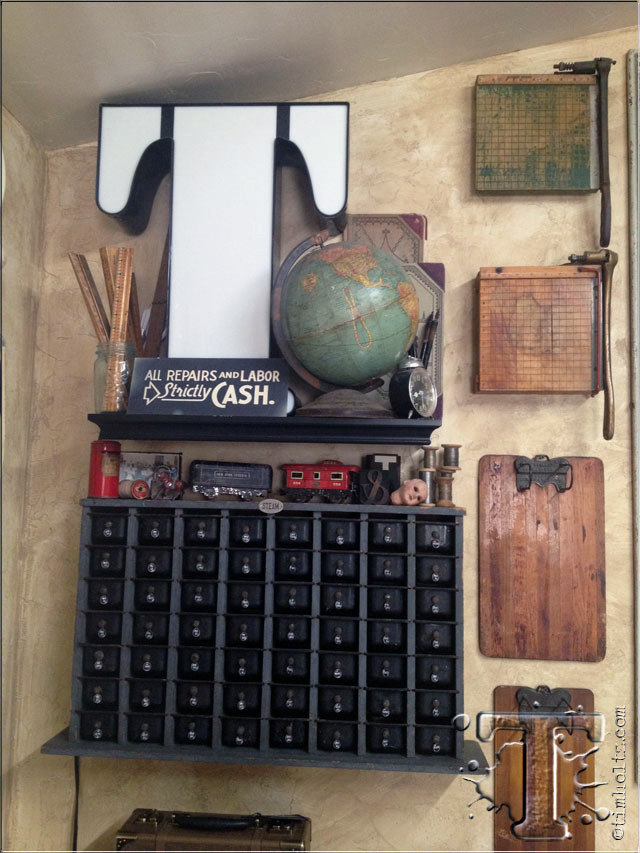
my handy neighbor art came over to install this cabinet on a wall in my studio. i had the perfect idea on how i would put this to use so i needed to make sure this sucker was secure to studs in the wall. all is all it measures about 27″ across and 17″ high – what a find! i knew it would be the perfect storage system for all of my idea-ology findings, fasteners, and trinkets. i’ve been wanting a better system to store my idea-ology stuff since we use it all of the time for projects and kitting and this was it. so i thought i would share what i did and hopefully give a few ideas if you ever find tiny drawers of some sort and want to use it for storage…
once the cabinet was installed on the wall my challenge was how would i know what was in each drawer? i needed a way to label the drawers without taking away for the vintage look of this cabinet – the solution: type charms.
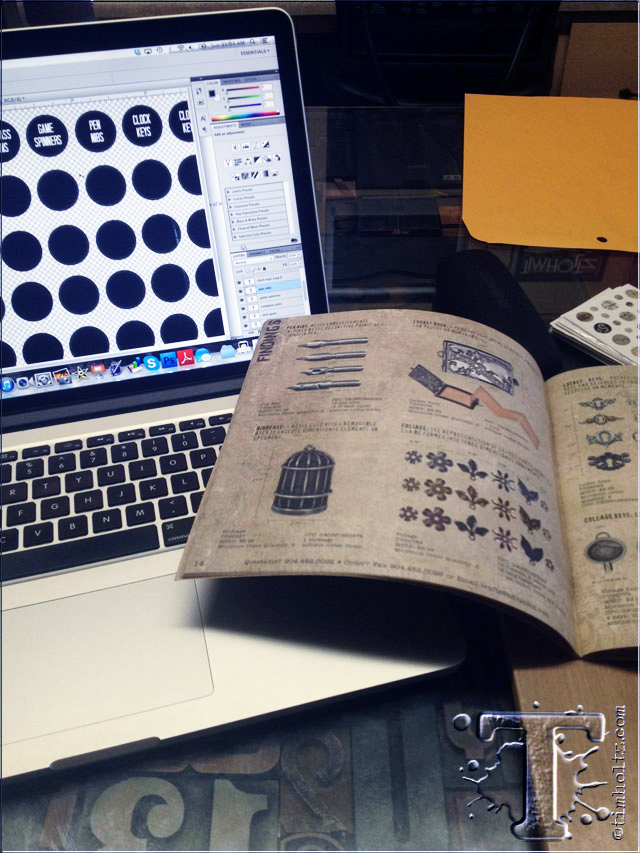 – i created black dots slightly larger than 1/2″ on the computer and then typed in the name of each idea-ology product in white centering it on the dot.
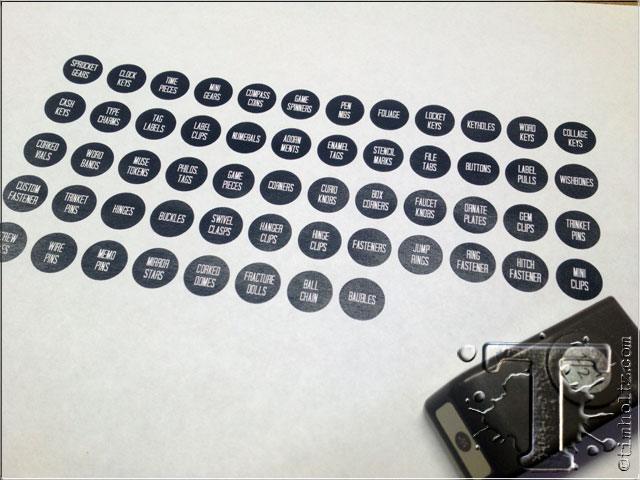 – next i printed them out on white copy paper.
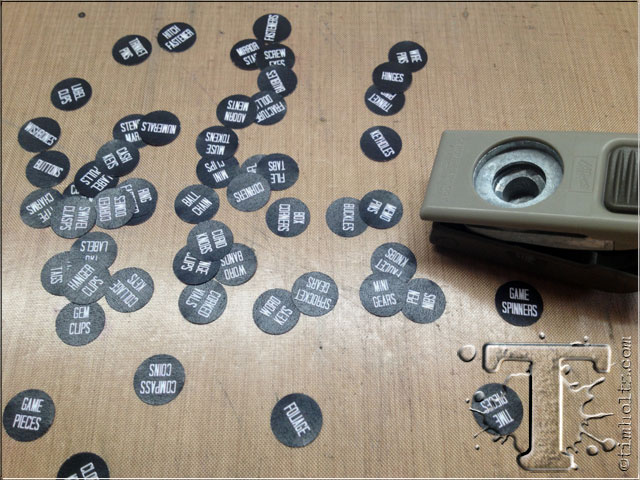 – using a 1/2″ circle punch i punched each piece out which is why i created the dot slightly larger than 1/2″ (lots of little circles here).
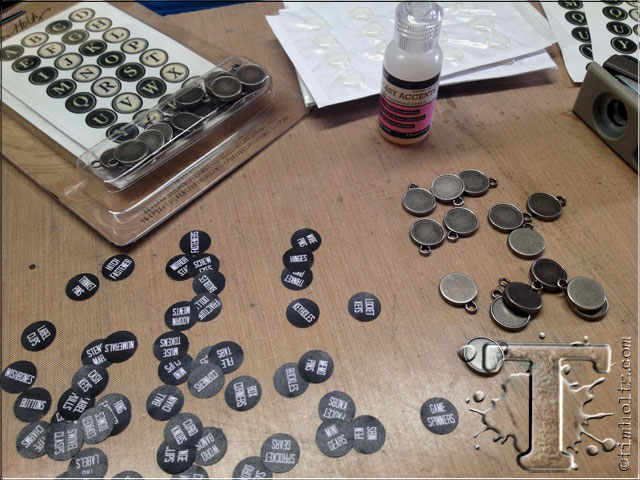 – next i got some idea-ology type charms, some glossy accents, and got to work.
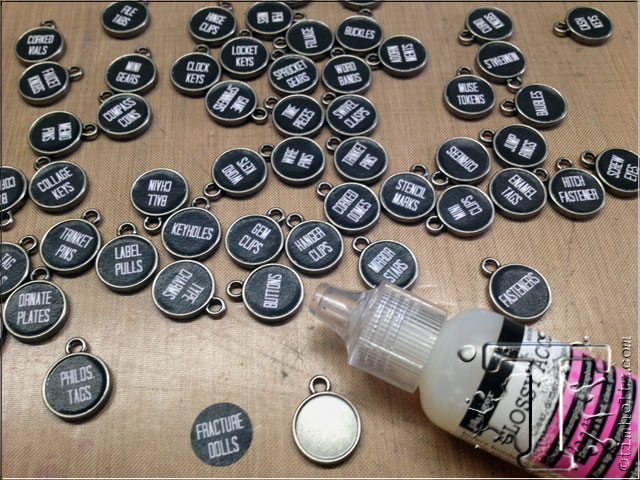 – i applied a small amount of glossy accents to the inside of a type charm and adhered the punched circle. *note: glossy accents dries quickly so be sure to place the circle in straight.
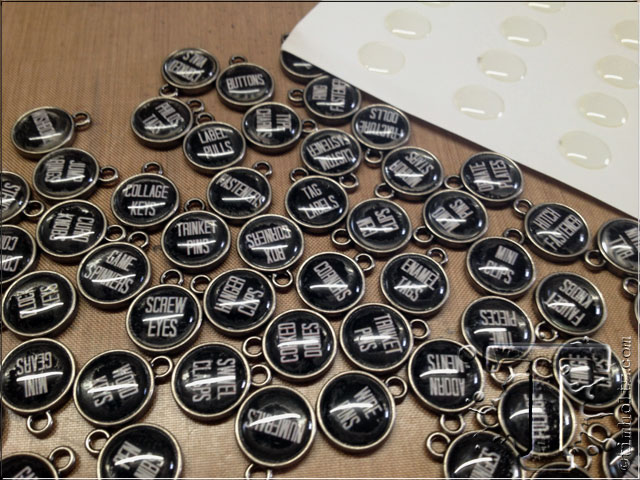 – to finish them i simply adhered the included epoxy sticker to create a domed effect on the charm and also somewhat magnify the words.
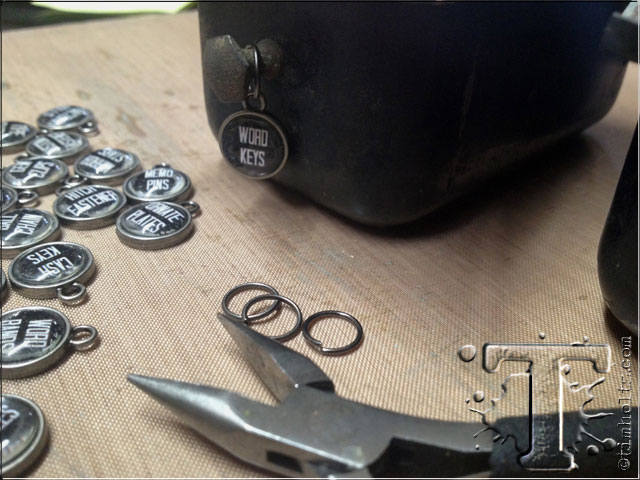 – i attached a type charm to each drawer pull using a large idea-ology jump ring.
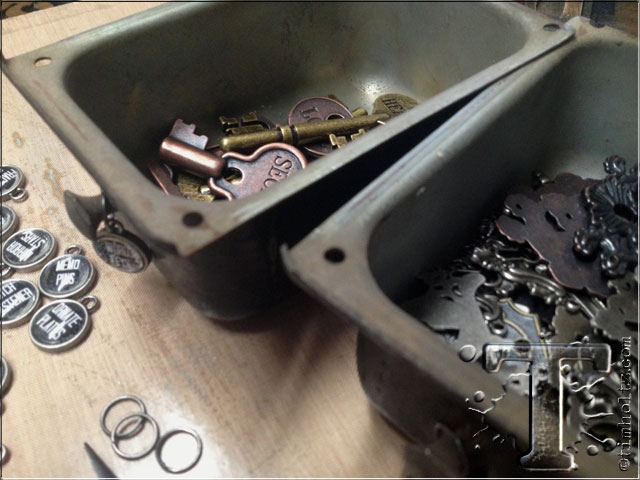 – the final step was to fill each drawer with idea-ology goodness (by far the most fun too).
i just love how this turned out. another cool vintage repurposing idea for storage – thanks again debi…
hope you had a great weekend too…t!m


