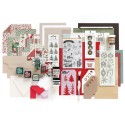
 ’tis the season for festive crafting so what better way to celebrate than with a simon says stamp holiday release week blog hop! if you are coming from the simon says stamp blog you’ve made it to the right place. i’m so excited to be part of the Limited Edition 2016 Holiday Card kit!! it is packed full of so many goodies you’ll be busy creating all season long! *please note: this kit is not part of the simon says stamp monthly subscription – limited availability, while supplies last. just because it’s called a card kit doesn’t mean you can only make cards with it. since some of my favorite products are part of this kit, i thought i would share a quick collage project using them…

*in addition to the items in the kit, you’ll need the following:
– 4×6 mini burlap panel or other surface
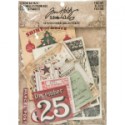
– holiday ephemera or other imagery
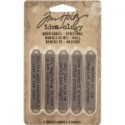
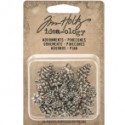
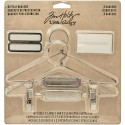
– festive findings: word bands, pinecone adornments, jute string, number token, star fastener, display hanger, small talk/occasions
– distress collage medium or other liquid adhesive, foam tape
– tools: palette knife, paper distresser, splatter brush, white paint, mini ink blending tool, collage brush, hammer, 2 nails
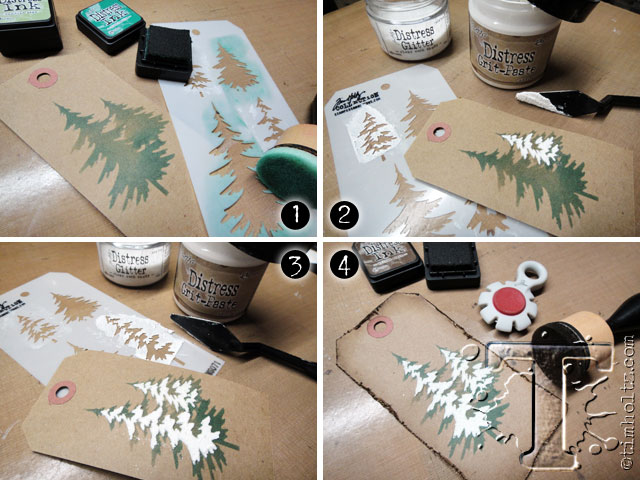 step 1: place mini layering stencil over kraft tag and ink solid tree shapes with a mix of bundled sage and pine needles distress ink using mini ink blending tool.
step 2: allow ink to dry or dry with heat tool. since i overlapped the trees you need to do this next part one tree at a time. place “snow” portion of stencil over the solid tree lining up the trunk section of the tree for reference. apply a thin layer of distress grit-paste using a palette knife, remove stencil, and cover wet paste with rock candy distress glitter. let dry completely, do not heat grit-paste to dry.
step 3: repeat previous steps for the other “snow” layer for the second tree.
step 4: distress the edges of the tag with a paper distress and ink the edges with distress ink using a mini blending tool.
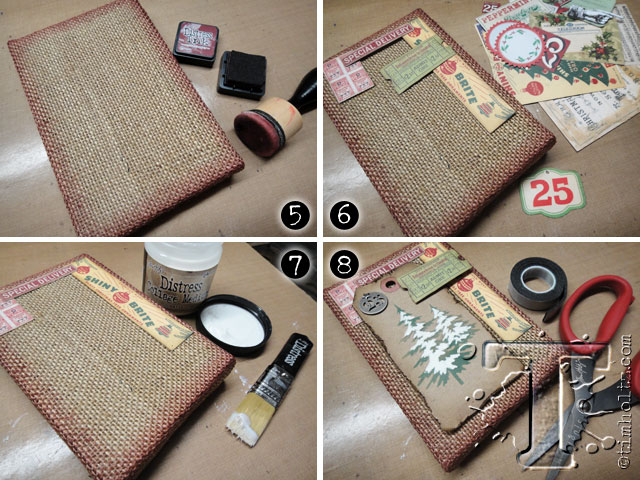 step 5: ink the edges of the burlap panel with aged mahogany distress ink using a mini ink blending tool to add a bit of color.
step 6: gather some holiday ephemera and layer on the background.
step 7: adhere background ephemera with distress collage medium and let dry.
step 8: adhere tag and top ephemera layers using foam tape to create dimension. note: if you want to add the number token, do so before you adhere the tag.
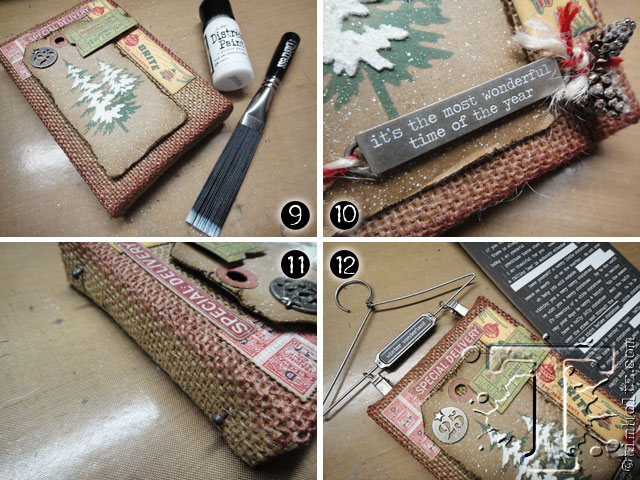 step 9: splatter entire project with white distress paint using distress splatter brush to create a snowy effect – let dry.
step 10: embellish panel with jute string, word band, and pinecone adornments.
step 11: hammer 2 tiny nails into the top side of the burlap panel.
step 12: secure display hanger clips on the nails and embellish with a small talk sticker – that’s it!
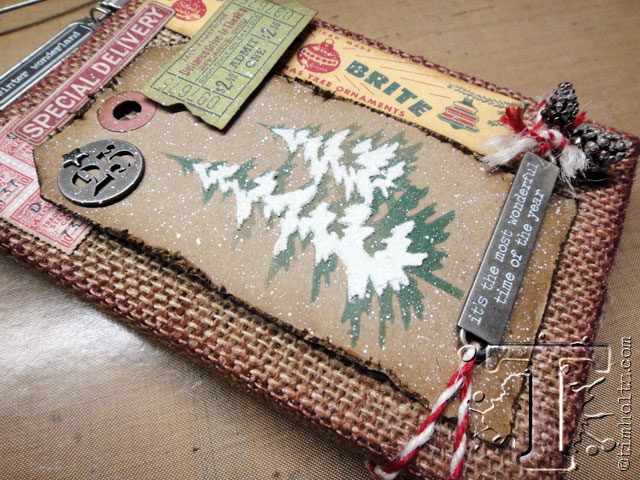 i love the look of this textured sparkly snow covered tree don’t you? the various layers and colors of ephemera adorned with festive findings makes this the perfect holiday project.
 don’t miss the giveaways!!! each stop on the hop is giving away a $5o gift card to simon says stamp! be sure to leave comments on each blog throughout the hop for a better chance to win…
hope you feel inspired to get creative – next stop is to the amazingly talented shari carroll…
happy holidays…t!m
