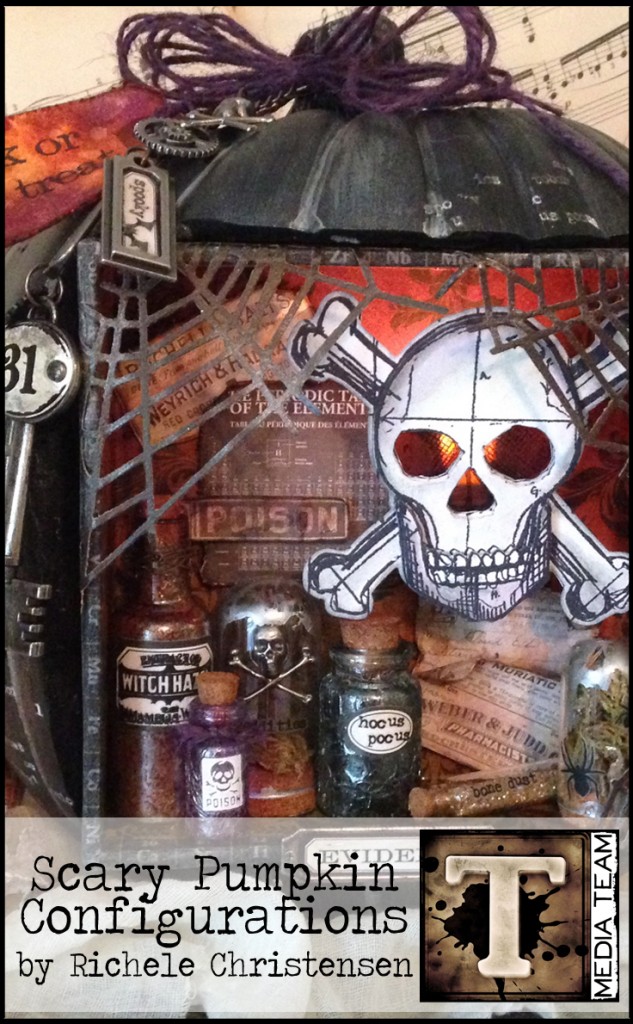
one of my favorite things about my media team is having the ability to provide you with a huge variety of inspiration every week. i’m always amazed at the many different ways the products i designed can be used and today’s tutorial from project manager richele christensen will amaze you too. get ready for a frightfully fun time turning the ordinary into the extraordinary…t!m
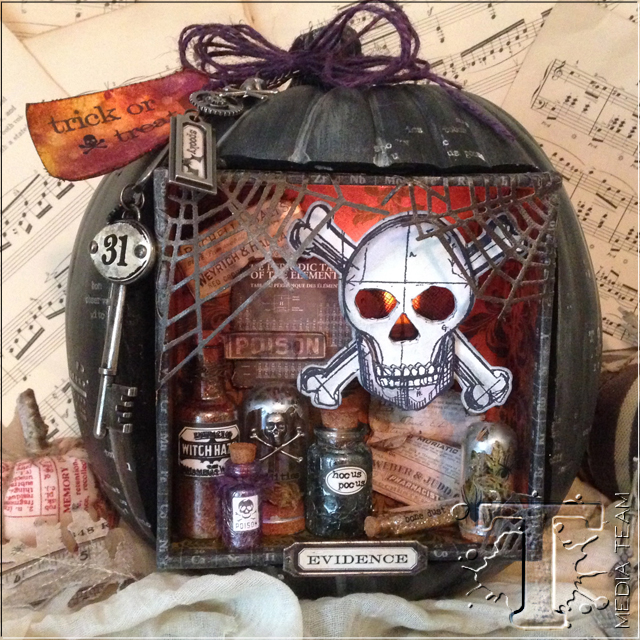
Hello friends! I LOVE Halloween. It’s my favorite holiday filled with childhood memories of dressing up, make believe and of course there’s the candy! I have been wanting to create a Halloween decor piece by inserting a Configurations Box into the front of a pumpkin. I hope you like it as much as I do…
Supplies:
- Surfaces: Configurations Box 5 3/4” x 5 3/4”, Distress Watercolor Paper, Frosted Film, Kraft’core Cardstock, Laboratorie Paper Stash, Plastic Pumpkin
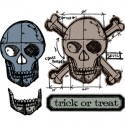
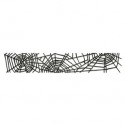
- Dies and Stamps: Sizzix – Cobwebs Decorative Strip, Skull Blueprint Stamp and Framelits set
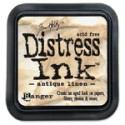
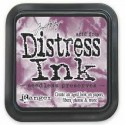
- Distress Ink: Antique Linen, Iced Spruce, Seedless Preserves, Vintage Photo
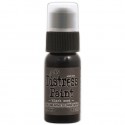
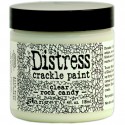
- Distress Paint: Black Soot, Clear Rock Candy Crackle Paint
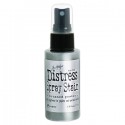
- Distress Spray Stains: Brushed Pewter, Crushed Olive, Seedless Preserves, Spiced Marmalade
- Ink: Ranger Jet Black Archival
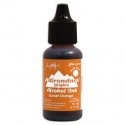
- Alcohol Ink: Denim, Ginger, Mushroom, Pitch Black, Purple Twilight, Sunset Orange
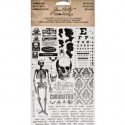
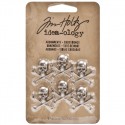
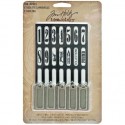
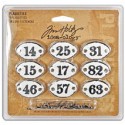
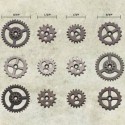
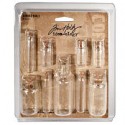
- Embellishments: Idea-ology – Apothecary Remnant Rubs, Collage Key, Corked Domes, Corked Vials, Crossbones Adornments, Jump Rings, Label Clips, Laboratorie Tissue Tape, Memo Pins, Mini Gears, Mini Lantern, Plaquetts, Swivel Clasp, Tag Labels, Vial Labels
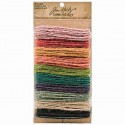
- Trims: Jute String
- Tools: Sizzix – Vagabond, Magnetic Platform, Dimensional Cutting Pad, Ranger – Detail Waterbrush, Mini Round Ink Blending Tool, Non Stick Craft Sheet, Tonic – Scissors
- Adhesives: Ranger – Multi Medium
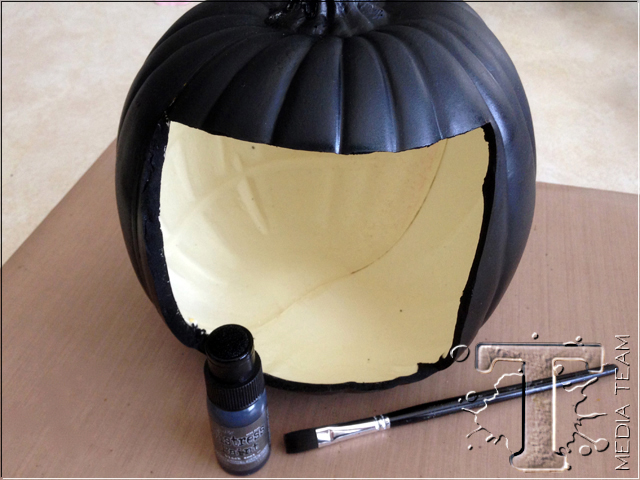
Position Configuration Box on pumpkin and trace with a pen or pencil. Cut the traced square out of the pumpkin with scissors. I had to adjust the cut several times for a good fit. Paint the cut edge with Black Soot Distress Paint.
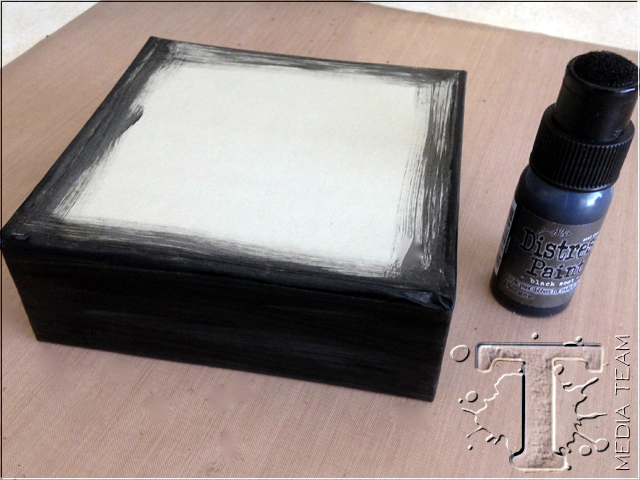
Paint the outside of the Configurations box with Distress Paint. (Remove the lid and inner boxes and save for another project.)
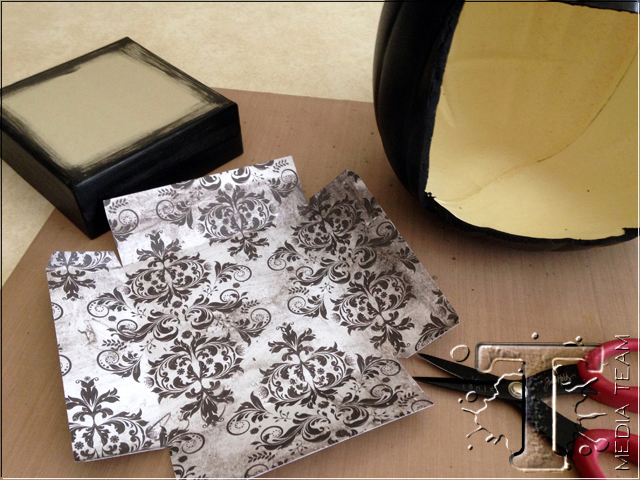
Cut Laboratorie Paper Stash 8 1/4” x 8 1/4” to line the inside of the box, score all sides 1 5/8” in from edge and trim corners with scissors.
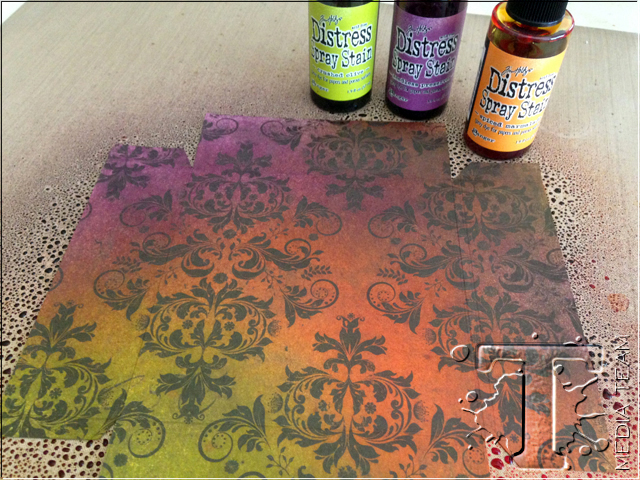
Spray paper with Distress Spray Stains and let dry.
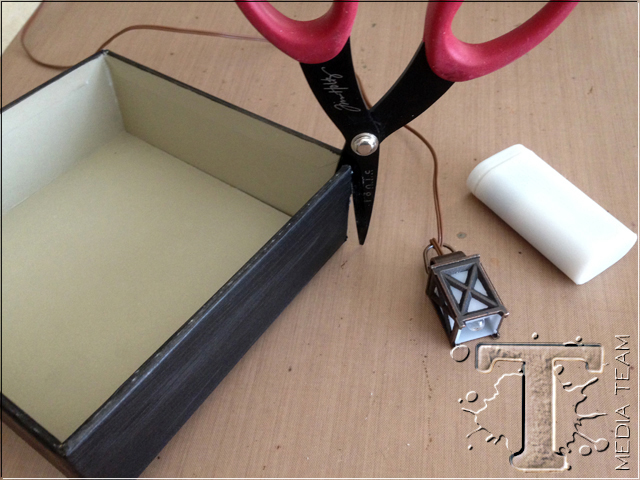
Cut upper right corner of box for the Mini Lantern wire to go through.
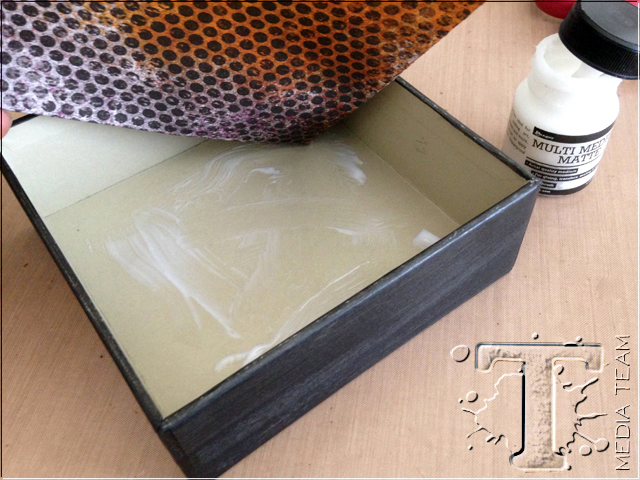
Adhere paper to the inside of the box with Multi Medium.
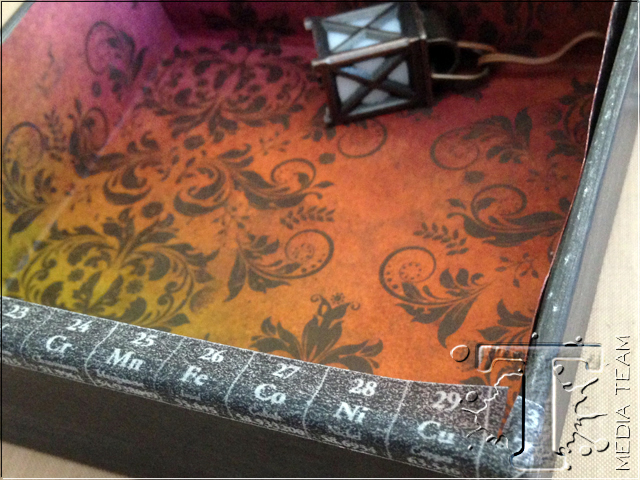
Place Mini Lantern wire through corner slit of box. Apply Tissue Tape on all the edges of the box.
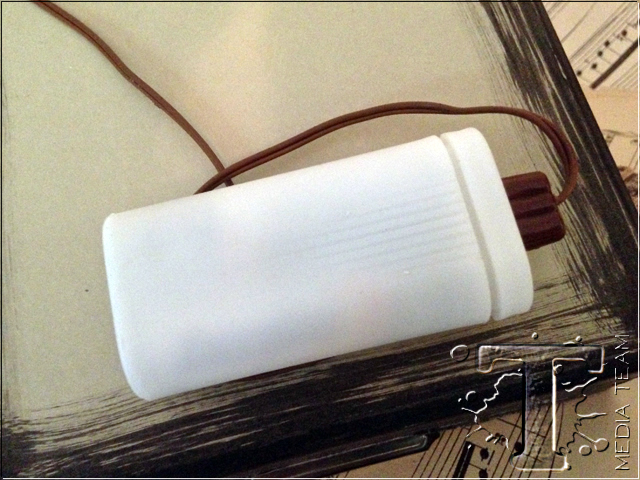
Attach the battery pack to the back of the box with velcro.
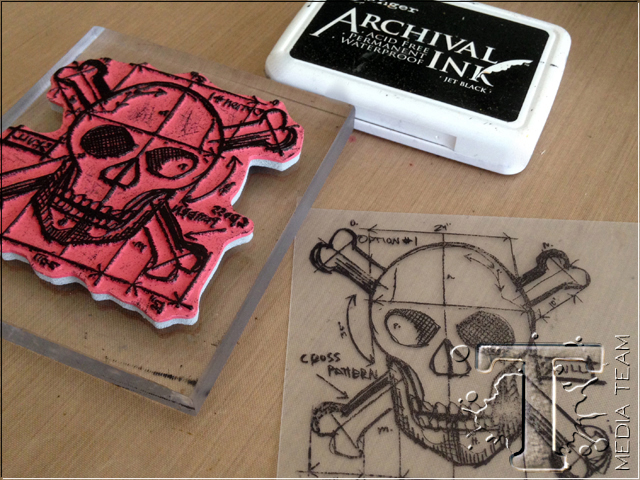
Stamp Skull Blueprint on Frosted film and three times on Distress Watercolor Paper with Jet Black Archival Ink. Use a heat tool to dry ink on the Frosted Film.

Cut Frosted Film skull out with scissors cutting off the bones. Add a few drops of Alcohol Ink to the back side of the skull to color the eyes and nose. They could be green, orange or even purple.

Die cut the watercolor skull pieces with the matching Framelits. Color skull pieces with Distress Ink applied directly to your Craft Sheet, pick ink up with a Detail Waterbrush and color image.

Cut the eyes and nose out with scissors on the largest die cut piece with the crossbones still attached so you will be able to see through the holes.

Layer all the pieces together with foam tape. Add foam tape on back between the eyes and nose and adhere to Mini Lantern. Be sure to line the lantern up between the eyes.

Add a piece of foam tape to the back side of the Lantern and adhere to the inside of the box.

Die cut black Kraft’core cardstock with the Cobwebs Decorative Strip. Cut apart cobwebs, adhere to Configurations Box with Multi Medium and then wrap Tissue Tape around the outside of the box.

Paint a few Corked Vials with Multi Medium and let dry. Paint with Clear Rock Candy Crackle, let dry. Color the Corked Vials with Alcohol Ink.

Spray the vials with Brushed Pewter Distress Spray Stain and wipe off excess with a soft rag. I love the way they looks like mercury glass. I also sprayed the Corked Domes and let the spray stain run down the sides.

Decorate the vials with Vial Labels and Apothecary Remnant Rubs. Adhere labels with Multi Medium. Inside the Corked Domes add moss, Crossbones on a Memo Pin stuck in to the cork.

Adhere vials with Multi Medium. I used a rubber band to hold them in place.

Fill corked vials with Distress Glitter as desired.

Cut some label from the Laboratorie Paper Stash and add to the box with foam tape. Don’t forget to ink the labels and edges with Distress Ink on an Ink Blending Tool.

Add a little Distress Paint to the metal pieces and wipe off excess before it dries.

Attach Idea-ology pieces to Swivel Clasp with Jump Rings.

Spray Brushed Pewter Distress Spray Stains onto Craft Sheet and dry brush onto pumpkin.
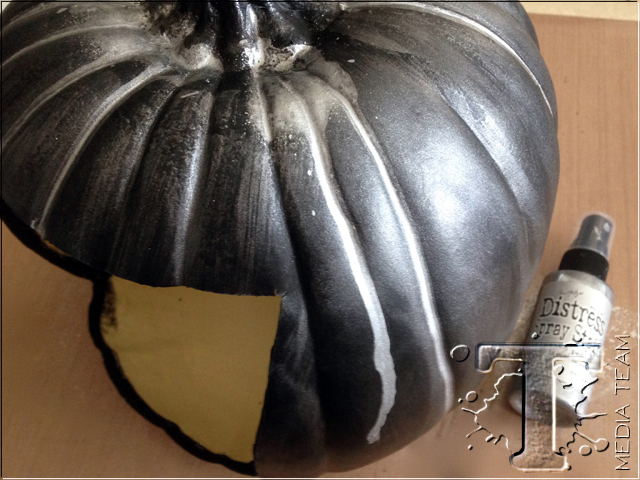
Spray Distress Stain on top of pumpkin, let the stain drip down the sides and dry with a heat tool.
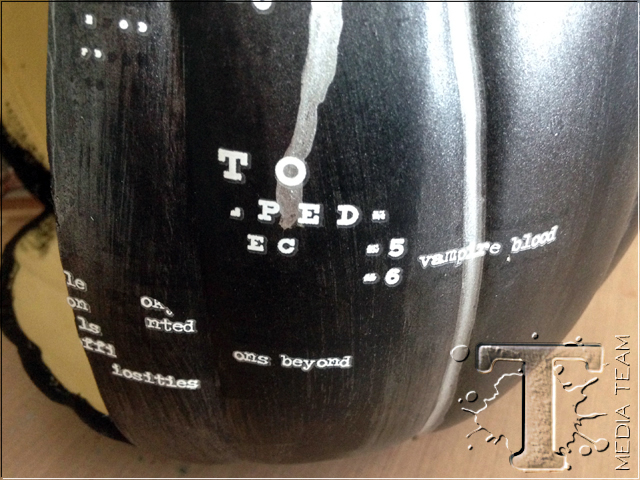
Add Rubs randomly to the pumpkin.
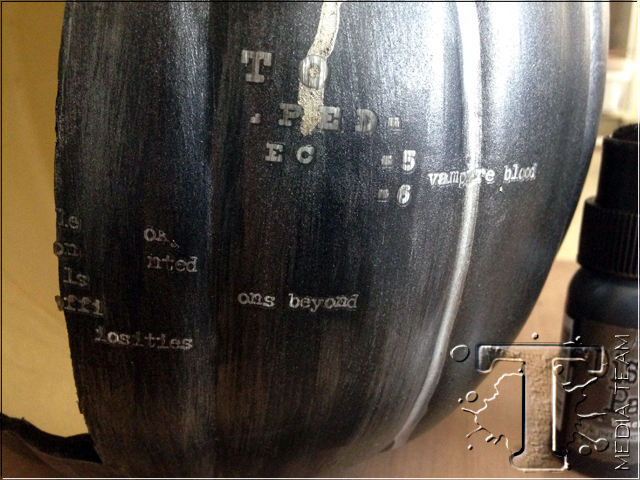
Dry brush over the rubs with Brushed Pewter Distress Spray Stains and Black Soot Distress Paint.
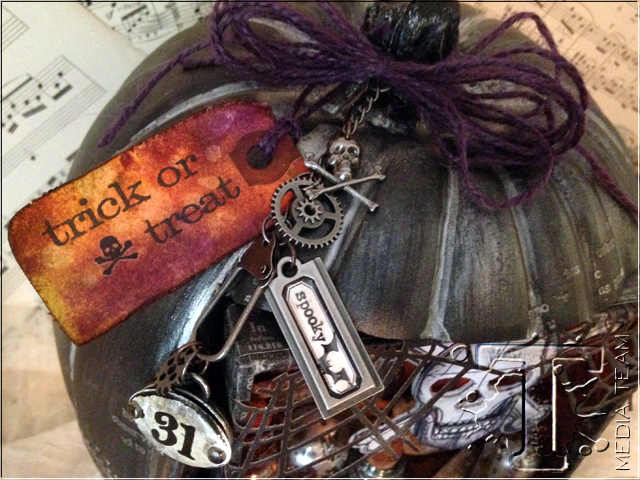
Make a big bow with Jute String, attach the Swivel Clasp to the bow and tie to the pumpkin. Make a tag and attach with Jute String.
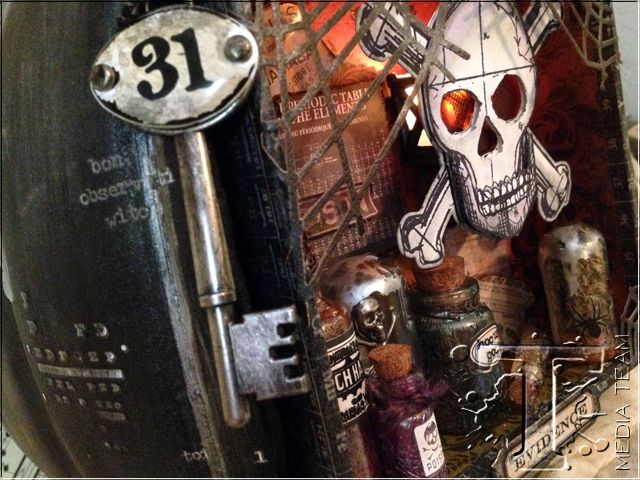
Working outside the box can be FUN! I hope you will try something new on your next project!
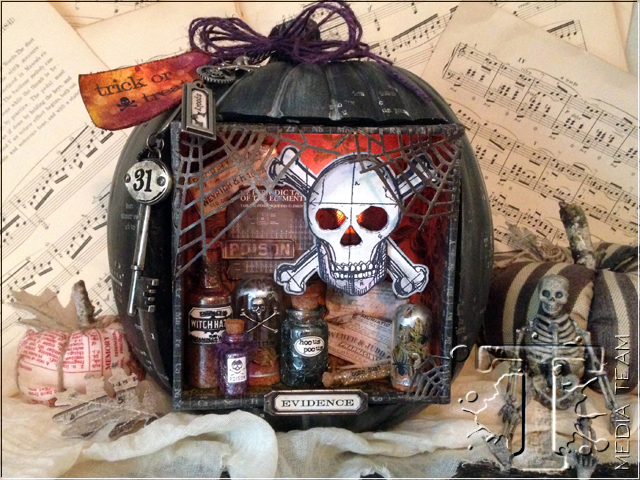
Thanks for joining me on the creative journey!
—
*be sure to check your local stores for these supplies or you can click the links below to purchase online…
(SSS=simon says stamp / IE=inspiration emporium)
                                      |
Pin it to remember it!
