 hello everyone! i know it’s been a while since i’ve blogged, but certainly not from lack of trying. i’ve just been crazy busy keeping up with new product deadlines and my ongoing travel schedule – i’m finally starting to catch up. i’m sure many of you will agree, time is just flying by this year. i can’t believe june is almost over which means the 4th of july holiday celebrations are just around the corner. i love independence day and the unity it brings to this country. today i want to share some of my favorite project ideas to create for yourself, family, and friends and share in the patriotic festivities…
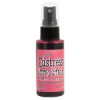
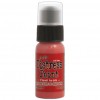
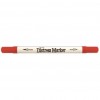
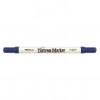
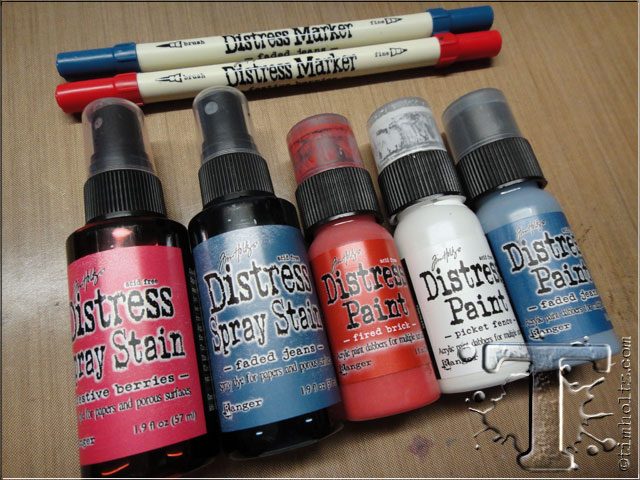 the supplies are pretty basic, just gather a few distress products in your favorite shades of red, white, and blue.
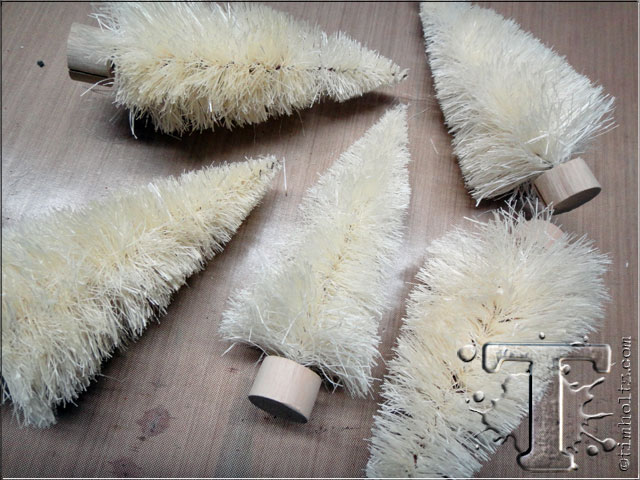 next you’ll need some idea-ology woodland trees. if you don’t have any left over from christmas, don’t worry they are sold year round.
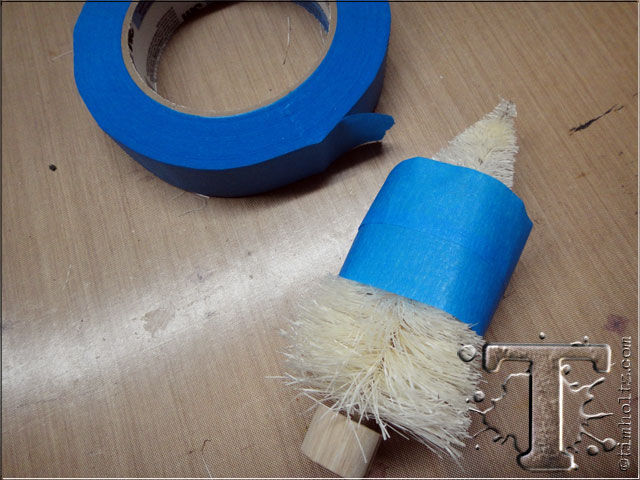 create a band out of cardstock or painters tape about 2″ in diameter and about 1 1/2″ wide. slide it over the woodland tree so it’s about center.
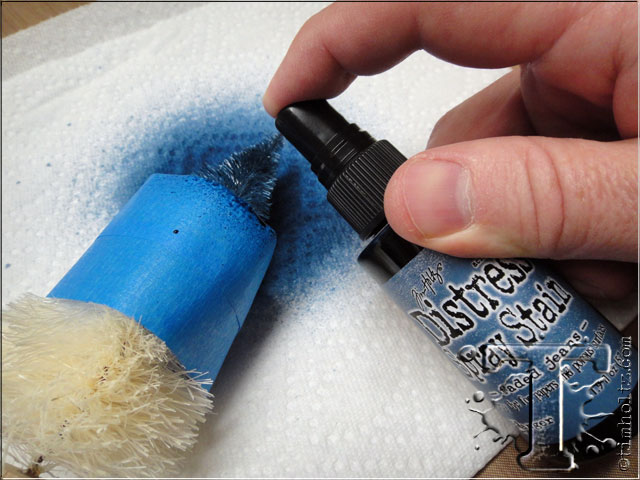 place the woodland on a few paper towels and apply blue distress spray stain to the upper portion of the tree. you’ll need to turn the tree as you’re spraying to make sure you color all the way around the tree.
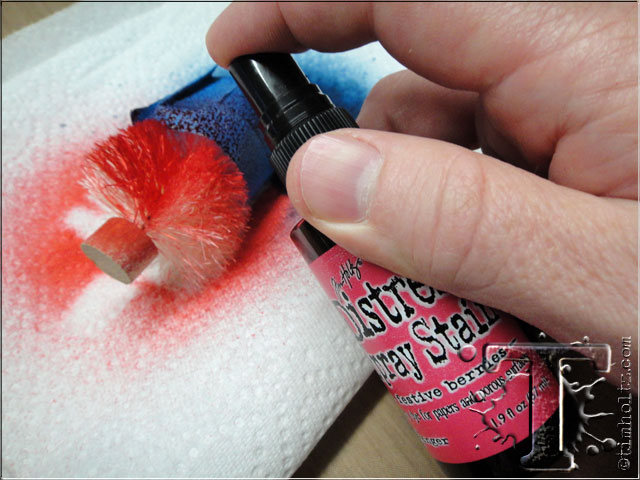 next spray the bottom portion with red distress spray stain rotating the tree around once again.
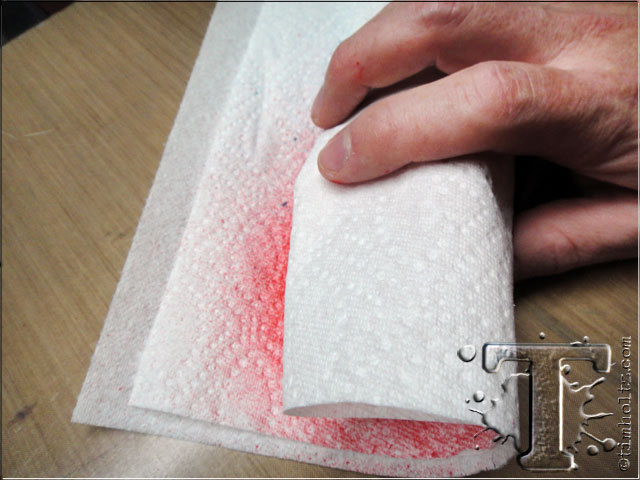 roll the paper towels around the tree to blot off any excess ink.
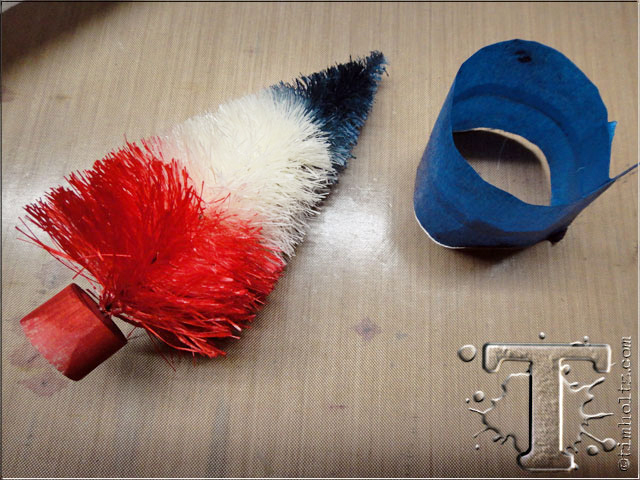 now just slide off the tape ring and let the inks dry – simple as that! i love this idea and show it on my blog every year.
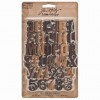
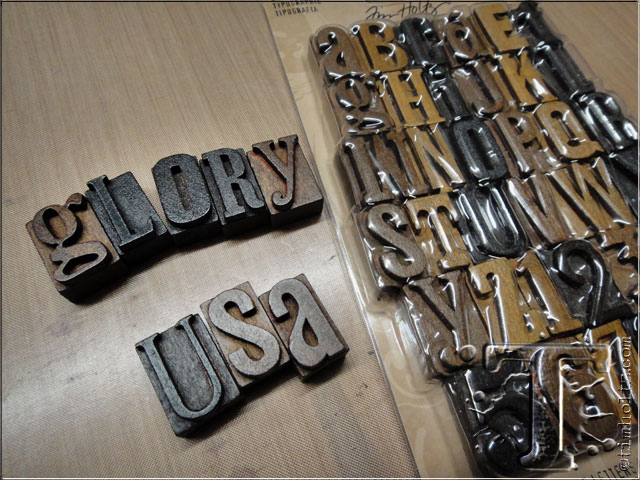 open up a package of idea-ology letterpress and select the letters of a word or two. i chose “glory” and “usa” since i can make both words from only one set – there are lots of possibilities here.
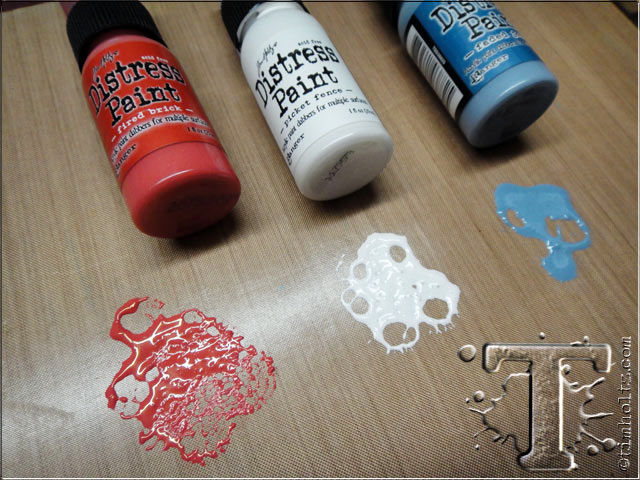 shake up your distress paints and dab some of each color on to the craft sheet. you won’t need much paint for the part so only dab a little.
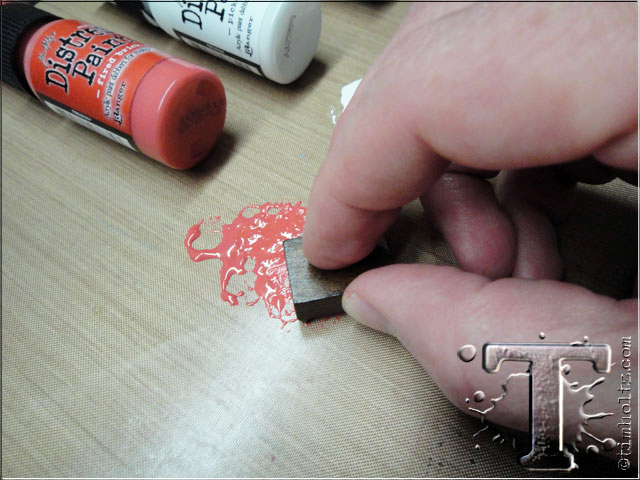 to paint the letterpress, lightly tap the letter into the wet paint. continue adding layers of paint until you have the coverage you’re wanting.
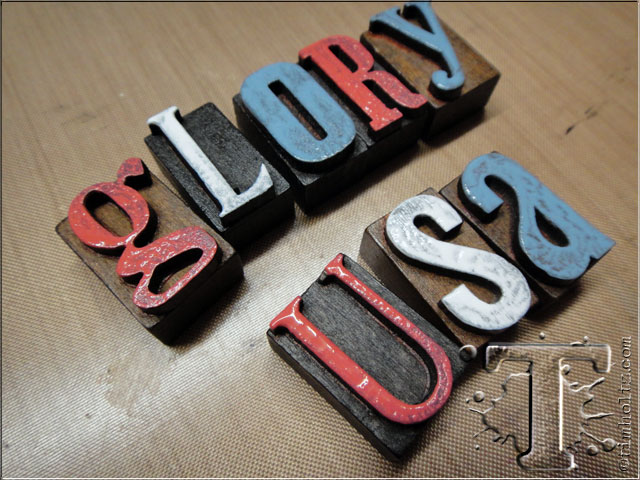 set the letters aside to dry or quickly dry the paint with a heat tool.
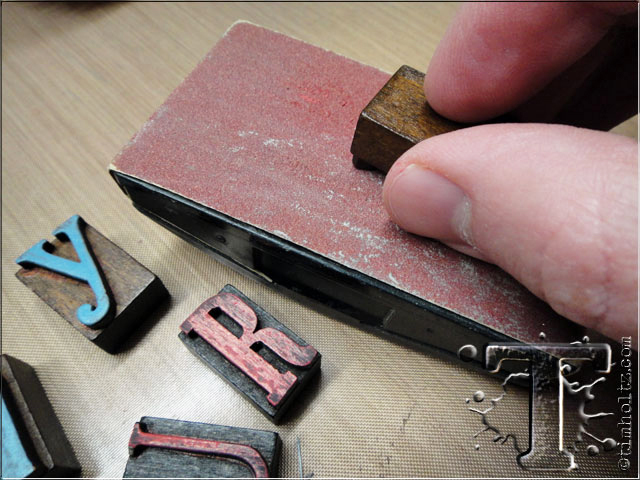 to give the letters a distressed look, slightly rub them over sandpaper using a sanding grip until the desired effect is achieved.
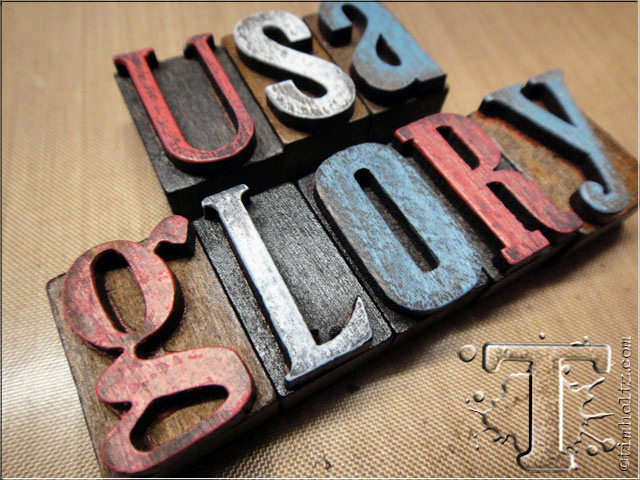 just look at that distress perfection – love it.
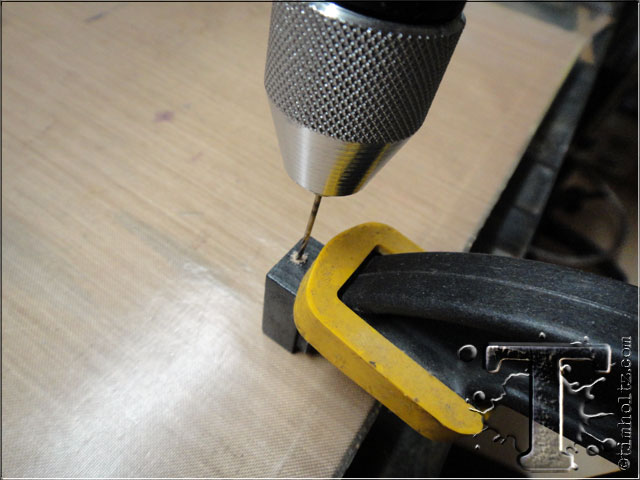 using a tiny drill bit, drill a small hole into the top of the center letter block of each word. this is going to need to fit a memo pin so a small hole is really all you need.
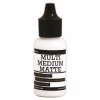
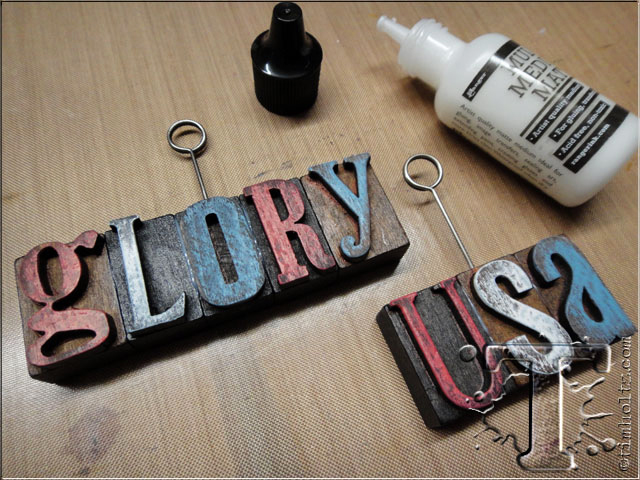 adhere the letterpress together using multi-medium and insert a memo pin into the drilled hole securing it with a little multi-medium also.
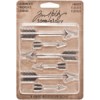
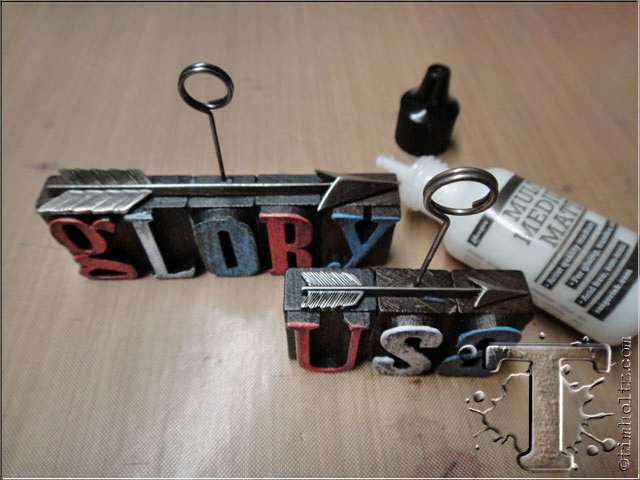 stand up the blocks and adhere an arrow adornment across each word using multi-mediumand let everything dry.
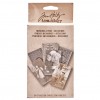
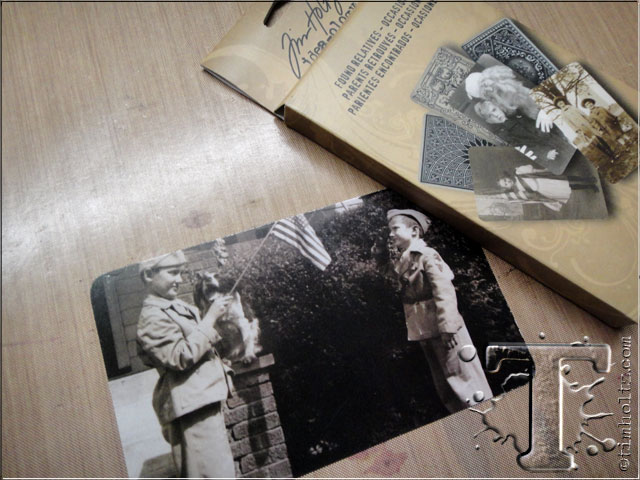 time to choose a photo from the found relative occasions pack – this photo is perfect for this occasion don’t you think?
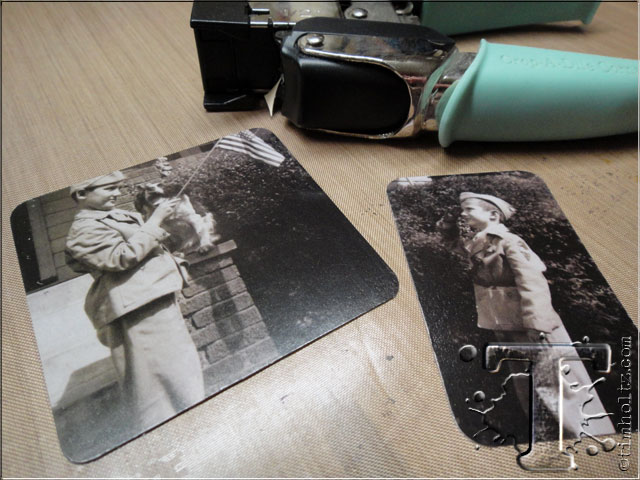 i decided i wanted to cut this photo so i did and then used a corner rounder to finish the cut corners.
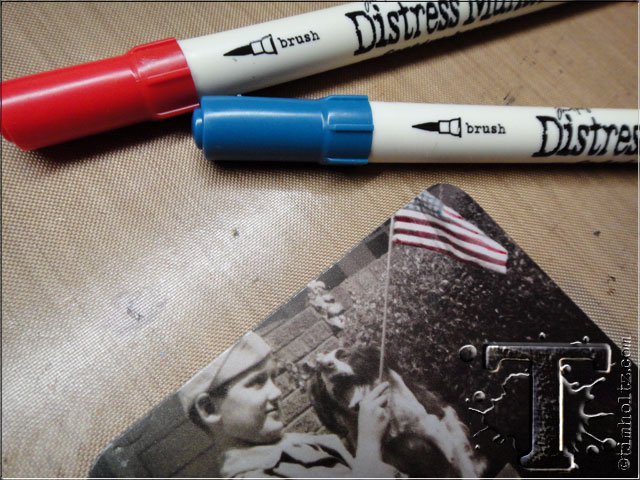 tinting these found relatives are easy using the brush tip of a couple distress markers.
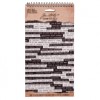
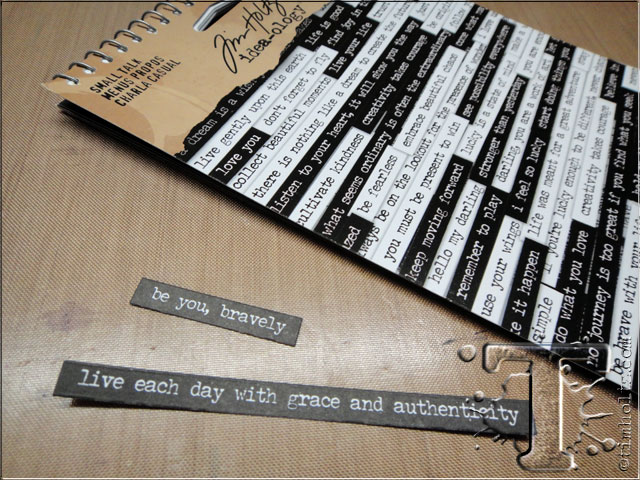 next i selected a couple of word phrases from the small talk sticker book. i really like how each phrase comes in either white or black background.
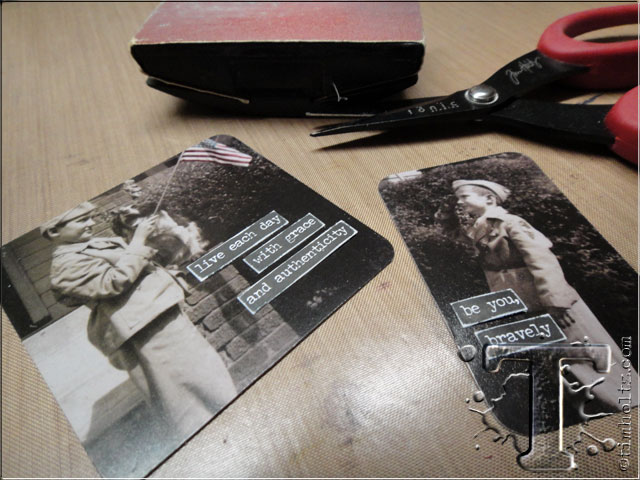 i chose the black background and just trimmed the phrase in a couple of areas, sanded the edges to create contrast, and stuck them right over the photos.
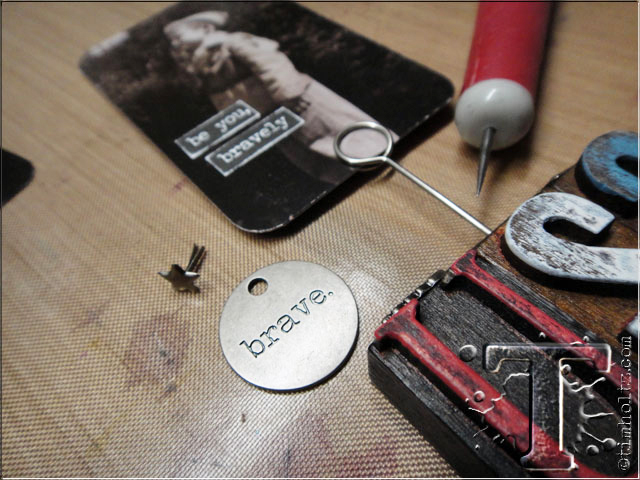 once the letterpress are dry, just slide the photo into the split ring of the memo pin. next pierce a hole in the center of the memo pin using a craft pick.
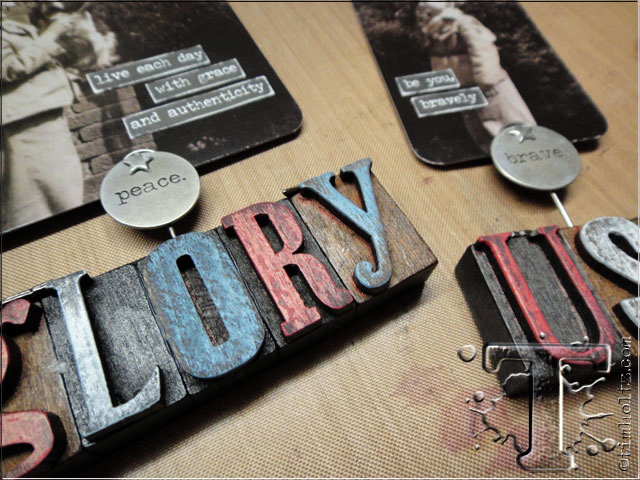 attach a typed token using a mini star fastener right through the pierced hole – it’s all in the details.
 look at that…a wonderful patriotic display.
now it’s time to check out a couple more ideas from my friends paula cheney and richele christensen as they show you how to create mini americana jar votives and a be brave collage burlap – have fun creating for the 4th of july holiday…t!m
*be sure to check your local stores for these supplies or you can click the links below to purchase online…
(SSS=simon says stamp / IE=inspiration emporium)
                 |


