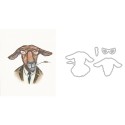
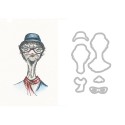
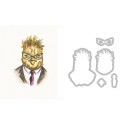
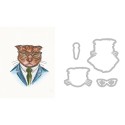
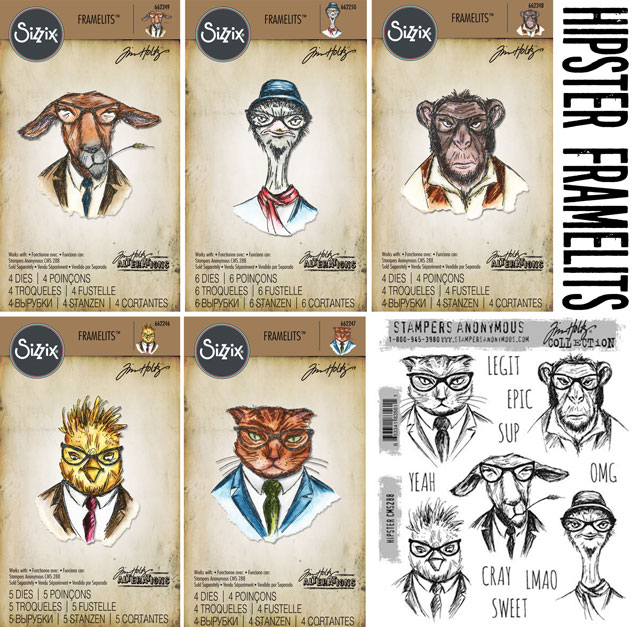
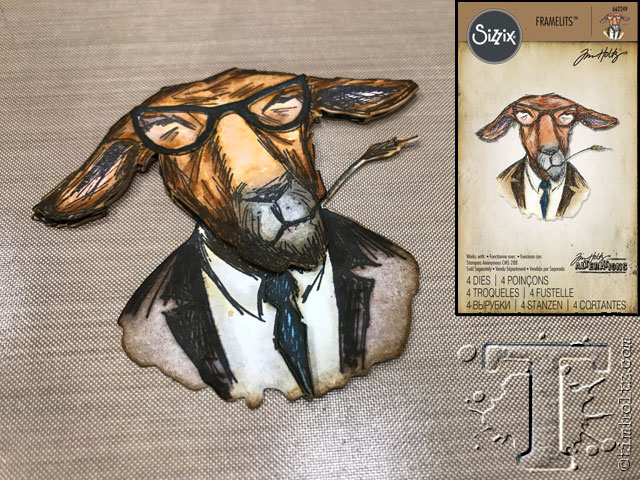
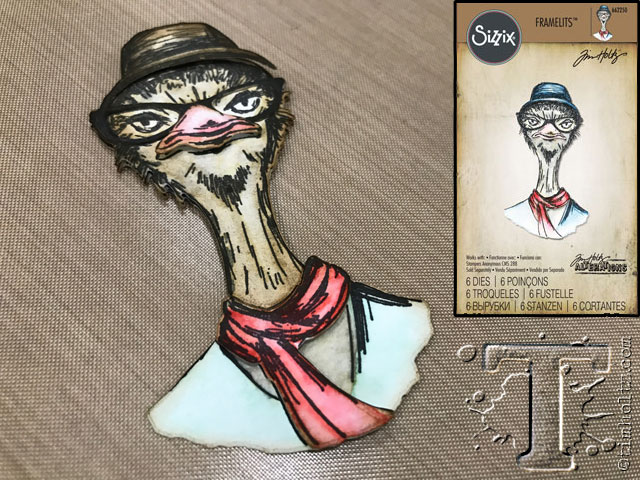
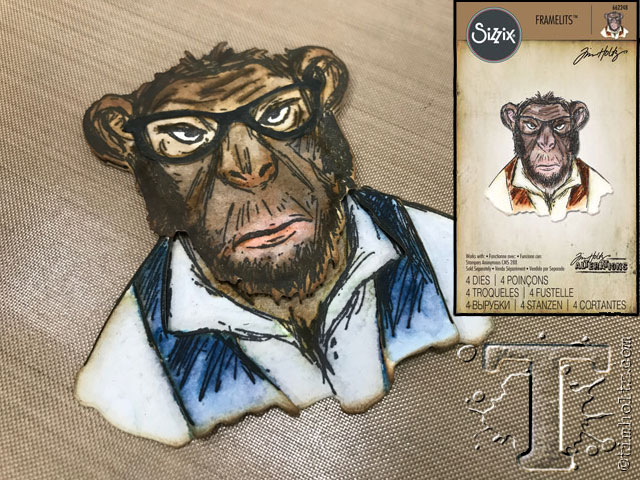
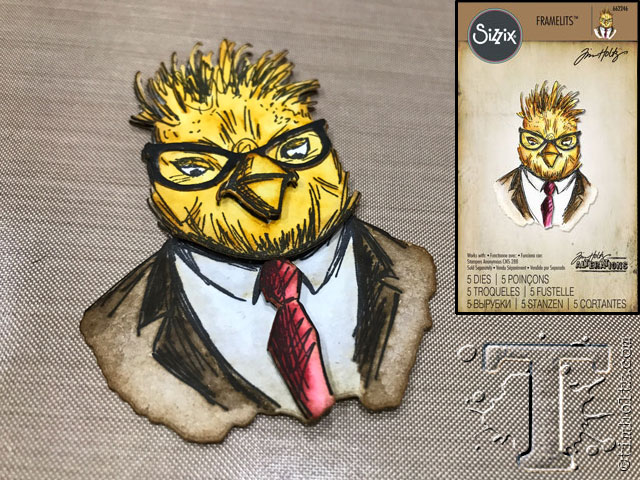
 “SUP”… it’s always great when new tools become available that give more creative options for our favorite products. “YEAH” well the release of the new sizzix hipster framelits that coordinate with the hipster stamps from stampers anonymous does that very thing – “CRAY” right? these 5 new dies sets (each sold separately) include the dies needed to cut and layer these “LEGIT” characters: – a die for the entire image with a random fade along the bottom – a die for just the head – a die for the glasses – die(s) for the clothing accessories check out below to see how each image is transformed into an “EPIC” masterpiece. soon you’ll be creating projects that will simply have you saying “OMG”! okay enough of that…”LMAO” – t!m
- dies: sizzix hipster framelits
- stamps: hipster stamp set CMS288
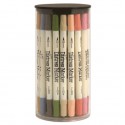
- inks: distress archival ink, distress markers
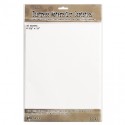
- surface: distress watercolor cardstock
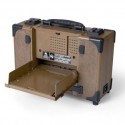
- tools: vagabond machine, distress waterbrush, foam tape, liquid adhesive
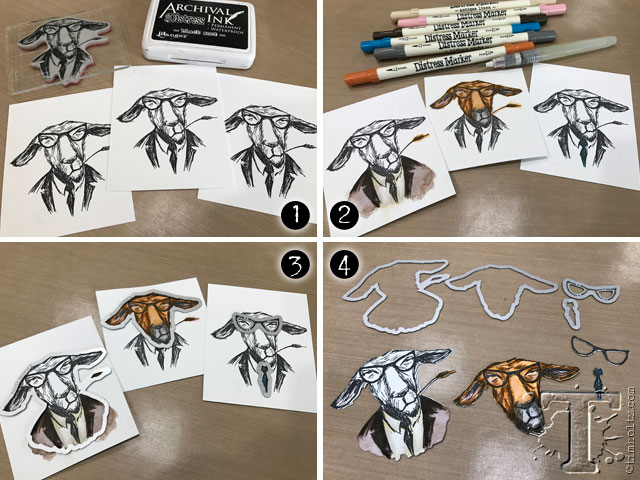 step 1: stamp image with archival ink on distress watercolor cardstock (depending on how many layers you want to do). step 2: watercolor the image areas you plan to use with distress markers and blend with distress waterbrush. step 3: place coordinating die over each area you want to cut out (tip: secure die in place with washi tape before cutting). step 4: remove pieces from die and layer with foam tape or glue flat with liquid adhesive.
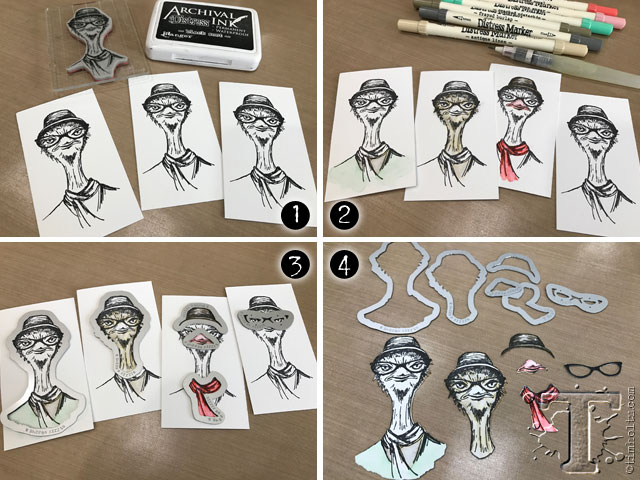 step 1: stamp image with archival ink on distress watercolor cardstock (depending on how many layers you want to do). step 2: watercolor the image areas you plan to use with distress markers and blend with distress waterbrush. step 3: place coordinating die over each area you want to cut out (tip: secure die in place with washi tape before cutting). step 4: remove pieces from die and layer with foam tape or glue flat with liquid adhesive.
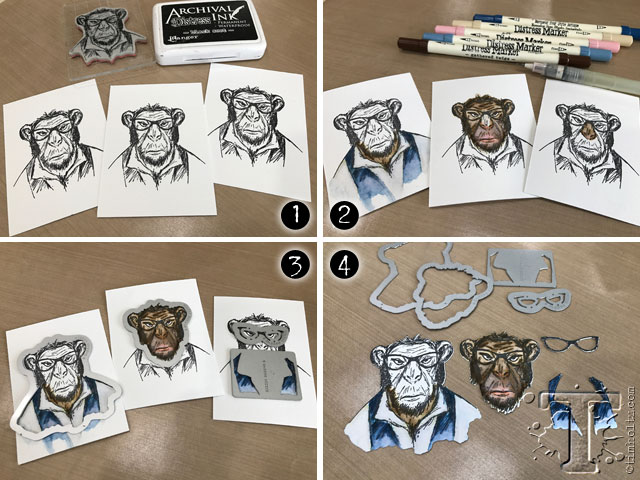 step 1: stamp image with archival ink on distress watercolor cardstock (depending on how many layers you want to do). step 2: watercolor the image areas you plan to use with distress markers and blend with distress waterbrush. step 3: place coordinating die over each area you want to cut out (tip: secure die in place with washi tape before cutting). step 4: remove pieces from die and layer with foam tape or glue flat with liquid adhesive.
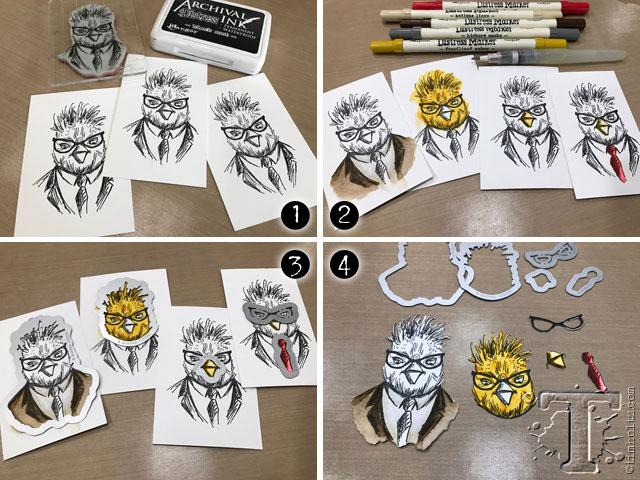 step 1: stamp image with archival ink on distress watercolor cardstock (depending on how many layers you want to do). step 2: watercolor the image areas you plan to use with distress markers and blend with distress waterbrush. step 3: place coordinating die over each area you want to cut out (tip: secure die in place with washi tape before cutting). step 4: remove pieces from die and layer with foam tape or glue flat with liquid adhesive.
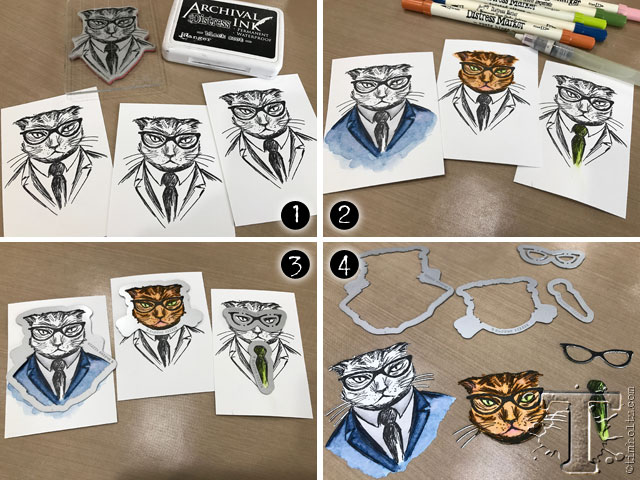 step 1: stamp image with archival ink on distress watercolor cardstock (depending on how many layers you want to do). step 2: watercolor the image areas you plan to use with distress markers and blend with distress waterbrush. step 3: place coordinating die over each area you want to cut out (tip: secure die in place with washi tape before cutting). step 4: remove pieces from die and layer with foam tape or glue flat with liquid adhesive.
i couldn’t resist offering a “SWEET” giveaway for a set of all 5 of the new hipster framelits! there are three different ways to win: – here on the blog (simply post a comment) – on instagram (“like” the photo & tag a friend) – on Facebook (“like” the page, “like” the photo & share the post) winners will be announced wednesday 3/29 – good luck!

