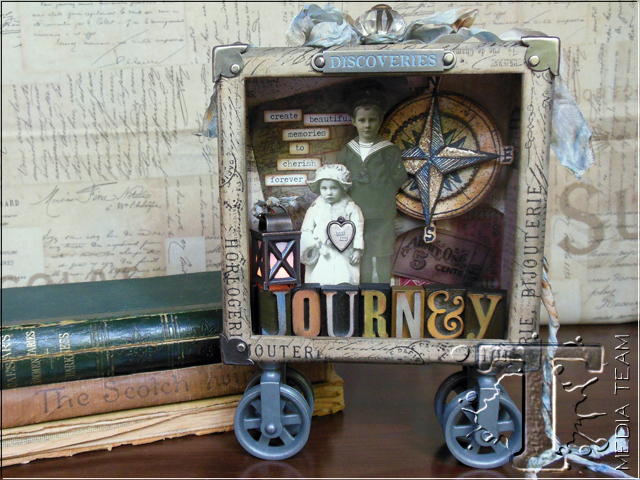
it’s no secret i love configurations! ever since their launch, these customizable boxes have allowed me to create using dimensional elements in new ways. today richele christensen shares a great step by step tutorial to show you just how easy they are to create one for yourself. so whether you incorporate your favorite photos, found elements, or special keepsakes, configurations can be customized to your creativity – think of the possibilities…t!m
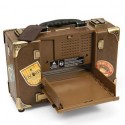
I love to make Configurations, whether it’s a Configuration box, a tray or even a Configuration book your imagination will lead you on an amazing creative journey. Sit down relax and see how easy creating a Configuration box can be.
Supplies:
- Surfaces: 5 1/2” x 5 1/2” Configuration Box; Wallflower Paper Stash, Watercolor Cardstock
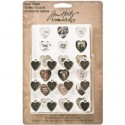
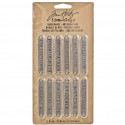
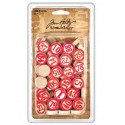
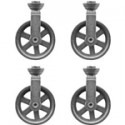
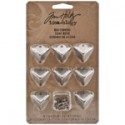
- Embellishments: Tissue Tape, Mini Lantern, Letterpress, Vellum Ephemera- Expedition, Found Relatives, Heart Charms, Chitchat, Word Bands- Observation, Crinkle Ribbon, Game Pieces, Pulley Wheels, Box Corners, Curio Knobs
- Dies: Sizzix Compass Blueprint Framelits and Stamp Set
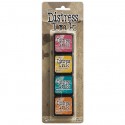
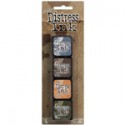
- Ink: Mini Distress Ink- Set 1 and 9,
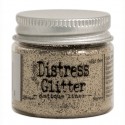
- Glitter: Distress Glitter- Antique Linen,
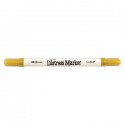
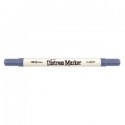
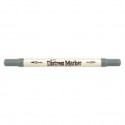
- Distress Markers: Wild Honey, Stormy Sky, Iced Spruce
- Distress Paint: Stormy Sky, Rusty Hinge, Antique Linen, Forest Moss, Iced Spruce, Wild Honey, Peeled Paint,
- Adhesives: Foam Tape, Multi Medium, Glossy Accents
- Tools: Craft Sheet, Heat Tool, Craft Pick, Sanding Grip, Ink Blending Tool, Distress Spritzer
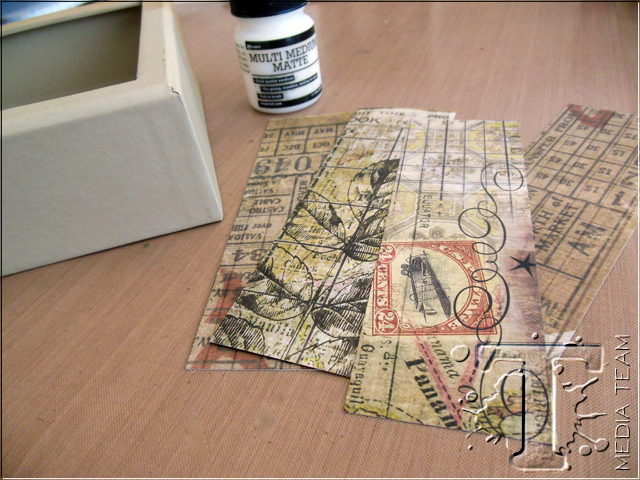
Cut 4-1 3/4” x 5 1/2” pieces of Wallflower Paper Stash to cover the sides of the box and a 5” x 5” piece for the back of the box.
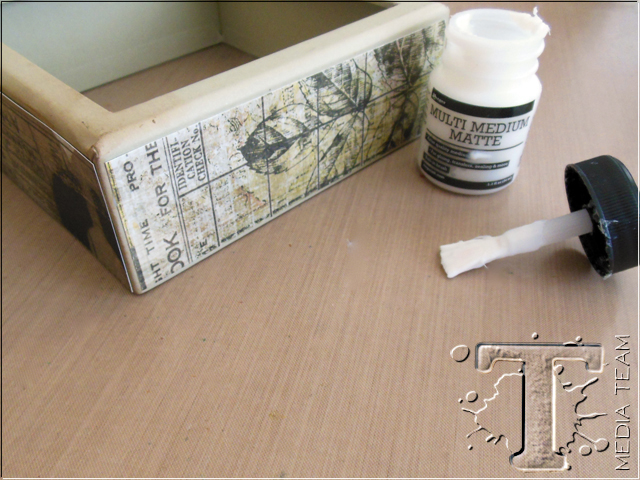
Adhere paper to the sides and back of the Configuration box using Multi Medium.
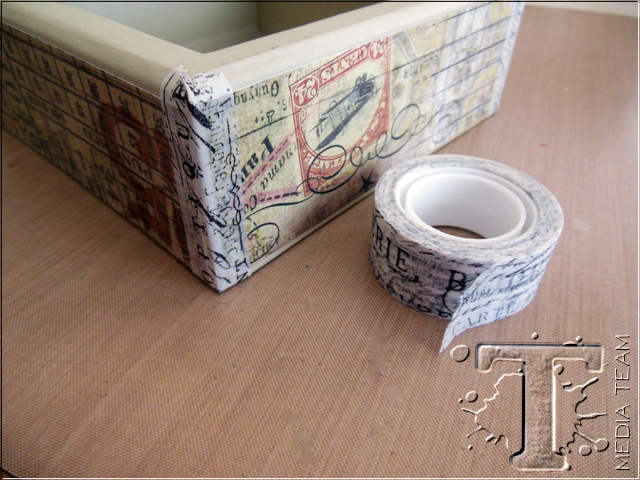
Add Tissue Tape to the corners.
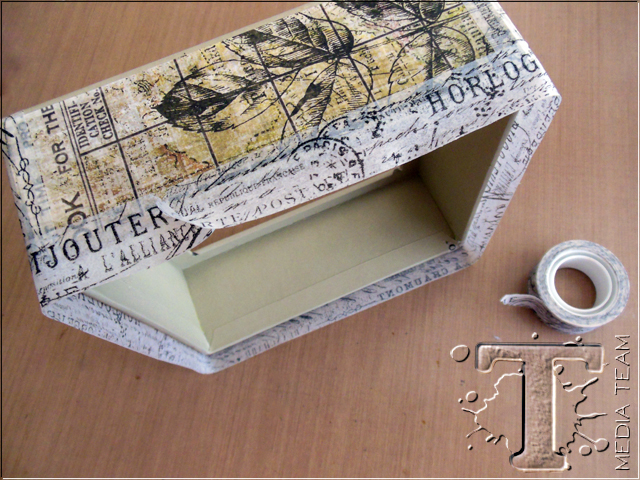
Wrap Tissue Tape around the edge and fold over to the inside.
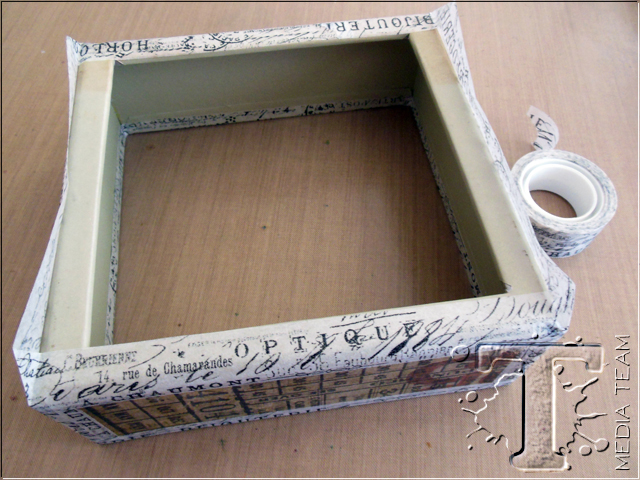
Apply Tissue tape to the face of the Configuration box.
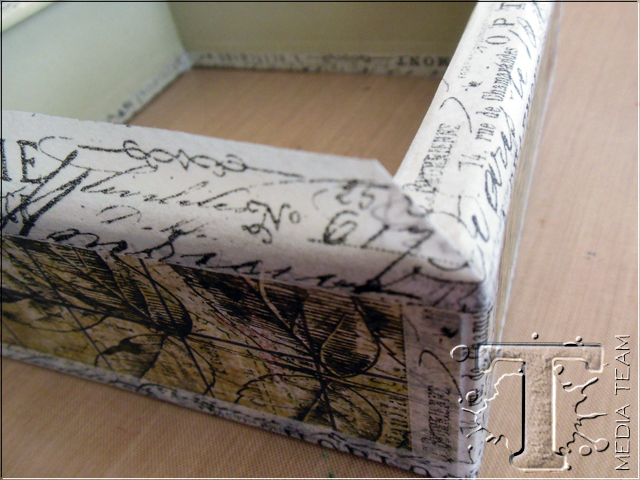
Fold in opposing sides first and then the other two sides.
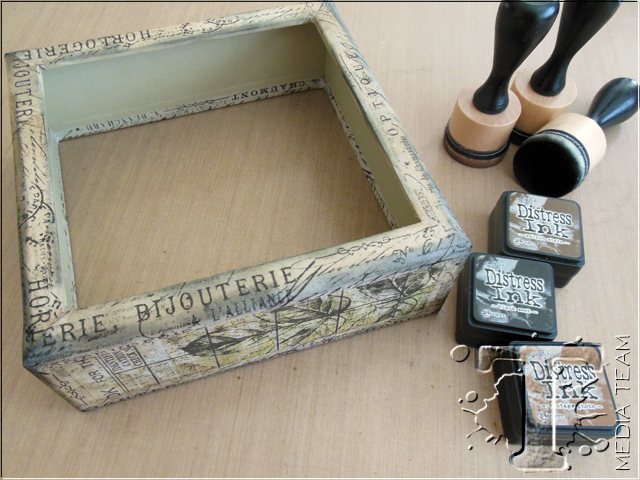
Ink the edges using Distress Ink on an Ink Blending Tool.
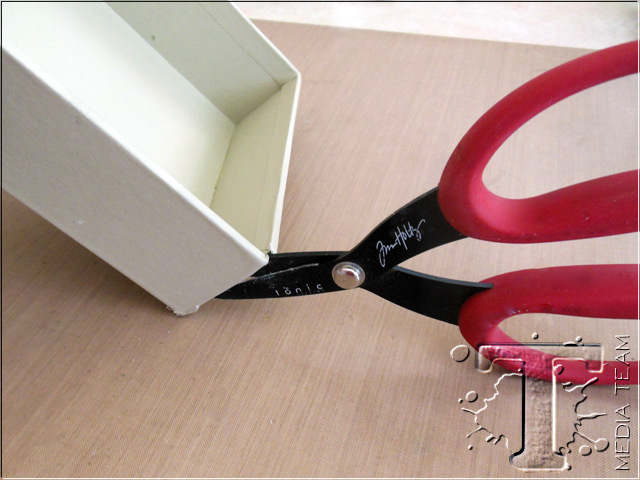
Cut one corner of the box for Mini Lantern wire to go through.
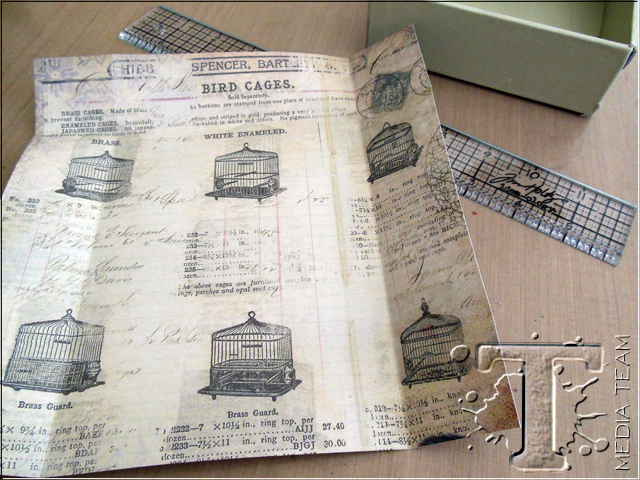
Cut a 8 1/4” x 8 1/4” piece of Wallflower Paper Stash to line the inside of the box. Score all 4 side 1 5/8” in from the sides.
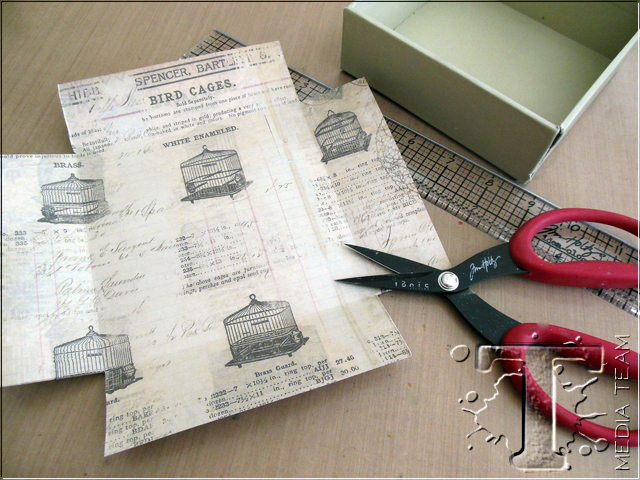
Cut the corners out on the score lines.
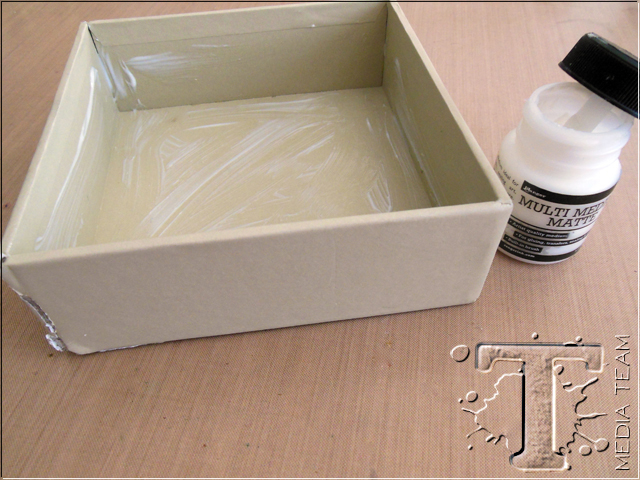
Paint the inside of the Configuration Box with Multi Medium and adhere paper.
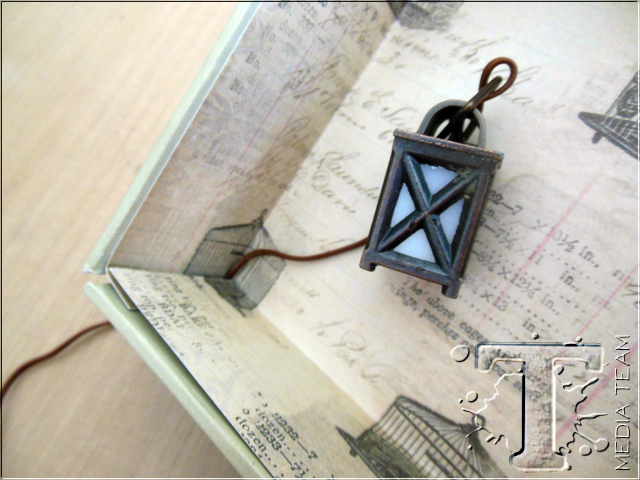
Place Mini Lantern in lower left corner, place the wire through the corner of the box.
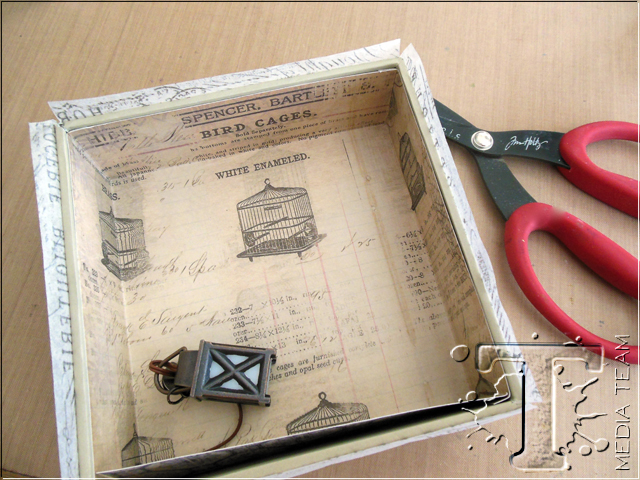
Wrap Tissue Tape around top edge of box and fold over to cover top edge.
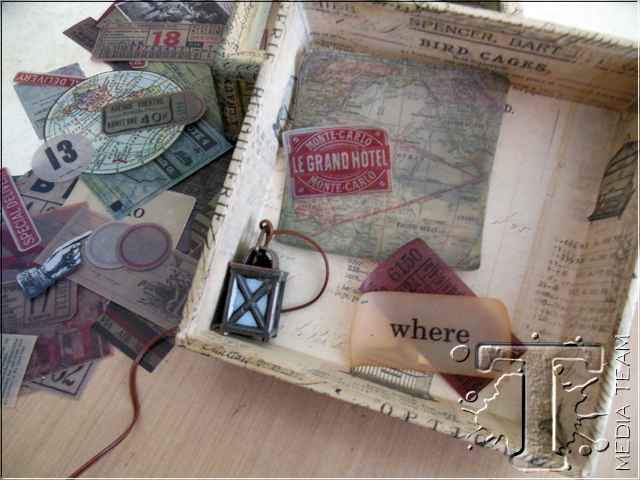
Adhere a few pieces of Vellum Ephemera to the back of box.
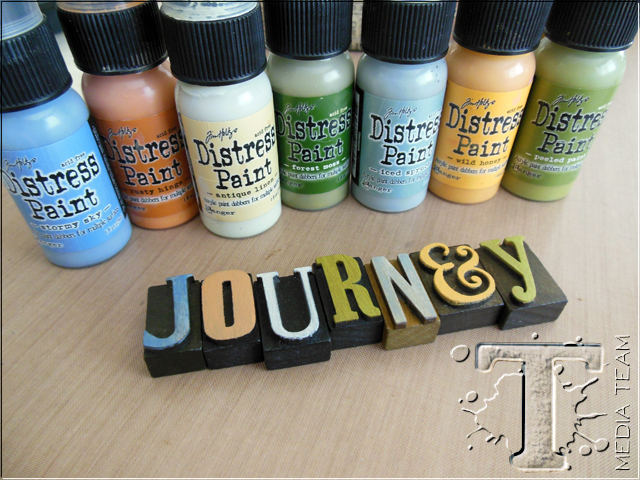
Paint the Letterpress letters using Distress Paint and let dry.
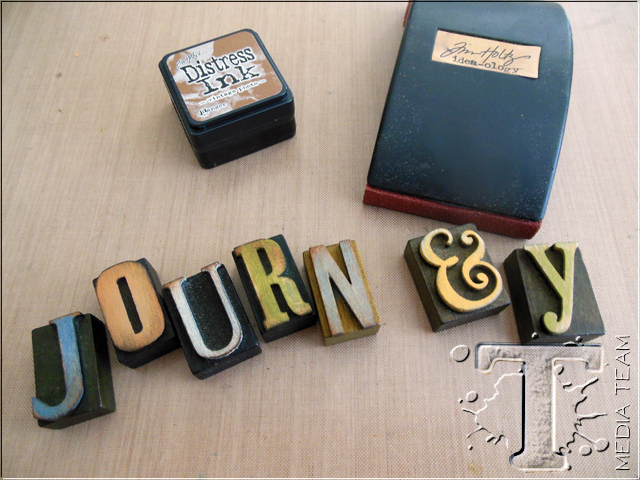
Lightly sand the letters with a Sanding Grip. Ink the edges using Distress Ink on an Ink Blending Tool.
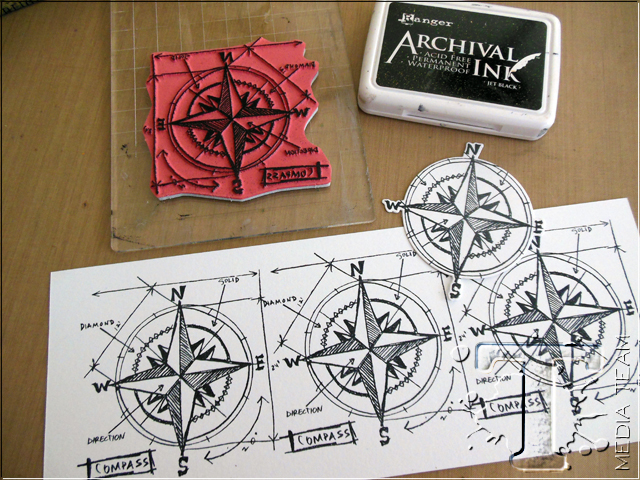
Stamp the Compass Blueprint onto Watercolor cardstock 4 times using Jet Black Archival Ink.

Die cut the Compass pieces using the matching Framelits.
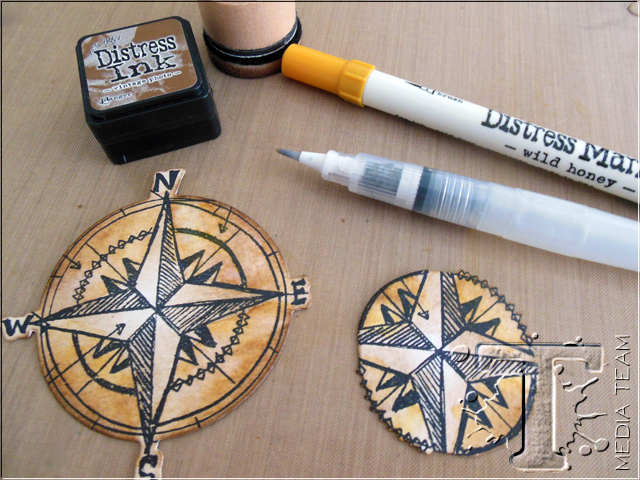
Color the outer Compass pieces using Distress Ink on an Ink Blending tool. Applying Wild Honey Distress Maker directly to your Craft Sheet, pick the ink up with a Water brush and wash it over the inked area.
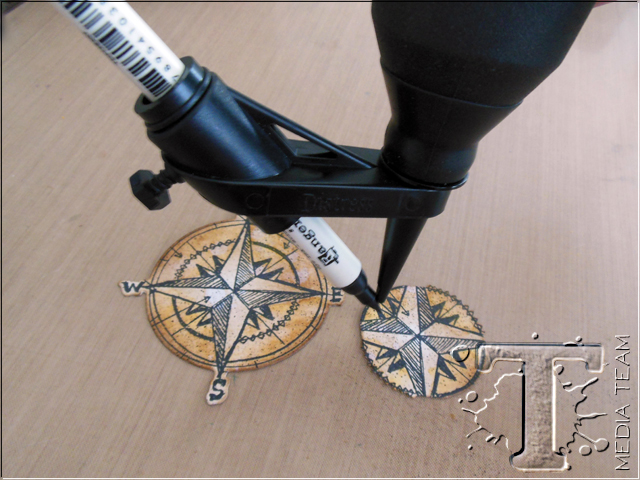
Spritz over the images with Iced Spruce Distress Marker. Love the added texture.

Color the image with Iced Spruce and Stormy Sky Distress Marker and blend with the Water brush.

Ink the edges using Vintage Photo Distress Ink on an Ink Blending Tool.
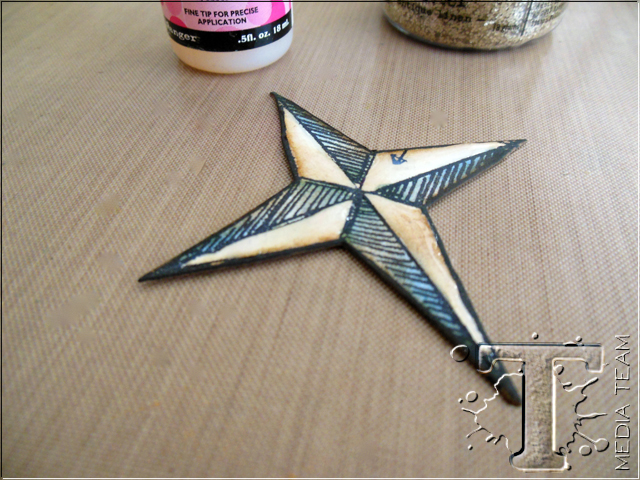
Apply Glossy Accents to the white areas of the Compass and pour Antique Linen Distress Glitter over it. Shake off excess and let dry.
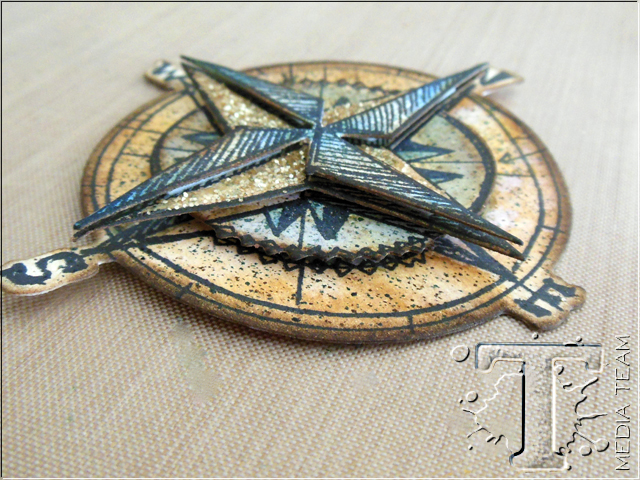
Use foam tape to layer the pieces together and to adhere in box.
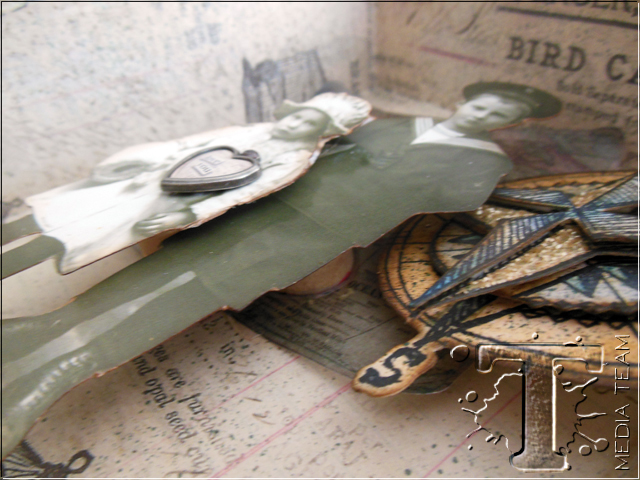
Cut around the Found Relatives, attach a Custom Heart to the little girl and use foam tape or Game Pieces to adhere to box.
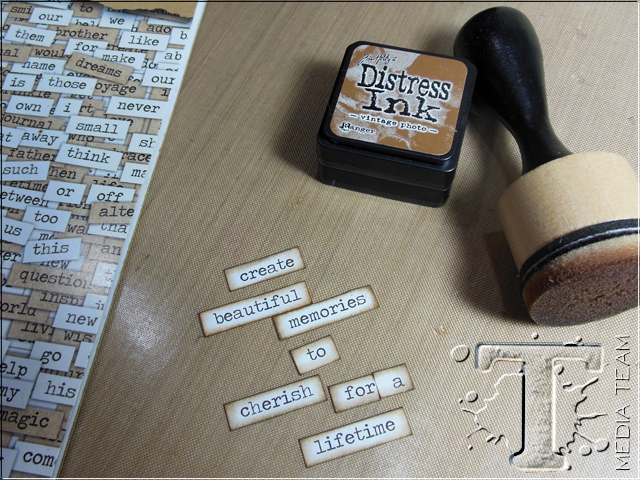
Create a little verse with Chitchat words, Ink the edges using Vintage Photo Distress Ink on an Ink Blending Tool.
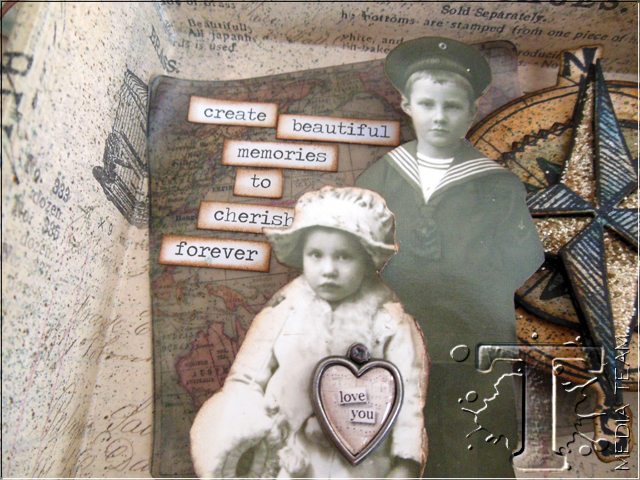
Add verse to Configuration box.
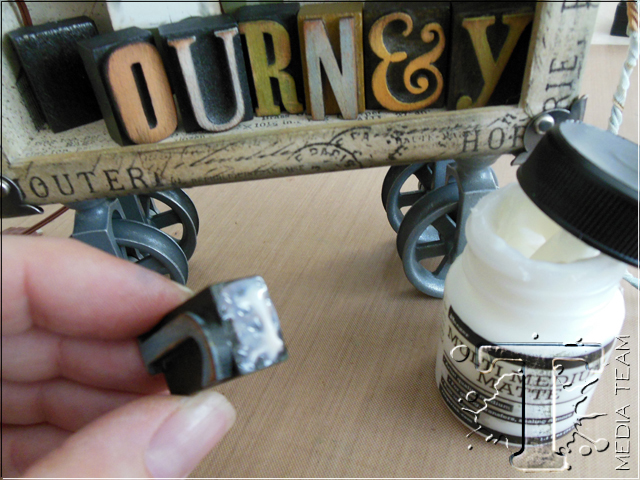
Adhere “Journey” Letterpress letters with Multi Medium. Add a block behind the “J” to help hold the Lantern. Adhere Lantern to blocks with Multi Medium.
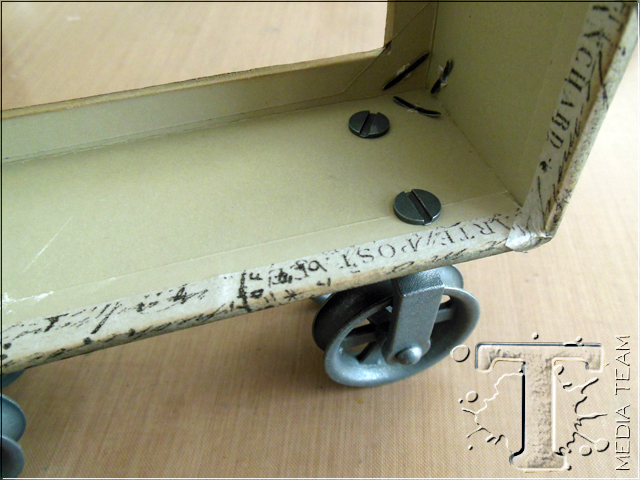
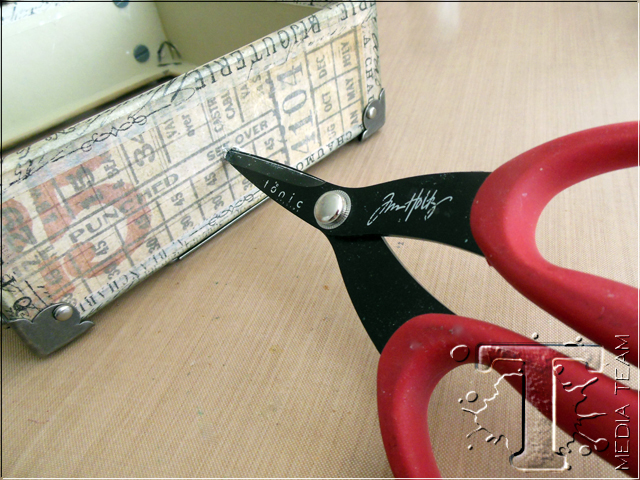
Attach Pulley Wheels and Corners by using a Craft PIck to poke holes in Configuration Box. Use your scissor like a drill if you need a larger hole.
Attach the Curio Knob to the top of the box.
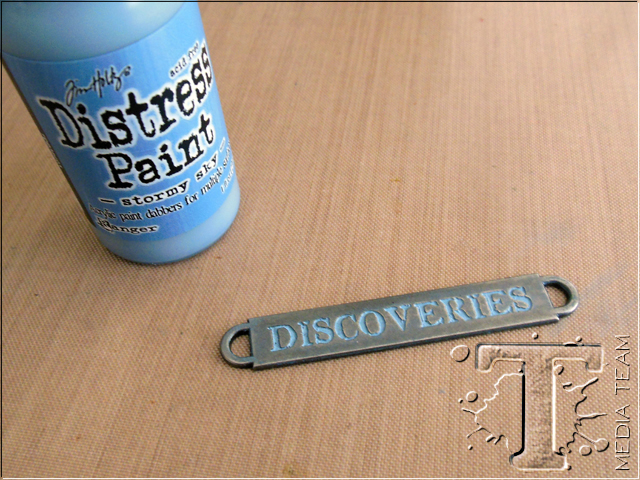
Paint Word Band with Distress paint let partially dry and wipe off excess with a cloth.
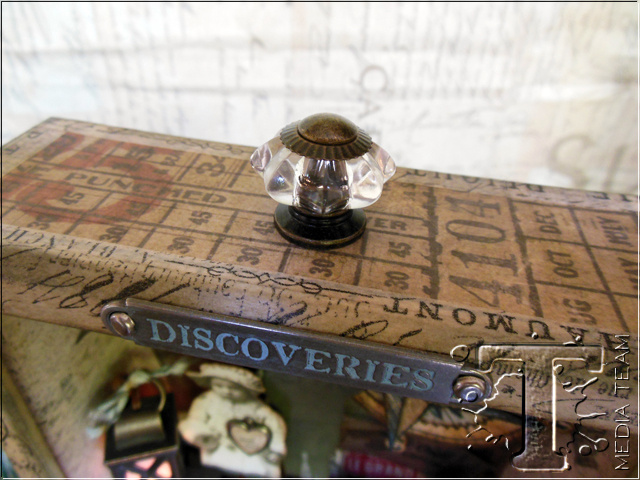
Attach the Word Band to the front of the box using a craft pick.
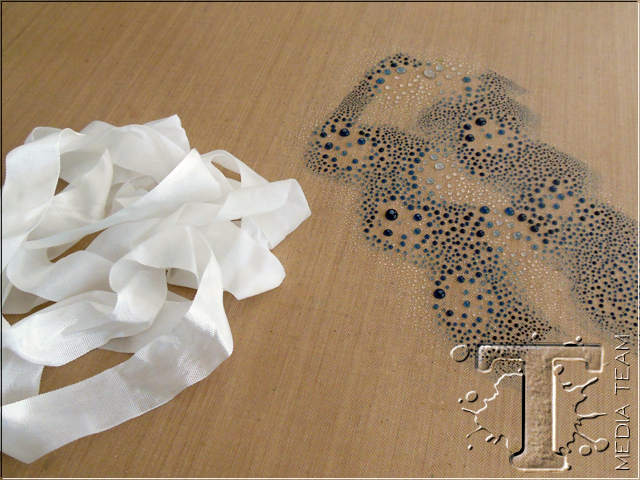
Color Crinkle Ribbon by applying Distress ink directly to Craft Sheet, spritz with water and drag ribbon through ink.
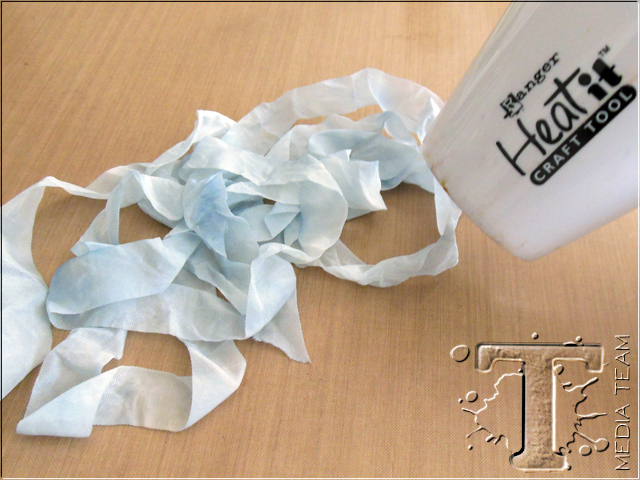
Dry with a heat tool.
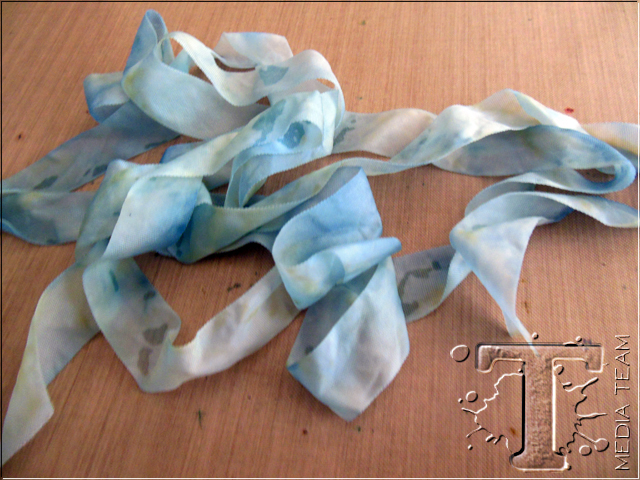
Continue to add color as desired.
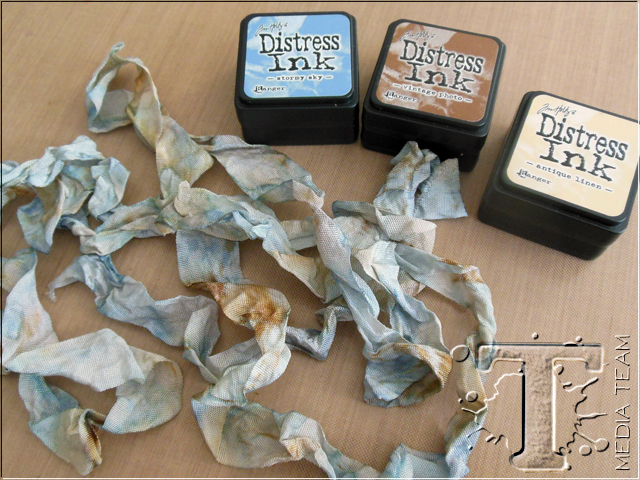
Crinkle ribbon as it dries.
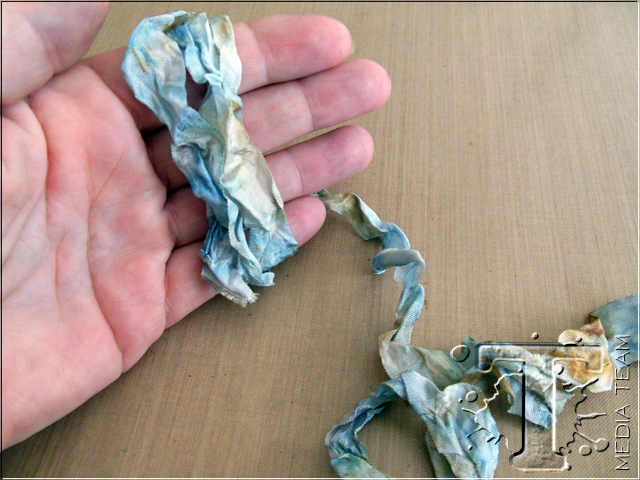
Make bow by wrapping around your hand 3 times.
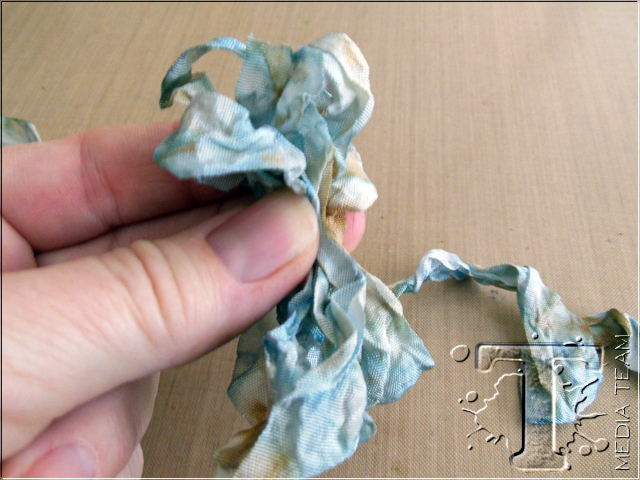
Pinch the center of the ribbon.
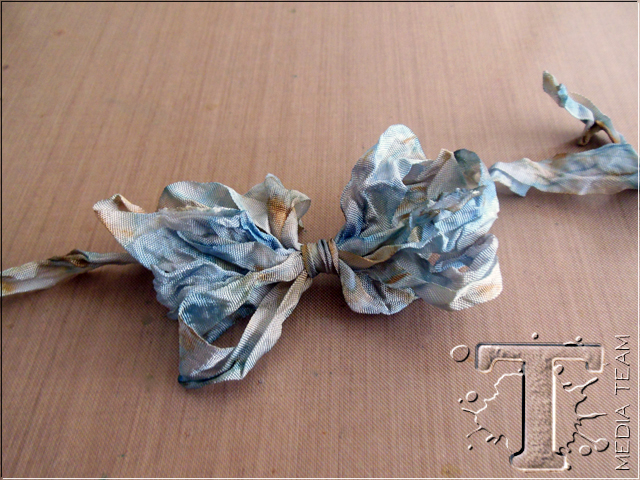
sing another piece of ribbon tie around the center of bow.
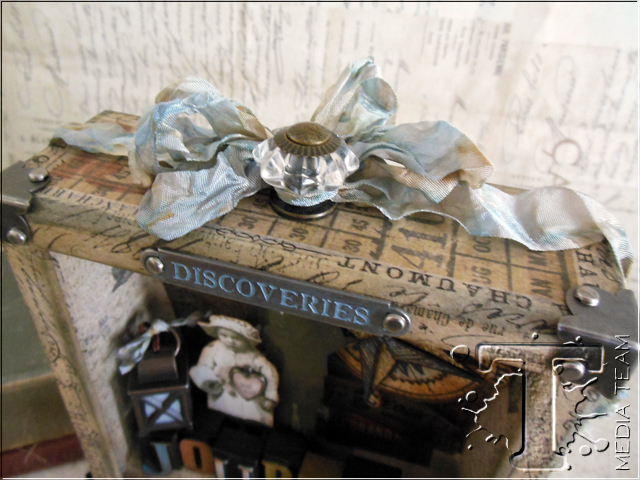
Tie bow to Curio Knob.
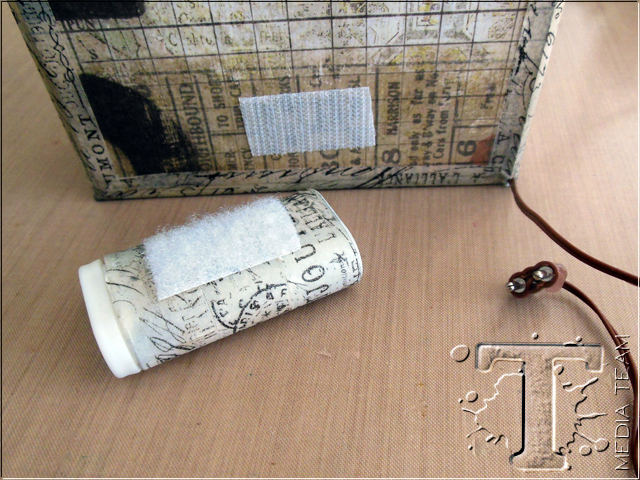
Attach velcro to battery pack to secure to back of box.
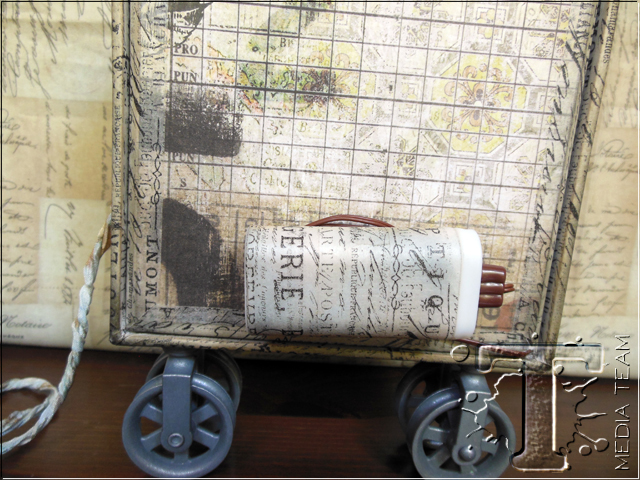
Wrap excess wire around battery pack.
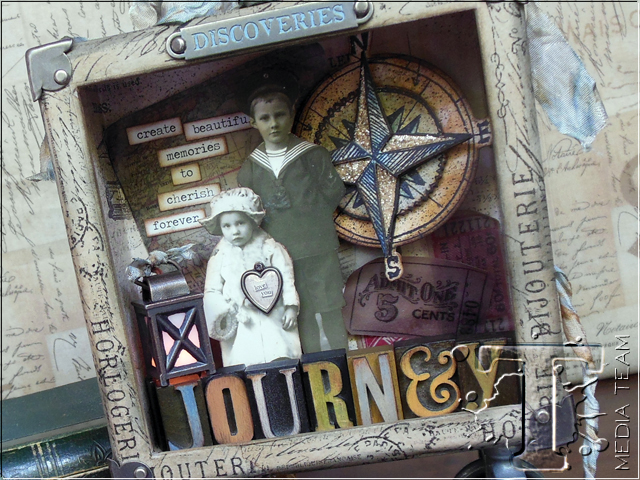
I love using Found Relatives to create my own story and the Configuration box is the perfect setting.
Richele
*be sure to check your local stores for these supplies or you can
click the links below to purchase online…
(SSS=simon says stamp / IE=inspiration emporium)
|
|
|

|
|
|
|
|
|
|
|
|
|
|
|
|
|
|
|
|
|
|
|
|
|
|
|
|
|
|
|
|
|
|
|
|
|
|
|
|
|
|


