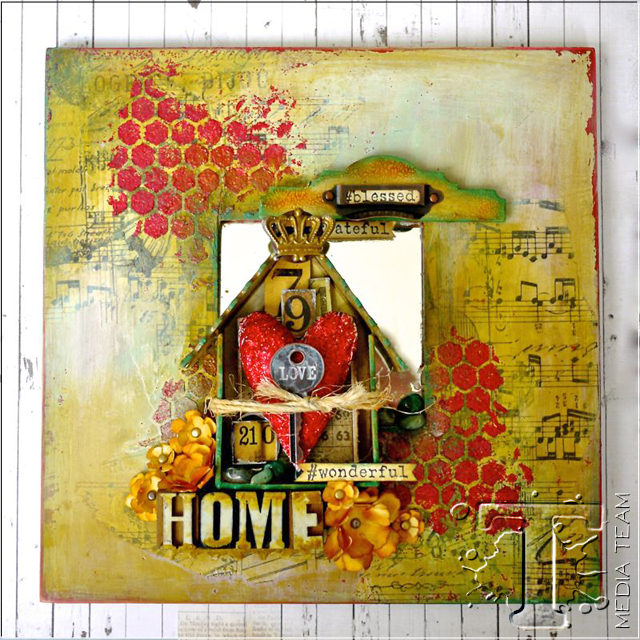
when it comes to mixed media, creative freedom is key. media team member aida haron takes on an artful adventure of incorporating different elements to create this textured masterpiece. i love her use of distress glitter in different ways – so are you ready to let your creativity play too?…t!m
Hello everyone ! I am so excited to be on Tim’s Blog and sharing with you an altered project. These types of pieces are a favourite as I love assembling all the various parts, especially digging through supplies to look for things that fit. Today my project has the theme Home, one I’m sure many of us think about. For those who might not already know, home for me is Singapore, a tiny dot of an island in SE Asia which has seen huge leaps in development since independence.
Supplies:
- Surfaces: Idea-ology 3 1/4” x 2 3/4” Configuration Box; Wallflower Paper Stash
- Dies: Sizzix Alterations Movers and Shapers Styled Labels 656642, Movers and Shapers Postage Frame 658572, Love Struck 657484, Decor Strip Tattered Flower Garland 457842
- Stampers Anonymous: Hashtag CMS 183
- Stencil: S005 Honeycomb
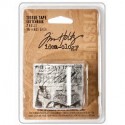
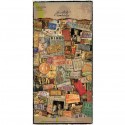
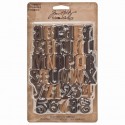
- Embellishments: Idea-ology Tissue Tape, Letterpress, Lost & Found Salvage Stickers, Cash Key, Word Key
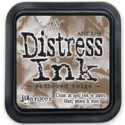
- Distress Ink: Wild Honey, Gathered Twigs
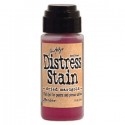
- Distress Stains: Dried Marigold
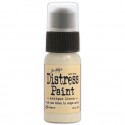
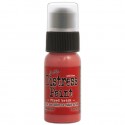
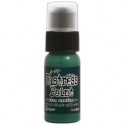
- Distress Paint: Antique Linen, Pine Needles, Fired Brick, Tarnished Brass
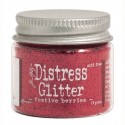
- Glitter: Distress Glitter – Festive Berries
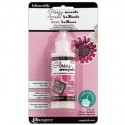
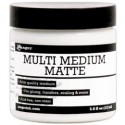
- Adhesives: Foam Tape, Matte Medium, Glossy Accents
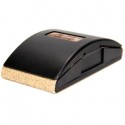
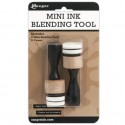
- Tools: Craft Sheet, Sanding Grip, Ink Blending Tool
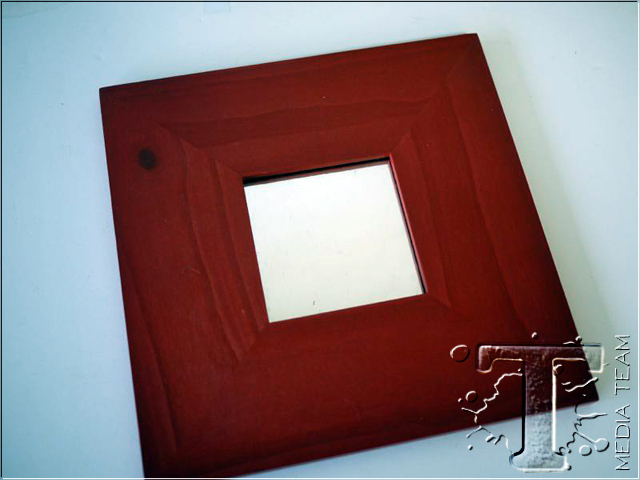
I’ve used a Configurations box measuring 3 3/4in X 2 3/4in and a 10in X 10in wood framed mirror found in the Ikea damaged goods bin. You can easily replicate this project on a canvas.
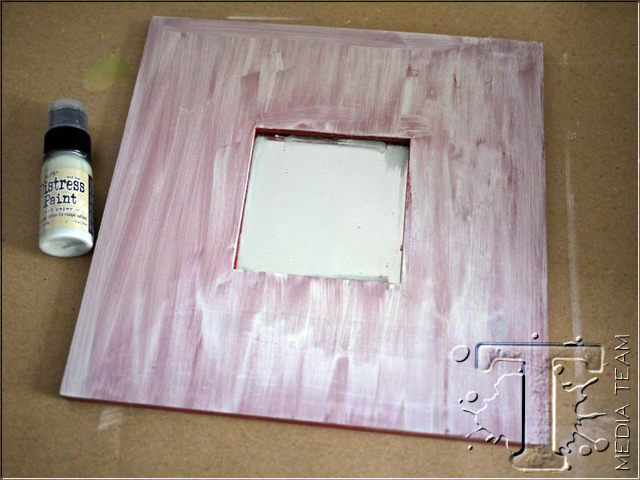
To begin, I painted the wood framed mirror lightly with Antique Linen Distress Paint letting the red base show through.
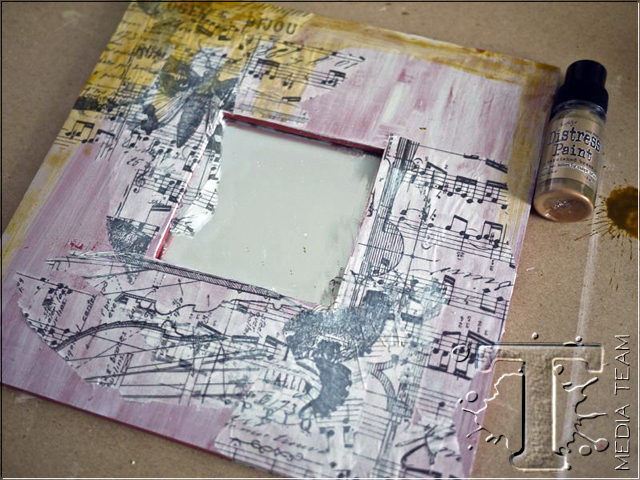
I randomly adhered Tissue Wrap to the central areas of the frame matte multi medium.
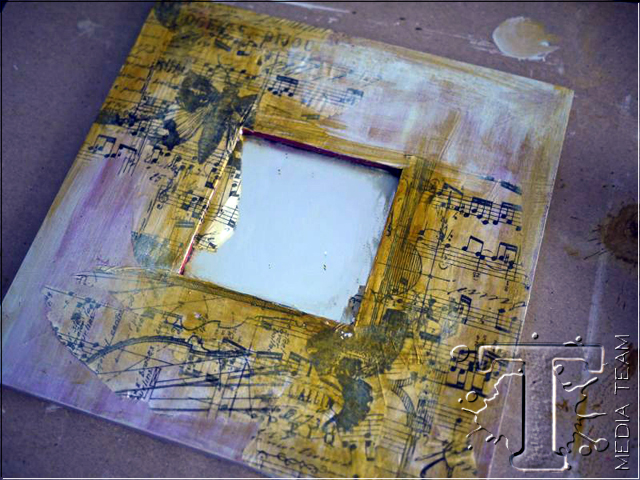
Once that was done, gently rub Tarnished Brass Distress Paint into parts of the tissue wrap. Dry completely.
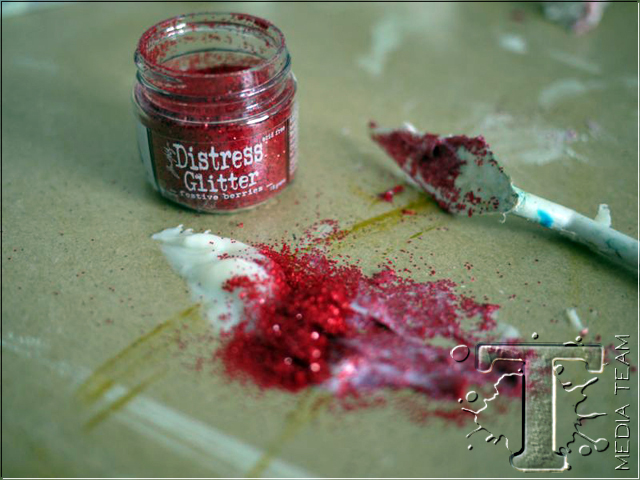
Mix Festive Berries Distress Glitter with matte medium.
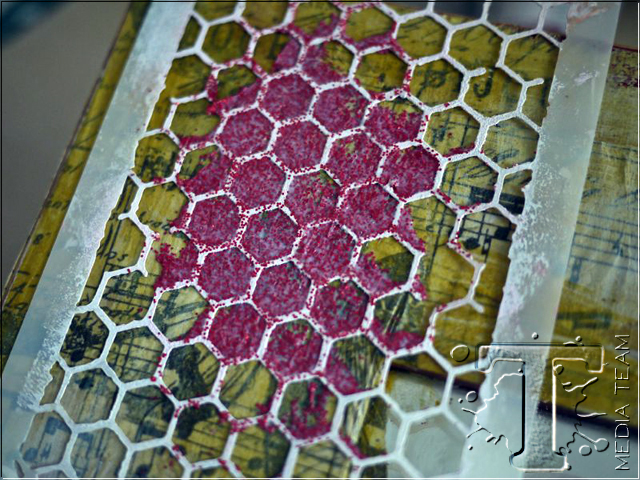
Spread the mix on to the frame through the Honeycomb stencil.
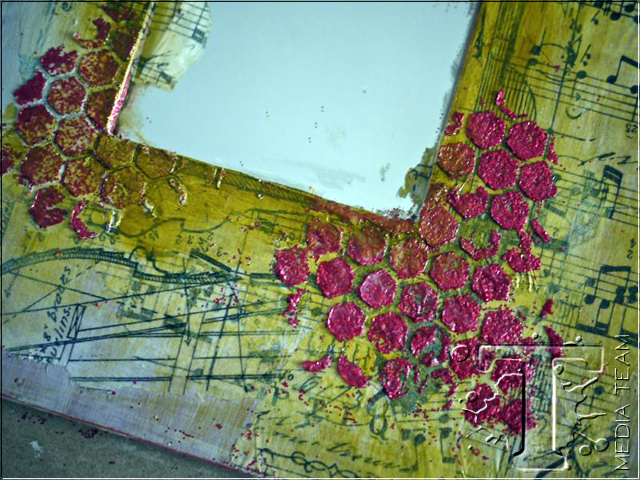
Set aside to dry.
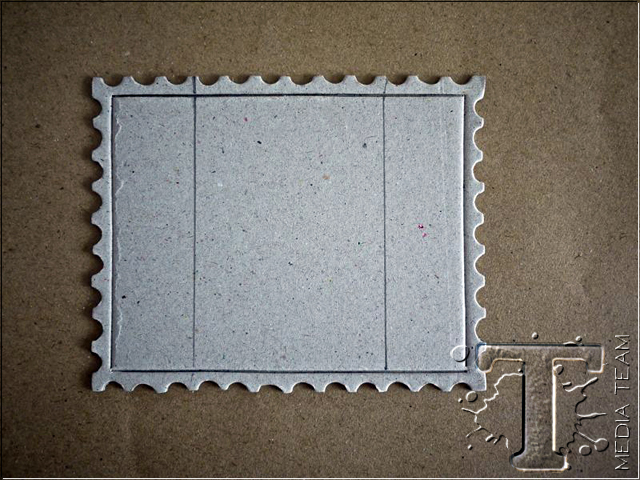
Die cut a chipboard with the Postage Frame Alterations Die. Measure 1 1/4″ inwards from the shorter sides, draw lines and trim off the two sides. This will be the roof to the configurations box.
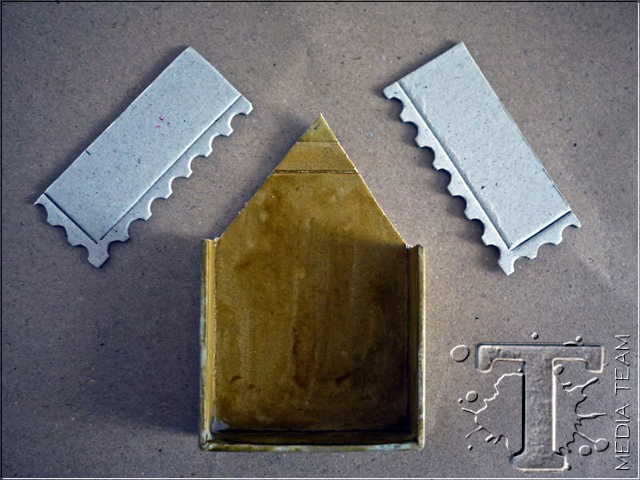
I painted the configurations box inside and out with Tarnished Brass Distress Paint and trimmed off the top corners at a slant.
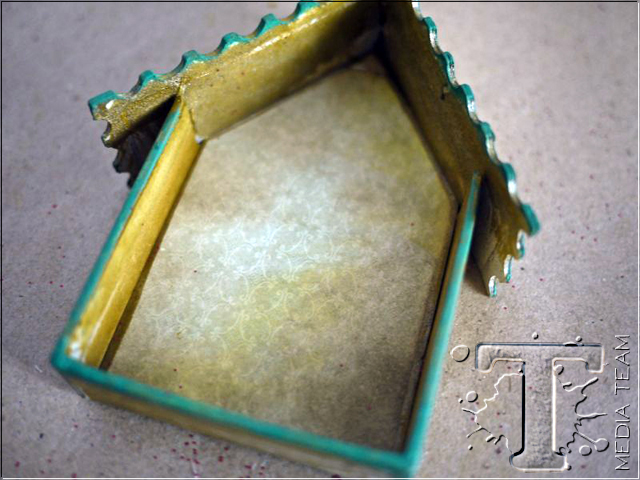
Attach the roof pieces and paint them with Tarnished Brass. Add Pine Needles to the edges to give the roof more definition.
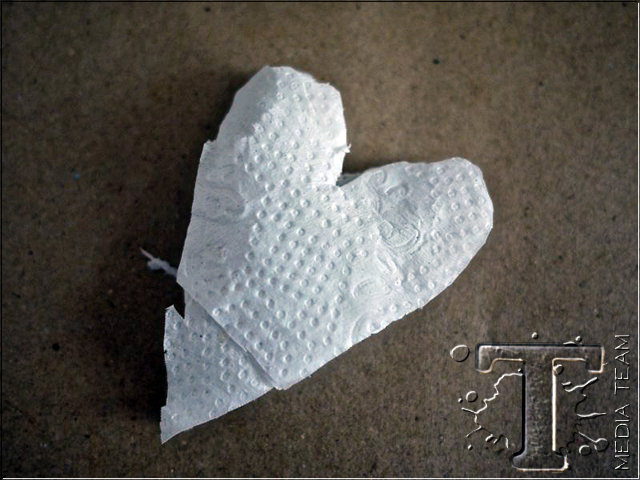
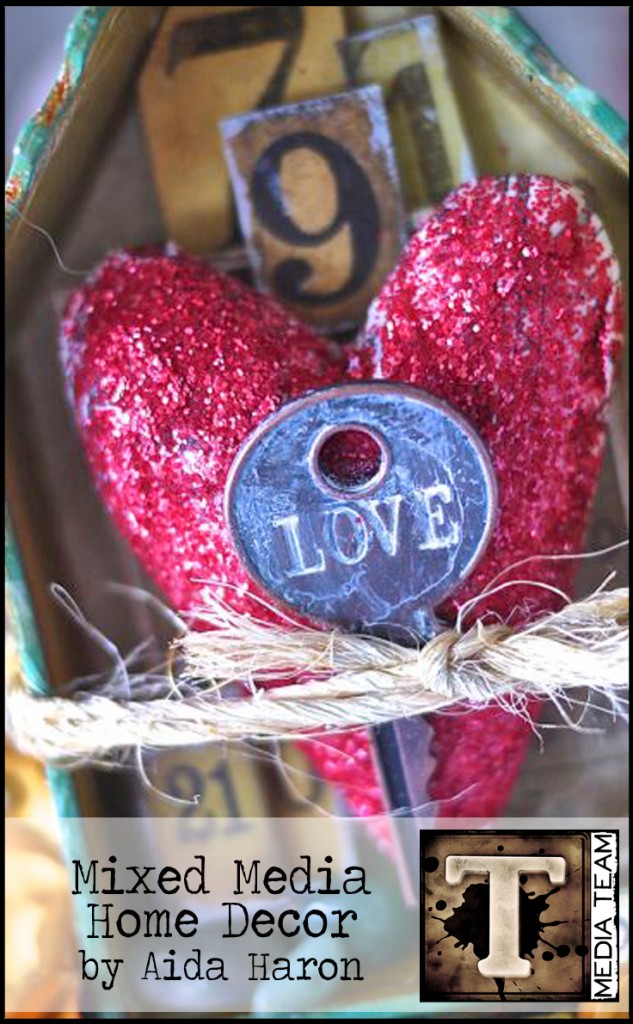
Die cut a heart using the Alterations Love Struck die. Glue rolled up small pieces of kitchen towel to the heart, ending with flat pieces and you will get a puffy heart.
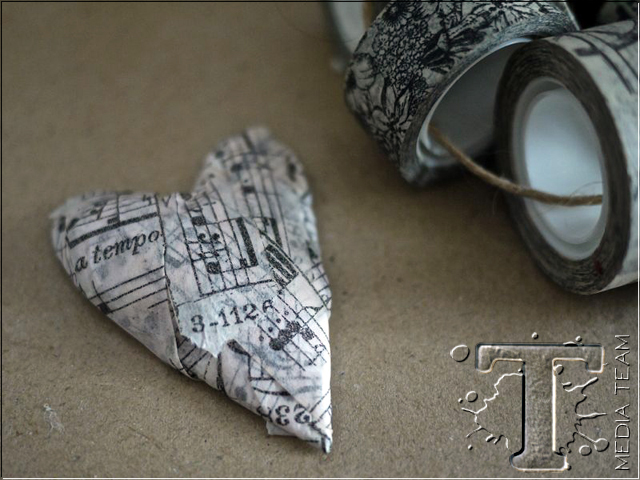
Using any tissue tape you have, tape the heart by rolling the tape round the shape back to front until the whole heart is taped. This is easy and really fun to do, can you imagine the things you can make with this?
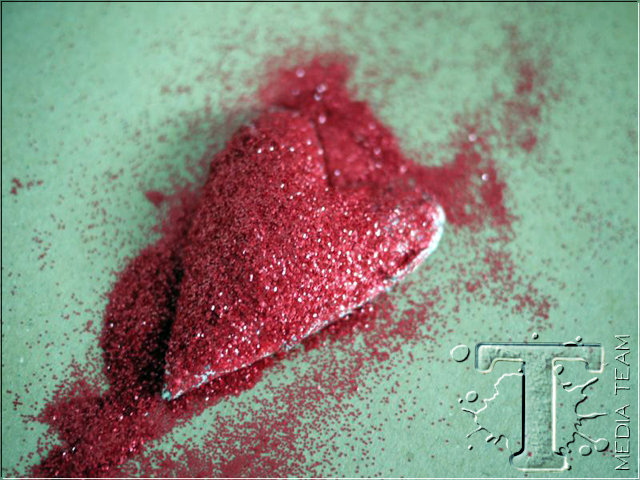
Next I liberally brushed the heart with matte medium and poured Festive Berried Distress Glitter over it. Shake off the glitter, pat it down firmly with your finger. You will find some parts of the tissue tape will show through which is perfectly fine.
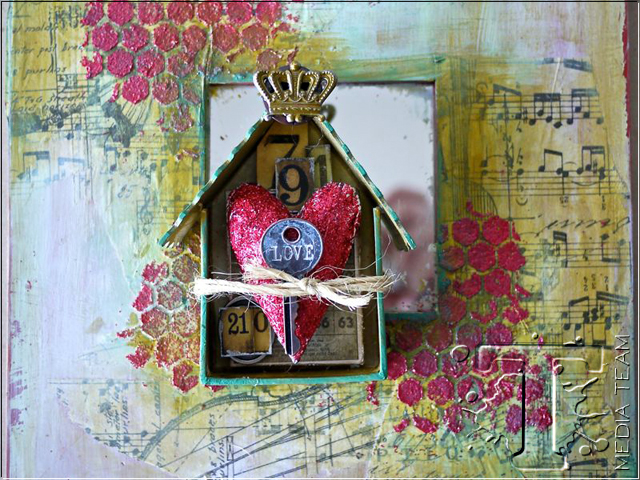
The back of the house was layered with Wallflower patterned paper and numbers from Salvage Stickers, some of which were adhered on to an Oval Metal charm. Glue the heart securely to the box and here you may need foam stickers or thick chipboard to elevate the heart so it’s not too far into the back of the box. Glue a Love Word Key to the centre of the heart, then tie with twine or any thin rope over the heart and round the whole house.
At the apex of the roof I stuck a flat button and on top of that an Adornment metal crown painted with Tarnished Brass Distress Paint. When this was all done, I securely glued the house to the frame.
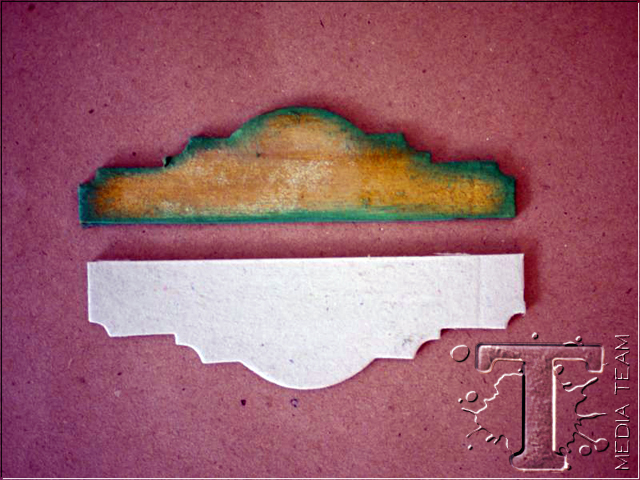
To create a corner detail, die cut a chipboard with a Movers and Shapers Styled Labels die. Trim across the label and paint a half piece with Tarnished Brass and Pine Needles. Brush with Distress Crackle Paint and when dry, rub in Distress Stain Dried Marigold.
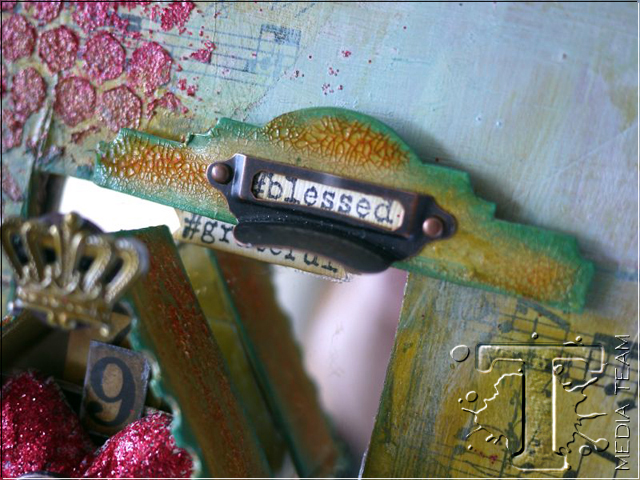
I adhered it to the top right of the project and added a brass Label Pull with the word Blessed from the Stamper’s Anonymous Hashtag set.
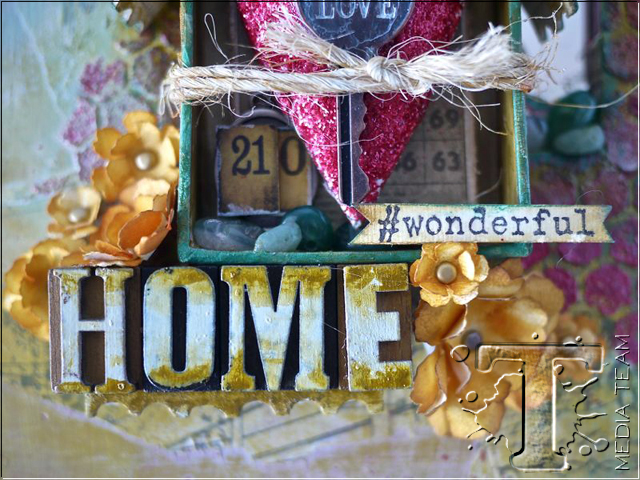
For the title Home, I used the Wood Letterpress and painted them with Antique Linen and Tarnished Brass Distress Paint. The flowers were die cut using the Tattered Flower Garland, then inked with Wild Honey and Gathered Twigs Distress, Assemble the flowers together with brass brads as centers. I layered them around the base of the house and on the right of the word Home.
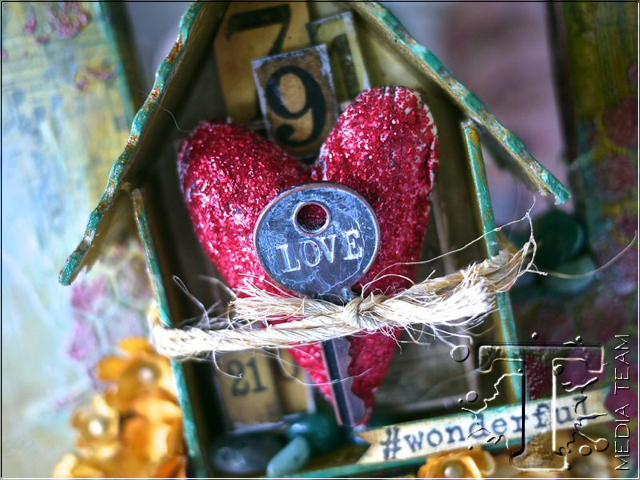
After the piece was assembled, I decided it needed a few adjustments – for the house more Tarnished Bronze was added as well as Clear Crackle Paint for texture.
I hope you enjoyed this tutorial and will find inspiration from this. Thank you for spending these few minutes with me, see you soon!
Aida
*be sure to check your local stores for these supplies or you can click the links below to purchase online…
(SSS=simon says stamp / IE=inspiration emporium)
|
|
|
|
|
|

|
|
|
|
|

|
|
|
|
|
|
|
|
|
|
|
|
|
|
|
|
|
|
|
Pin it to remember it!
Don’t forget to follow Tim Holtz on Pinterest for more great ideas and inspiration!


