 with the holidays right around the corner, coming up with ideas for those last minute holiday gifts for friends, party hosts, or even a festive decoration for your home is what most of us need about now. today’s tutorial shows how to create a cheerful christmas clipboard using the “oh deer” from idea-ology. these cute little guys sold out fast, but you still might be able to get your hands on one by checking with your local or online retailer (there’s a link at the end of the post)…
what i love about this project is the versatility it can have whether you’re displaying your favorite holiday photo, cherished christmas card, or even use it to present a gift card to give to someone special. the “oh deer” clipboard features an acrylic base measuring approx 6″ wide by 10″ tall with a fun metal deer clip. check out this creative way to alter and embellish your own one of a kind masterpiece of merriment…
supplies:
- surfaces: oh deer clipboard
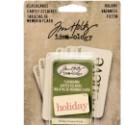
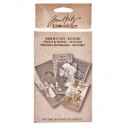
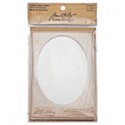
- paperie: cabinet card; found relatives; ephemera/christmas; flashcards/holiday; design tape/tidings
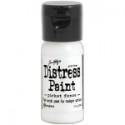
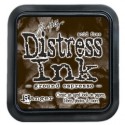
- ink & paint: distress paint/picket fence; distress ink/ground espresso
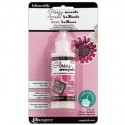
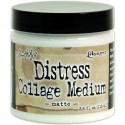
- adhesives: distress collage medium/matte; glossy accents
- glitter: distress glitter/rock candy
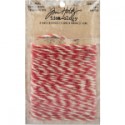
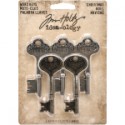
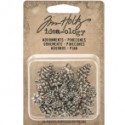
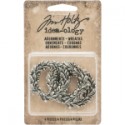
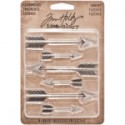
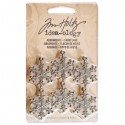
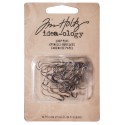
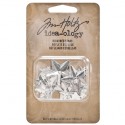
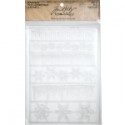
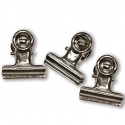
- embellishments: alpha parts/frozen; adornments/wreath/pinecones/snowflake/arrow; word keys/christmas; mirrored star; hinge clip; loop pin; jute string/christmas; crinkle ribbon
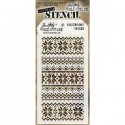
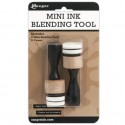
- tools: layering stencil/holiday knit THS028; craft sheet; mini ink blending tool; scissors; collage medium brush
- misc: string
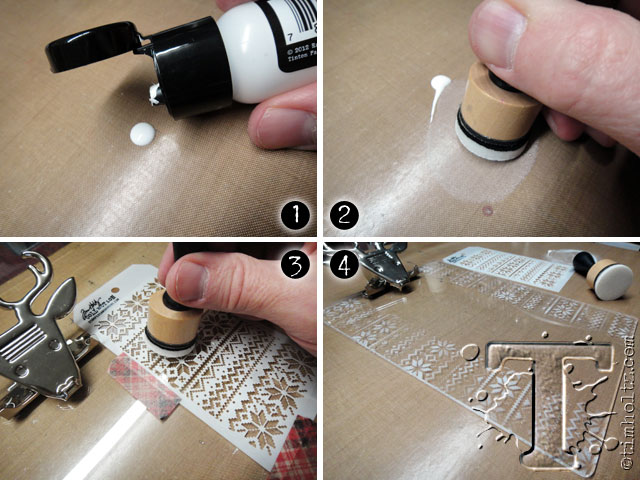 step 1: apply picket fence distress paint to craft sheet.
step 2: rub mini blending tool into paint distributing paint throughout foam.
step 3: tape stencil over clipboard and lightly pounce blending tool through stencil to apply paint.
step 4: move stencil and repeat previous steps around edges of clipboard – let paint dry completely.
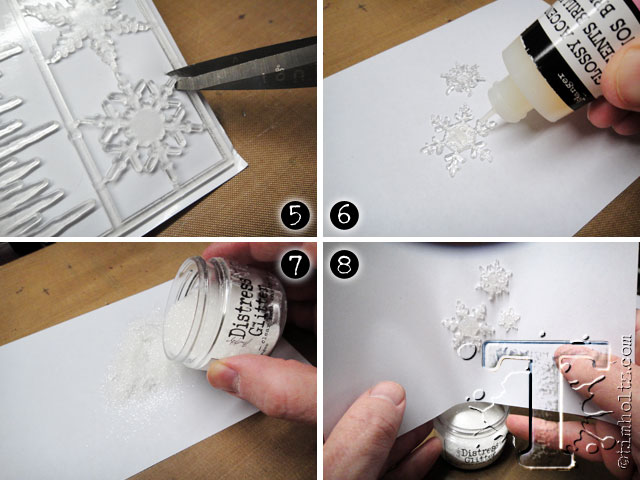 step 5: snip alpha parts from matrix and adhere to scrap piece of paper.
step 6: apply glossy accents to top of piece.
step 7: immediately cover wet glossy accents with rock candy distress glitter.
step 8: remove excess glitter and set aside to dry completely.
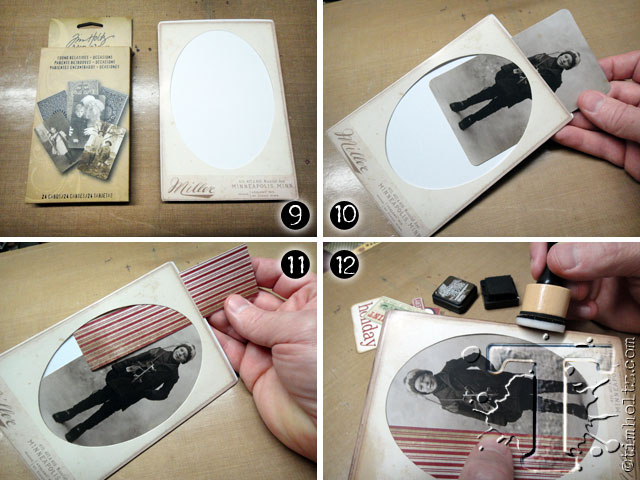 step 9: select a cabinet card frame and found relative (or use your own holiday photo).
step 10: insert photo through top slot in cabinet card.
step 11: insert a piece of scrapbook paper to cover any visible space inside frame – no glue is needed at this point.
step 12: ink the edges of the cabinet card with distress using a new piece of ink blending foam. *tip: for a more distressed look sand the edges with sandpaper before inking.
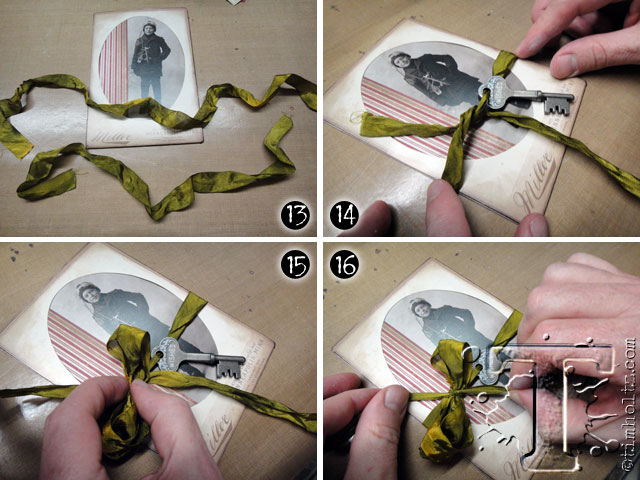 step 13: cut two pieces of crinkle ribbon (18″ and 24″) and color with distress ink or stain.
step 14: wrap the 18″ piece of ribbon around the cabinet card frame, slide on word key, and tie ribbon once.
step 15: wrap the 24″ piece of ribbon around 4 fingers, slide off the loop, and place over tied ribbon.
step 16: tie ends of 18″ ribbon around the loops into a knot creating a bow.
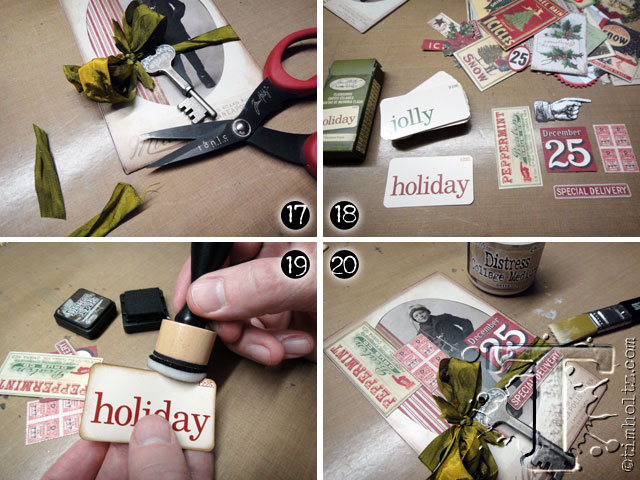 step 17: fluff looped ribbon bow and trim ends as needed.
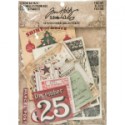
step 18: select holiday ephemera and flashcard to use in your collage.
step 19: ink edges of selected pieces with distress ink using blending tool.
step 20: adhere ephemera to cabinet card over photo with collage medium using collage medium brush. *this step secures the photo.
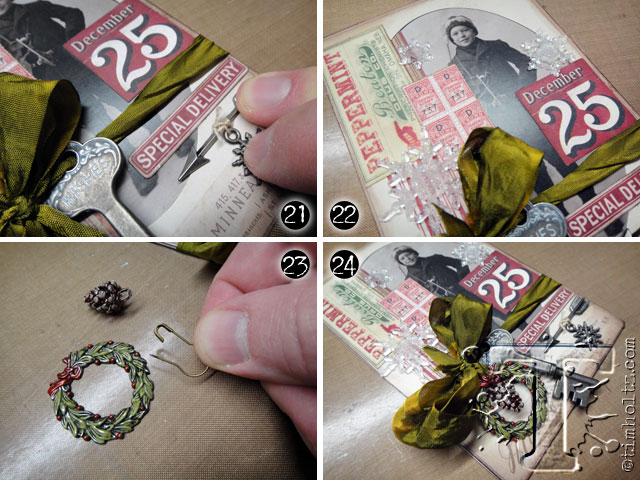 step 21: add string through snowflake adornment, wrap around arrow, and adhere with collage medium.
step 22: adhere glittered snowflakes with collage medium.
step 23: open loop pin and add pinecone and slide through opening in wreath adornment.
step 24: pin into ribbon and secure closed.
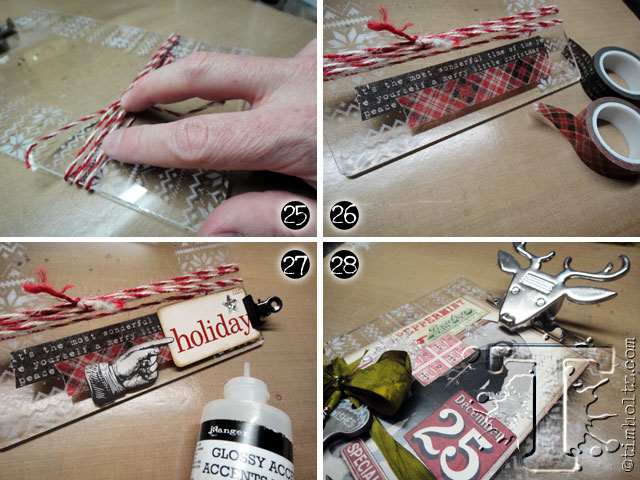 step 25: wrap jute string around clipboard several times and tie ends in a knot.
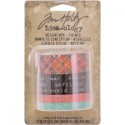
step 26: adhere a couple pieces of design tape to base of clipboard.
step 27: adhere ephemera and mirrored star with glossy accents and secure flashcard to clipboard with hinge clip.
step 28: attach finished cabinet card to clipboard to display and enjoy!

