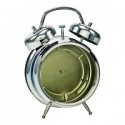
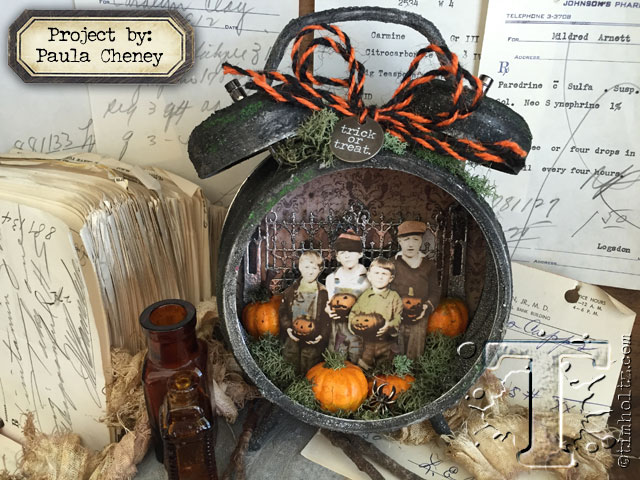
 over the past month several talented crafters have shared their innovative ideas using the latest halloween products creating everything from home decor to cards and more. today’s final project is from the talented paula cheney who designed a textured timepiece to showcase your favorite halloween memories. the dimensional details and colorful layered perspective make this a must-do on my holiday project list. i hope you’ve enjoyed the halloween inspiration series, and thanks again to everyone who participated in sharing their wickedly wonderful creations…t!m
supplies:
- surfaces: assemblage clock; paper stash/materialize; deco sheets/halloween
- inks: alcohol ink/pitch black; distress ink/gathered twigs; distress embossing ink
- crayons: distress crayons/set #1/#3
- markers: distress markers vintage photo/ peeled paint/faded jeans/spiced marmalade/festive berries
- mediums: distress grit-paste; distress collage medium/matte
- embossing powder: black/silver
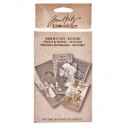
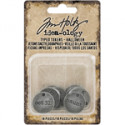
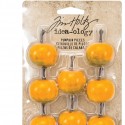
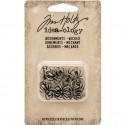
- embellishments: found relatives/occasions; pumpkin pieces; jute string/halloween; typed tokens/halloween; adornments/wicked
- tools: distress sprayer; distress collage brush; black foam tape; tonic scissors; vagabond
- dies: thinlit/gothic gate
- misc: moss; glue gun
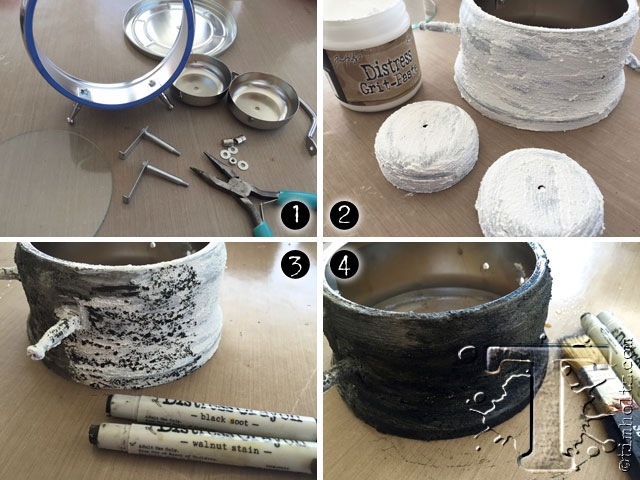
Step 1: Partially disassemble the Assemblage Clock, removing bells/handle but leaving feet in place. Remove glass and discard. Tip: If you’re unsure about how to put the clock back together, take a few pictures before disassembling bells.
Step 2: Use your finger to smear Distress Grit-Paste over the entire outside of the clock body, legs, bells and handle. Grit-Paste goes on easy over the clock surface leaving you with a super textured finish. Let dry for at least 2-3 hours (I left mine to dry overnight).
Step 3: Once dry, scribble over the Grit-Paste with Distress Crayons. I used a combination of Walnut Stain and Black Soot. Once you have added the desired crayon color, spritz with water using the Distress Sprayer.
Step 4: Use a Distress Collage Brush to “paint” the Distress Crayon over the Grit-Paste on all clock parts. The Grit-Paste will easily accept the color to create the perfect spooky finish. Note: you may notice in later steps that I added a bit of Twisted Citron Distress Crayon to the surface just to give it a fun pop of color hear and there.
Once the surface is dry, you can put the clock back together. Any remaining clock parts that were not textured with Grit-Paste, like the stems that hold up the bells or the small knobs at the top of the bell, were colored with Pitch Black Alcohol Ink.
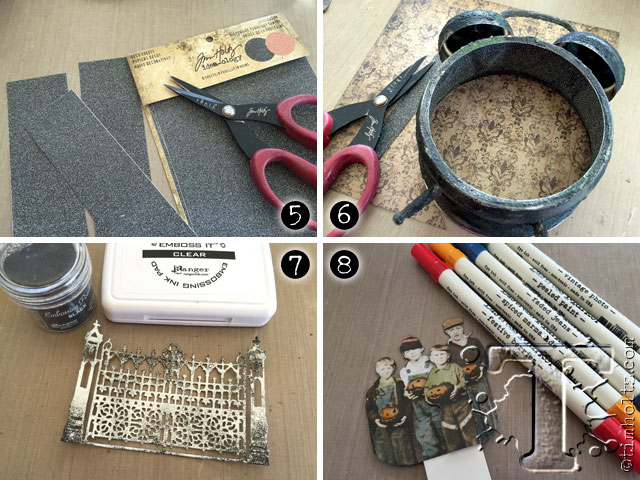
Step 5: Cut one black Deco Sheet Halloween into three strips.
Step 6: Use the self-adhesive Deco Sheet strips to line the inside walls of the clock body. This part does not need to be perfect but it does need to extend to the front lip edge. The Deco Sheet is a bit flexible so its easy to go over the nuts and bolts that hold the clock together. Don’t worry about the bumps, as most will be covered in later steps.
Using the back of the clock as a template, cut a paper circle from Mini Stash Materialize. Adhere to the back wall of the clock with Collage Medium.
Step 7: Use the Sizzix Gothic Gate Thinlit die to cut the gate from back cardstock. Apply Emboss It clear embossing ink over gate. Sprinkle both silver and black Embossing Powder over gate and heat emboss to create a vintage look.
Step 8: Cut out boys from the Found Relatives Occasions pack. Clip off the boy (green shirt) on the end of the Found Relative image and move him to the center of the group. Use foam tape to add dimension.
Tint the Found Relatives with Distress Markers by coloring clothing and pumpkins then wiping away the wet ink with a soft cloth.
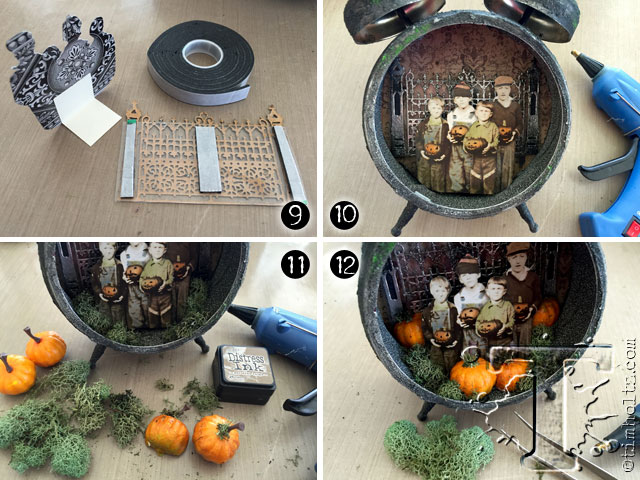
Step 9: Add a small piece of scrap cardstock to the back of the boys. Adhere a strip of plastic to the back of the Gothic gate for stability. Add foam tape to the back of the plastic to raise the gate from the back of the clock.
Step 10: Adhere the Gothic Gate and Found Relatives to the clock.
Step 11: Add a small amount of moss to the bottom of the clock (a little goes a long way). Color Pumpkin Pieces with Gathered Twigs Distress Ink direct from the pad, rub over pumpkin. Cut two Pumpkins in half with cutting knife.
Step 12: Use hot glue to add Pumpkin Pieces to clock. I used one whole pumpkin and three halves. I also added a tiny bit of moss near the base of each stem.
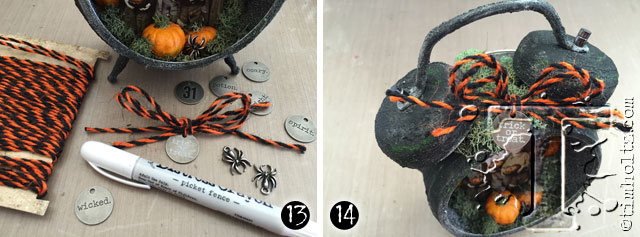
Step 13: Choose a Halloween Typed Token. Use a Picket Fence Distress Crayon to add white color to the words. Wipe away any excess. Add Typed Token to the colorful Halloween Jute String. You might also notice I added a Spider Adornment crawling up the pumpkin in the front of the clock!.
Step 14: Add additional moss to the top of the Assemblage Clock then adhere Jute String bow at top with hot glue.
