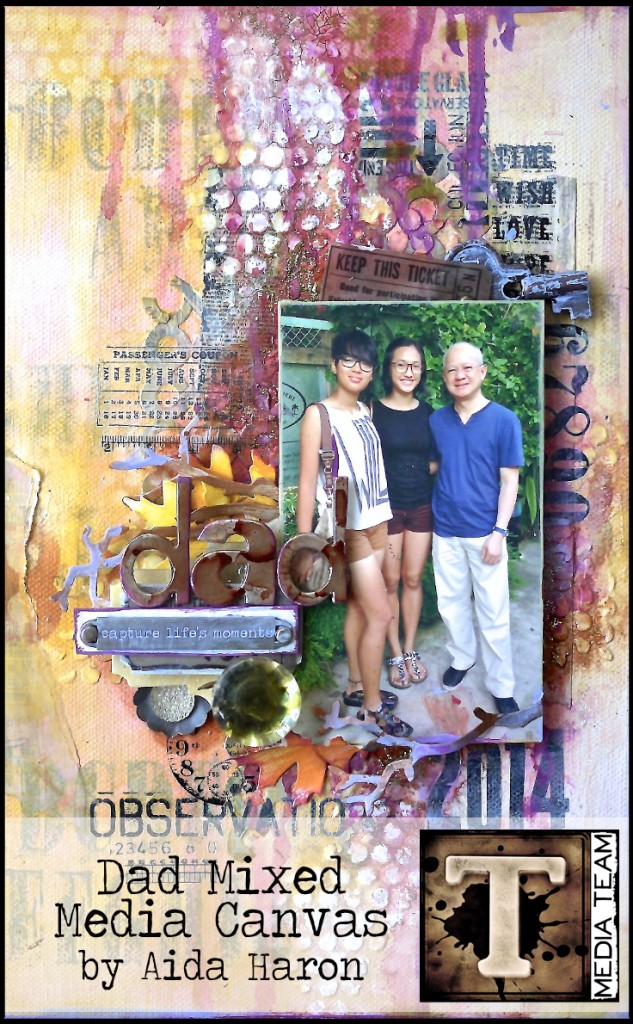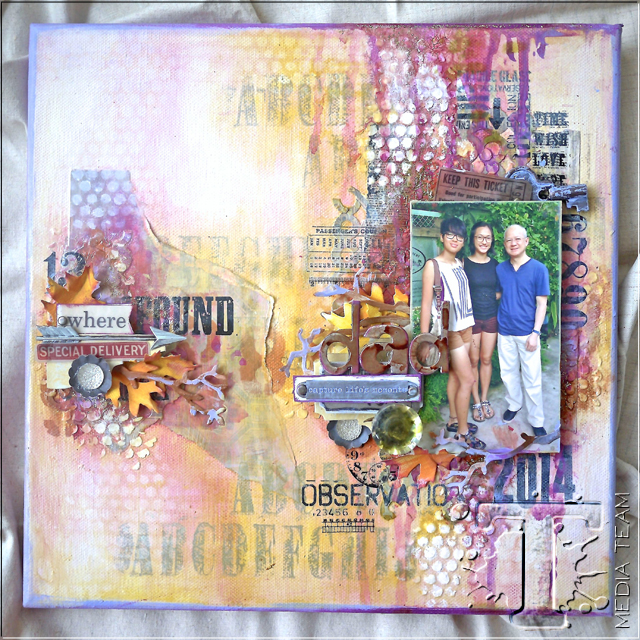
there are many ways to capture the moments of our lives. media team aida haron combines textures and color to create this wonderful mixed media canvas to showcase a family photo. check out this tutorial for inspiring ways to use stamps, stencils, dies, and of course a whole lot of distress goodness…t!m
Hi everyone ! Are you a layout crafter and hesitating about adding mixed media to your skills ? In the classes I teach, very often paper scrappers find it hard to make the transition to mixed media for fear of not being able to create work they like, or they are simply overwhelmed by the products available and how to handle them. Today my project is a canvas layout and I hope this will give you useful information on the process. I promise you it’s not difficult and really all about letting go, together with enjoying the process.
Supplies:
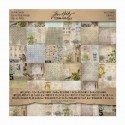
- Surfaces: 12 x 12 stretched canvas (pre-gessoed); Wallflower Paper Stash
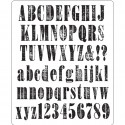
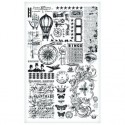
- Stamps: Worn Text CMS156
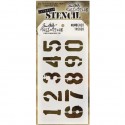
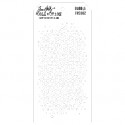
- Layering Stencils: Bubble TH002, Numbered THS 020
- Dies: Word Play Alphabet, Bird Branch, Movers and Shapers Magnetic Die Mini Tattered Leaf set, Washer Border, Movers and Shapers Styled Labels.
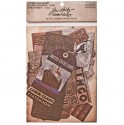
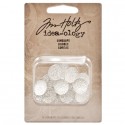
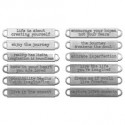
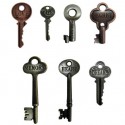
- Embellishments: Remnant Rubs- Words, Elements, Numbers; Vellum Ephemera- Expedition,Word Bands, Word Key, Curio Knobs, Gumdrops
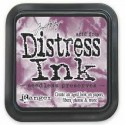
- Distress Inks : Mustard Seed, Seedless Preserves
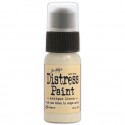
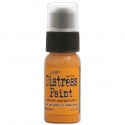
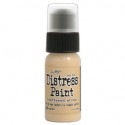
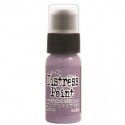
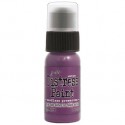
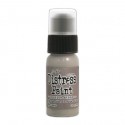
- Distress Paints : Antiqued Bronze, Pumice Stone, Shaded Lilac, Seedless Preserves, Antique Linen, Spiced Marmalade, Scattered Straw
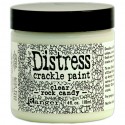
- Distress Crackle Paint: Rock Candy
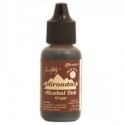
- Alcohol Ink : Ginger
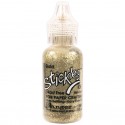
- Stickles : Gold
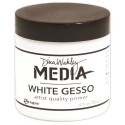
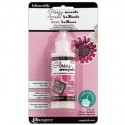
- Other: White Gesso, Glossy Accent
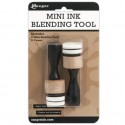
- Tools : Vagabond, Craft Sheet, Ink Blending Tool, heat tool, scissors
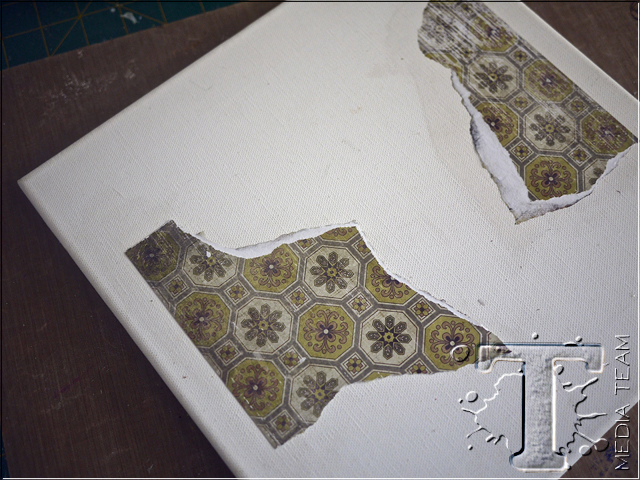
Using a 12×12” canvas, I adhered randomly 2 pieces of torn up patterned paper from the Wallflower pack.
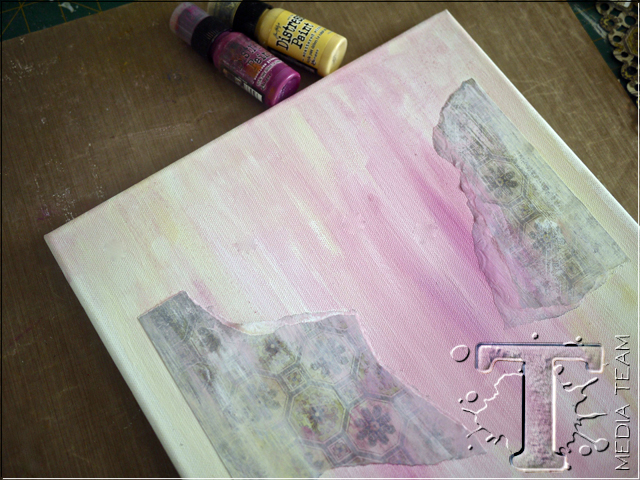
Next I painted the whole canvas with watered down white gesso and added a mix of Distress Paints Seedless Preserves and Mustard Seed. At this point you can decide if you’d like the more of either color.
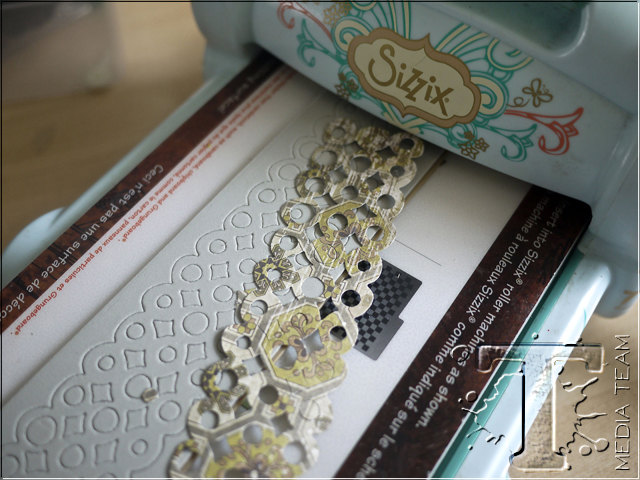
Choose any paper to cut out a few strips of the Washer Border.
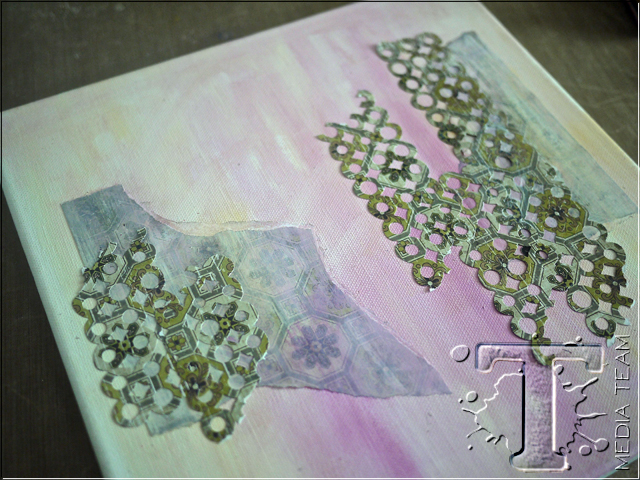
Here you can see where I positioned the strips on the canvas.
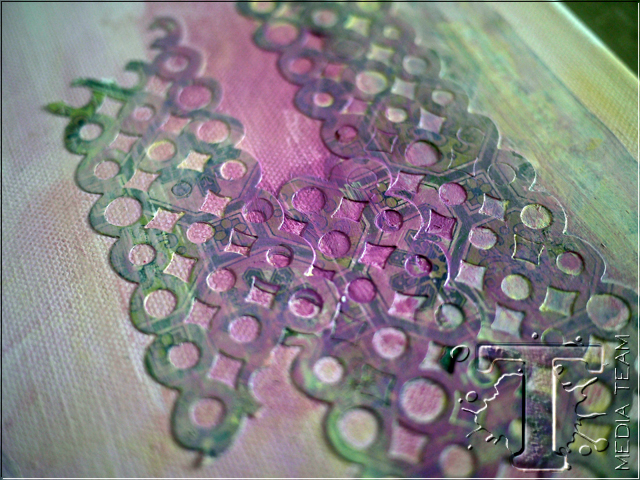
I painted the whole canvas again with watered down white gesso, Seedless Preserves and Mustard Seed Distress Paints.
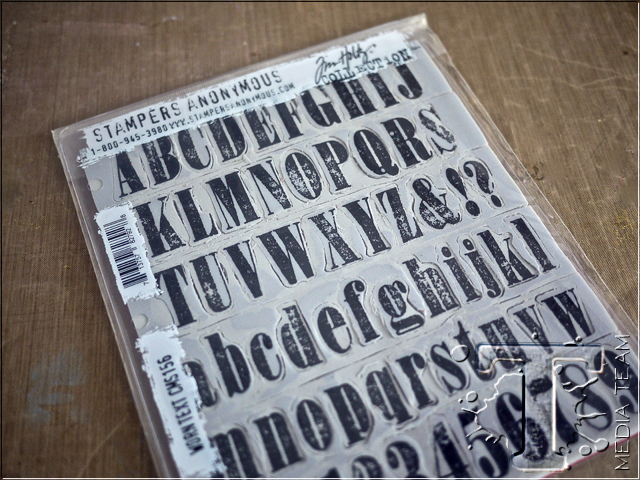
I am super in love with fonts in any form and this Worn Text stamp really called out to me ! It’s just lovely and what’s great is it comes in a large piece where you can use it whole as a background stamp or you can lift out the letters or numbers to stamp individually.
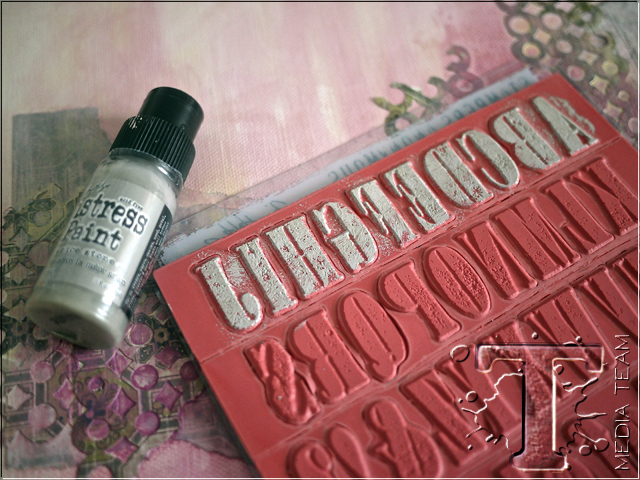
Here you can see how I inked it with Distress Paint Pumice Stone. As it’s a light grey, when stamped, it’s subtle and adds the right amount of faded dimension without taking attention away from the main features of the canvas.
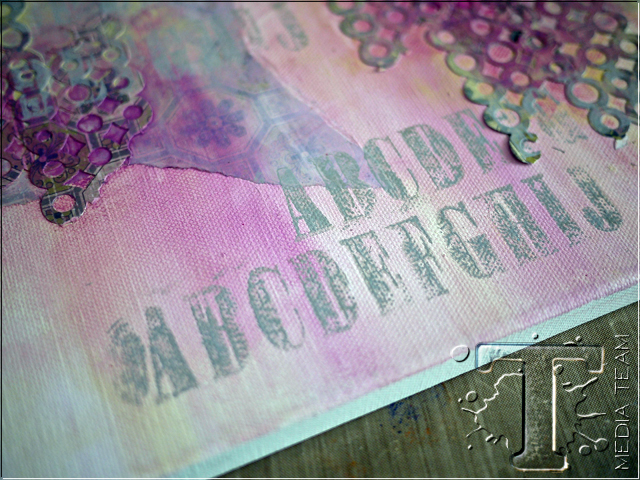
This is the result and you can see how worn it looks.
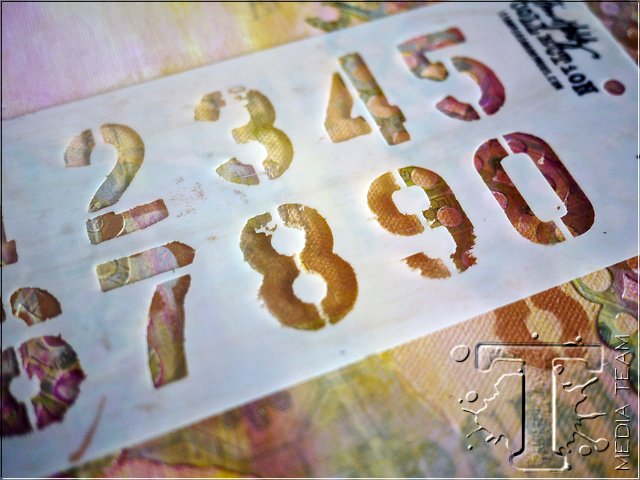
More layers! A standing joke with mixed media crafters …. why stop at only 1 or 2 layers, have a whole hog of them! And keeping to that idea, I used the Numbered stencil and pounced Distress Paint Antiqued Bronze.
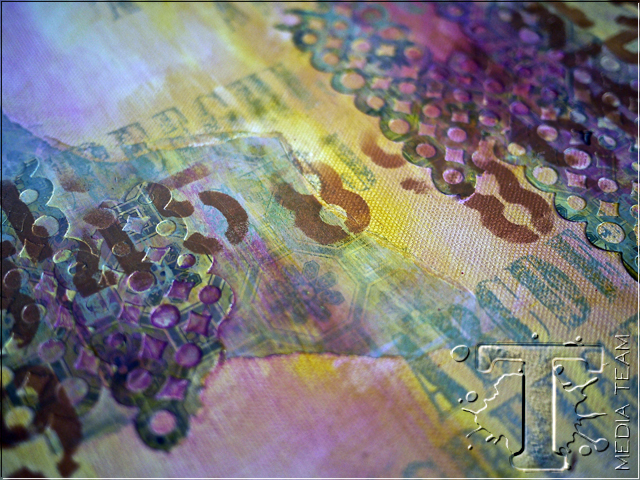
The light shimmer of Bronze fits right in with this grungy feel.
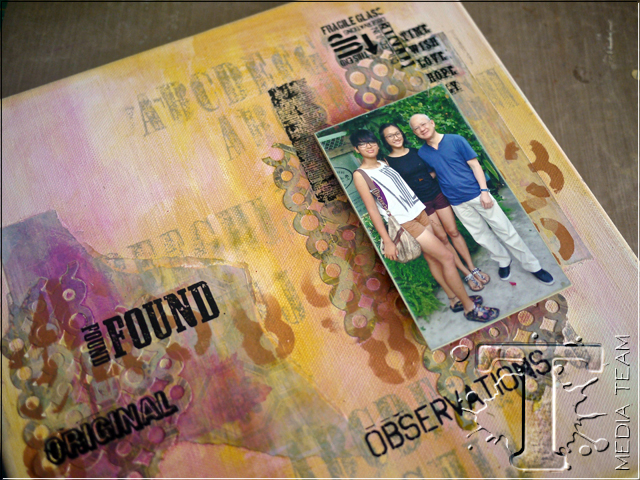
Next I took the photo I wanted to use and mounted it on chipboard for stability. I positioned it on the canvas without adhering, and added the Remnant Rubs randomly. These rubs are wonderful on any project with rough or ridged surfaces where you cannot get clear stamped images. Using my finger I rubbed in a little Distress Paint over the words to make them look worn.
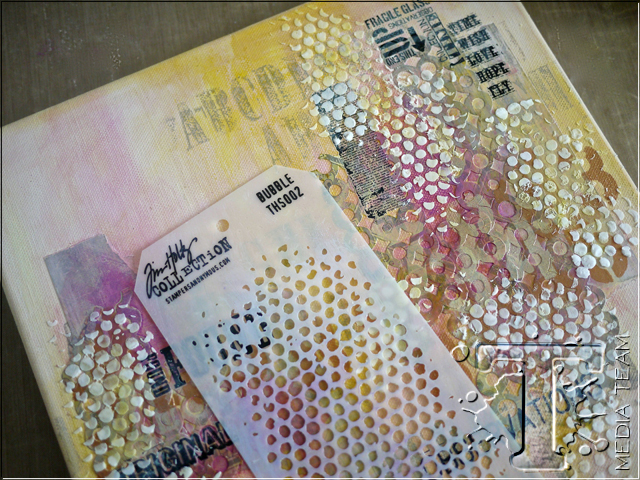
At this stage, even though I liked the colors and the interesting surface, I wanted more dimension with texture paste. Keeping in mind where I wanted my photo, using the Bubble stencil I spread small amounts of the paste around where my photo would be.
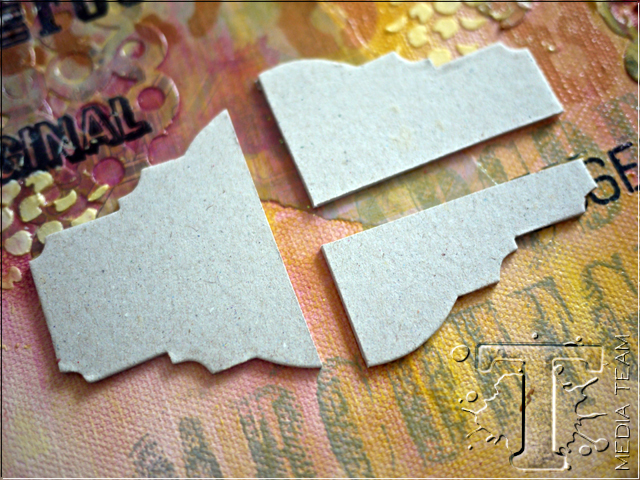
Using chipboard, die cut 1 Movers and Shapers Styled Label and cut it into sections as shown. Don’t worry about being exact as they are used as a base for the embellishments. Paint them with Distress Paint in Antique Linen.
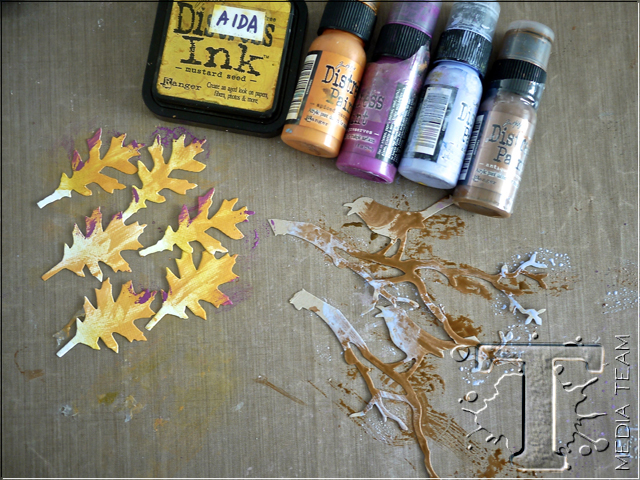
Die cut leaves and branches (Tattered Leaf Set and Bird Branch) as many as you think you need. I painted and inked the leaves with Distress Paint Spiced Marigold and Distress Ink Mustard Seed, and used Antiqued Bronze and Shaded Lilac for the branches.
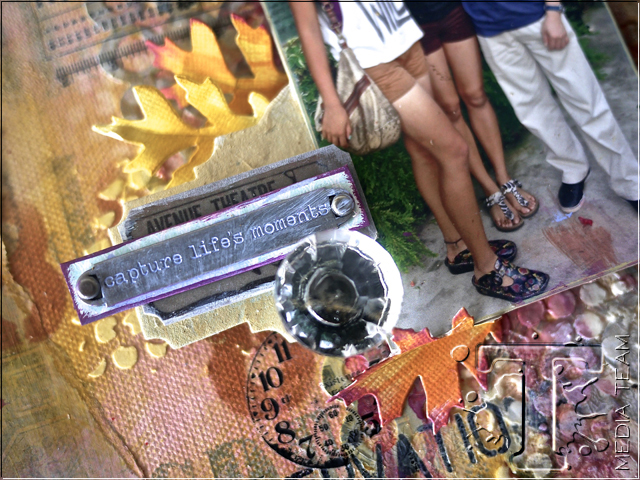
Layer the Styled Label die cut with the leaves, branches and Idea-ology embellishments.
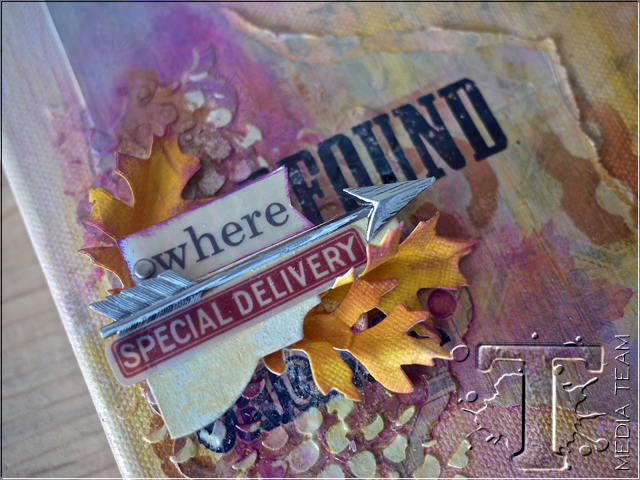
More details.
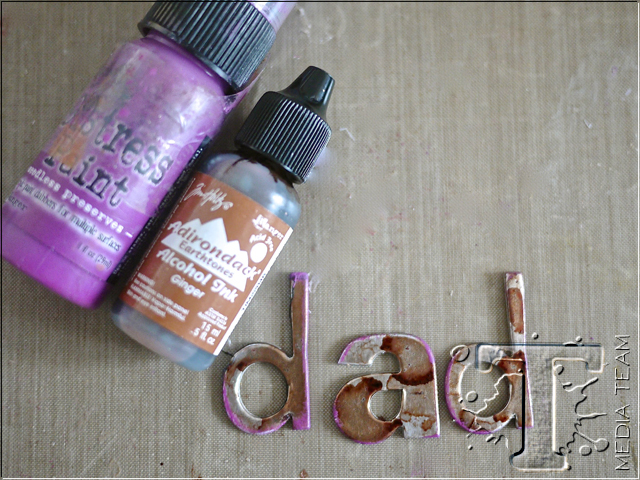
To create the title Dad, I used the XL die Word Play Alphabet. First I used the Ranger Sticky back foil on chipboard, and then ran it through the Big Shot. Drip Ginger Alcohol Ink over the letters and daub Distress Paint Seedless Preserves on the edges.
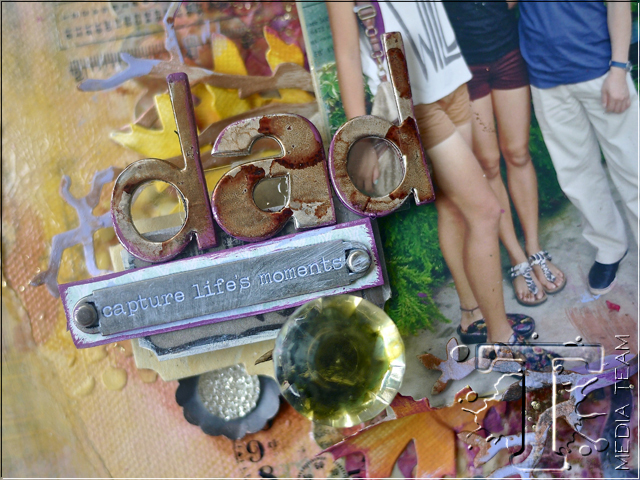
I used Glossy Accent to glue the word on to a small piece of clear plastic packing to make it more stable and easy to adhere on the top of the embellishments.
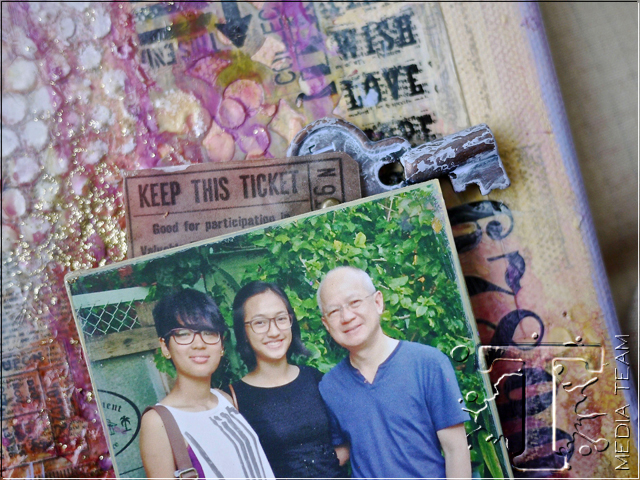
Mix Seedless Preserves with water using a brush and let it drip down the right side of the canvas. When the drips are completely dried, next mix Antiqued Bronze with water, and laying the canvas flat, puddle the paint under the photo as well as the embellishments on the left. Dry with a heating tool. Next I scooped Distress Clear Crackle Paint with a palette knife and spread it on the central parts of the canvas, around the embellished potions and the drips. The effect is quite interesting as when the clear crackle dried, it looked glossy, like water ripples.
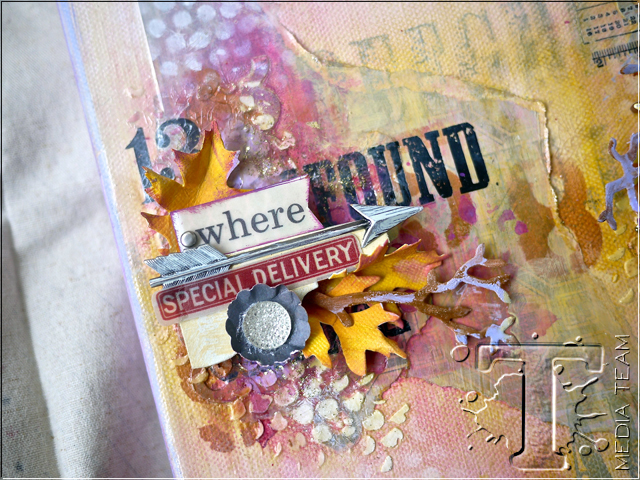
After I finished these steps, I felt there was *something* missing and realised the canvas needed subtle glitter ! I squeezed Gold Stickles on to my finger and rubbed it into the crevices created by the texture paste.
As you can see there are many steps but they are easy to replicate. Don’t be afraid to make adjustments to your project if you feel other elements can be added to make it your own. Inspiration projects are guidelines and it’s important you practice to travel independently in any creative journey.
Thank you for coming by this tutorial, see you soon!
Aida
—
*be sure to check your local stores for these supplies or you can click the links below to purchase online…
(SSS=simon says stamp / IE=inspiration emporium)
Pin it to remember it!
