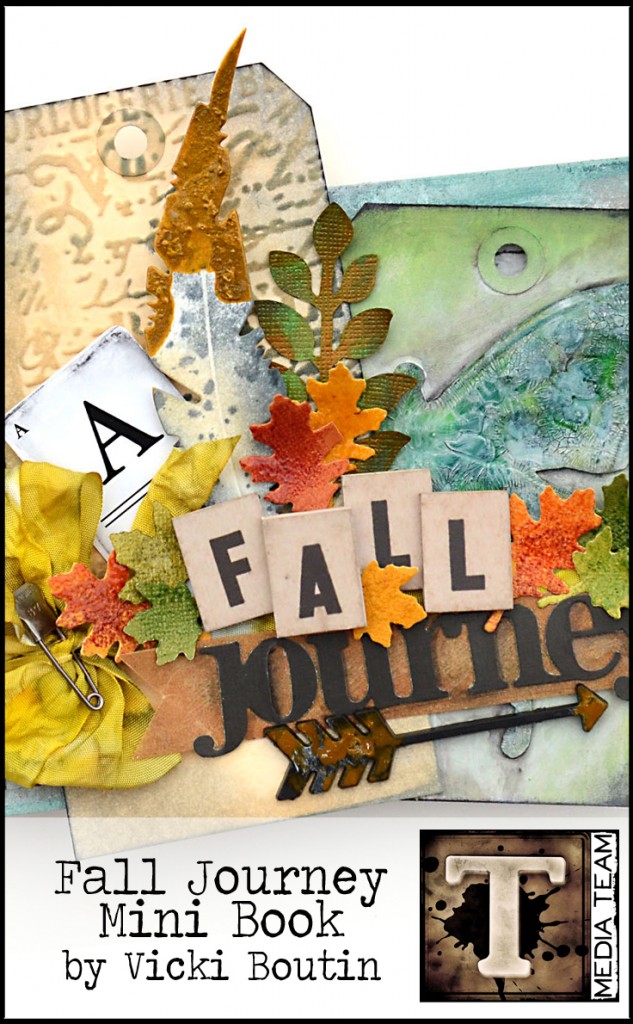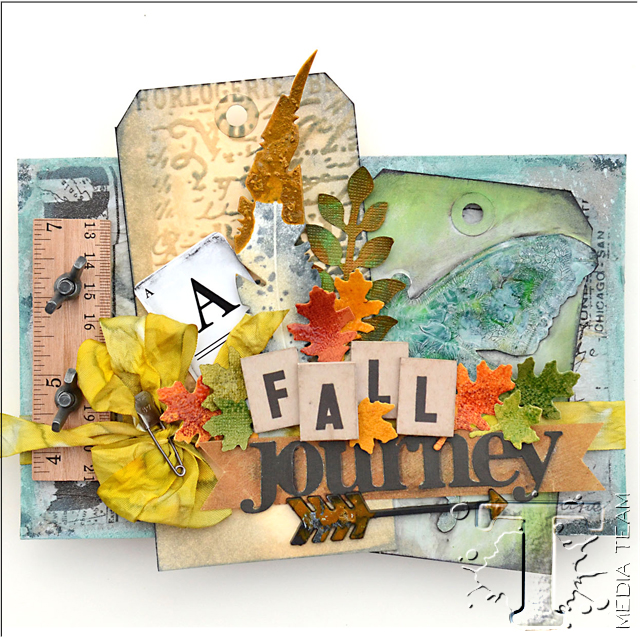
when i think cute and clever ideas, media team vicki boutin’s projects come to mind. vicki’s ability to combine colorful elements with classic text and a splash of color make her style so much fun. i think you too will be inspired by the first tutorial from this 2-part series…t!m
Hey friends! I don’t know about you but fall is one of my favorite times of the year! My family and I love to go for hikes on the many walking paths in our area. I love to observe nature and take a lot of photos. So I decided to create a mini book in preparation for all of the photos I am sure to take in the coming weeks.
Supplies:
- Surfaces: 2 sheets Grunge Board, Postale Tissue Wrap, Kraft Glassine Paper, Core’dinations Distress Collection- 4.25 x 5.5 pad, #8 Manila tags
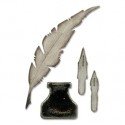
- Dies: Autumn Gatherings Sizzlits Decorative Strip, Bigz Die w/Texture Fades Layered Butterfly, Writing Desk, Stacked Artful Words Sizzlits Decorative Strip
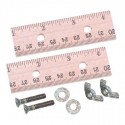
- Embellishments: Ruler Binding, Crinkle Ribbon, Trinket Pin, Alpha Parts Framed, Alpha Cards, Elementary Alpha Chips
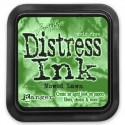
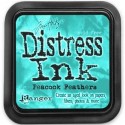
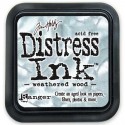
- Distress Ink: Weathered Wood, Peeled Paint, Scattered Straw, Fired Brick, Spiced Marmalade, Mowed Lawn, Mustard Seed, Peacock Feathers
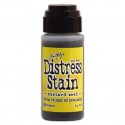
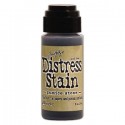
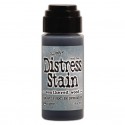
- Distress Stain: Mustard Seed, Pumice Stone, Weathered Wood
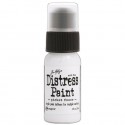
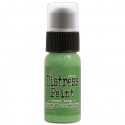
- Distress Paint: Picket Fence, Tarnished Brass, Weathered Wood, Mowed Lawn, Evergreen Bough
- Distress Crackle Paint: Clear Rock Candy
- Distress Marker: Black Soot
- Ink: Jet Black Archival Ink
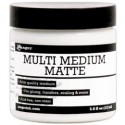
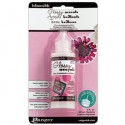
- Adhesive: Multi-Medium Matte, Glossy Accents
- Embossing Powder: clear
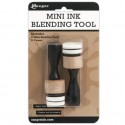
- Tools: Craft Sheet, Ink Blending Tool, Water brush- Detailer Brush Nib, Heat It tool, Mister Spray Bottle, Vagabond
- Other: coaster board
For starters let go over all of the steps I used to complete the cover. Let’s go…
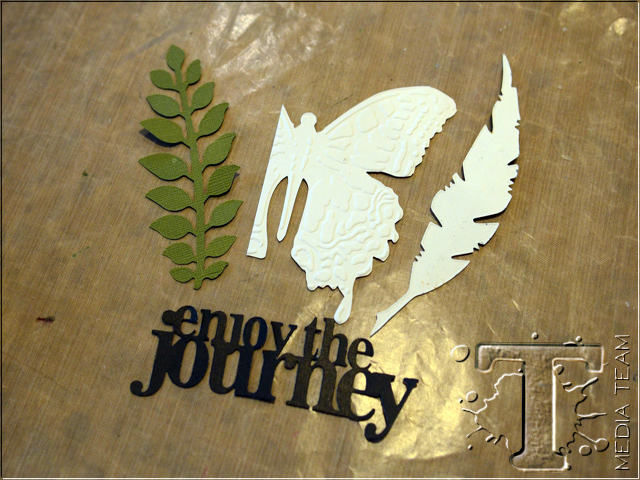
Die cut shapes from cardstock and coaster board (or chipboard). Set aside.
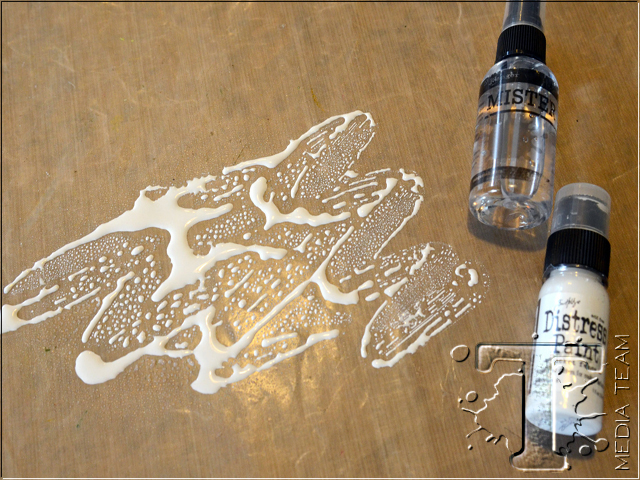
Apply Picket Fence Distress Paint to Craft Mat, mist with water and swirl paint and water with your finger.
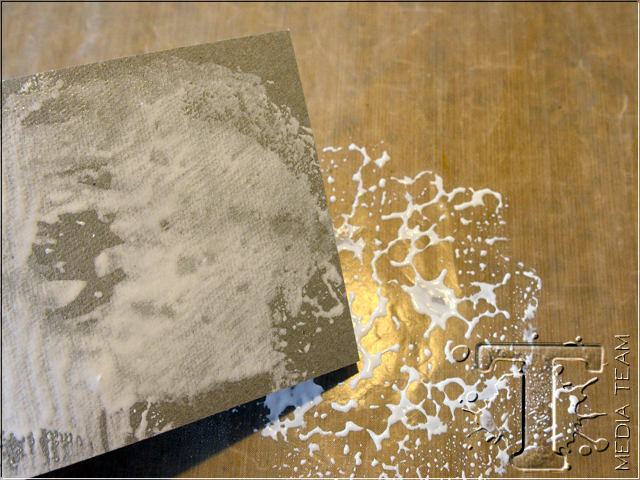
Drag two sheets of Grunge Board through wet paint (front cover and back cover). Cover all four sides and dry.
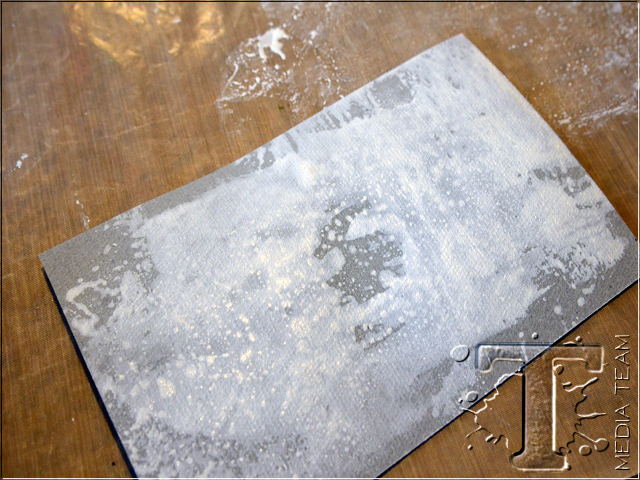
Once the first coat is dry, press the Grunge Board into the Picket Fence Paint a second time to build some depth in the color. Dry.
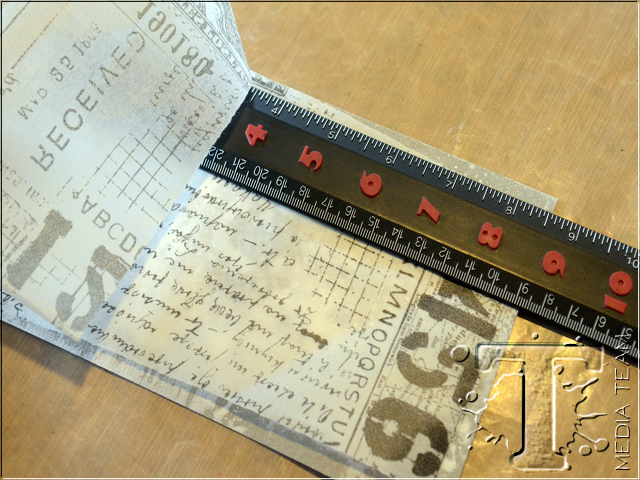
Use a ruler to tear the Postale Tissue Wrap into four pieces slightly smaller than the Grunge Board covers.
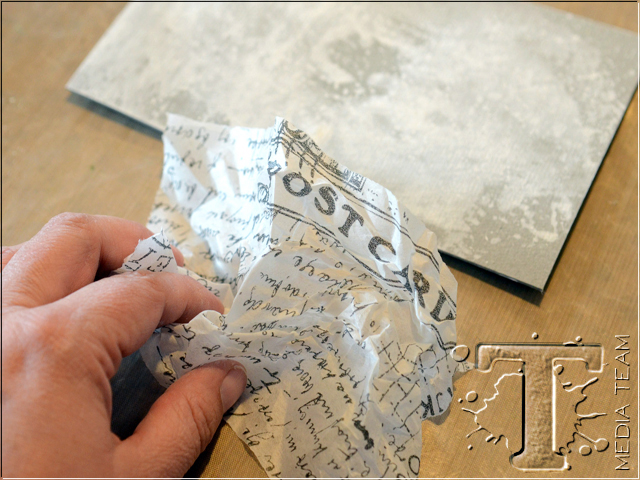
Crumple Tissue Wrap.
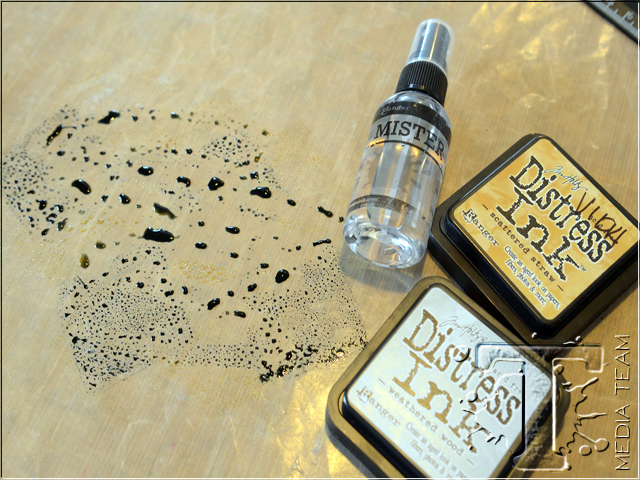
Rub Weathered Wood Distress Ink and Scattered Straw Distress Ink directly on to the Craft Mat and mist with water.
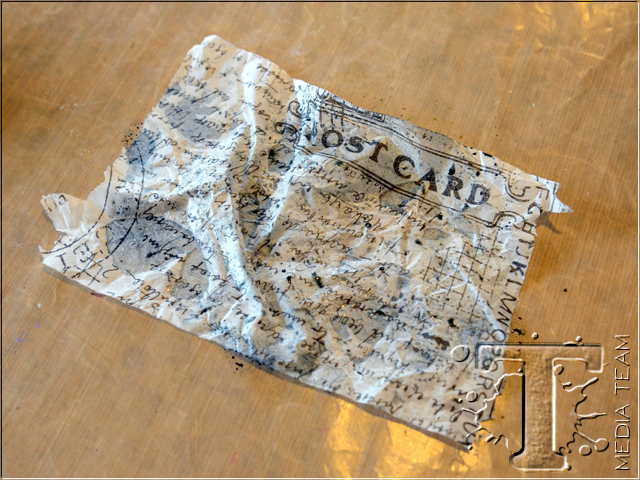
Rub both side of each piece of the Tissue wrap in the ink and dry.
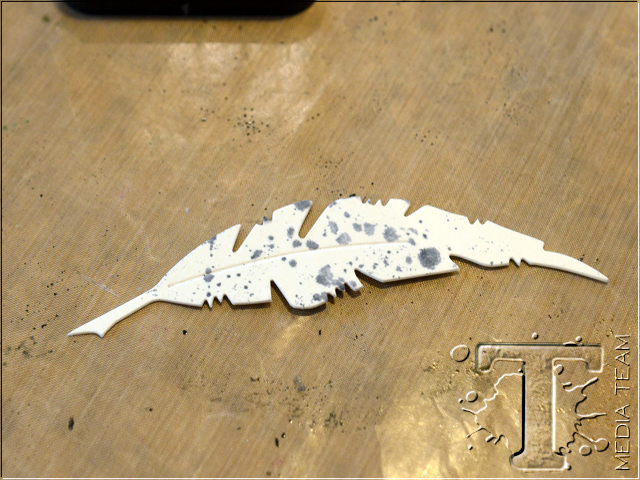
Press the die cut feather in some of the left over ink on the Craft Mat. Set aside.
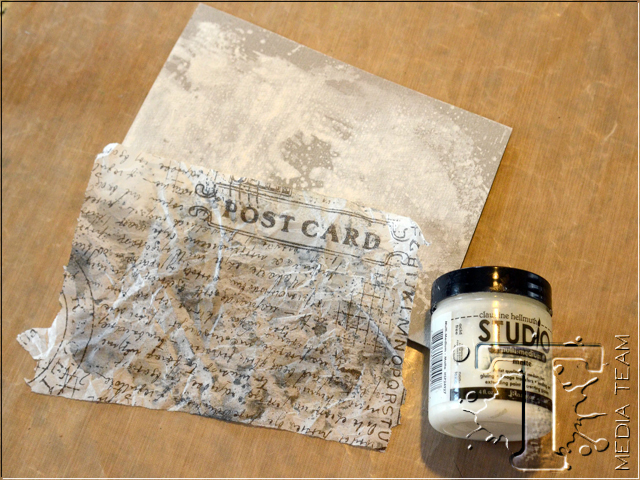
Apply Multi Medium to the Grunge Board pieces and add Tissue Wrap immediately.
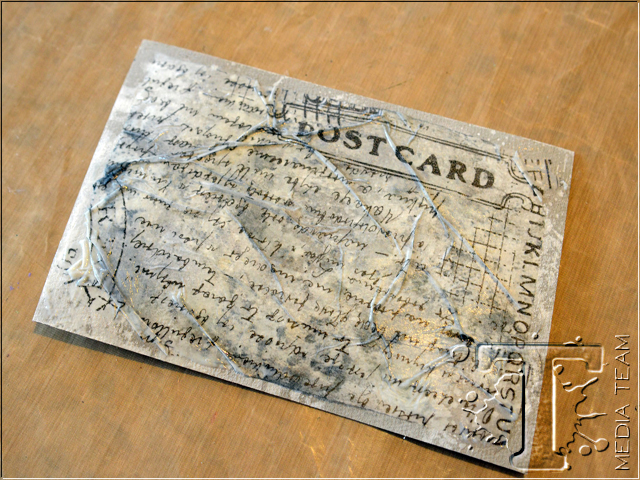
While the Multi Medium is wet create folds in the Tissue Wrap and seal with Multi Medium. Do not cover the entire surface (i.e. edges) with the Multi Medium so some of the Grunge Board will still accept Distress Ink in a later step.
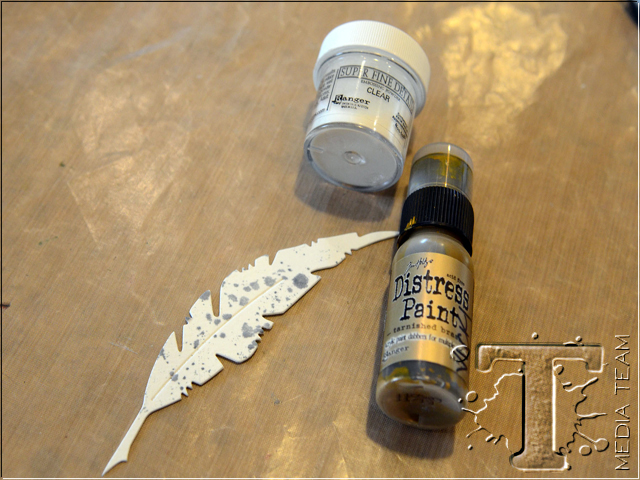
To create the “brass dipped” feather gather some Tarnished Brass Distress Paint and clear embossing powder.
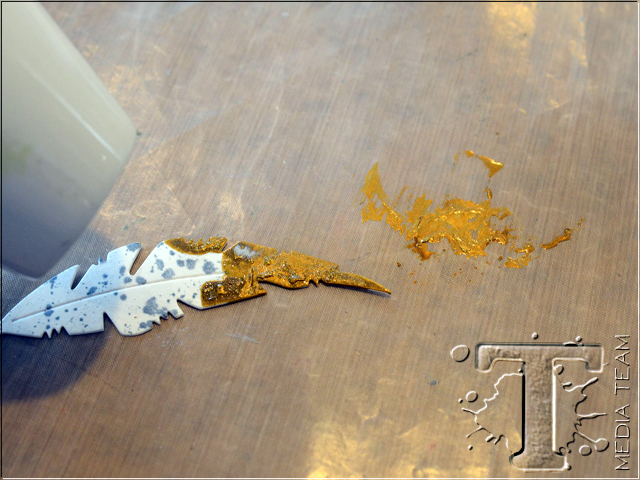
Place some of the Tarnished Brass Distress Paint directly on the Craft Mat and drag the tip of the feather through it. Sprinkle the wet paint with embossing powder and heat set.
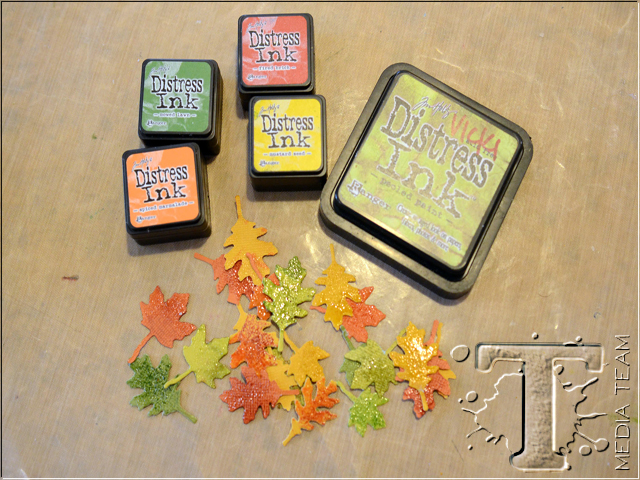
Gather a bunch of leaves die cut from the Core’dinations Distress Collection papers using the Autumn Gatherings Sizzlits Decorative Strip and a variety of Distress Inks.
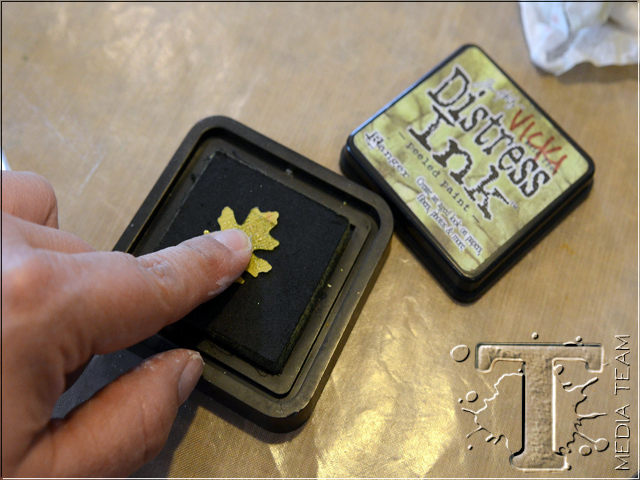
Press the die cut leaves directly to the ink pads.
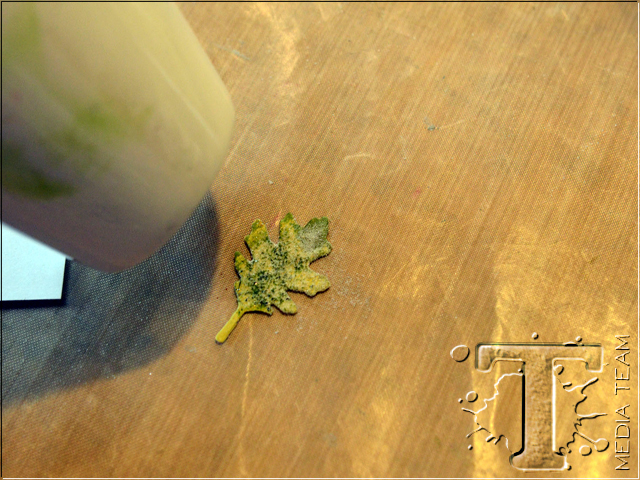
Sprinkle with embossing powder while ink is still wet and heat set. Immediately cover the leaf with a second coat of embossing powder while the first coat is still hot and heat set a second time. Repeat to create 9-12 leaves.
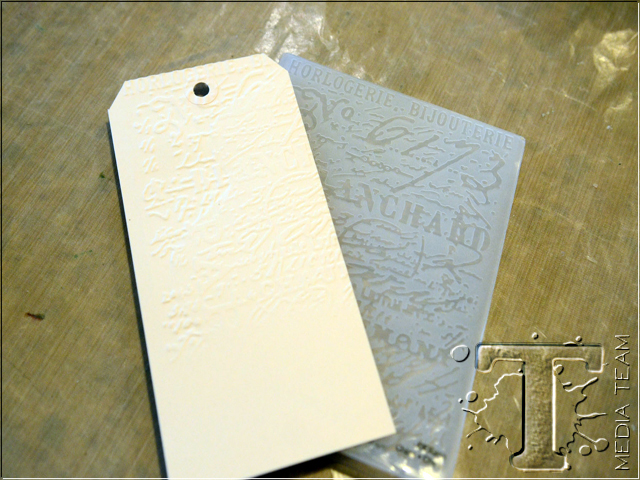
Use a Texture Fade embossing folder to emboss a No. 8 Manila Tag.
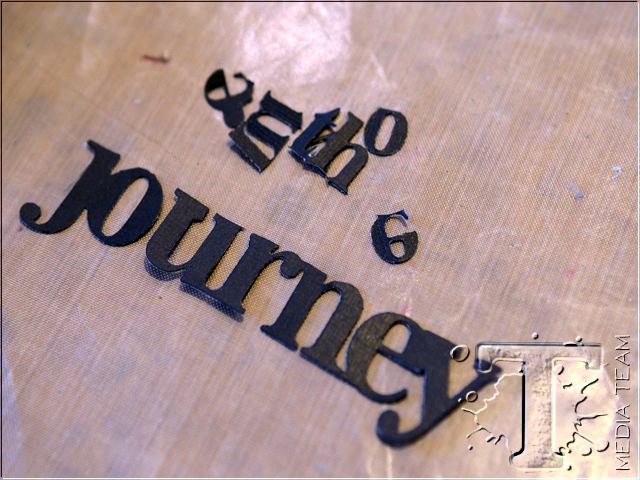
Trim “Enjoy the” from Journey die cut.
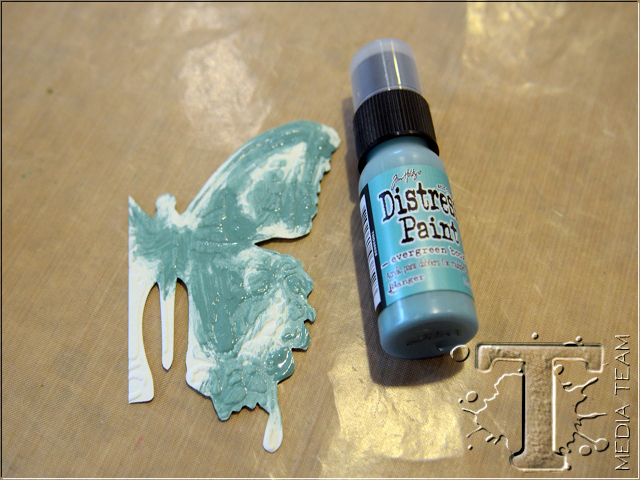
Dry brush a layer of the Evergreen Bough Distress Paint over the embossed butterfly die cut leaving some open spaces. Allow to dry.
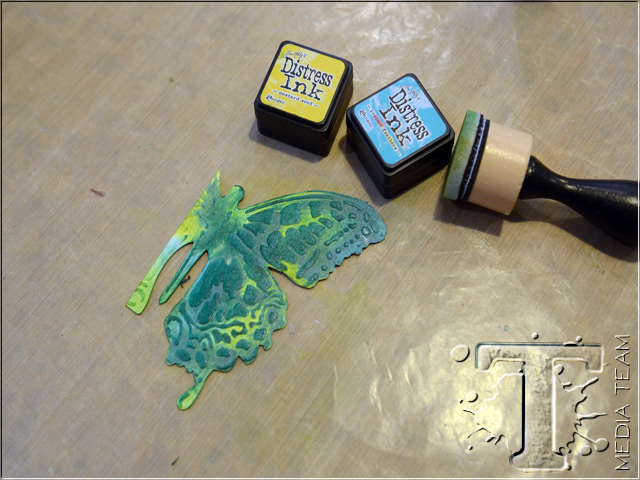
Add Peacock Feathers Distress Ink and Mustard Seed Distress Ink with an Ink Blending Tool. Allow to dry.
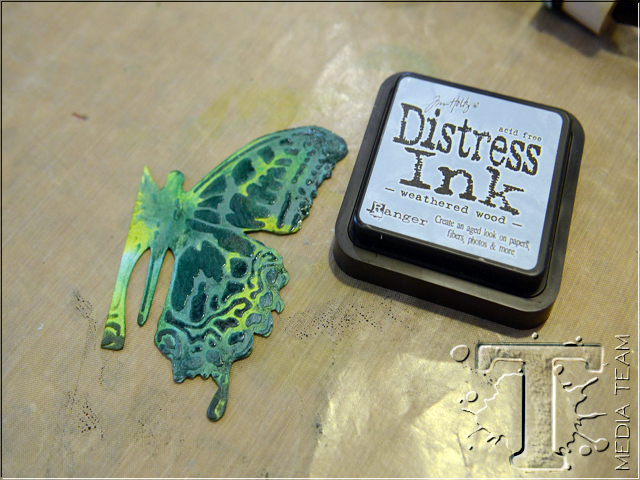
Rub Weathered Wood Distress Ink directly on to the butterfly die cut. Allow to dry.
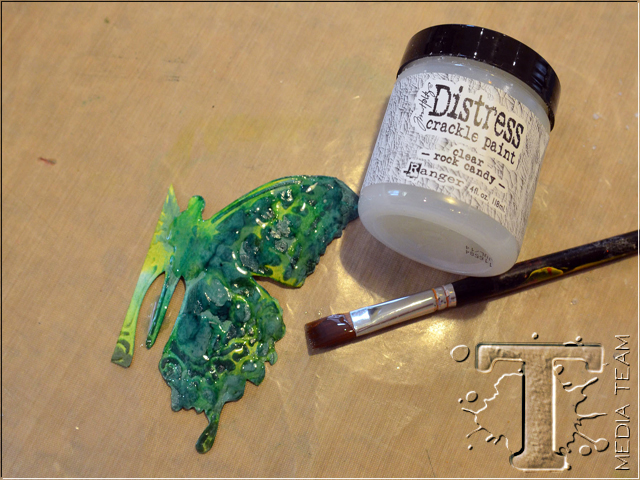
Brush a layer of Distress Clear Rock Candy Crackle Paint over the butterfly leaving some open spaces. Allow to completely dry so cracks can form.
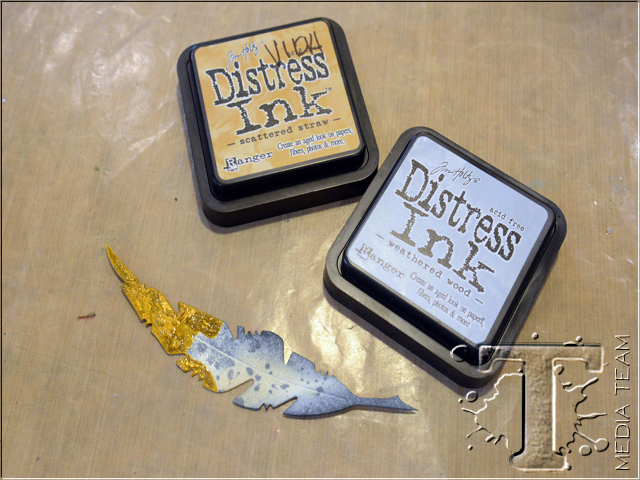
Apply Weathered Wood Distress Ink to the edges of the “gilded” feather with an Ink Blending Tool and add a little “highlight” with the Scattered Straw Distress Ink.
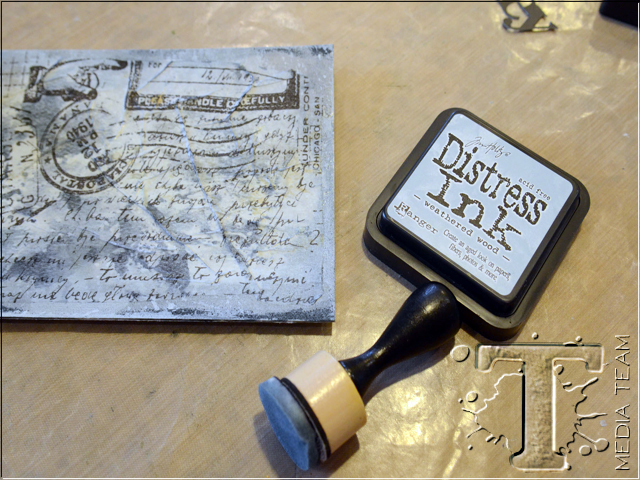
Ink the edges of the Grunge Board covers with Weathered Wood Distress Ink.
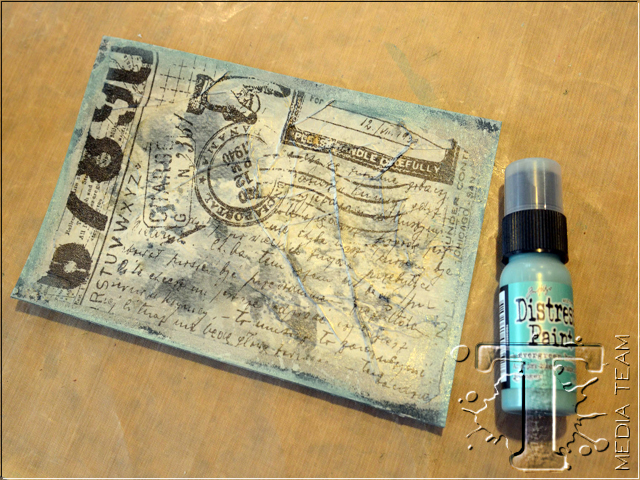
Apply a light coat of Evergreen Bough Distress Paint around the edges of the front cover and rub it in with your finger. Allow to dry.
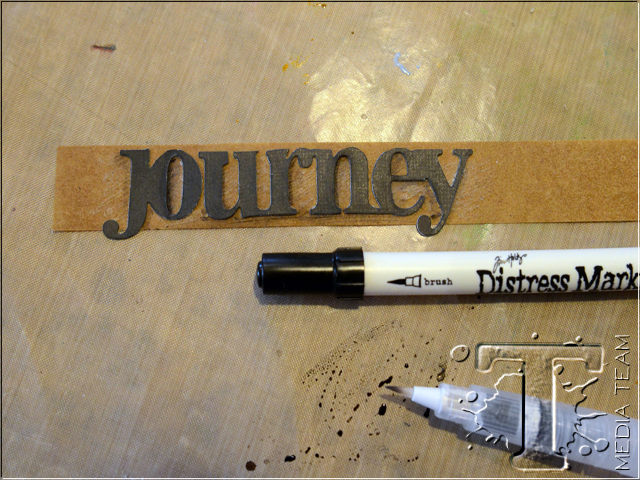
Cut a strip of the Kraft Glassine paper, glue the “journey” die cut to it with Glossy Accents and allow it to dry. Use the end of your scissors to “scrape” the Glassine paper around the letters. Scribble on the Craft Mat with the Black Soot Distress Marker, pick up the ink with the Detailer Water Brush and add a shadow to the letter. Allow to dry.
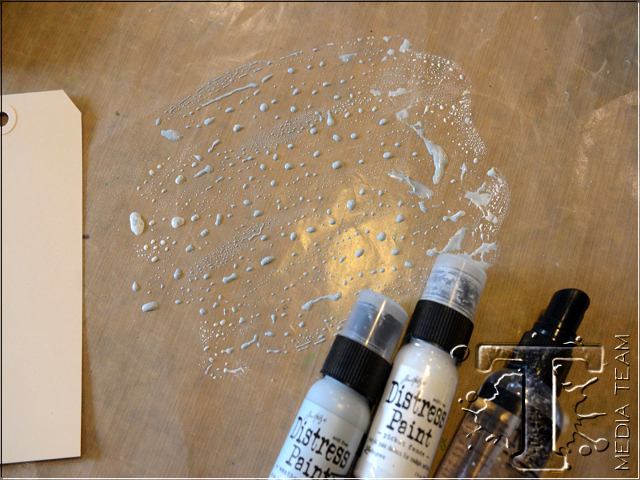
Add Weathered Wood Distress Paint and Picket Fence Distress Paint to the Craft Mat, mist with water and swirl around with your finger. Drag a No. 8 Manila Tag through the wet paint.
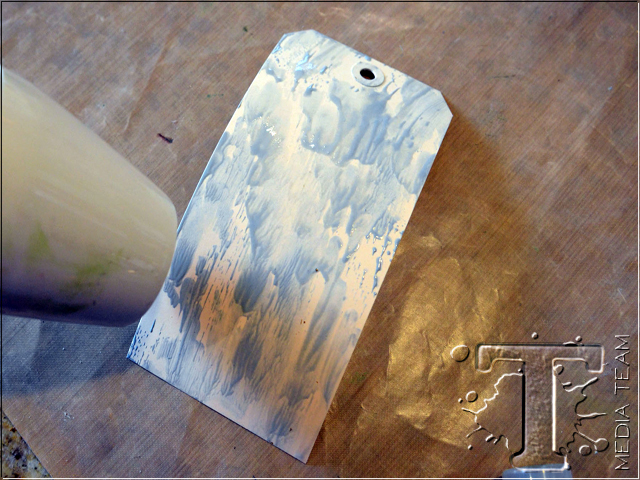
Dry the wet paint with a Heat-it Tool.
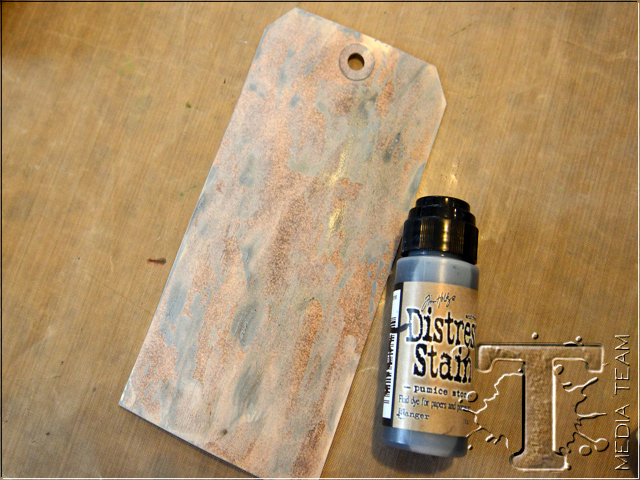
Rub tag with Pumice Stone Distress Stain and dry.
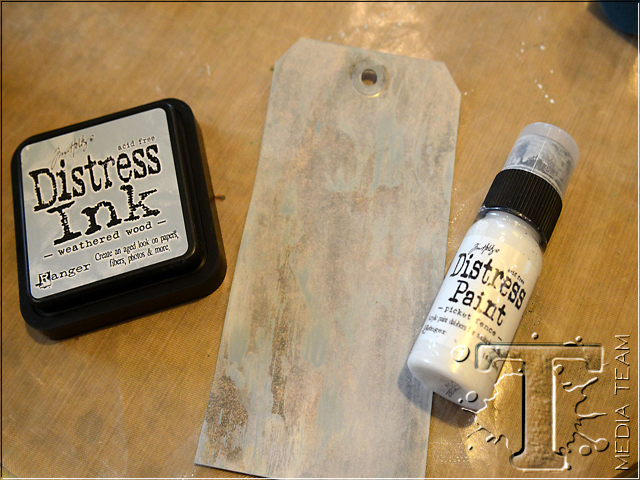
Ink tag with Weathered Wood Distress Ink and dry. Add some Picket Fence and rub it in with your finger. Allow to dry.
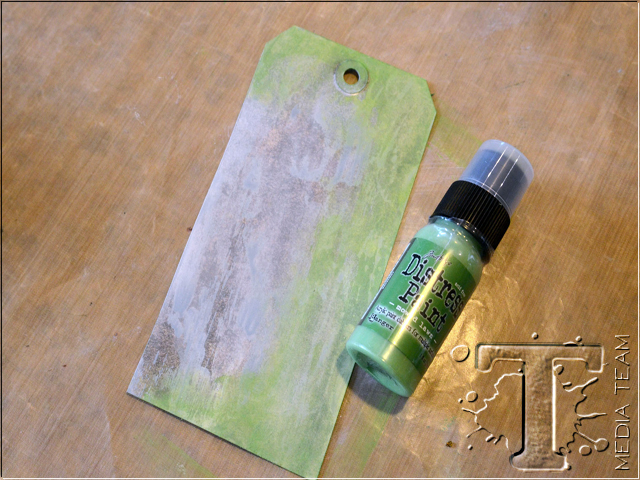
Rub the right side of the tag with Mowed Lawn Distress Paint and rub it in with your finger. Allow to dry.
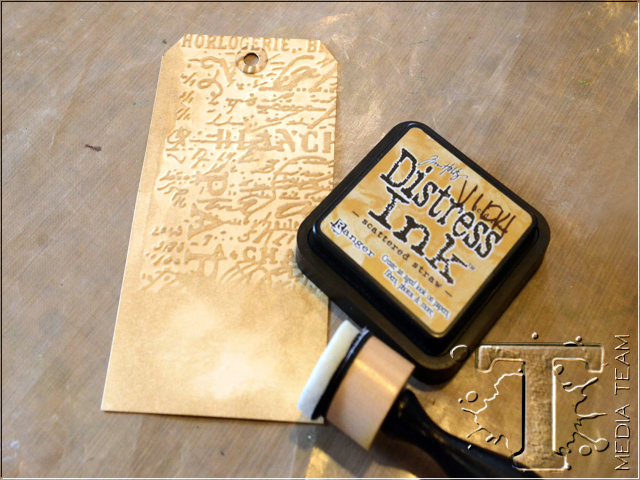
Rub the embossed No. 8 tag with Scattered Straw Distress Ink.
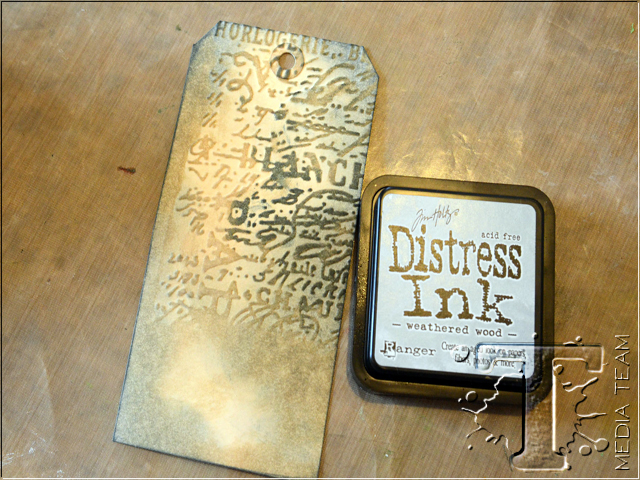
Now add a layer of Weathered Wood Distress Ink.
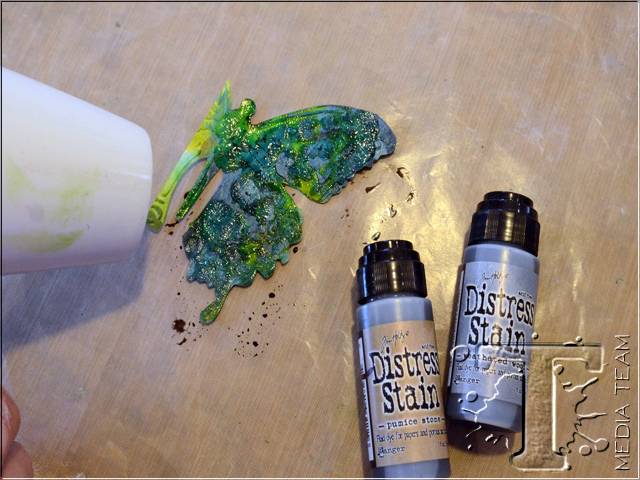
Press Pumice Stone Distress Stain and Weathered Wood Distress Stain into the DRY cracks on the butterfly and heat set it.
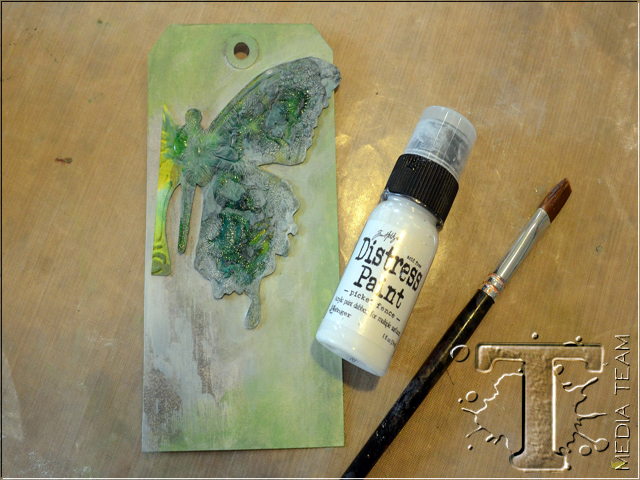
Glue the butterfly to the painted tag and allow it to dry. Dry brush Picket Fence Distress Paint around the edges of the butterfly and dry.
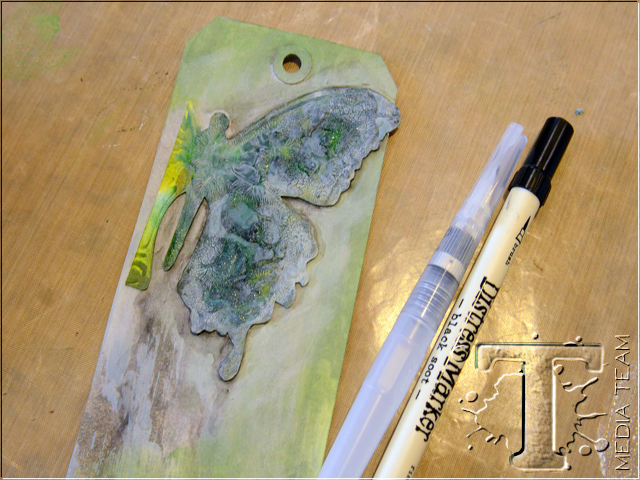
Draw a shadow around the edge of the butterfly with a Black Soot Distress Marker and immediately (while the ink is wet) dilute with the Detailer Water brush. Allow to dry.
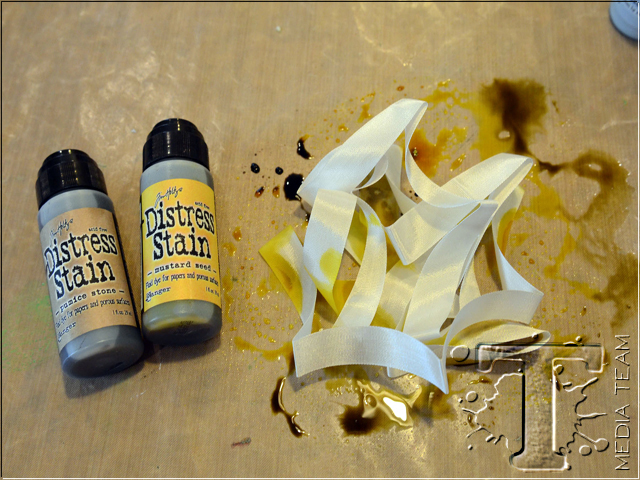
Add Mustard Seed Distress Stain and Pumice Stone Distress Stain to the Craft Mat and mist with water. Drag the Crinkle Ribbon through it and dry.
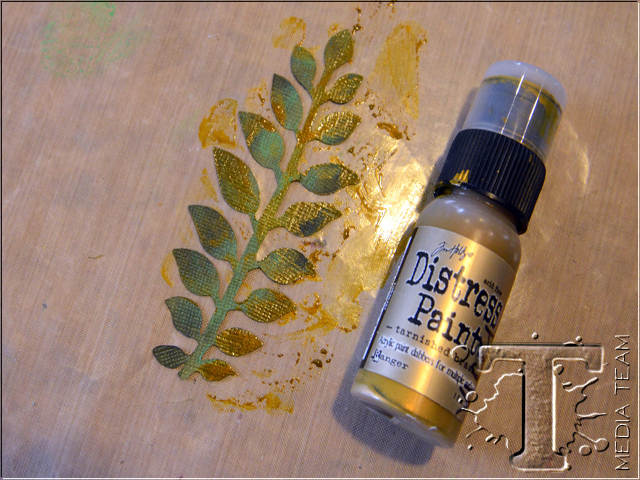
Ink the foliage die cut with Peeled paint Distress Ink and pounce some Tarnished Brass Distress Paint on it. Allow to dry.
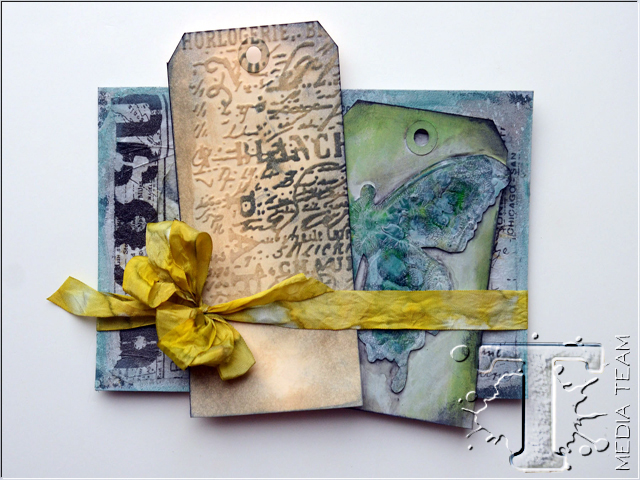
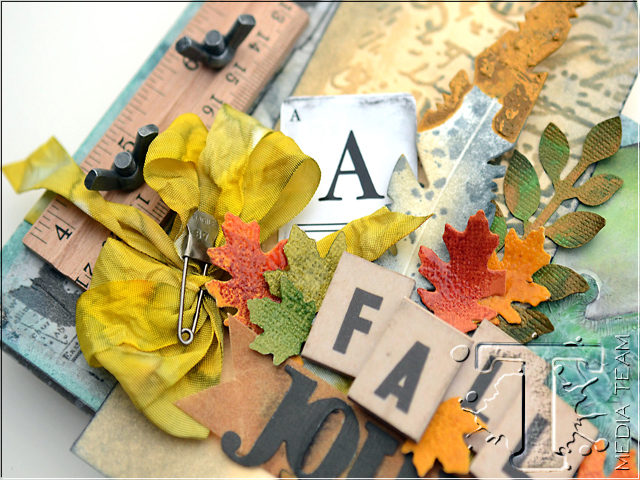
Begin to assemble the cover by trimming the ends of the tags and adhering them to the front. Add the Crinkle Ribbon and tie a bow.
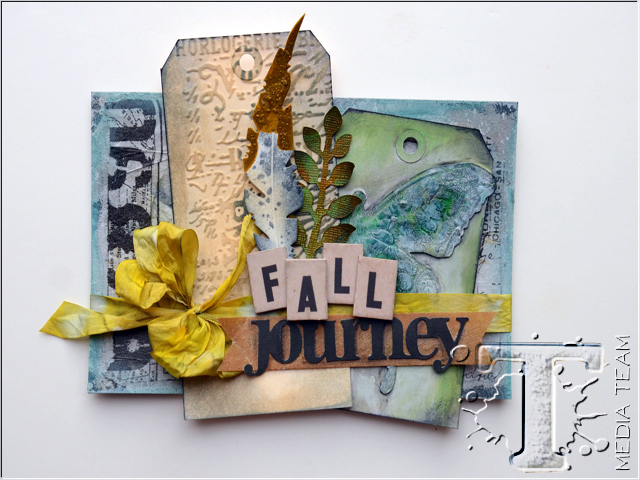
Add the die cut foliage and feather. Attach the “Journey” banner and “fall” letters.
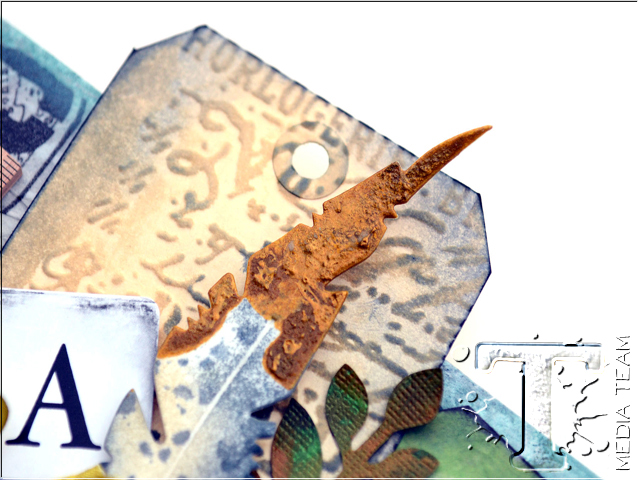
Add the Alpha Card.

Layer on the leaves. Add a painted arrow and a trinket pin to bow. Add the Ruler Binding to complete the book.

Here are a couple of close up shots…
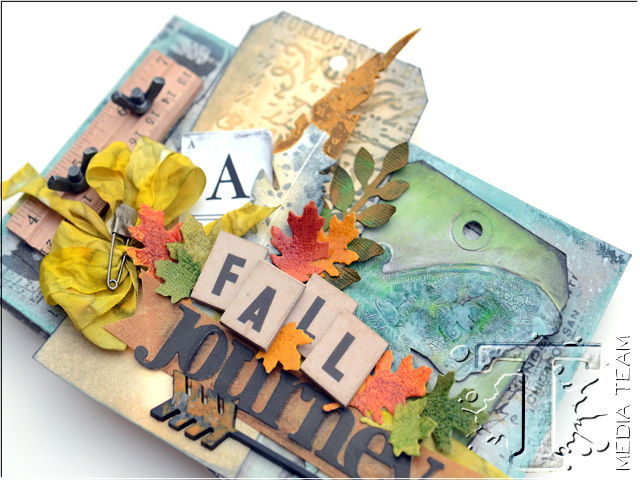
I hope today’s tutorial inspires you to create a mini book to hold all of your fall adventures. Even if you don’t have a fall with leaves changing colors you can adapt this mini by adding leaves in varying shades of green. I have a whole bunch of ideas to fill the inside of this bad boy and I will post all of the details and instructions on my blog at the end of the month. Thanks for stopping by!
Vicki
*be sure to check your local stores for these supplies or you can click the links below to purchase online…
(SSS=simon says stamp / IE=inspiration emporium)
                             |
pin it to remember it!
