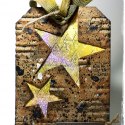
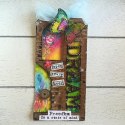
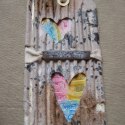
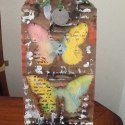
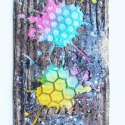
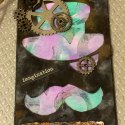
 with spring right around the corner, i was inspired to brighten things up this month by re-mixing two techniques that had completely different color palettes when originally featured. the result once again proves techniques can be adapted to meet our creative necessities. the contrast between grungy and colorful layers provide an artful harmony all it’s own, and the perfect opportunity to showcase the new distress crayons…

supplies:
- surfaces: manila tags, corrugate cardboard, patterned paper
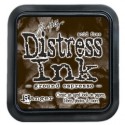
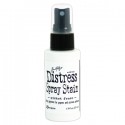
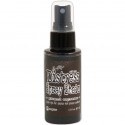
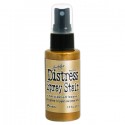
- inks: distress ink/ground espresso, distress spray stain/picket fence/ground espresso/tarnished brass
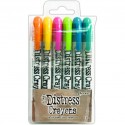
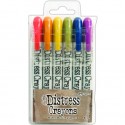
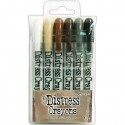
- crayons: distress crayons/set #1/set #3
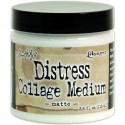
- mediums: distress collage medium/matte, white gesso
- embellishments: quote bands, texture surfaces/burlap, linen ribbon
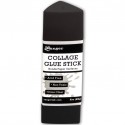
- adhesives: collage clue stick
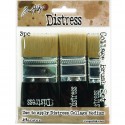
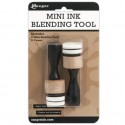
- tools: bigz/butterfly duo, thinlit/mixed media #2, collage medium brushes, heat tool, vagabond, tiny attacher, tonic scissors, mini ink blending tool, craft sheet
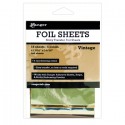
- misc: foil sheets
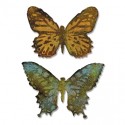
 – the butterfly duo bigz die created the perfect springtime silhouette shapes stacked to fit a #8 tag…coincidence? be sure to alter this layer following the steps of the tutorial.
 – i positioned two of the mixed media #2 thinlits on the tag hanging off the top and bottom edge.
 – the fact that there is no “outer edge blade” allows you to cut the negative design anywhere including off the edge like i did here. the shape didn’t completely cut around the reinforcer of the tag which was to my benefit so i just snipped around it as needed using scissors.
 – adhere the die cut tag to a background tag then apply a thin layer of gesso over the surface and wipe away excess with a baby wipe to reveal some of the background through the die cut openings.
 – the new distress crayons blend beautifully over coated surfaces like gesso or collage medium. simply scribble various colors of distress crayons directly on the surface.
 – smudge the colors by rubbing with your fingers to blend and shade – apply more crayon as needed.
 – once the desired look is achieved simply allow the crayons to dry for about a minute. (notice i left some of the white gesso showing through the die cuts).
 – adhere the corrugate layer over the background and accent the edges by swiping a collage glue stick along the edges, cover with craft foil, let dry for about 5 minutes, then remove the foil sheet for a cool distressed metallic accent.
 – distress crayons are also great on metal embellishments. try coloring over recessed areas and rub the color in with your fingers – simple as that.
 – to attach the quote band cut a strip of textured surfaces burlap, slide under the quote band, remove the paper backing, adhere to the tag and secure the ends with a tiny attacher.
 – i absolutely love the contrast between the grunged corrugate layer and the colorful patterned background created from die cuts – mixed media perfection. as you can imagine the possibilities for this technique combo is truly endless. have fun exploring your creative options as you take part in this month’s technique remix…t!m
congrats to the winners from the february 12 tags of 2016. if you see your name (and it links to your tag), please email mario@timholtz.com to claim your prize…
1. Everyday Expressions
2. My Funny Valentine
3. Kathy Schweinfurth
4. Inky and Quirky
5. Fisher’s Cards and Crafts
6. Katy D
7. The Craft Shack
8. Janet’s Gems
9. Majorie Towers
10. KellySCreativeDreams
11. With Glue and Glitter
12. Destiny
*be sure to check your local stores for these supplies, or click on the links below to purchase online from Simon Says Stamp with a discount of 10% off your purchase – use code: 10MARCHTH
UPLOAD YOUR PROJECT: here's the place to share your own project inspired by this month's "12 tags of 2016" here on my blog...
To Get Started: 1. click on the (add your link) button at the bottom of the post. 2. after you enter your info, click (next step) and you'll be able to select the photo you wish to display. *note: you may link from your blog or from a public hosting site. please only post your project photo relating to this month's tag remix...
| | | | |
| | | | |
| | | | |
| | | | |
| | | | |
| | | | |
| | | | |
| | | | |
| | | | |
| | | | |
| | | | |
| | | | |
| | | | |
| | | | |
| | | | |
| | | | |
| | | | |
| | | | |
| | | | |
| | | | |
| | | | |
| | | | |
| | | | |
| | | | |
| | | | |
| | | | |
| | | | |
| | | | |
| | | | |
| | | | |
| | | | |
| | | | |
| | | | |
| | | | |
| | | | |
| | | | |
| | | | |
| | | | |
| | | | |
| | | | |
| | | | |
| | | | |
| | | | |
| | | | |
| | | | |
| | | | |
| | | | |
| | | | |
| | | | |
| | | | |
| | | | |
| | | | |
| |


