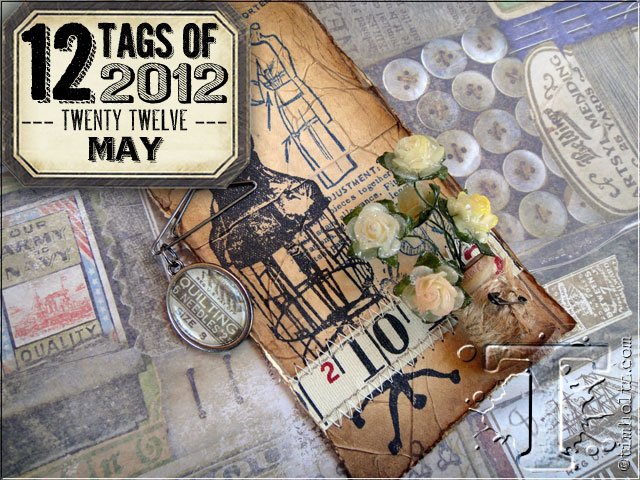
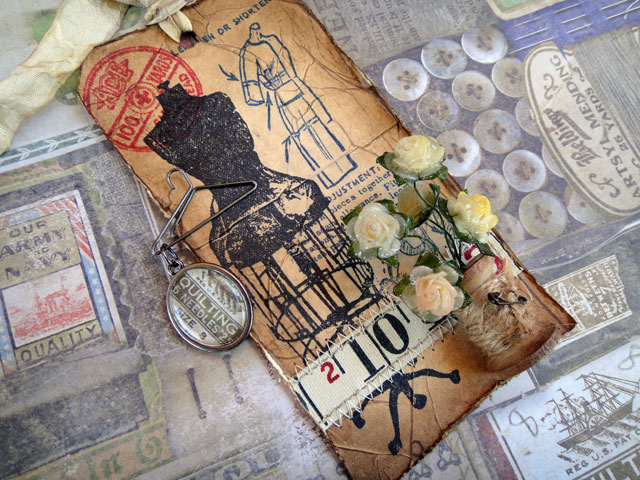
here it is, our tag for may! i’m finally starting to catch up on a few things around the studio and i couldn’t wait to do something creative. this tag has a few techniques that i hope will inspire you to do something creative too. here we go…
supplies: craft sheet, melting pot, clear utee, archival inks/jet black/cobalt/vermilion, distress ink/frayed burlap/walnut stain, distress stain/antique linen, ink blending tool, collage glue stick, glossy accents, #8 manila tag, heat tool, crinkle ribbon, hanger clip, cash key, paper stash/crowded attic, ruler ribbon, stamp set/CMS105 haberdashery, jump ring, wire flowers, jute, pattern tissue, wood spool
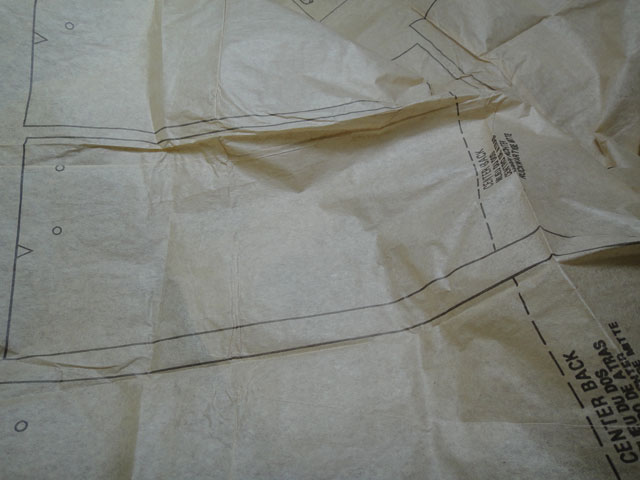
step 1: begin with a piece of sewing pattern tissue or plain tissue paper will work fine.
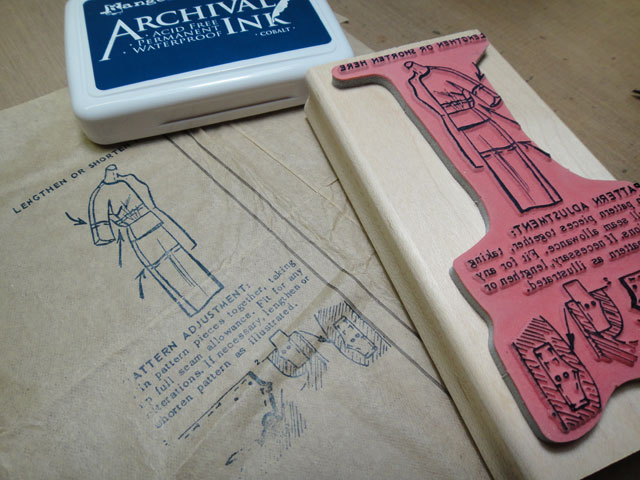
step 2: stamp sewing pattern on to tissue using cobalt archival ink. (*i love this technique to create authentic looking sewing patterns since most of the pattern imagery is too big to use on smaller collages)
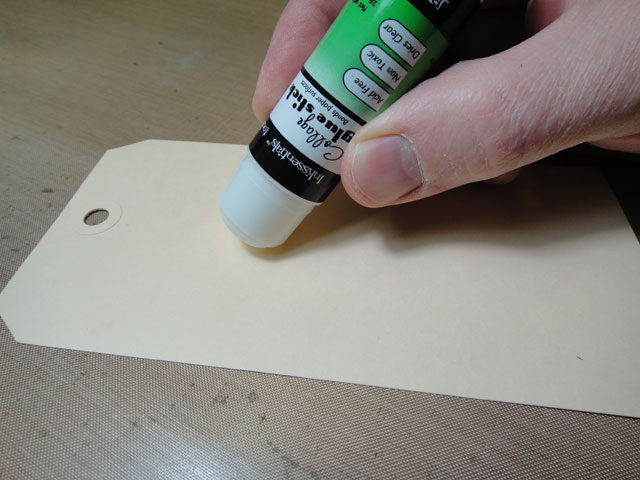
step 3: apply a layer of collage glue stick to the surface of a manila tag.
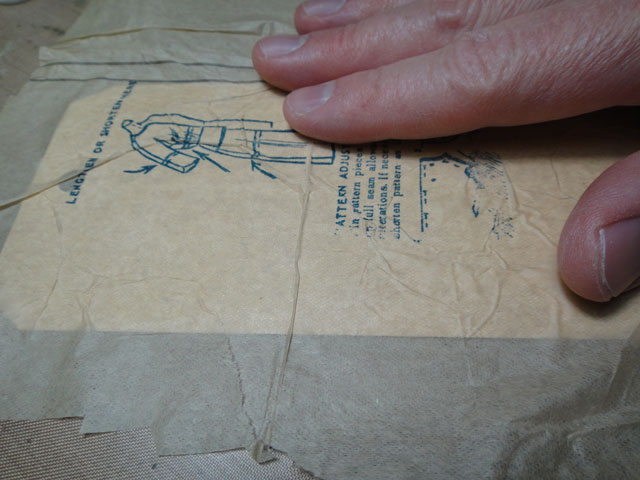
step 4: place stamped pattern over wet glue stick and quickly scrunch and wrinkle the paper and press flat on to tag.
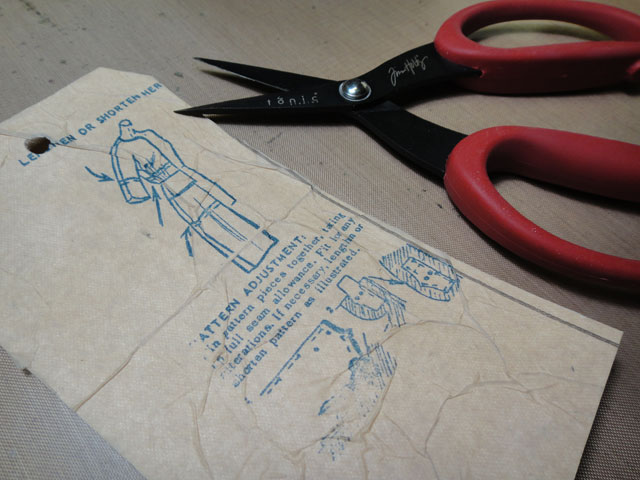
step 5: trim excess pattern from tag.
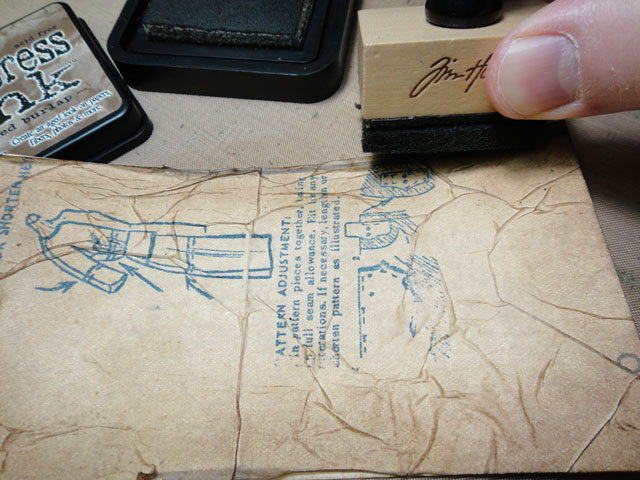
step 6: ink the tag with distress ink using an ink blending tool to highlight the wrinkles.
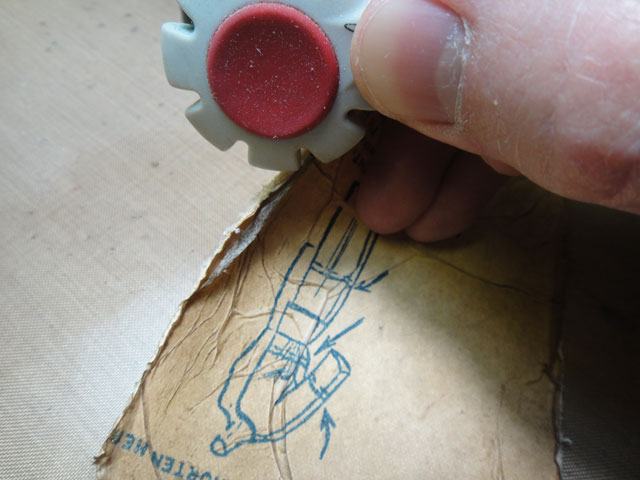 step 7: distress the edges of the tag by dragging the paper distresser along the edges of the tag.
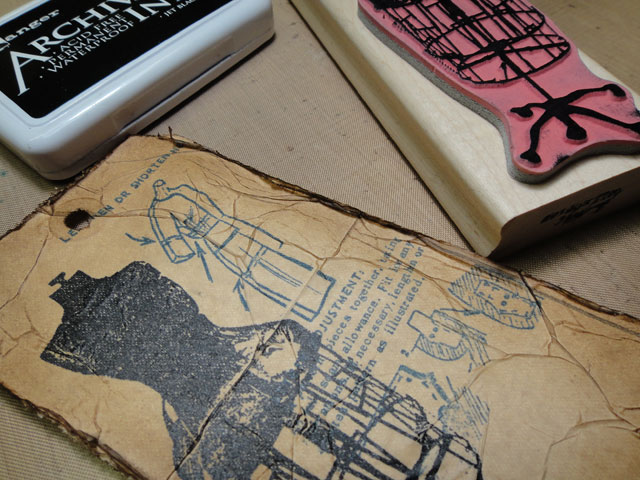 step 8: stamp dress form with jet black archival ink using firm pressure.
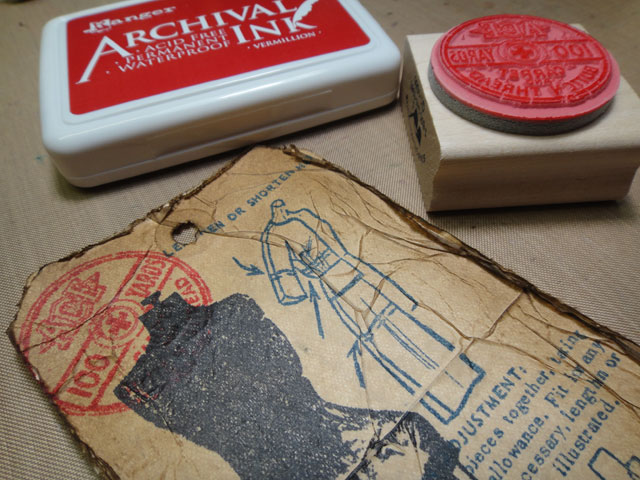 step 9: stamp spool with vermillion archival ink.
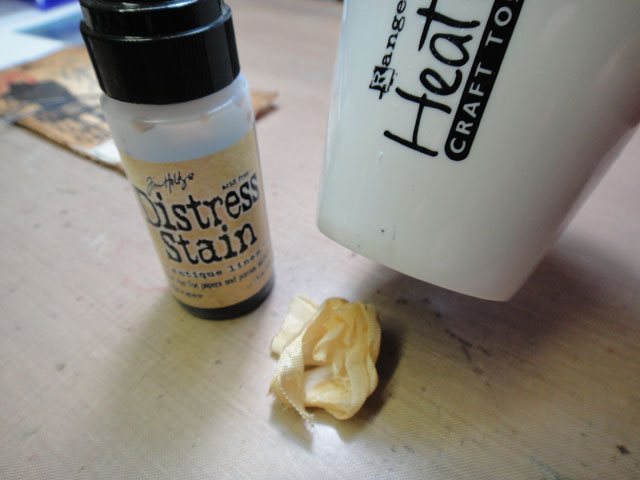 step 10: stain crinkle ribbon using distress stain.
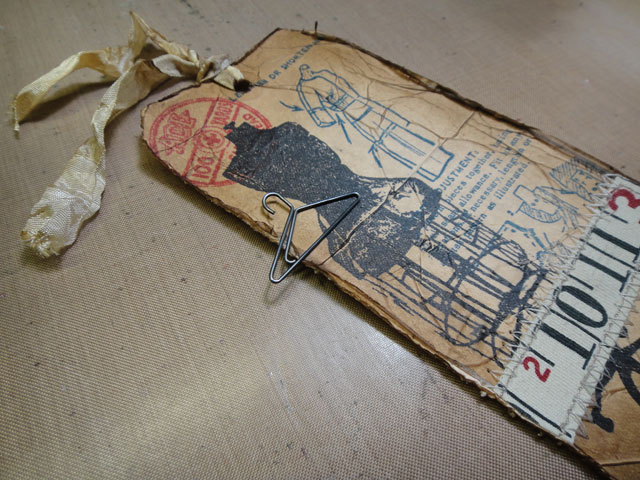 step 11: tie ribbon through top of tag, sew ruler ribbon to tag, clip on hanger clip to tag.
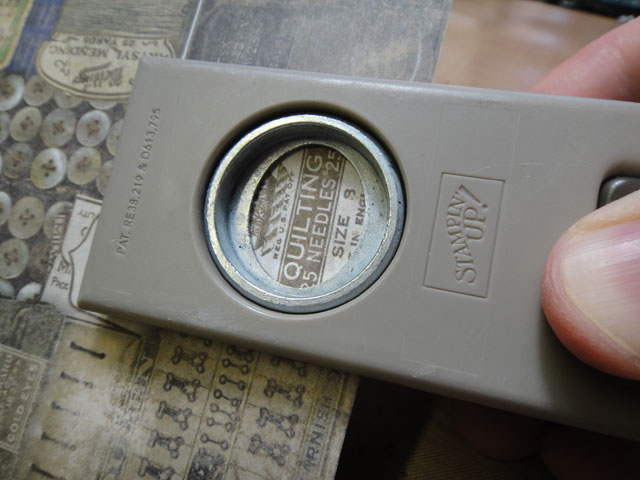 step 12: create a custom cash key charm by punching an oval. (*i’ve found the perfect oval punch 3/4″ x 15/16″ from stampin’ up)
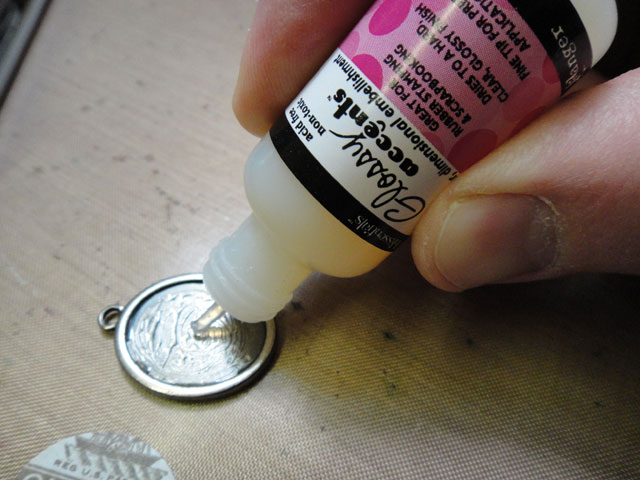 step 13: apply glossy accents to the cash key and adhere paper.
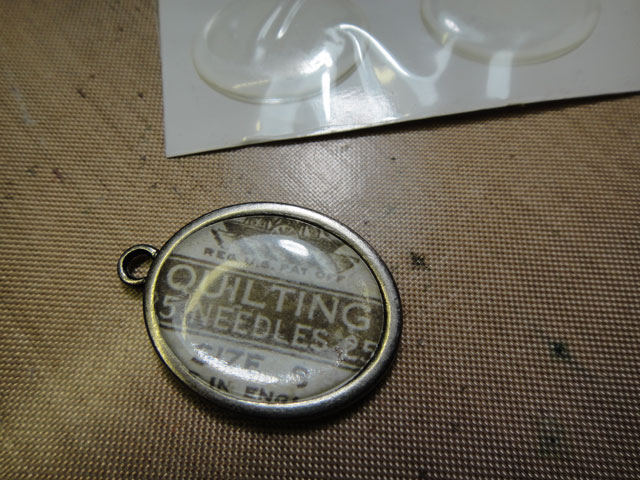 step 14: place epoxy sticker on top to finish.
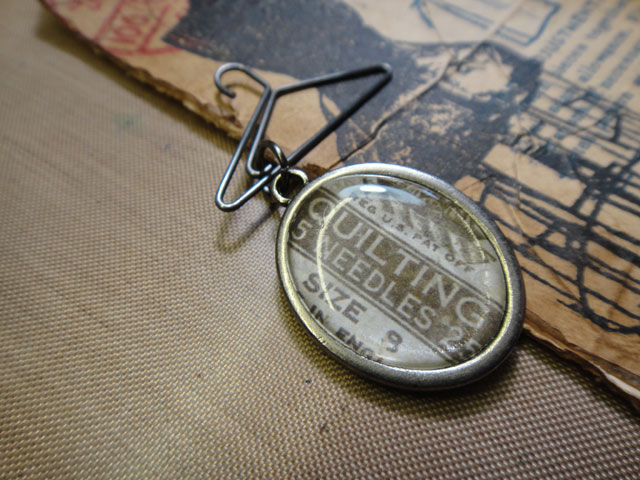 step 15: attach cash key to hanger clip with jump ring.
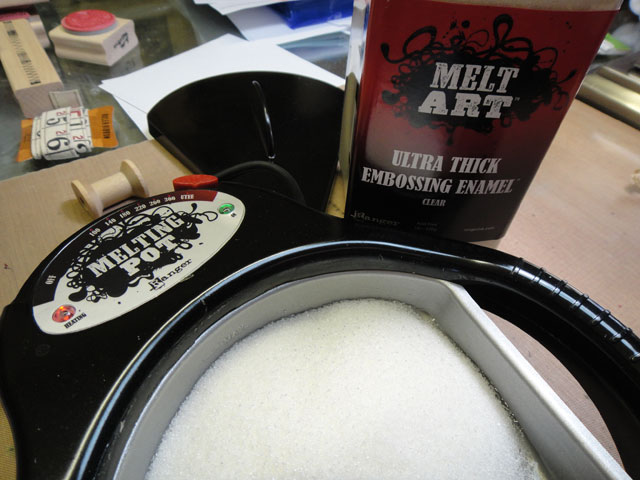 step 16: pour clear utee (ultra thick embossing enamel) into the melting pot and allow to melt until liquid.
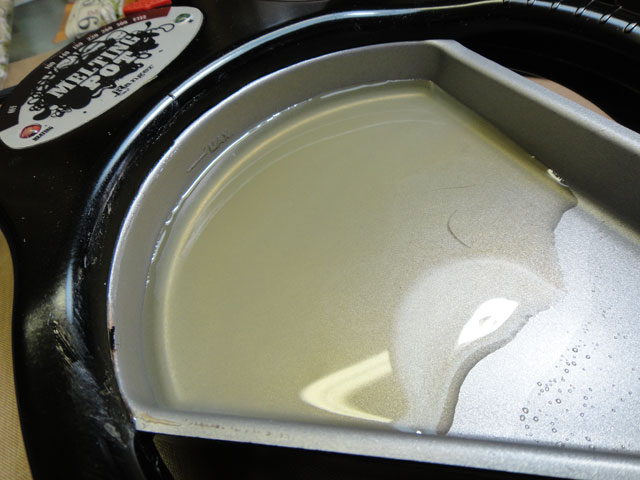 step 17: once the utee becomes liquid it will begin to amber the longer it cooks in the melting pot (which i like).
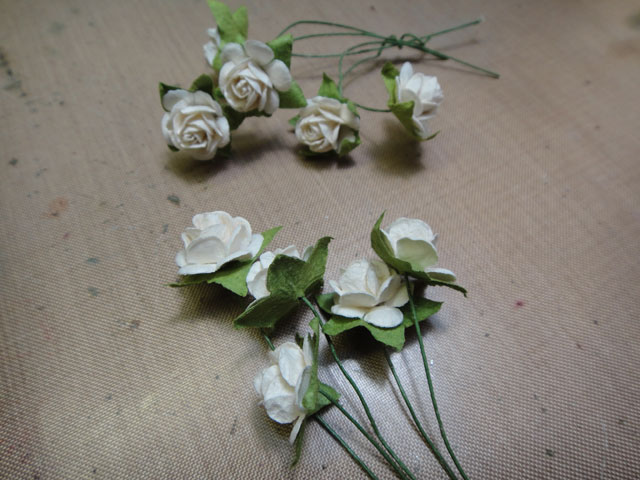 step 18: start with wired paper flowers – i use the ones from prima.
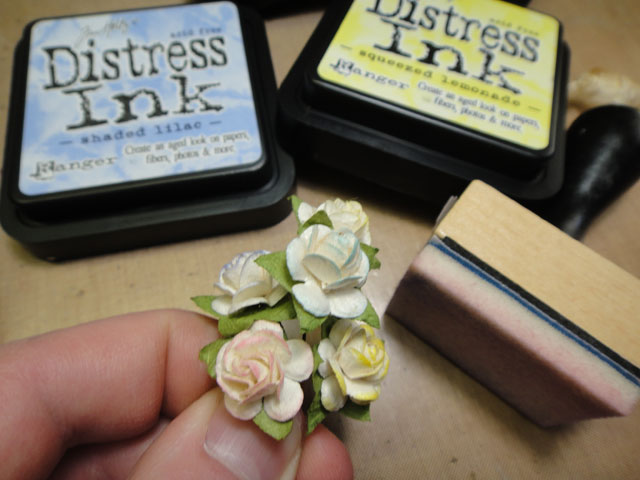 step 19: ink the flowers with various colors of distress ink using an ink blending tool (i must say the new spring colors are perfect for this).
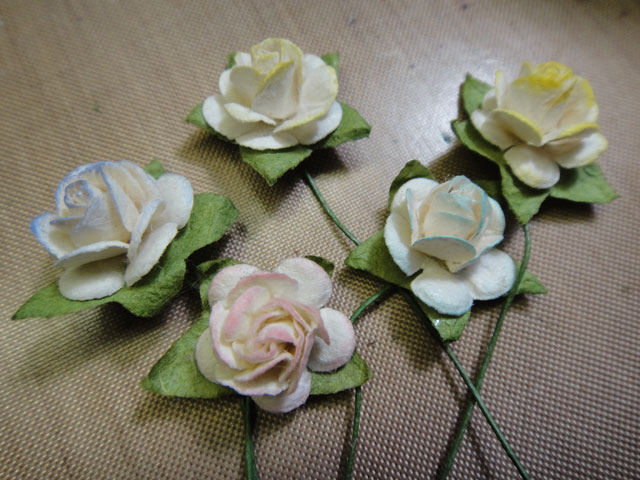 *make sure the petals for your flowers are somewhat open, you can use your fingers for this.
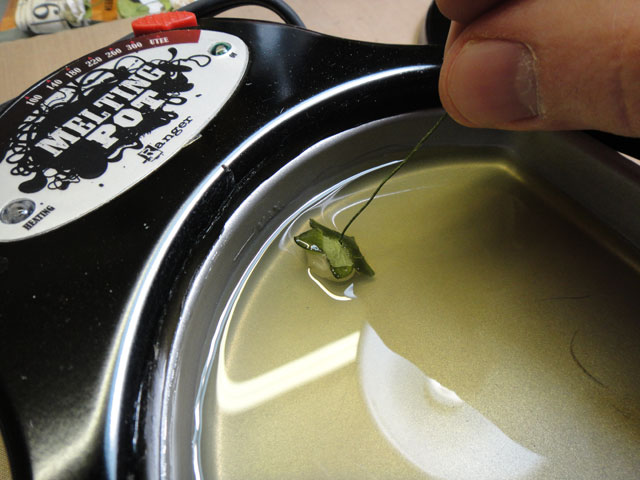 step 20: to enamel the flowers drag the flower through hot melted utee using the back of the melting pot.
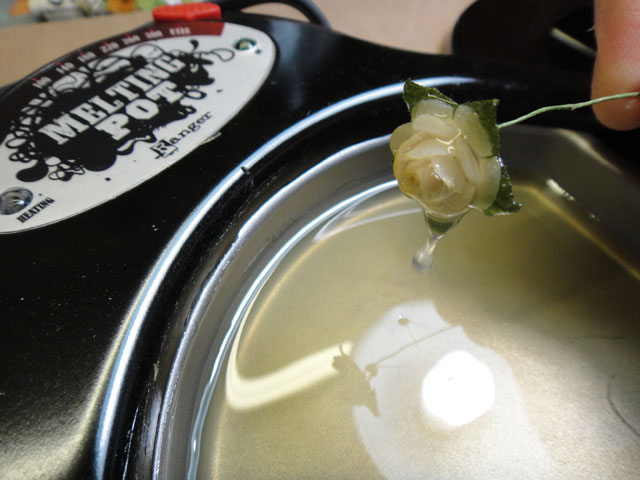 step 21: once they have been completely covered lift the flower out of the utee and allow the excess to drip off.
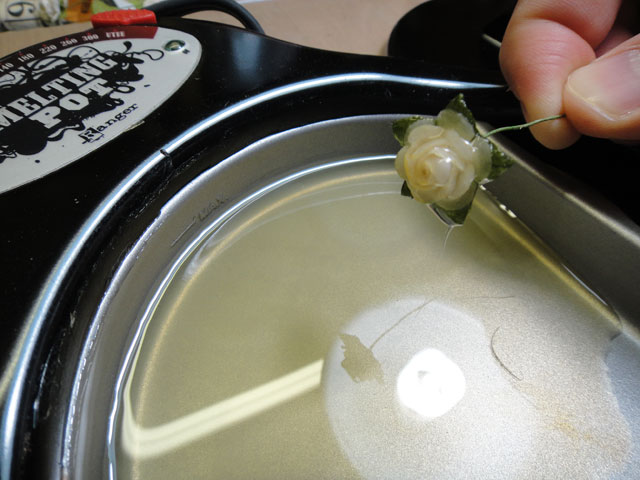 step 22: hold the flower close to the melting pot surface as the heat helps to keep the extra utee fluid to drip off.
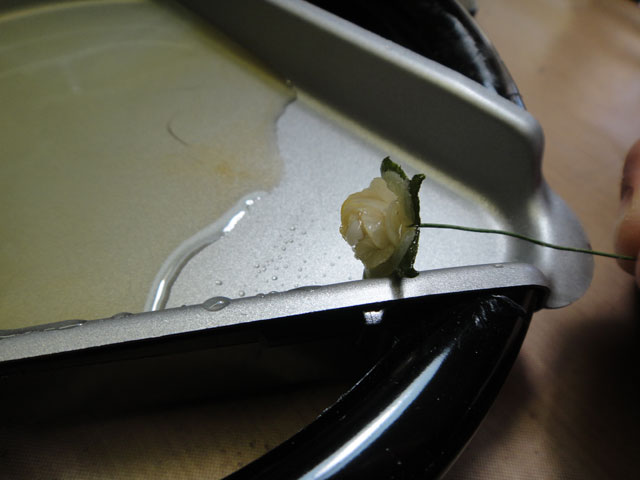 step 23: slide the flower along the metal edge of the melting pot to melt away any excess or utee strings.
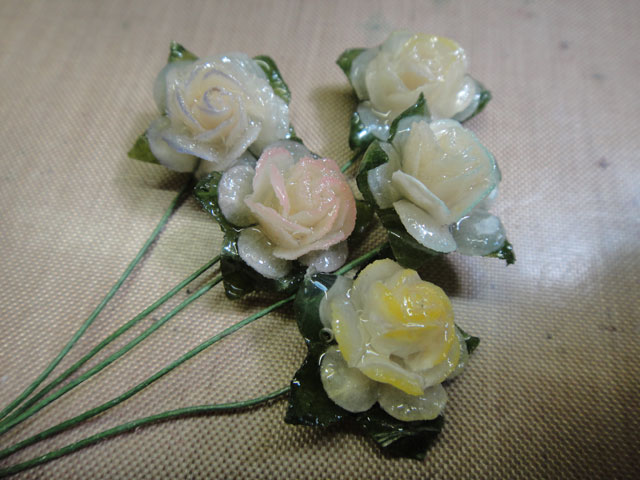 *this is what you have now – faux porcelain flowers!
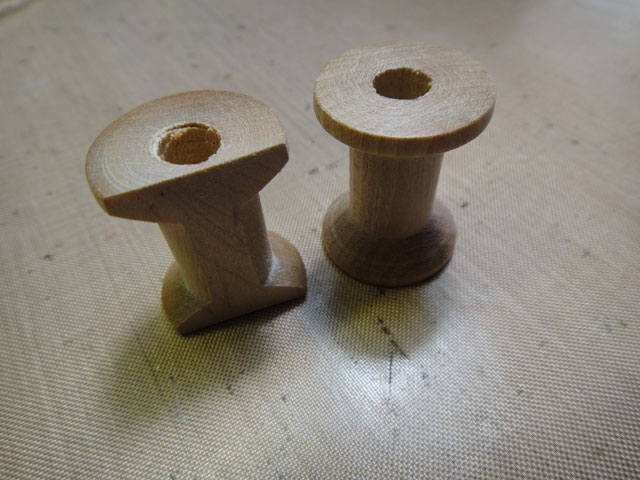 step 24: for the spool i picked up a wooden spool at the craft store and sanded one side flat.
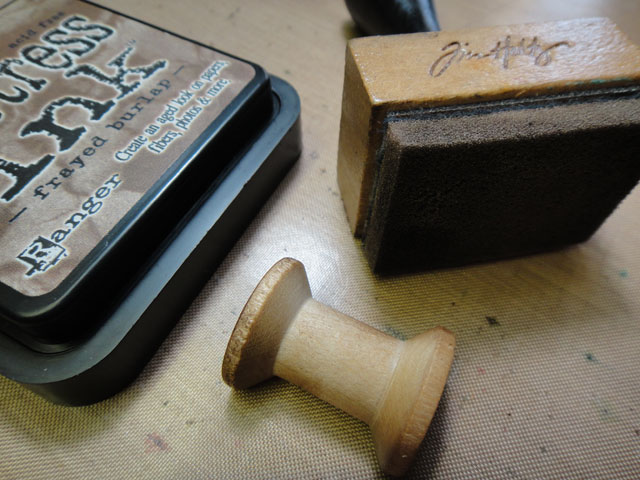 step 25: distress the spool with distress ink using an ink blending tool.
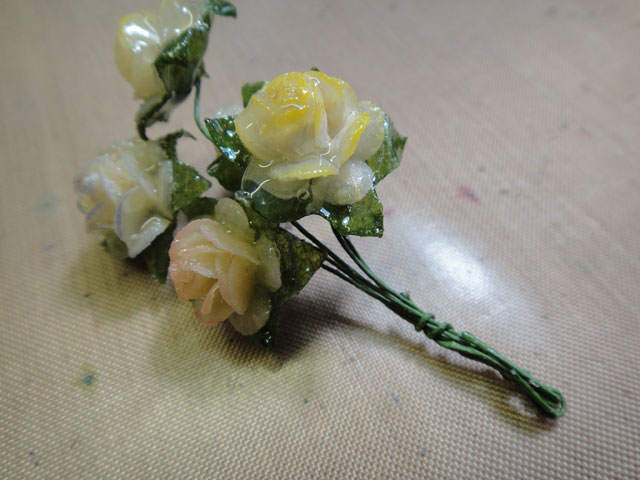 step 26: secure flowers together by twisting the wires.
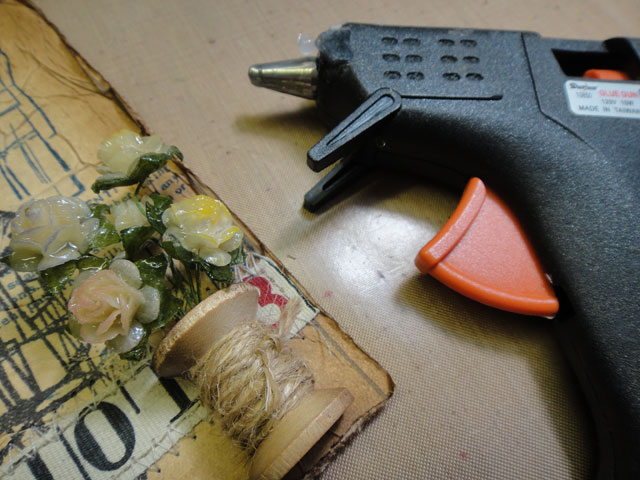 step 27: secure spool and flowers to tag using a glue gun.
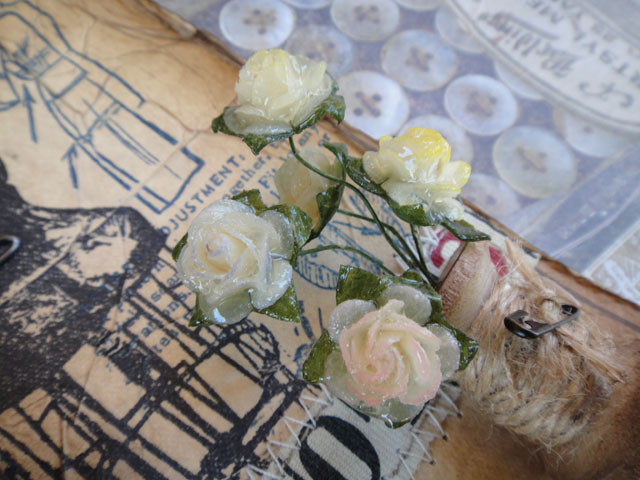 in the details: i love the effect of these faux porcelain flowers and the wooden spool – they add great texture to this tag.
so there we have it bloggers, a floral inspired tag with a great technique to create faux porcelain paper flowers. i can’t wait to see what your creative minds come up with for this month. i know by me being a little behind doesn’t give you much time to create this month’s tag to post it, but we have to get back on track for june so the cut off is still 5/31. that being said, it’s time to announce the winners for posting their april tag and get to work on more creative fun…t!m
congrats to the winners from the april 12 tags of 2012 gallery posts. if you see your name below and it links to your tag, please contact mario@timholtz.com to claim your prize!
1. Carol
2. Karli
3. Elaine
4. Shirley
5. Bodil
6. Nicole
7. Linda W.
8. Tracy Evans
9. Lori Hassler
10. Anne Rx
11. Henriette
12. Patricia Basson
*be sure to check your local stores for these supplies or you can
click the links below to purchase online…
(SSS=simon says stamp / IE=inspiration emporium)
|
|
|
|
|
|
|
|
|
|
|
|
|
|
|
|
|
|
|
|
|
|
|
UPLOAD YOUR PROJECT: here's a place to share your own project inspired by this month's "12 tags of 2012" right here on my blog!
to get started:
1. click on the (add your link) button at the bottom of the post.
2. after you enter your info, click (next step) and you'll be able to select the photo you wish to display as a thumbnail.
*note: you may link from your blog or from a public image-hosting site. please only post your project photo which will appear in random order so please upload it only once - thanks.
| | | | |
| | | | |
| | | | |
| | | | |
| | | | |
| | | | |
| | | | |
| | | | |
| | | | |
| | | | |
| | | | |
| | | | |
| | | | |
| | | | |
| | | | |
| | | | |
| | | | |
| | | | |
| | | | |
| | | | |
| | | | |
| | | | |
| | | | |
| | | | |
| | | | |
| | | | |
| | | | |
| | | | |
| | | | |
| | | | |
| | | | |
| | | | |
| | | | |
| | | | |
| | | | |
| | | | |
| | | | |
| | | | |
| | | | |
| | | | |
| | | | |
| | | | |
| | | | |
| | | | |
| | | | |
| | | | |
| | | | |
| | | | |
| | | | |
| | | | |
| | | | |
| | | | |
| | | | |
| | | | |
| | | | |
| | | | |
| | | | |
| | | | |
| | | | |
