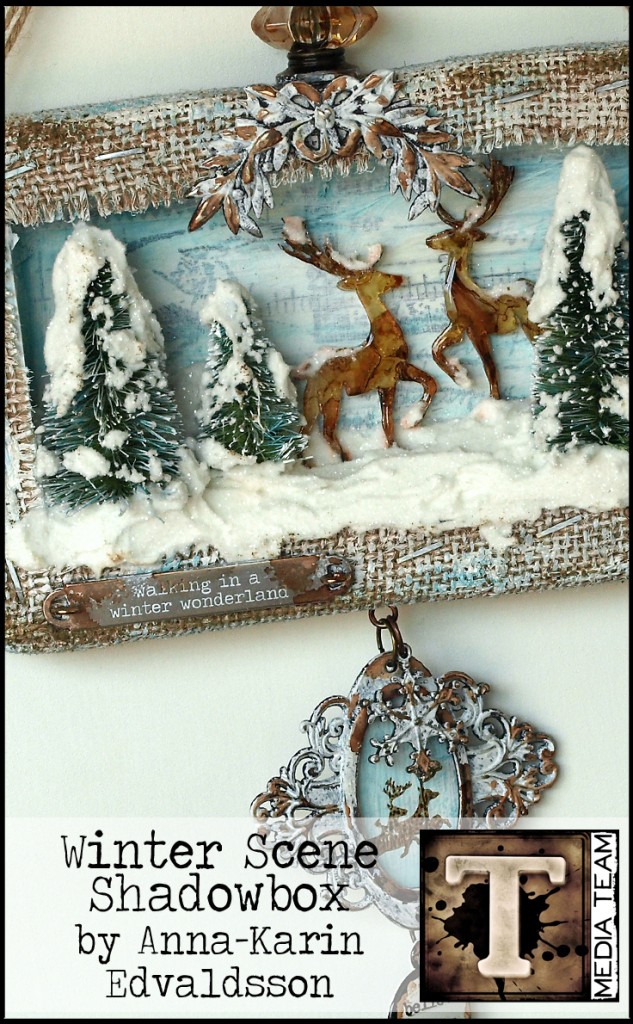
bundle up for this tutorial from media team anna karin that will whisk you away to a winter wonderland. i love how this project utilizes ordinary products in extraordinary ways for the holiday season so get ready to explore creativity that will have jack frost nipping at your nose…t!m
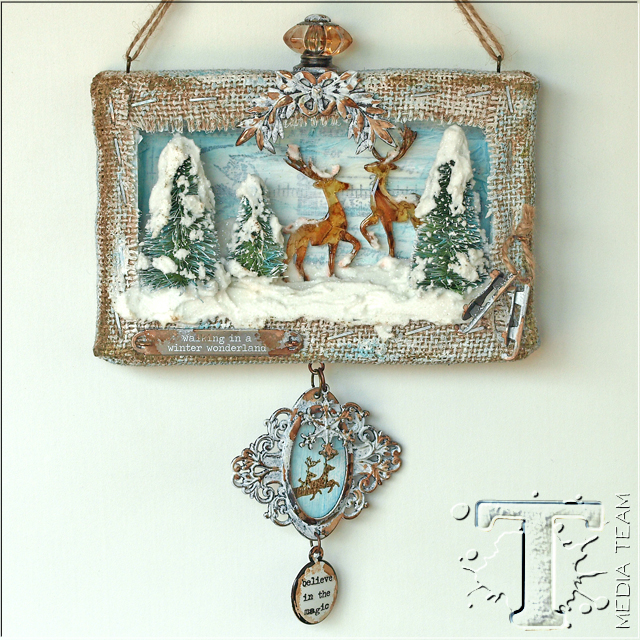
Hello everyone! I am happy to be back here with another tutorial and I can’t believe that Christmas is only a month away. I made a shadow box with a little winter scene inside, using quite a bit of Distress Glitter for that glittering snow. It would be great for a gift, or make it for yourself.
If you turn a burlap panel around, it makes a perfect shadow box and since the panel is made of wood, it is very sturdy. The burlap forms a nice border for the box and you can fray the edges a little if you want to. I used my favourite way of creating snow here, with a combination of Texture Paste and Rock Candy Distress Glitter. It makes wonderful dimensional glittery snow, looking like newly fallen snow on a sunny day.
Supplies:
- Surfaces: Burlap Panels Bare 4 x 6; Postale Tissue Wrap; Ranger Shrink Plastic
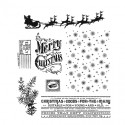
- Stamps: Christmas Nostalgia
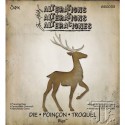
- Dies: Prancing Deer
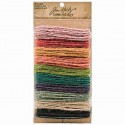
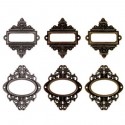
- Idea-ology Embellishments: Christmas Word Bands, Christmas Time Remnant Rubs, Jump Rings, Screw Eyes, Mini Trees Woodlands, Jute String, Snowflake Adornments, Skates Adornments, Laboratorie Tissue Tape, Elements Tissue Tape, Curio Knobs, Enameled Tags, Ornate Plates
- Archival Ink: Potting Soil
- Distress Paint: Picket Fence, Tumbled Glass, Broken China, Peeled Paint, Pine Needles, Walnut Stain
- Distress Glitter: Rock Candy Distress Glitter
- Adirondack Alcohol ink: Latte, Ginger
- Mediums: Ranger: Texture Paste, Matte Multi Medium, Dina Wakley White Gesso, Glossy Accents
- Tools: Vagabond, Ink Blending Tool, Artist Brushes
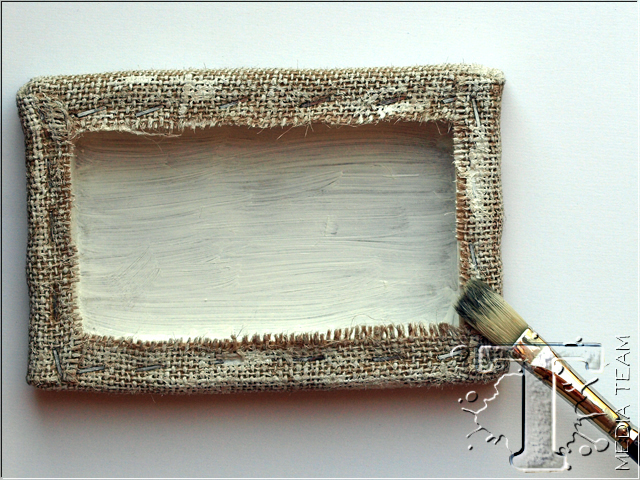
Start by painting the box with gesso, in order to get a lighter base to work on. I also added some gesso to the burlap, increasing the snowy feeling. I used a 4 x 6 burlap panel.
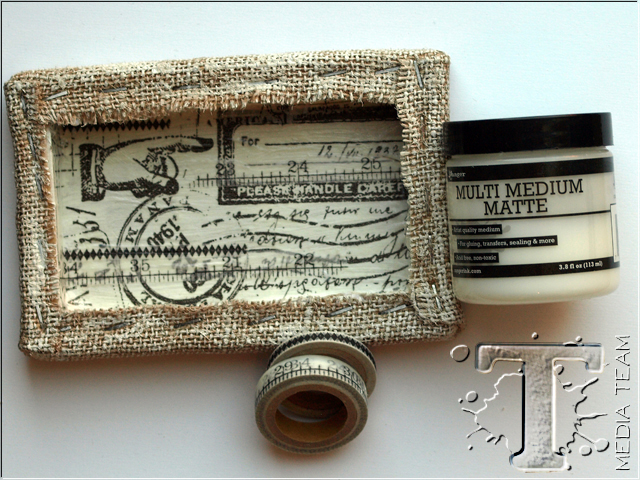
Tear a piece of tissue wrap and glue it to the box with matte multi medium. I also added a few strips of tissue tape, to get some more patterns.
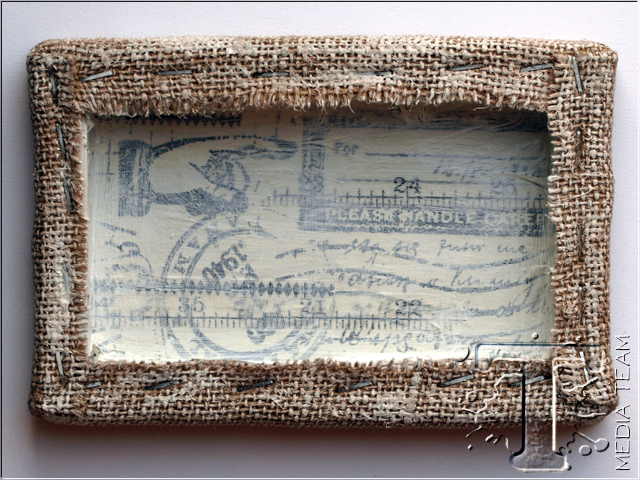
Whitewash the tissue background with a coat of gesso, to tone down the patterns so that the scene won’t be too busy. Leave to dry.
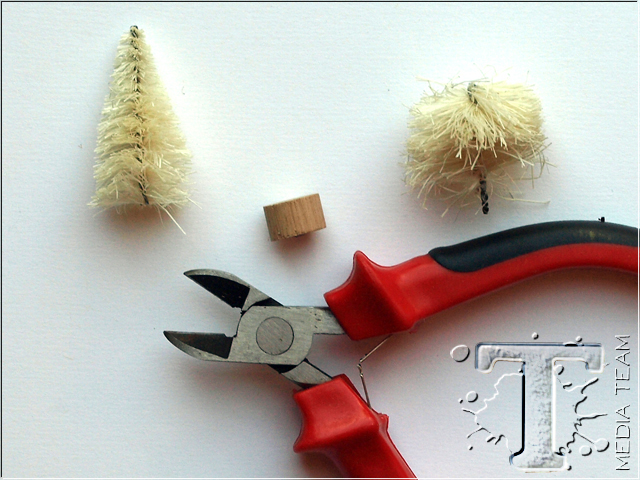
Cut off the lower part of one tree, to make it smaller. If you want to you can glue it back into the wooden disk later with Glossy Accents.
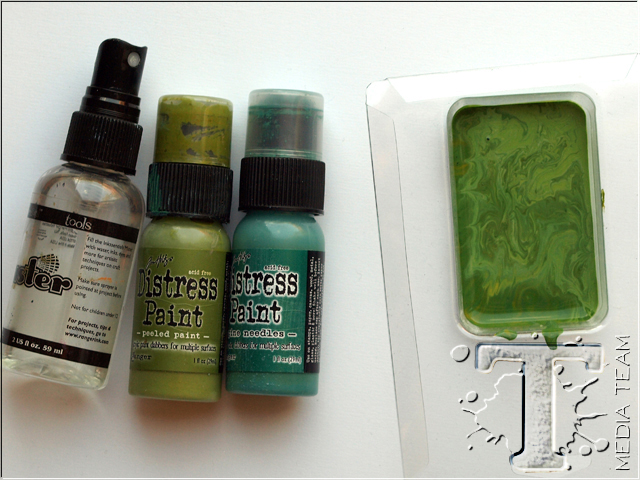
You can easily colour Woodland Trees with Distress Spray Stain, but I used Distress Paint instead. The reason for this was that I was planning to apply Texture Paste to the trees, and the paste might have picked up some colour from the spray, which won’t happen if the trees are coloured with paint. I wanted the paste to remain white. Mix a little Peeled Paint and Pine Tree Distress Paint and add some water. I like to use plastic packaging as palettes.
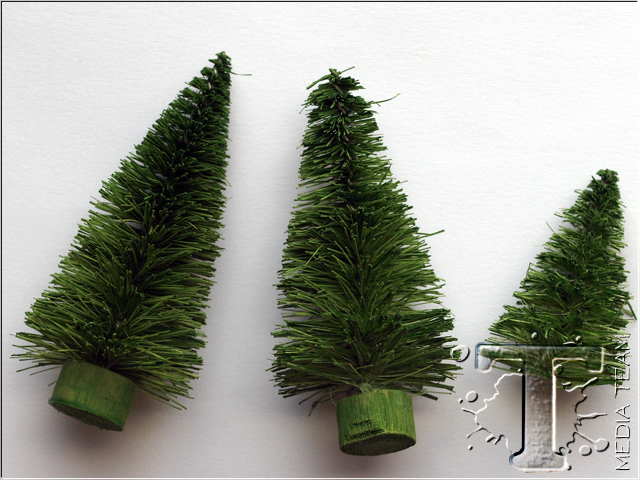
Dip the trees into the paint and leave them to dry.
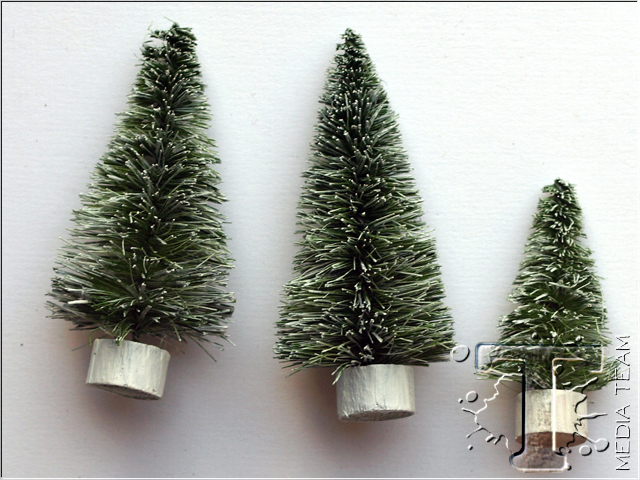
When the trees are dry, add white with gesso or white paint. Make sure you get some white paint in between the branches too, but don’t cover the green completely.
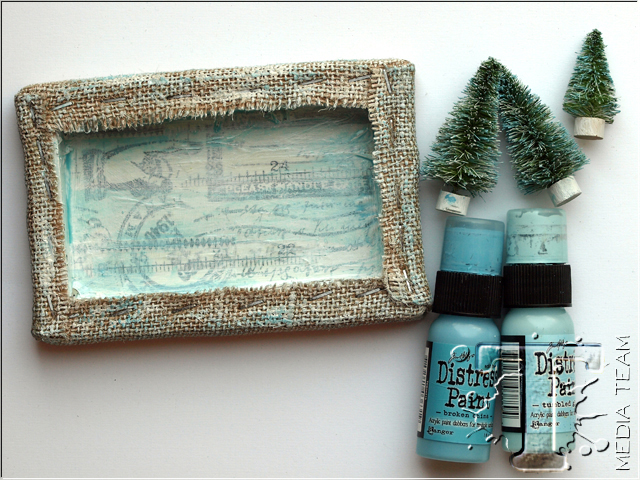
I decided to paint the background of the box with a light coat of blue, adding a little bit of water to Tumbled Glass and Broken China Distress Paint. I also painted Broken China here and there on the burlap. The trees needed some blue too and it shows more where there is gesso or white paint.
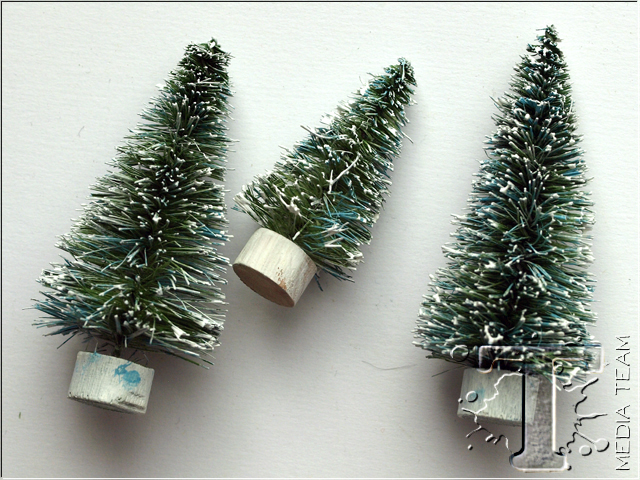
Add more gesso or white paint right at the tip of the branches, leaving thicker dots of white, looking like snow. Leave to dry.
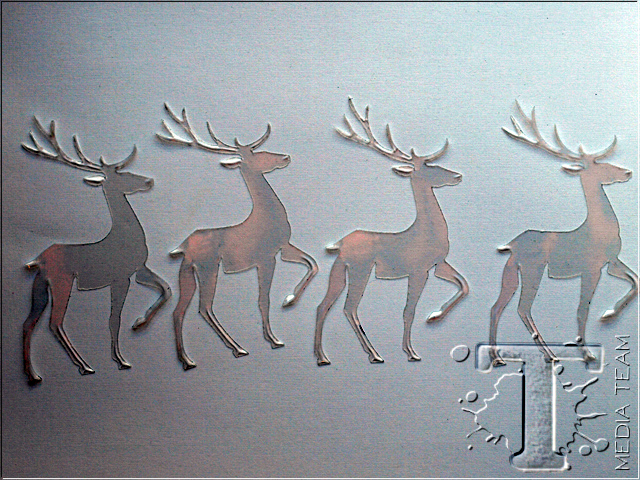
In the meantime, I worked on the deer. The new Prancing Deer die is so pretty and I love how happy the deer looks. But it was of course far too large for my little shadow box. Instead, I die cut the deer four times from shrink plastic.
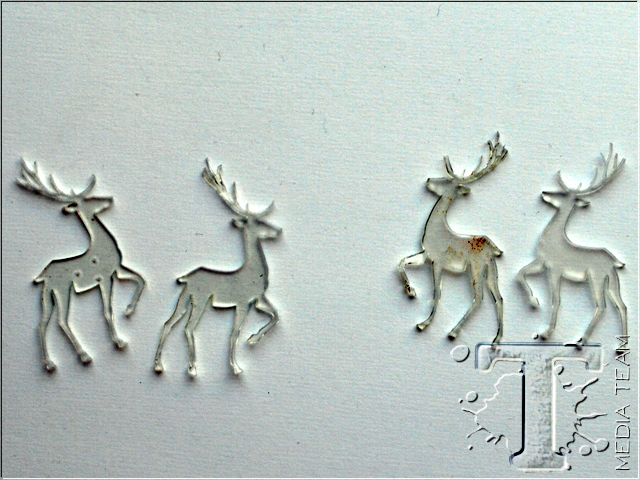
Shrink the pieces according to the instructions on the packaging. Now they are the perfect size for the box. Like magic.
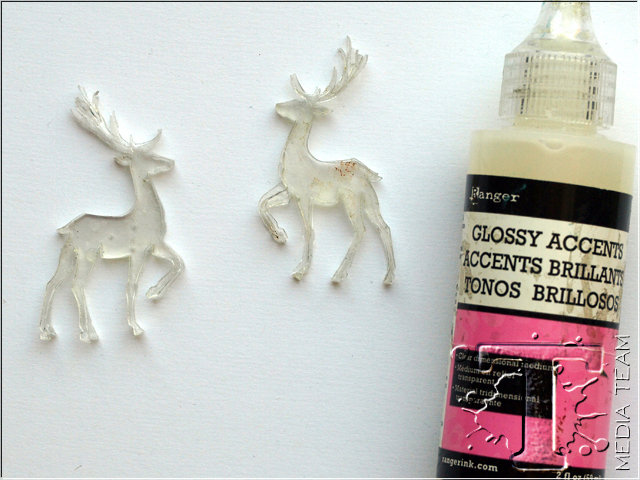
I wanted the deer to be a little more dimensional and glued two together. The pieces might not match completely, but it will just add to a sense of movement.
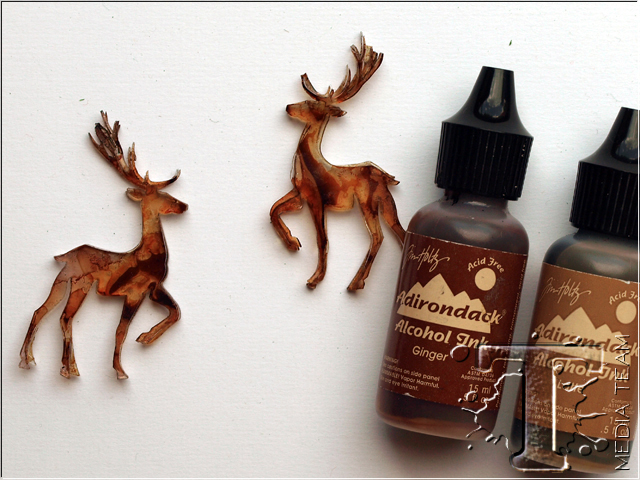
Apply alcohol ink to the front on the deer with an ink blending tool and felt applicator. Drip some ink directly onto the deer and you will see it flow in between the two deer and form interesting patterns. I hadn’t planned this effect, but really liked how it turned out.
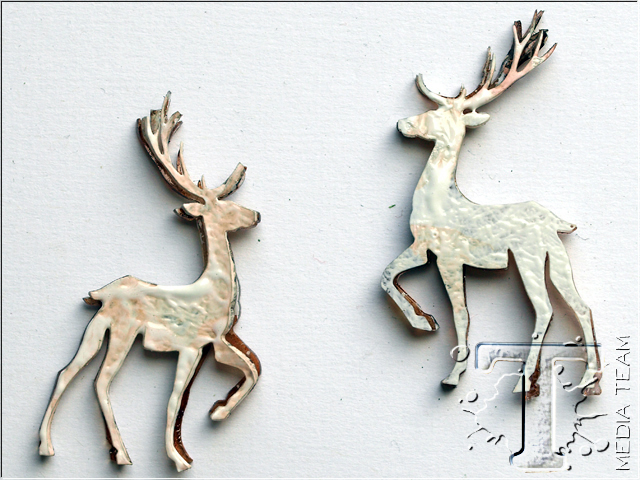
Paint the back of the deer with white paint or gesso, to make them opaque.
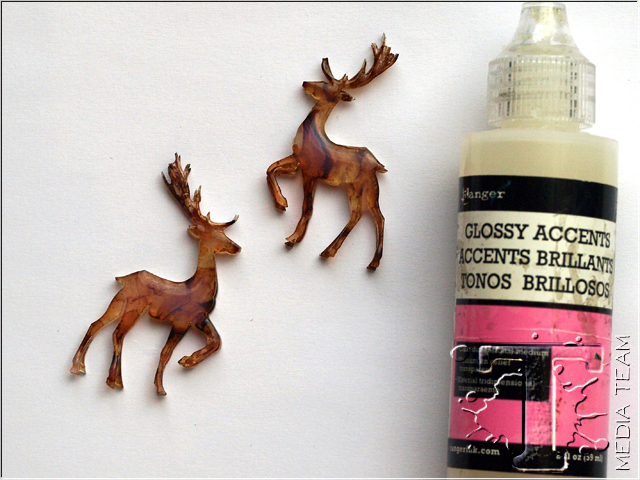
Coat the deer with Glossy Accents, which gives them a great finished look. Leave to dry.
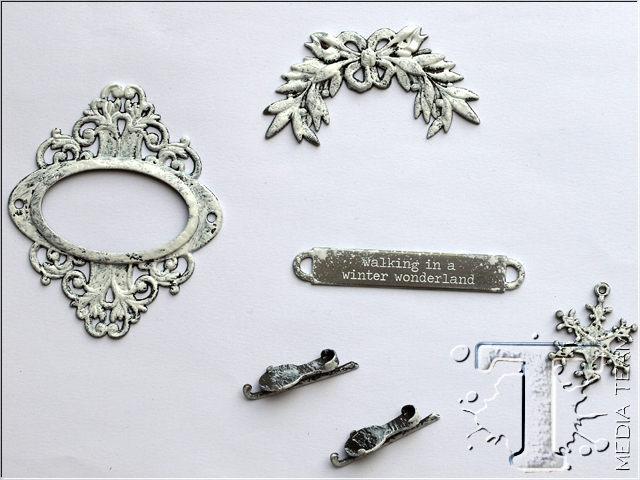
Paint some metallic embellishments with Picket Fence Distress Paint and leave to dry.
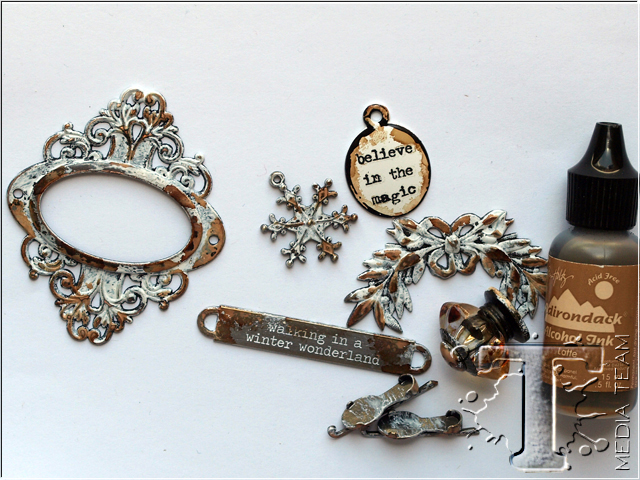
Sand the embellishments very slightly and apply alcohol ink to them here and there. This creates a great textured look. I also added a rub on sentiment to an Enameled Tag.
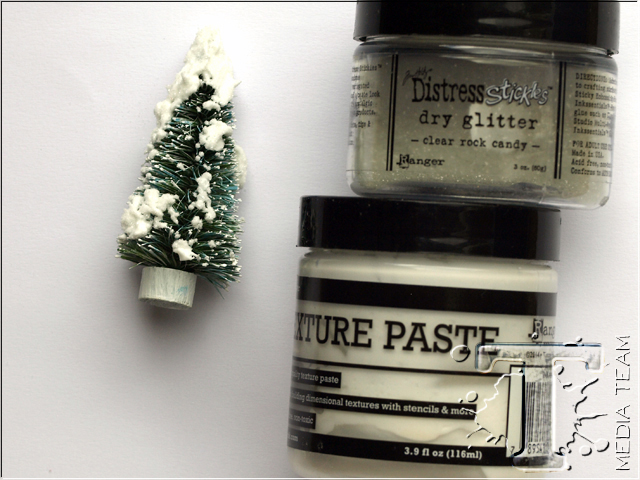
Apply Texture Paste to the trees with a palette knife and sprinkle Rock Candy Distress Glitter on top. The glitter sticks to the paste and creates perfect glistening snow. Leave to dry.
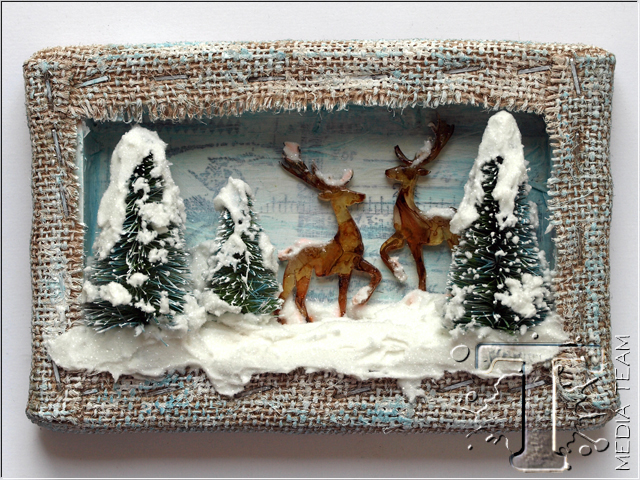
Smear a thick layer of Texture Paste at the bottom of the shadow box. Stick the deer with matte multi medium to the background, making sure it looks like they are standing in the snow and not floating above it. I also added a little bit of paste to the deer. Press the trees into the snow and apply more Texture Paste in front of them to make it look like they are standing in a thick layer of snow. Cover everything with Rock Candy Distress Glitter and pour the left overs back into the jar.
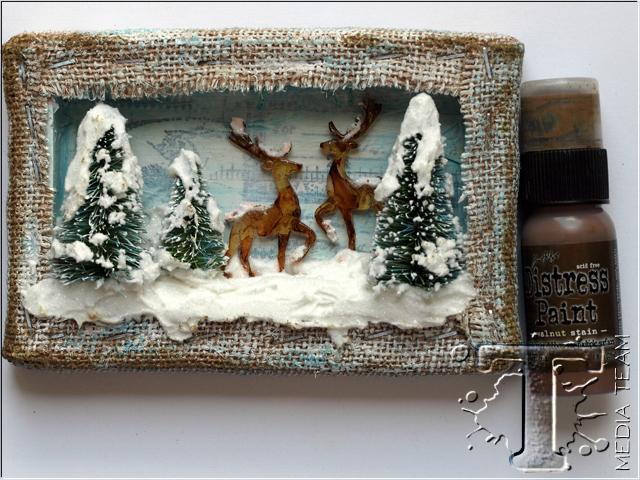
Smear a tiny bit of Walnut Stain paint on the edges of the burlap and even less here and there on the snow.
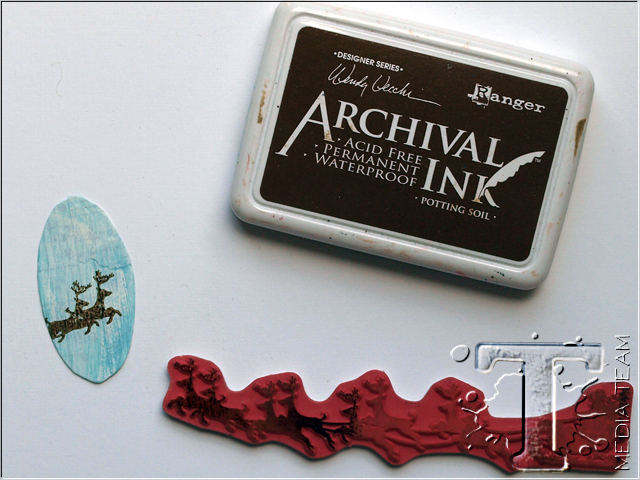
Trace the oval of an Ornate Plate on a piece of paper and cover with tissue tape. Prepare in the same way as the shadow box background with gesso and paint. When dry, stamp the two first deer pulling Santa’s sleigh, with Potting Soil ink.
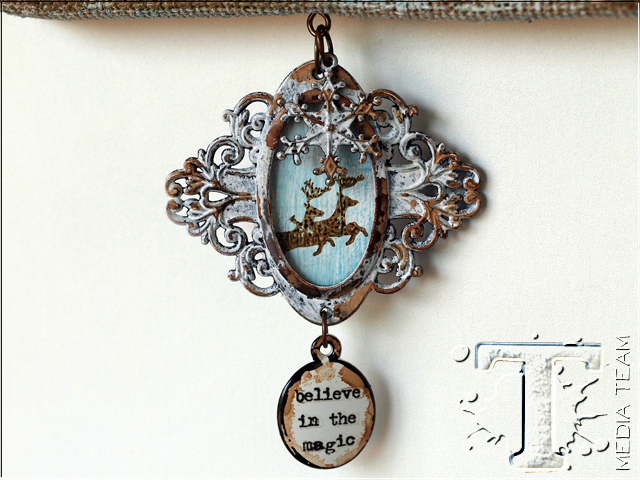
Glue the oval paper behind the Ornate Plate with matte multi medium. Screw a Screw Eye into the wood of the panel and hang the plate and the snowflake from it with jump rings. Hang the Enameled Tag with another jump ring.
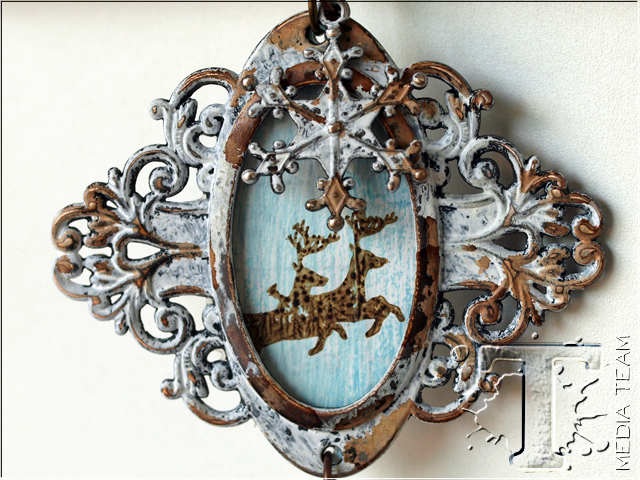
The combination of white paint and brown alcohol ink on the metallic pieces gives them great texture, while they at the same time also look wintry.
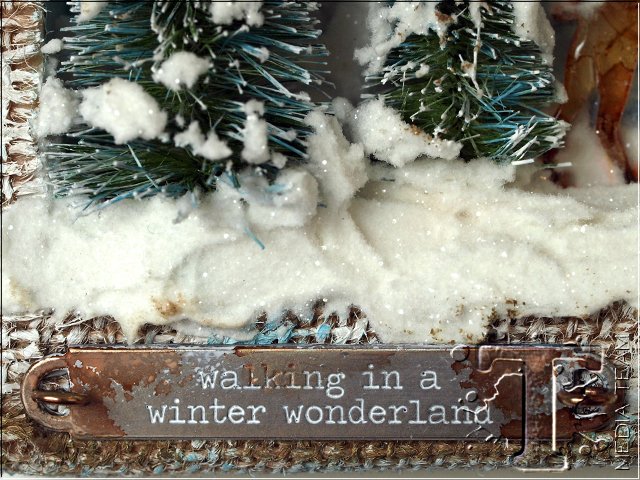
Adhere the word band with another two screw eyes, so that it won’t fall off. On this photo you can see the glittery snow better.
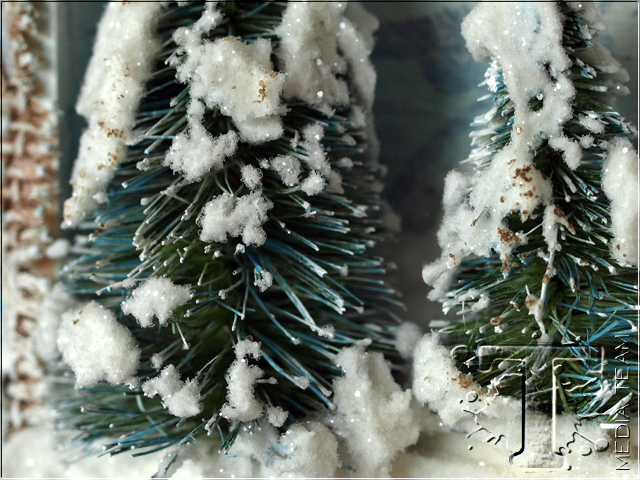
The snow on the trees look pretty real and I like the varied green, blue and white look of the trees.
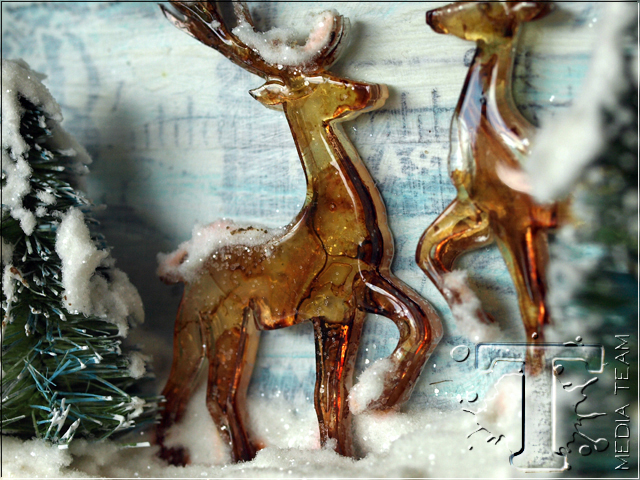
Here you can better see the effect of the Glossy Accents on the shrink plastic deer.
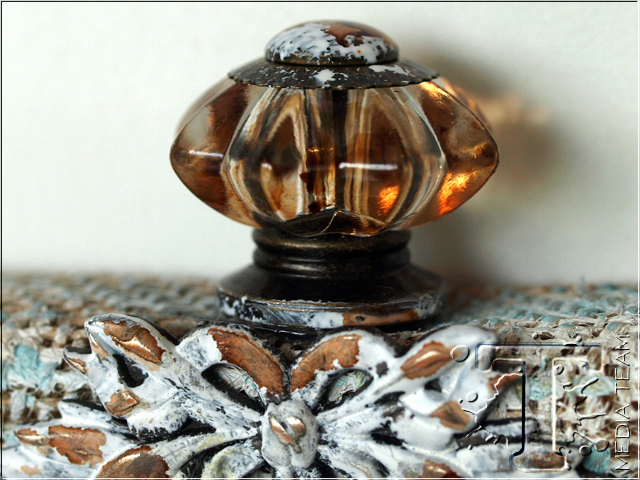
The Curio Knob was also distressed with Picket Fence paint and Latte alcohol ink.
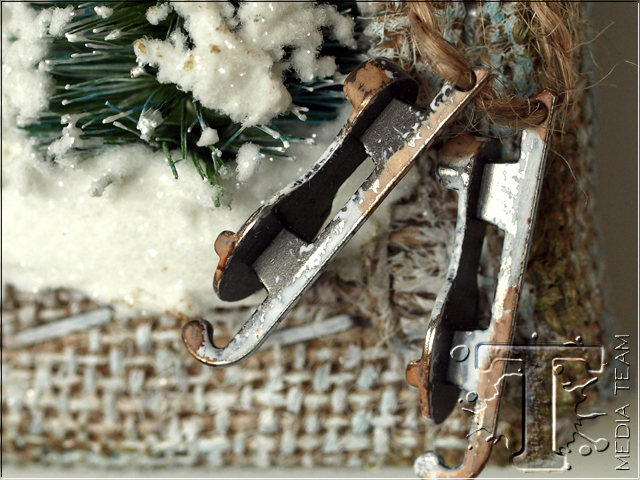
Hang the ice skates on a piece of jute string and adhere to the panel with another screw eye.
I hope you enjoyed this project and that it inspired you to turn your burlap panels around and use them as shadow boxes instead, and to make some wonderful faux snow, perfect for the season. Now I would like to take walk in my little winter scene.
Thank you for stopping by!
Happy Christmas Crafting!
Anna-Karin
—
*be sure to check your local stores for these supplies or you can click the links below to purchase online…
(SSS=simon says stamp / IE=inspiration emporium)
                           |
