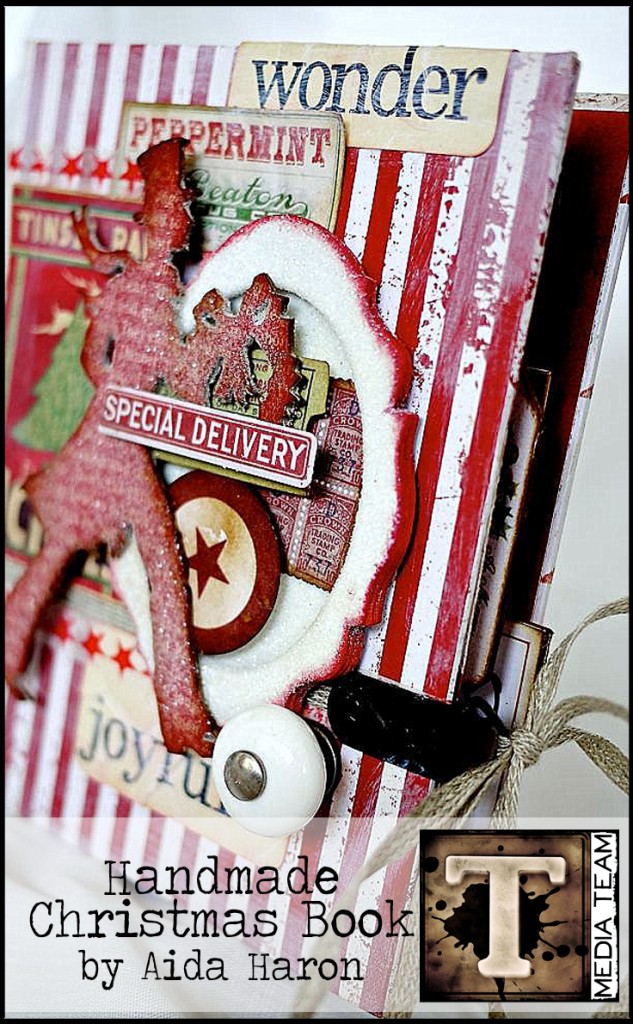
’tis the season for holiday merriment and media team aida haron get’s us in the spirit with this festive project tutorial. i love the layers of this project using sizzix dies, papers, ephemera, tissue tape, and a sparkle of clear rock candy glitter. get ready to deck the halls…t!m
Hello everyone it’s Aida here and Happy Halloween ! We’ve seen really wonderful Halloween and Fall projects this month and you must’ve enjoyed all of them. Today I’m sharing a Christmas Handmade Book to help you with ideas for gifts this Christmas season. Mini books are a great way to add die-cuts and ephemera as it allows endless possibilities for customizing the finished look.
Supplies:
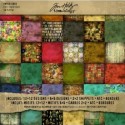
- Surfaces: Merriment Paper Stash, Lost and Found Paper Stash, cream cardstock
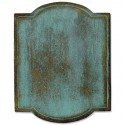
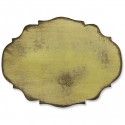
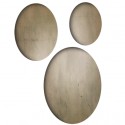
- Dies: Festive Gent, Cameo Frame, Movers and Shapers Sized Ovals, Mini Baroque
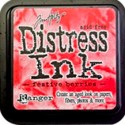
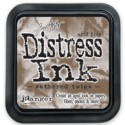
- Distress Ink: Festive Berries, Gathered Twigs
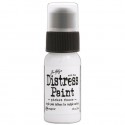
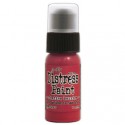
- Distress Paint: Picket Fence, Festive Berries
- Distress Stain: Brushed Pewter
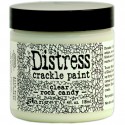
- Distress Crackle Paint: Rock Candy
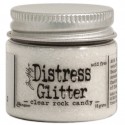
- Distress Glitter: Clear Rock Candy
- Mediums: Ranger Matte Medium
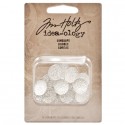
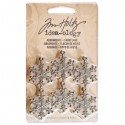
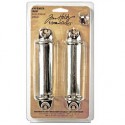
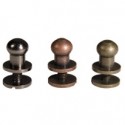
- Embellishments: Ring Binder, Hitch Fastener, Swivel Clasp, Curio Knob, Linen Ribbon, Christmas Ephemera Pack, Holiday Flashcards, Merriment Tissue Tape, Gumdrops, Snowflakes Adornments
- Tools: Non-Stick Craft Mat, Heat It Tool, Mini Ink Blending Tool, Vagabond
- Adhesive: Spray Adhesive
- Other: Metal hanger
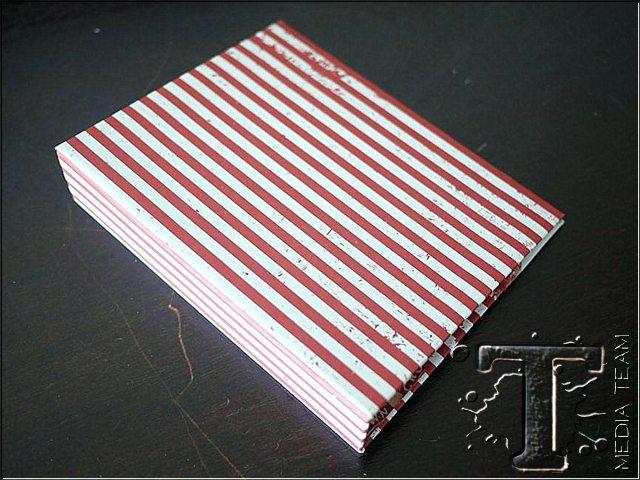
I made a book cover using chipboard and wrapped it with the stripe Merriment paper. The paper stash comes with a variety of designs you can choose from. The chipboards for the front and back covers were 7inches x 5.5 inches and the spine 7inches x 1inch.
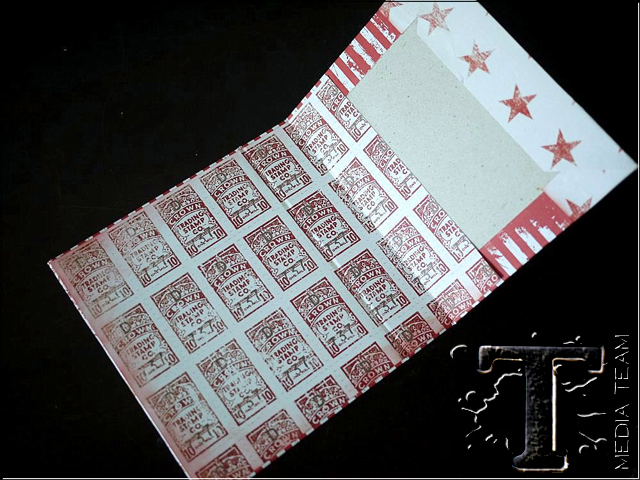
I have another tutorial on my Blog which explains this process : Here (http://aidaharon.livejournal.com/63644.html
The mini-book will go through a lot of handling over time and I found that sealing the cover with 2 thin coats of matte medium mixed with a little water helps to repel stains and will go a long way in keeping it pristine. Remember to dry completely in between coats.
Adhere the Ring Binder to the inside of the spine.
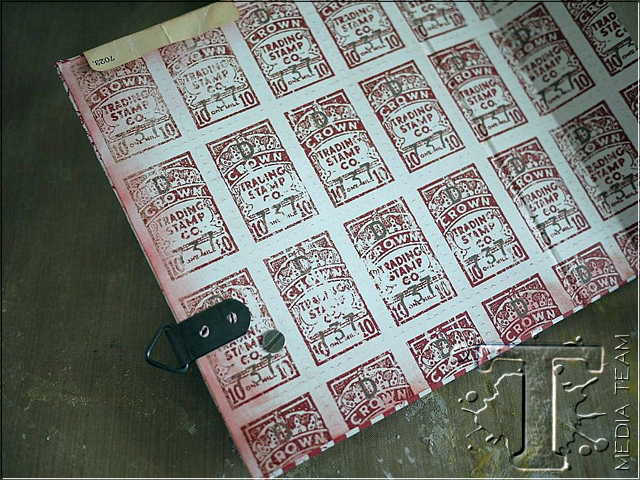
Add a metal Picture Hanger as a closure. A pattern paper was adhered to cover the the metals and to neaten the look.
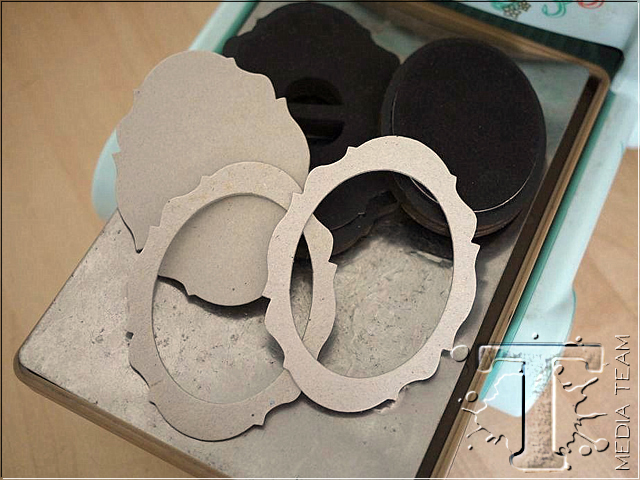
Die cut 3 pieces of chipboard with the Mini Baroque Mover and Shapers Magnetic die. Next, die cut an oval in the center of 2 Baroque shapes using the medium Sized Ovals
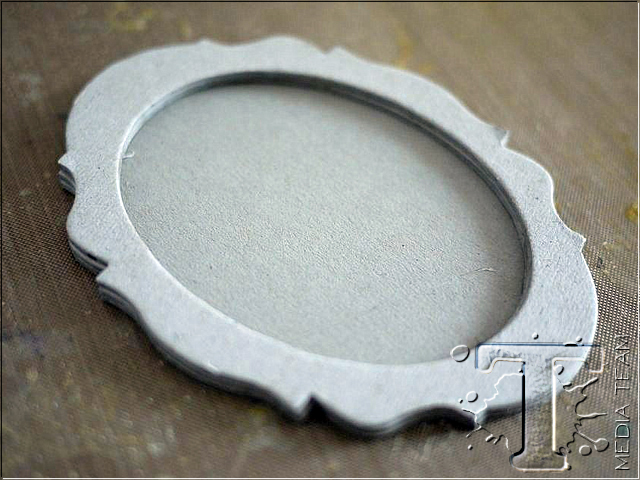
Stack them up and glue together, then paint with white gesso.
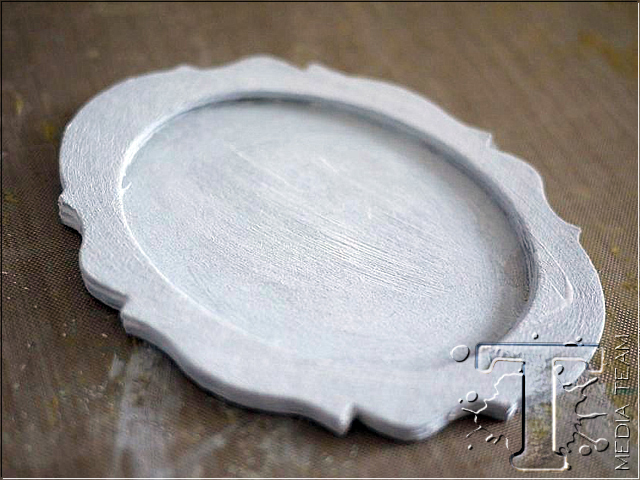
Paint the assembled die cut with Picket Fence Distress Paint.
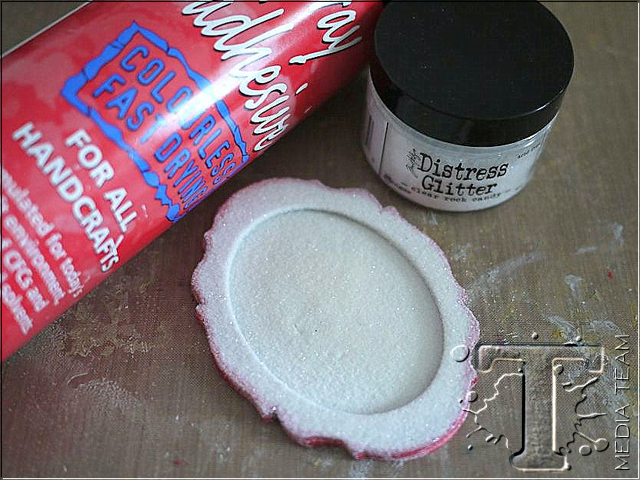
Glitter can be messy to get on larger die cut pieces and the best way I discovered is to use Spray Adhesive. Here are the steps : 1) Put the die cut into an old shoe box and spray thoroughly with adhesive 2) Use a tweezer to transfer the die-cut to a craft mat 3) Pour the Distress Rock Candy Glitter over 4) Gently pat down the glitter to make sure it adheres to every part of the die-cut.
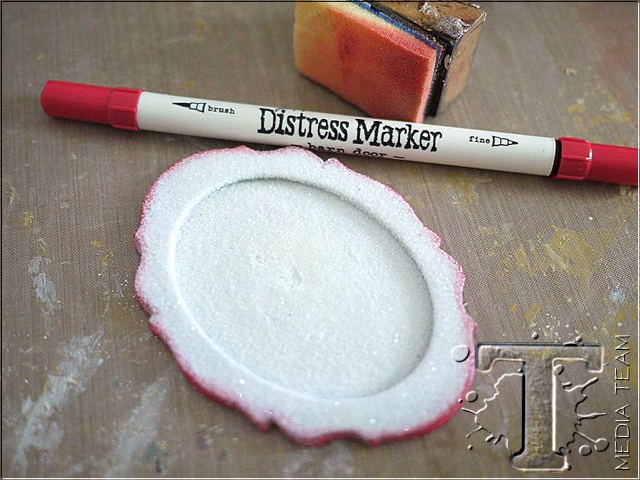
Color the edges with Festive Berries using Distress Ink or Marker.
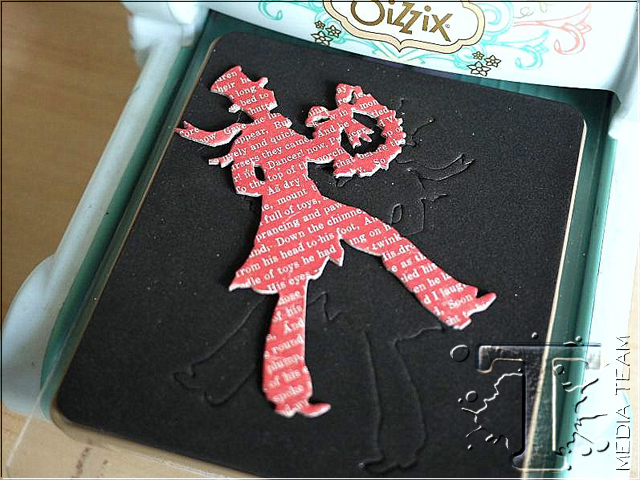
Die cut the Festive Gent in chipboard with a Merriment paper adhered to it.
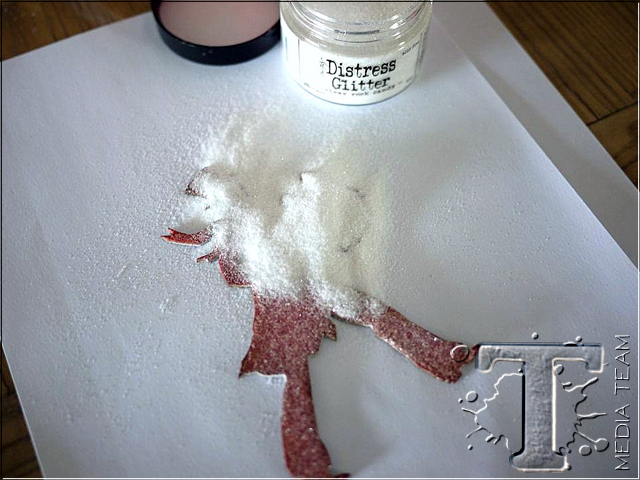
Apply Distress Glitter to the die cut.
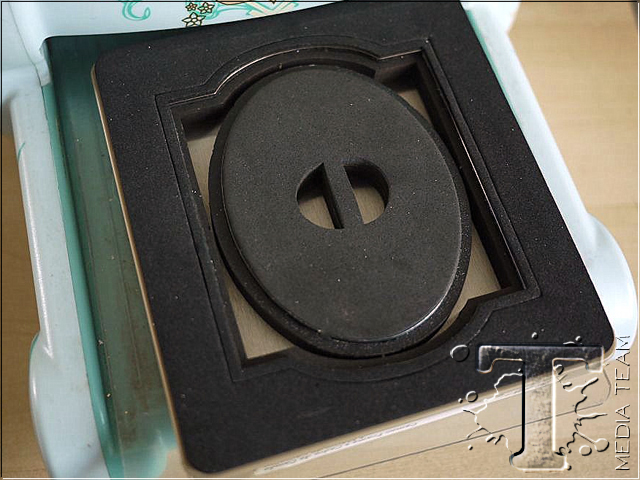
Next die cut a frame using 2 dies using the Cameo Frame with the large Sized Oval in the middle.
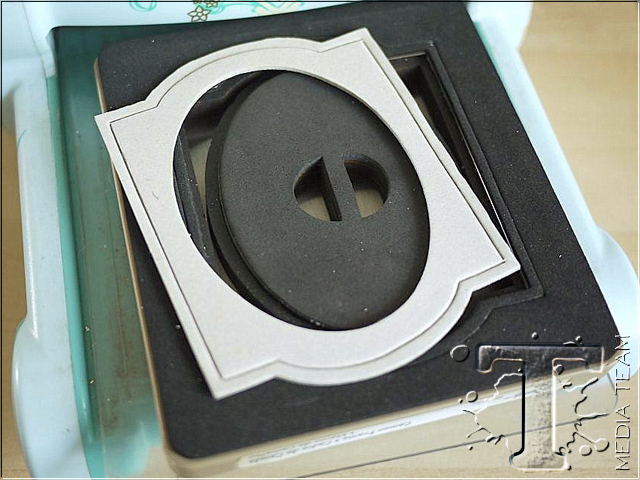
This is the shape you will get.
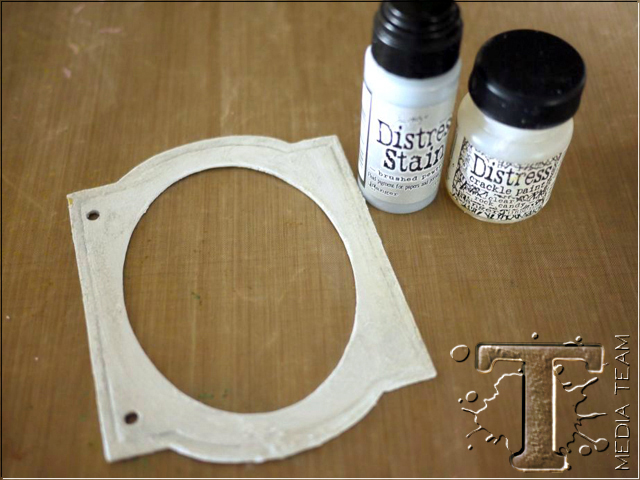
The frame was first painted with white Gesso, and when that dried, I painted it with Clear Distress Crackle Paint. Drying time for Crackle Paint can take 15 to 30 minutes and you’d want to wait for the cracks to form before using the heating tool. When dry, rub Distress Stain Brushed Pewter into the cracks. You will find the silver adds a interesting shimmer to the surface.
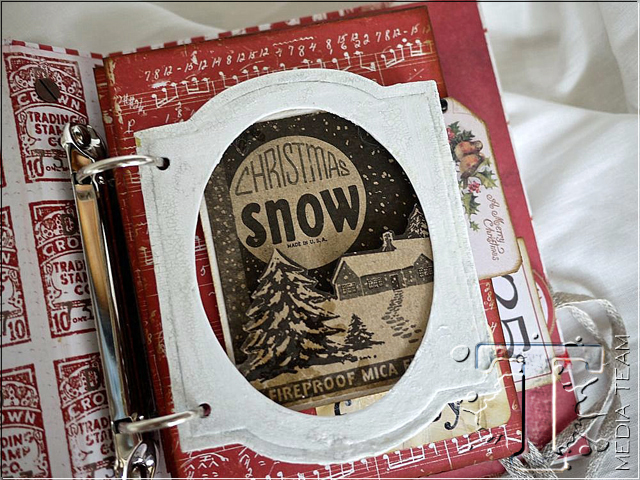
Remember to punch 2 holes to fit the Ring Binder.
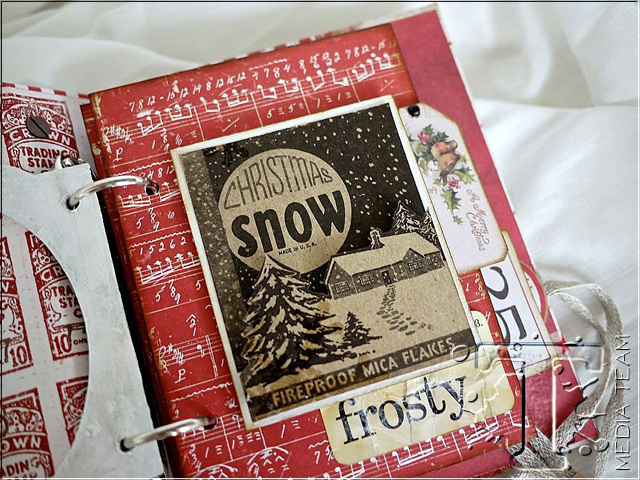
Add a page behind the frame that features layered pieces of Christmas Ephemera and Holiday Flashcards.
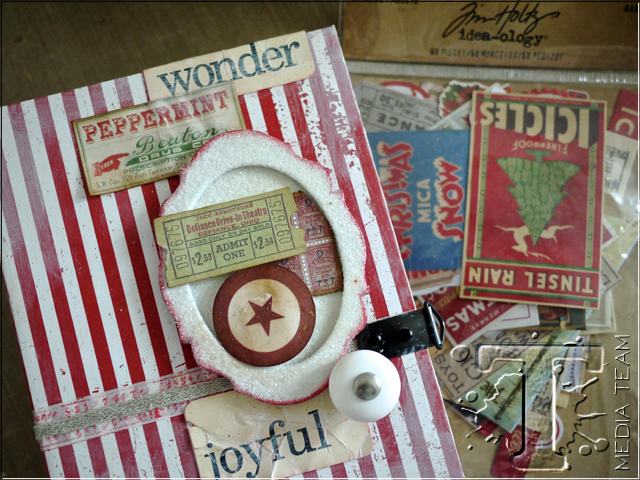
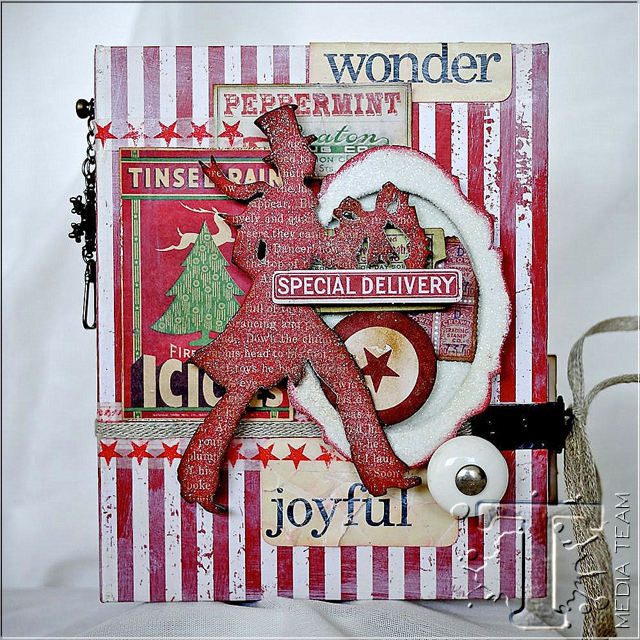
Assemble the mini-book cover by layering the Frame and Merriment Ephemera. To create the closure I adhere the Linen ribbon to the back cover and added ephemera on top to neaten it. I love the Christmas Tissue tape!
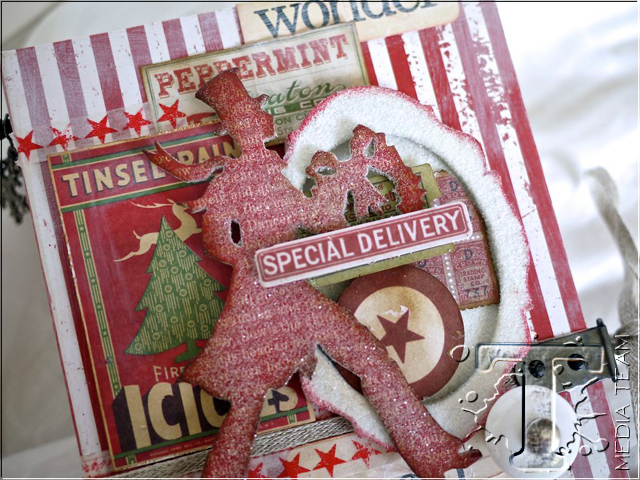
The assembled cover.
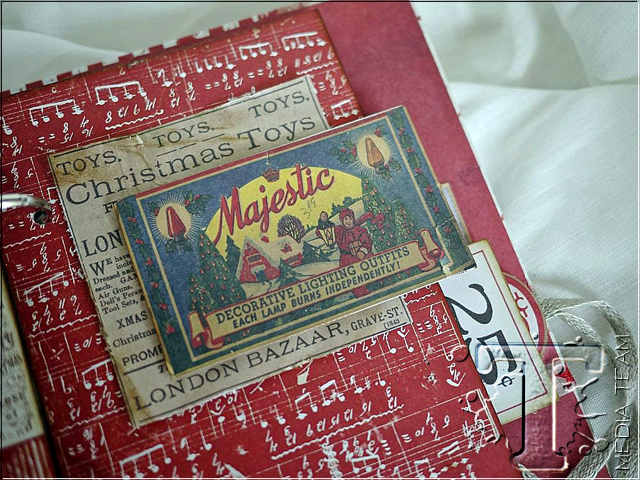
Embellish additional inside pages with pattern paper and layers of Christmas Ephemera.
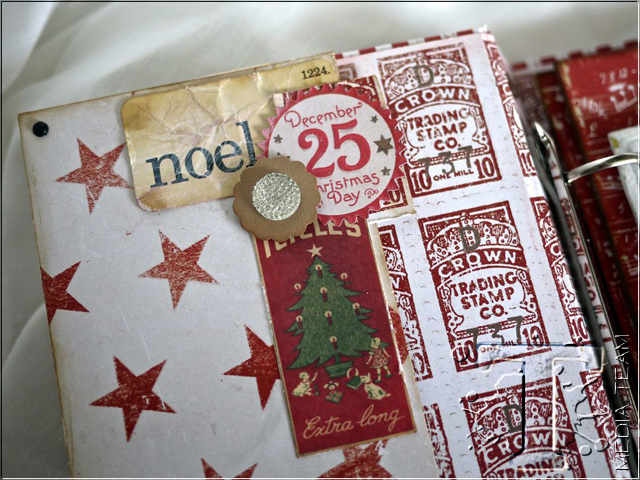
Don’t forget to embellish the inside front cover…
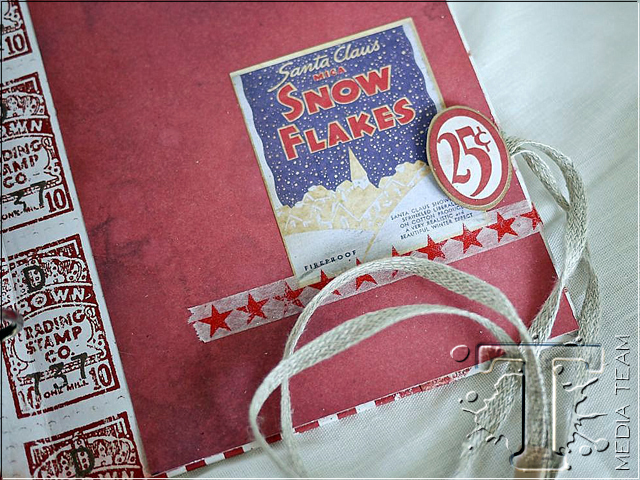
as well as the inside back cover. One pack of Christmas Ephemera will provide plenty of embellishments for a whole book.
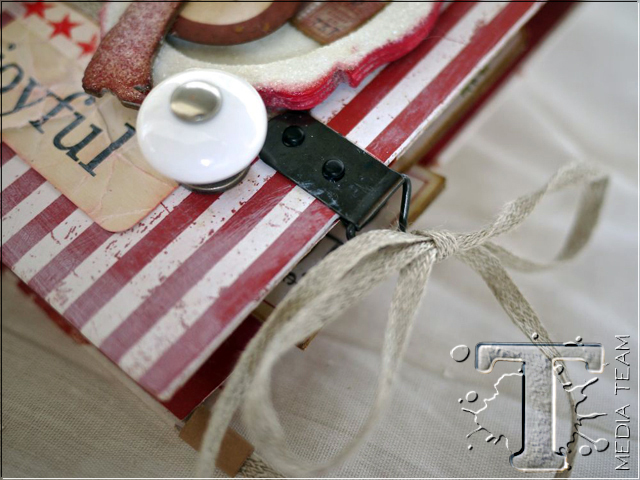
This is the closure for the book.
Aida
—
*be sure to check your local stores for these supplies or you can click the links below to purchase online…
(SSS=simon says stamp / IE=inspiration emporium)
                       |
Pin it to remember it!
