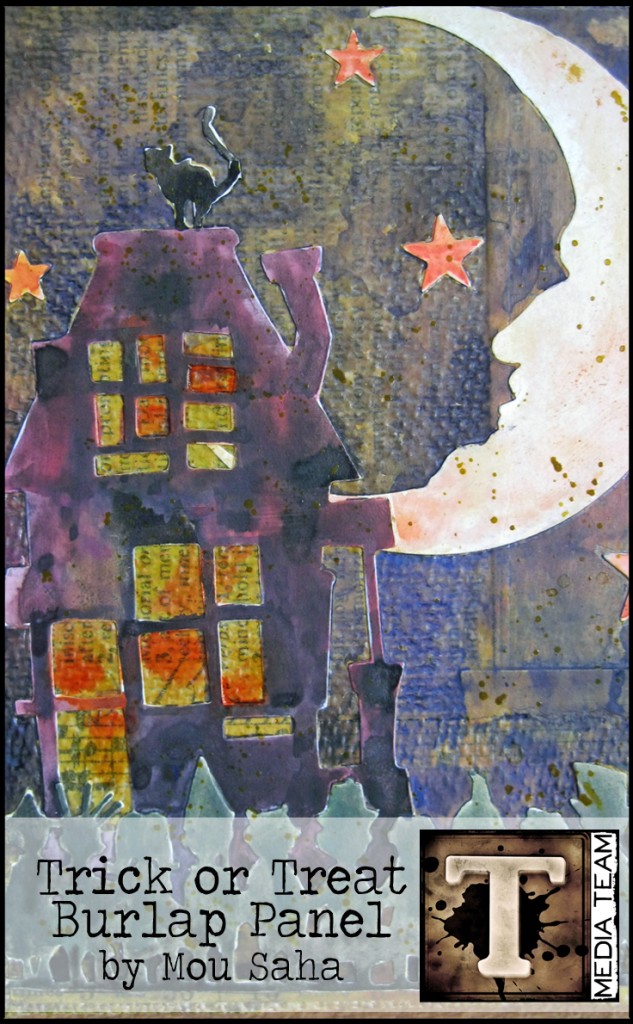
one of the most versatile craft tools in my opinion are dies and embossing folders. media team mou saha shares a creative way to showcase that die cuts aren’t just for cards and scrapbook pages. combining these stylish designs with the colorful palette of distress results in a whimsical halloween project perfect to adorn your home to greet trick or treaters…t!m
Hi everyone, Mou Saha here today with a Halloween burlap panel tutorial using Sizzix Alterations dies by Tim Holtz.
Supplies:
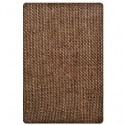
- Surfaces: Burlap Panel 6 x 8; cardstock
- Dies: Crescent Moon & Stars, Rickety House, Halloween Shadows
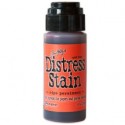
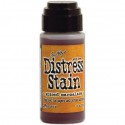
- Distress Stains: Ripe Persimmon, Spiced Marmalade
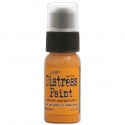
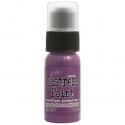
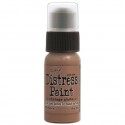
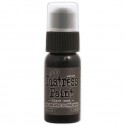
- Distress Paints: Barn Door, Black Soot, Dried Marigold, Mowed Lawn, Peeled Paint, Seedless Preserves, Spiced Marmalade, Tarnished Brass, Vintage Photo, and Wild Honey
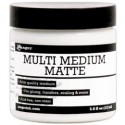
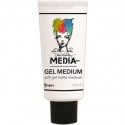
- Mediums: Ranger Multi-Medium Matte, Ranger Dina Wakley Media Gel Medium
- Tools: Tim Holtz Waterbrush, Kushgrip snip scissors; Ranger Non-stick Craft Sheet; Vagabond
Now, let me walk you through the steps.
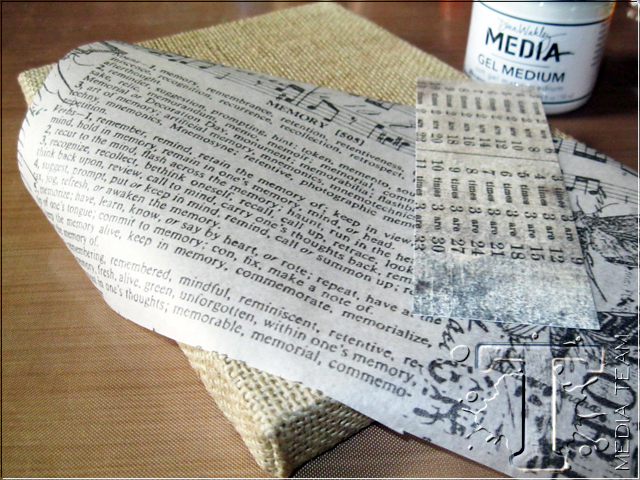
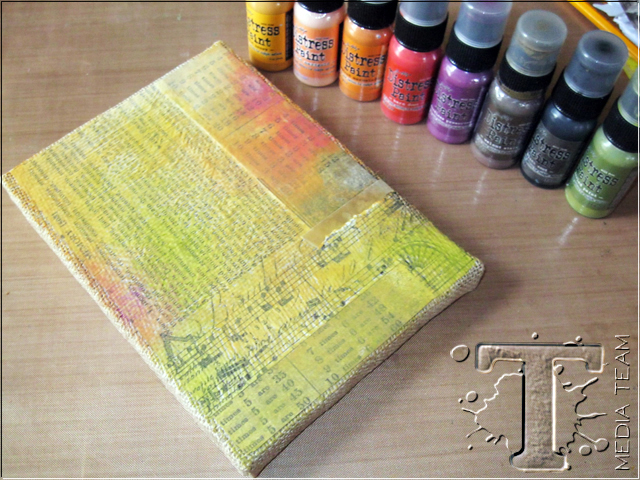
Cut pieces of patterned paper and tissue wrap with Kushgrip snip scissors. Attach the pieces to the 6″ x 8″ burlap panel with Gel Medium. Trim off or fold over and glue any overhanging pieces.
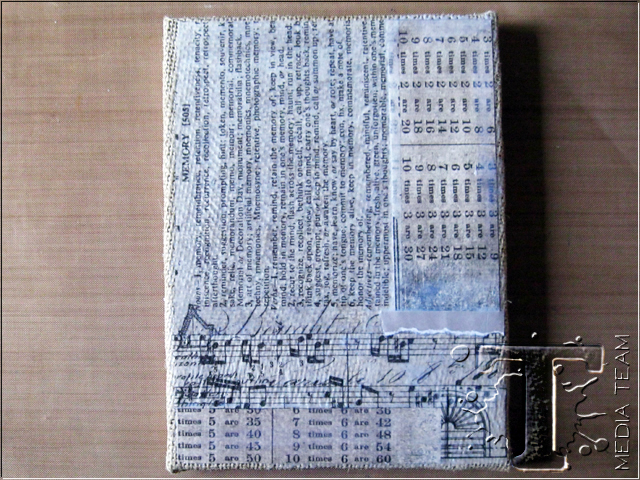
Seal the top with a coat of Gel medium as well.
Color the burlap panel using Barn Door, Black Soot, Dried Marigold, Peeled Paint, Seedless Preserves, Spiced Marmalade, Vintage Photo, and Wild Honey Distress Paints. This layer of color will serve as an underpainting when I add more colors later to create a night scene.
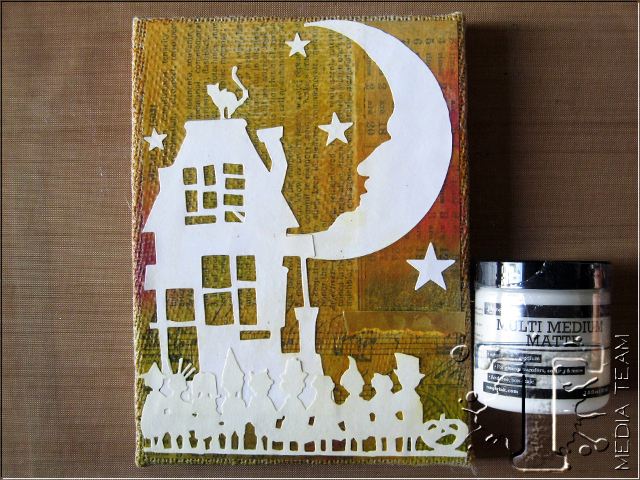
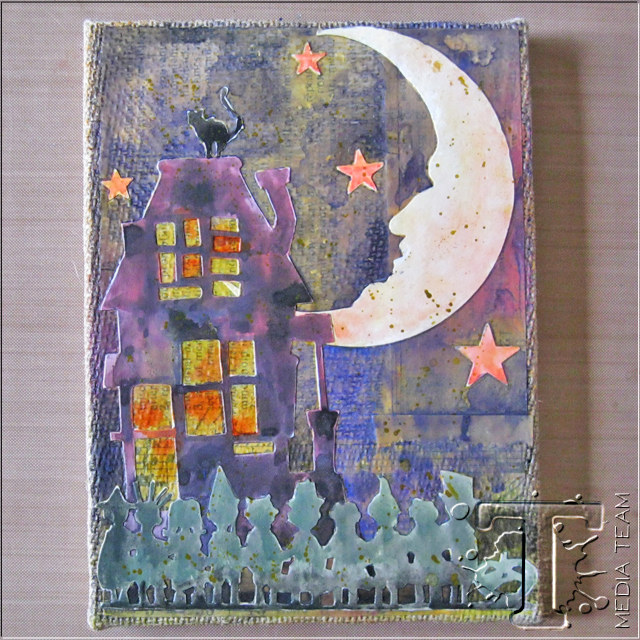
Diecut Cresecent Moon & Stars, Halloween Shadows, and Rickety House out of white cardstock using the Sizzix diecutting system. Arrange the pieces on the burlap panel as shown. You might will need to trim off any excess sticking out of the panel. I cut the cat out of the trick or treater silhouette and added it to the roof of the rickety house. You can get creative with your pieces. With Matte Multi Medium, attach the diecuts to the panel in layers. Seal the top with a coat of Multi Medium. Let dry.
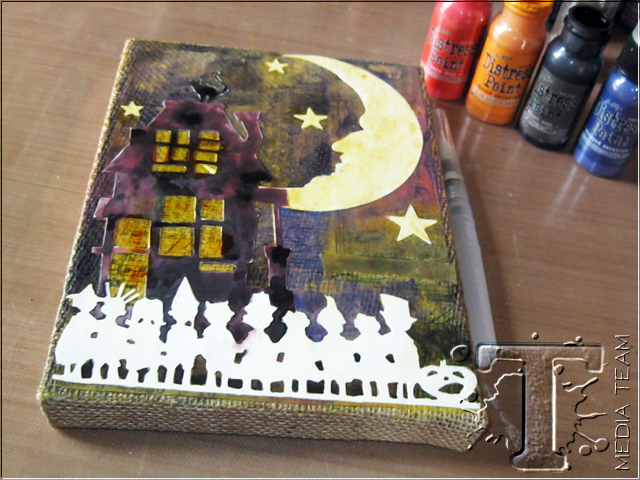
Begin coloring the burlap panel in sections. I colored the sky with a mix of Black Soot and Chipped Sapphire Distress Paints adding small touches of Barn Door Distress Paint in certain parts. Color the rickety house with a mix of Barn Door and Black Soot Distress Paints. We want each diecut to be prominent even though it’s a night scene with an overall dark feel. Using a cooler color like Chipped Sapphire with Black Soot makes the sky recede further to the background while a warmer color like Barn Door even when mixed with Black Soot makes the rickety house appear to stand in front. The underpainting from step 3 will serve as a muted light as even on the darkest nights, the sky is never totally black. Dilute some Spiced Marmalade Distress Paint dabbed onto non-stick craft mat with water and lightly paint over the crescent moon and stars. Color the cat on the roof with Black Soot Distress Paint.
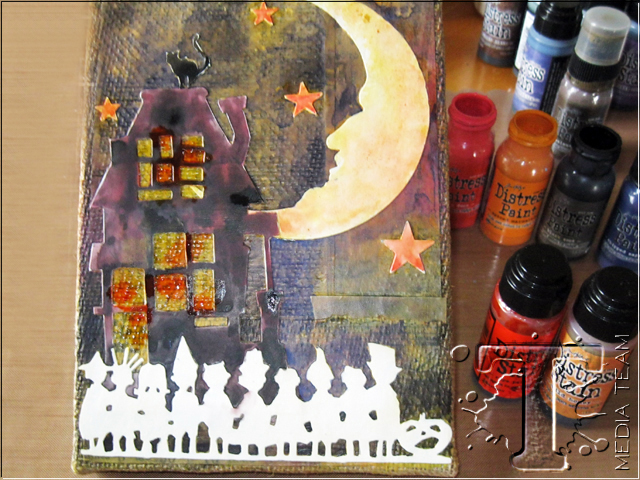
Add a bit of visual dimension to the house and sky by dabbing on some Ripe Persimmon and Spiced Marmalade Distress Stains over the windows and stars.
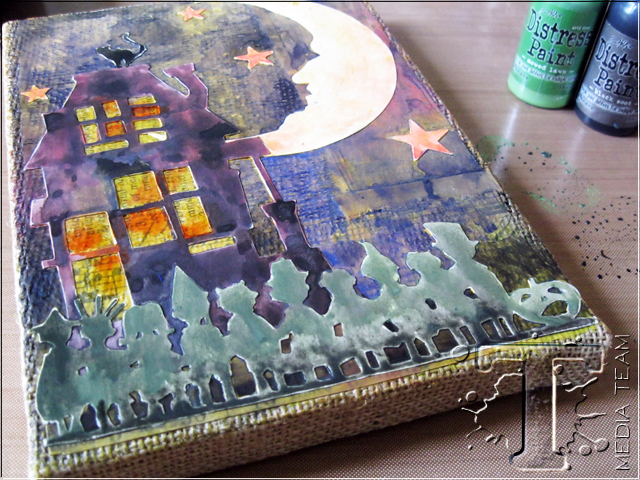
Color the shadow kids with a mix of Mowed Lawn and Black Soot Distress Paints.
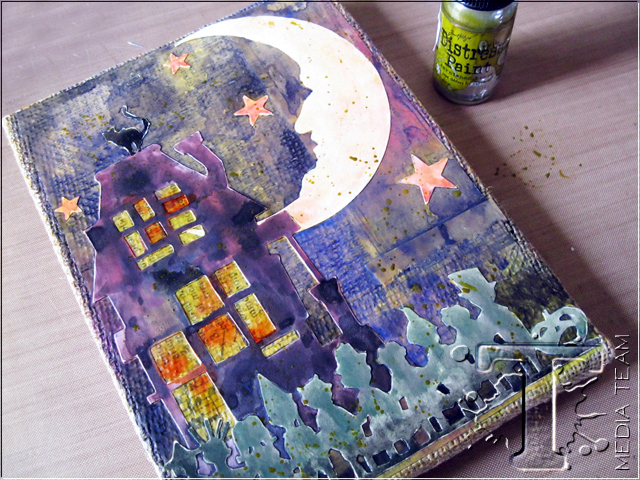
Dab some Tarnished Brass Distress paint on non-stick craft sheet. Dilute it with water and splatter all across the burlap panel.
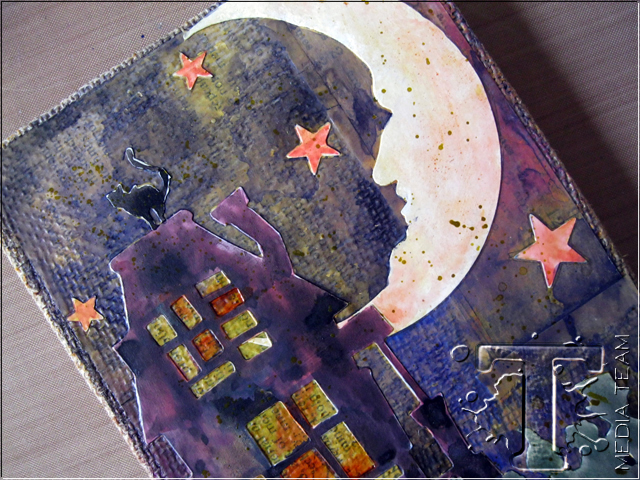
Here are some close-up shots of my Halloween burlap panel.
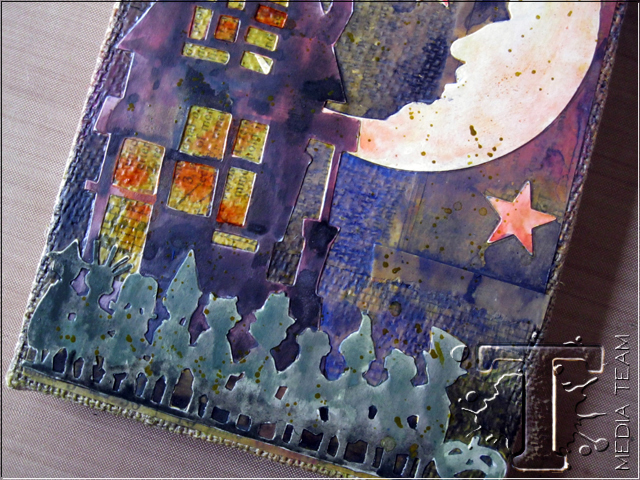
Hope you enjoyed the tutorial. And have fun with Tim’s Halloween dies!
Mou
—
*be sure to check your local stores for these supplies or you can click the links below to purchase online…
(SSS=simon says stamp / IE=inspiration emporium)
               |
Pin it to remember it!
