with the tricks & treats of halloween materializing the end of this month, i wanted to create a tag filled with spooktacular inspiration. whether you’re making haunting home decor or frightfully fun party favors, halloween is a great time of year for playful creativity. check out this colorful tutorial using the new distress spray stains and a simple masked texture technique (just remember to have plenty of candy on hand when you do)…t!m
supplies:
- surfaces: distress watercolor cardstock, mask sheets
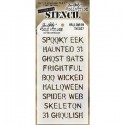
- layering stencil: halloween,
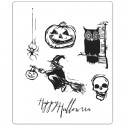
- stamp: cms197 carved halloween
- distress ink: frayed burlap; distress embossing ink
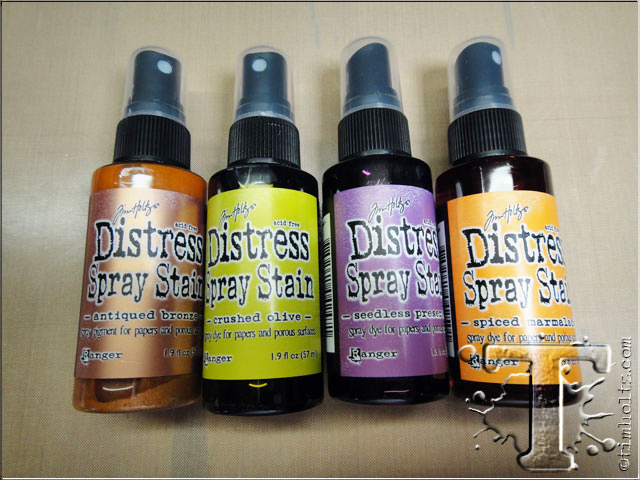
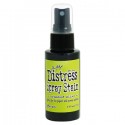
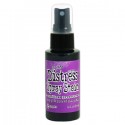
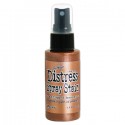
- distress spray stain: antiqued bronze, crushed olive, seedless preserves, spiced marmalade
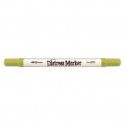
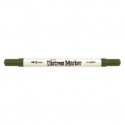
- distress markers: ripe persimmon, wild honey, spiced marmalade, usty hinge, forest moss, crushed olive
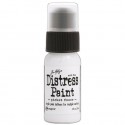
- distress paint: picket fence
- embossing powder: black
- archival ink: jet black
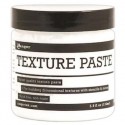
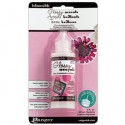
- mediums: texture paste, glossy accents
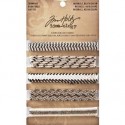
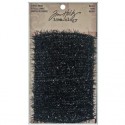
- trims: trimmings- black and cream; tinsel twine- black
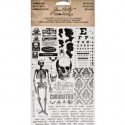
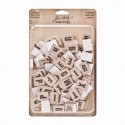
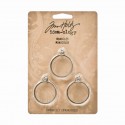
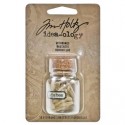
- embellishments: monocles, remnant rubs, swivel clasps, mini fasteners, wishbones, alpha chips
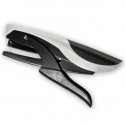
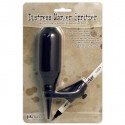
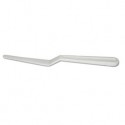
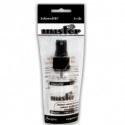
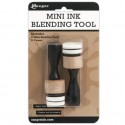
- tools: distress marker spritzer, mister, mini ink blending tool, palette knife, heat tool, waterbrush- detailer, tiny attacher, scissors, paper distresser, craft pick
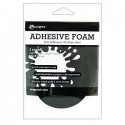
- adhesive: foam tape- black, multi-medium
- other: staz-on; sharpie marker
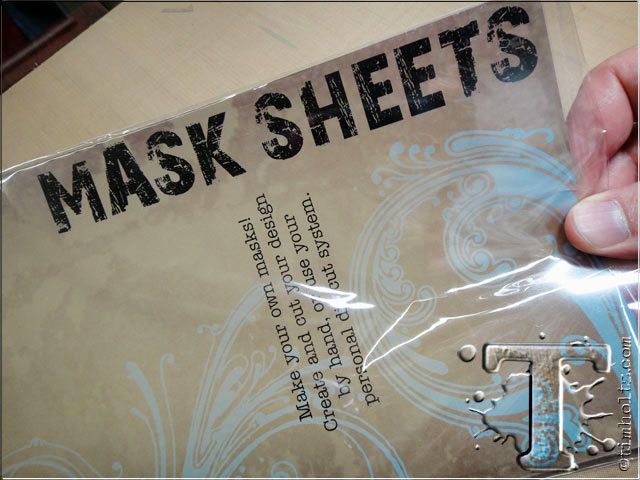
step 1: we’re going to start with an idea-ology mask sheet to create a custom mask for the spider image.
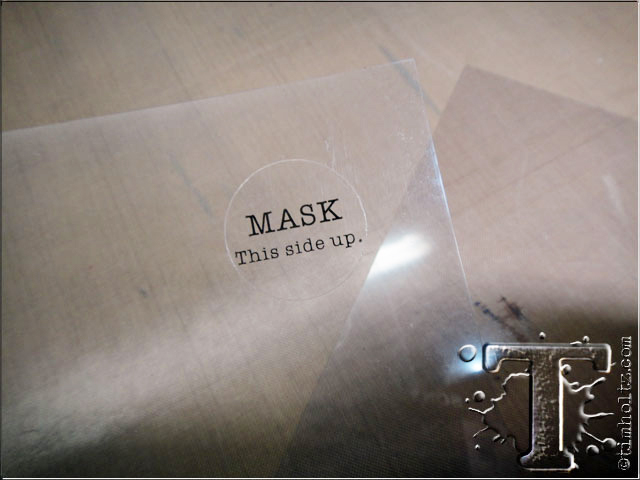
step 2: when you get a pack of mask sheets, they come with (2) sheets of mask material and (2) sheets of storage sheets.
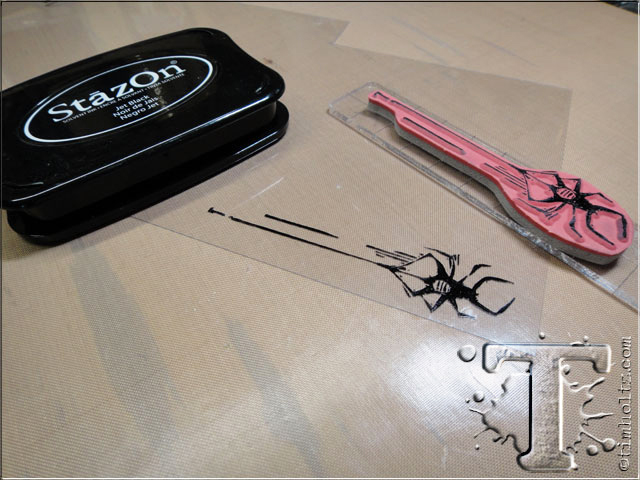
step 3: stamp the image on the side of the mask material marked “mask this side up” using staz-on ink (i’ve found this is the only ink that really dries on the mask sheet). *do not use a heat tool to dry the ink, allow it to air dry.
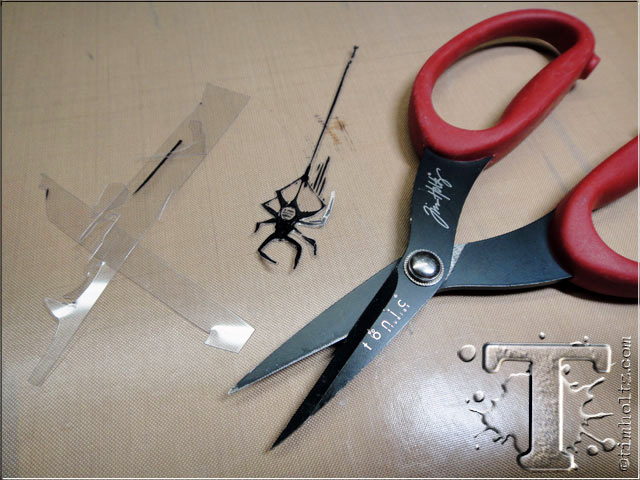
step 4: cut out the mask right up to the image edge.
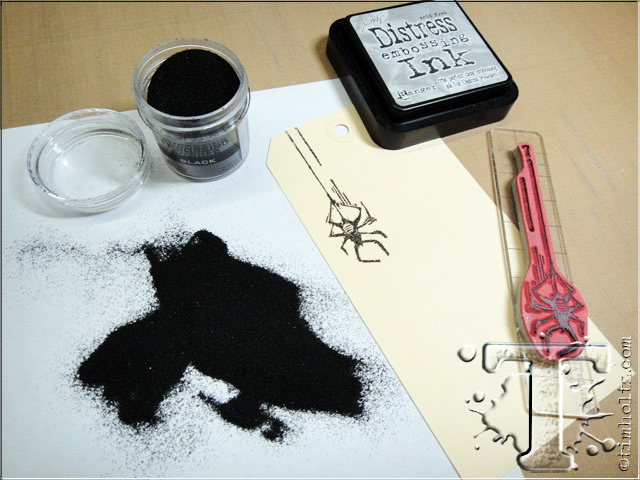
step 5: stamp an image on a manila tag with distress embossing ink and cover with black embossing powder and remove excess.
step 6: heat emboss the image.
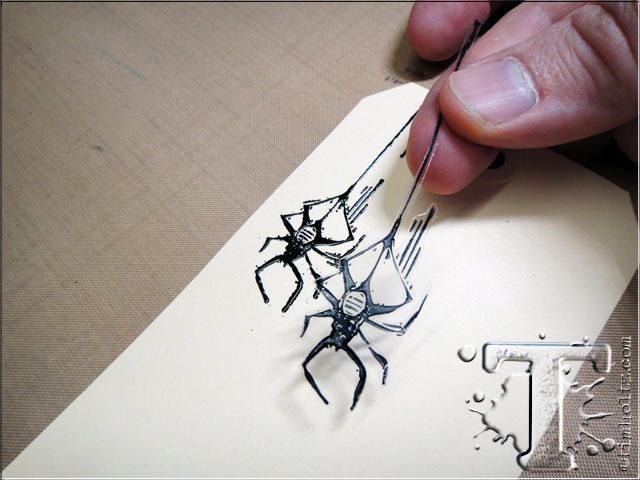
step 7: remove the plastic backing from the mask and adhere the mask over the embossed image.
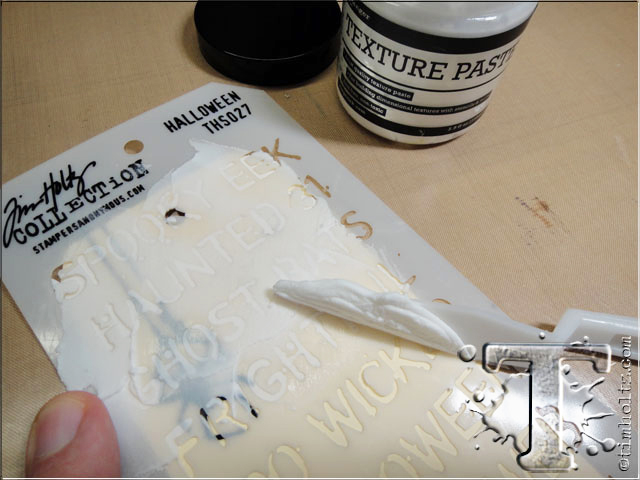
step 8: place the layering stencil over the tag and apply texture paste through the stencil using a palette knife covering the entire tag.
step 9: lift stencil off tag and allow texture paste to dry. clean texture paste off stencil with water.
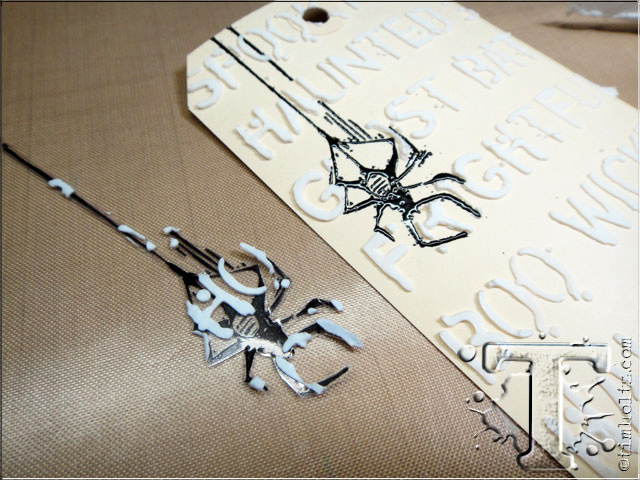
step 10: carefully lift mask from tag to reveal embossed image, clean mask, and place it on the mask storage sheet – i love this effect!
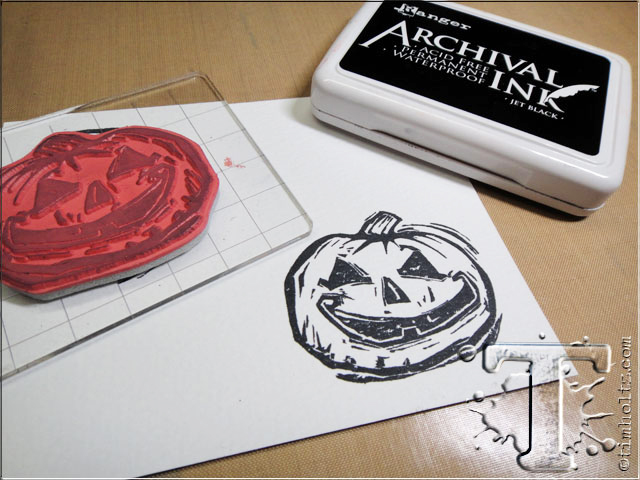
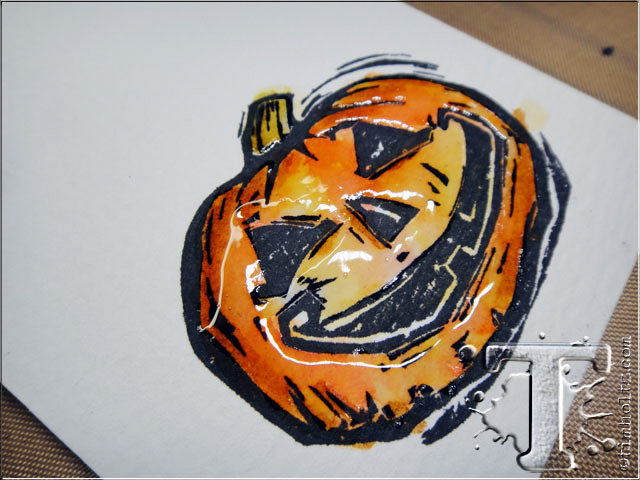
step 11: stamp carved pumpkin on to distress watercolor cardstock using archival ink and let dry.
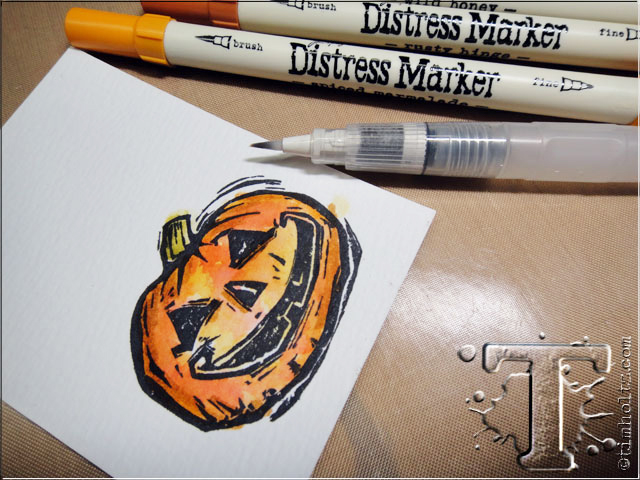
step 12: color image using distress makers and blend with a waterbrush – let dry or dry with a heat tool.
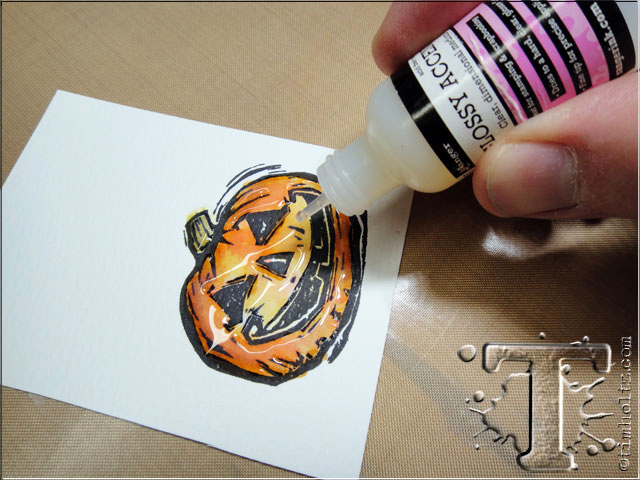
step 13: apply a layer of glossy accents over the colored areas of the image and set aside to dry.
next we’re going to color the background of the tag with the new distress spray stains. if you haven’t already seen the video about the newest product in the distress line – check it out here…
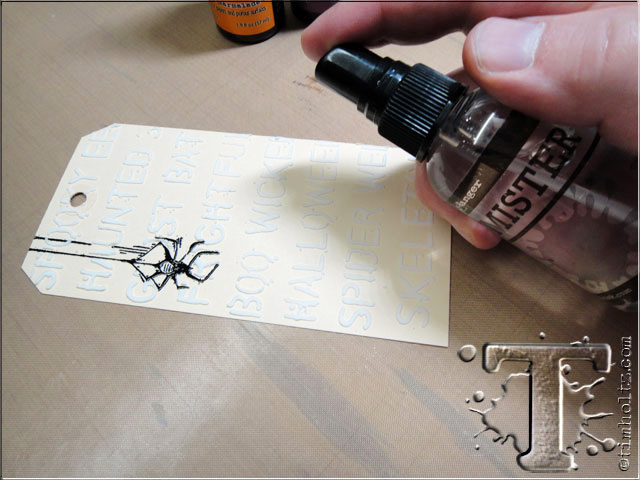
step 14: lightly mist the tag with water to allow distress spray stain to blend on contact.
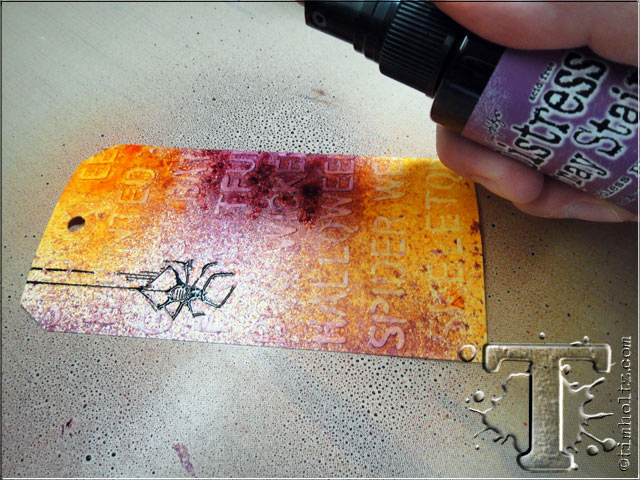
step 15: apply distress spray stain to a couple areas of the tag.
step 16: apply a second color of distress spray stain to the background.
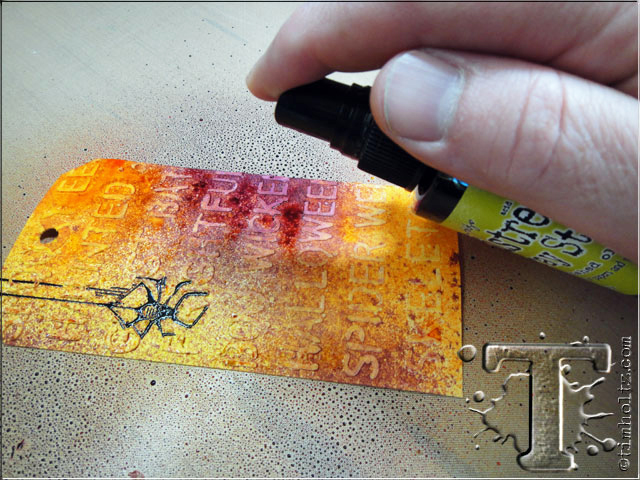
step 17: apply a third color of distress spray stain to fill in the background.
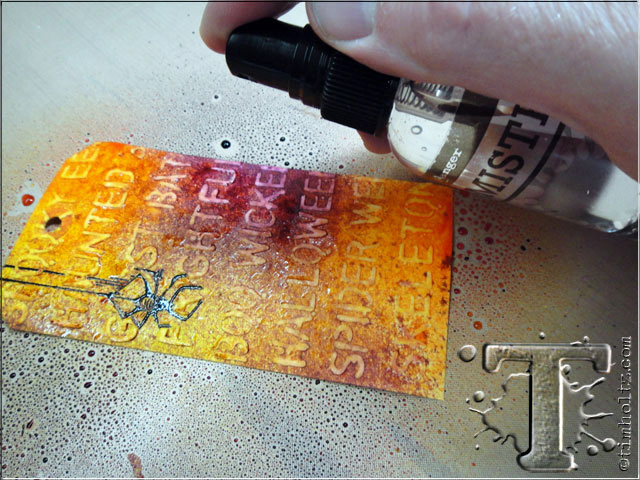
step 18: lightly mist the tag with water to blend colors and react the distress spray stains.
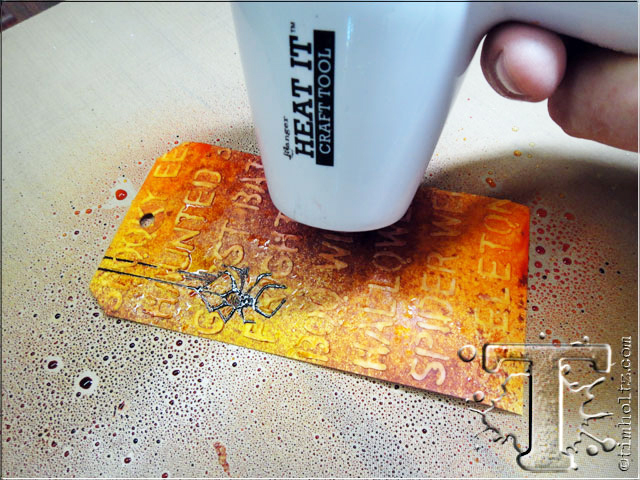
step 19: dry the tag using a heat tool.
i love the speckled effect the new distress spray stains provide with the same nostalgic palette of colors and blending of distress.
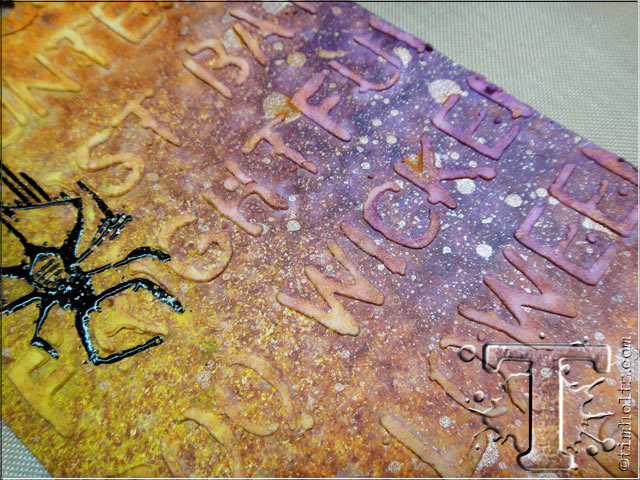
step 20: shake the metallic distress spray stain and slowly spritz over the entire tag to create a splattering of metallic.
check out the cool effect the metallic distress spray stains give once they are dry.
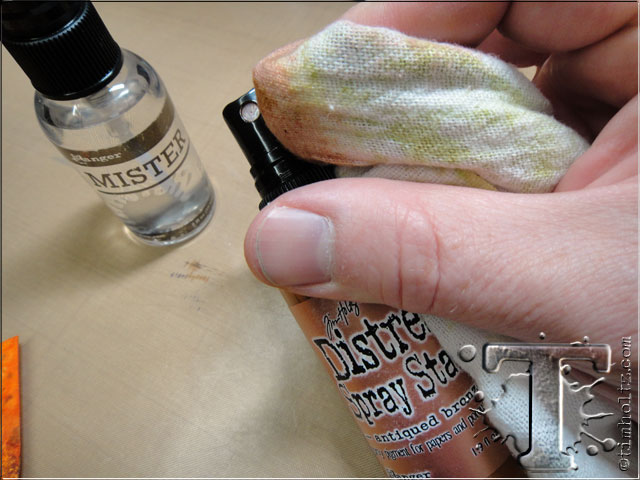
step 21: once you’re finished using the distress spray stains, wipe the spray nozzles clean with a damp cloth to avoid the sprayers clogging.
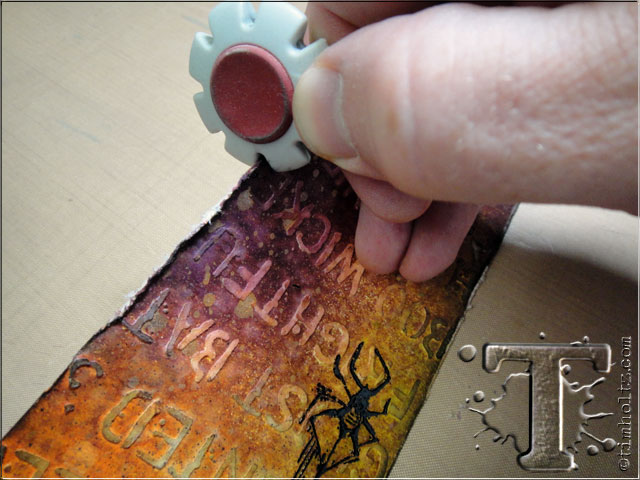
step 22: ink the edges of the tag with distress ink using an ink blending tool.
step 23: drag a paper distresser along the edges of the tag to tatter.
once the glossy accents dries you can see the effect just covering the colored portions of the image provides creating more dimension.
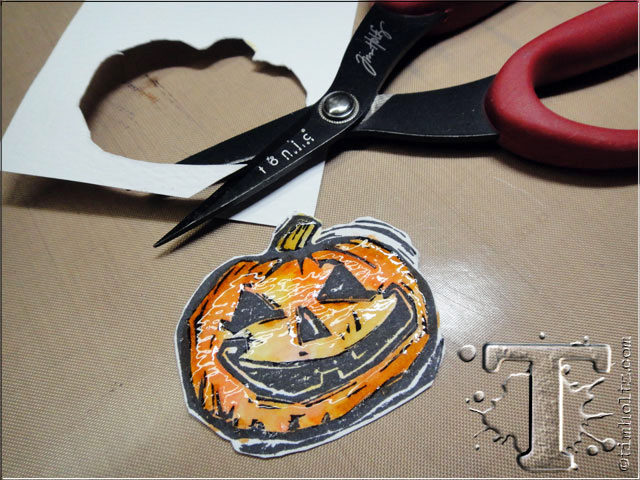
step 24: cut out image.
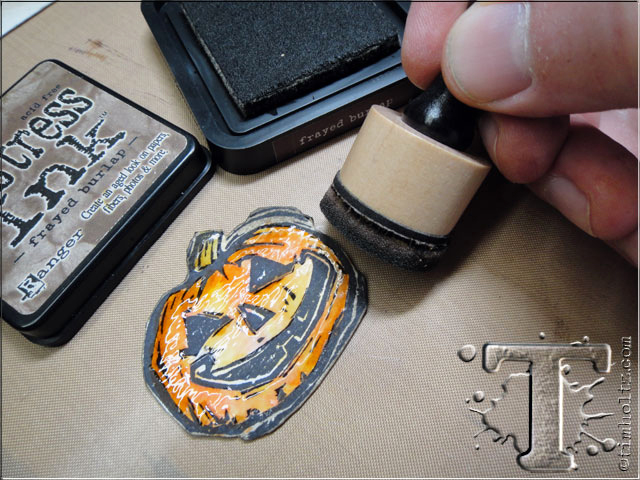
step 25: ink the edges of the image with distress ink using ink blending tool.
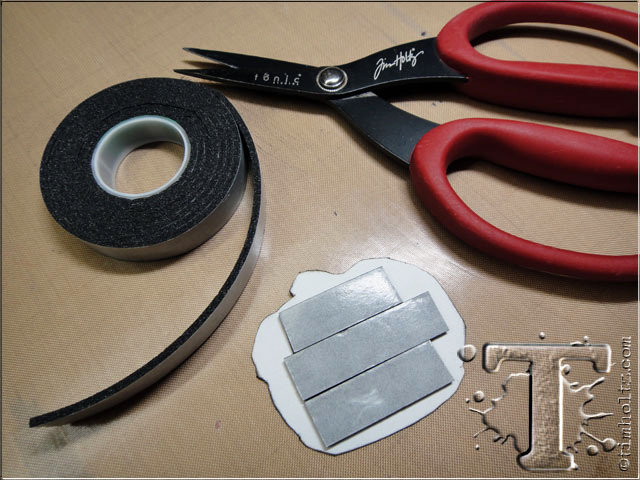
step 26: apply foam tape to the back of the cut image.
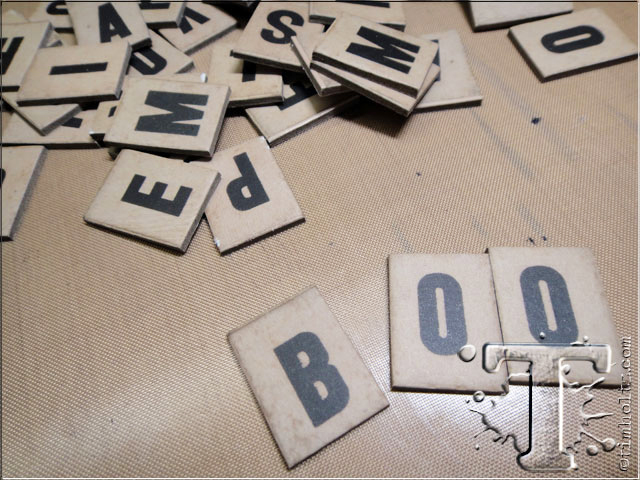
step 27: select the letters from the alpha chips – love the design and thickness of these letters.
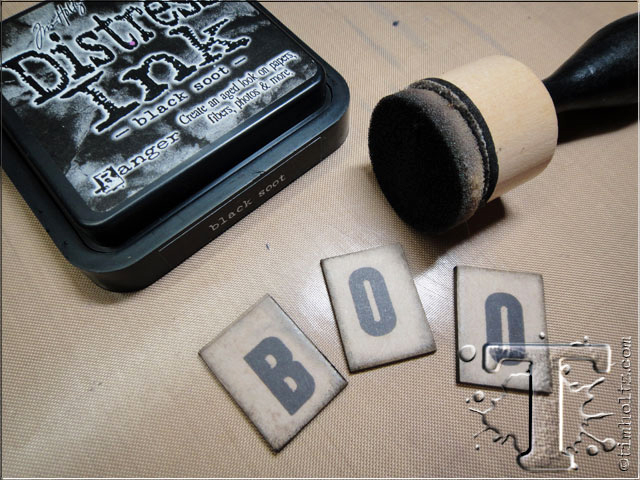
step 28: lightly ink the edges of the chips with distress ink using an ink blending tool.
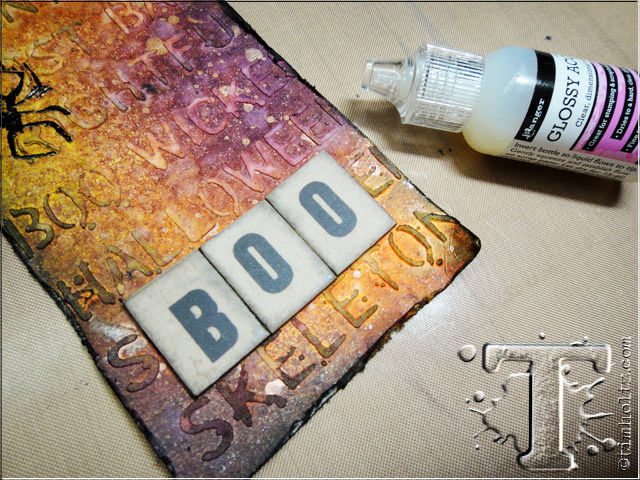
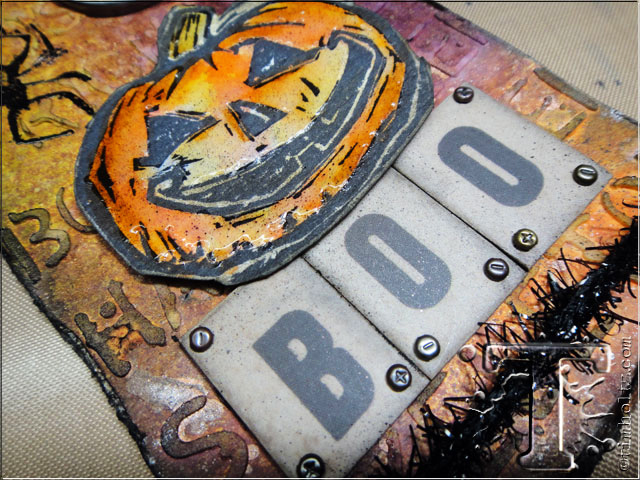
step 29: adhere the letters to the bottom of the tag using glossy accents.
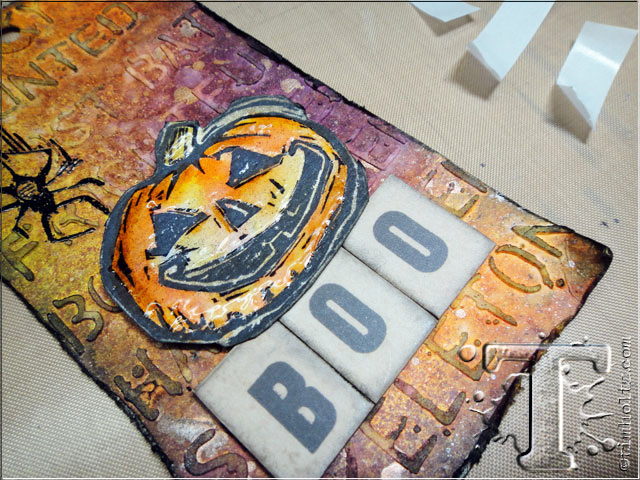
step 30: remove the paper backing and adhere dimensional pumpkin over the letters.
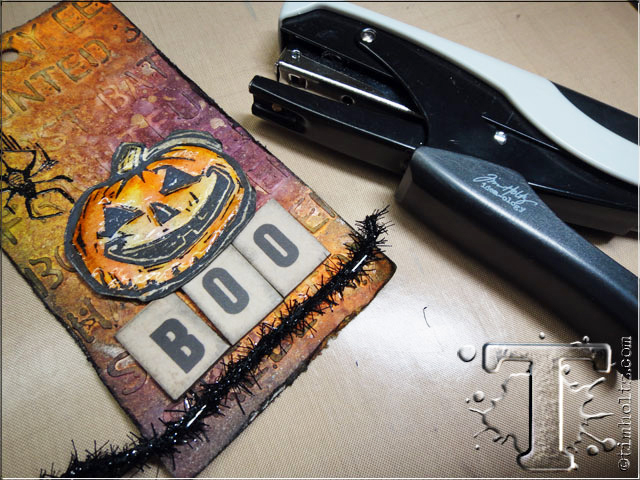
step 31: attach a piece of tinsel twine to the bottom of the tag using tiny attacher.
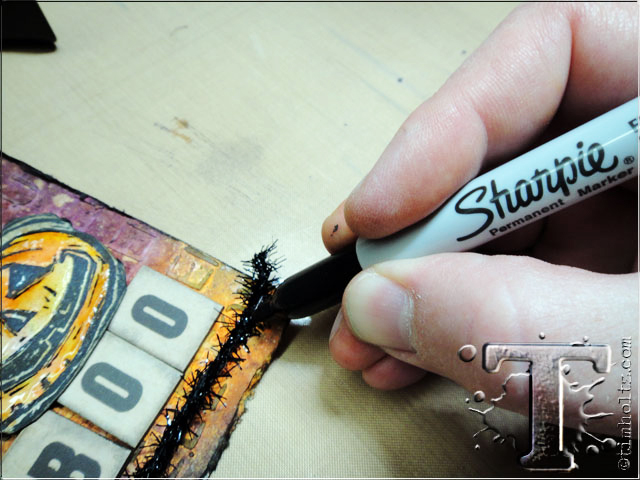
step 32: color the tops of the staples using a sharpie to cover.
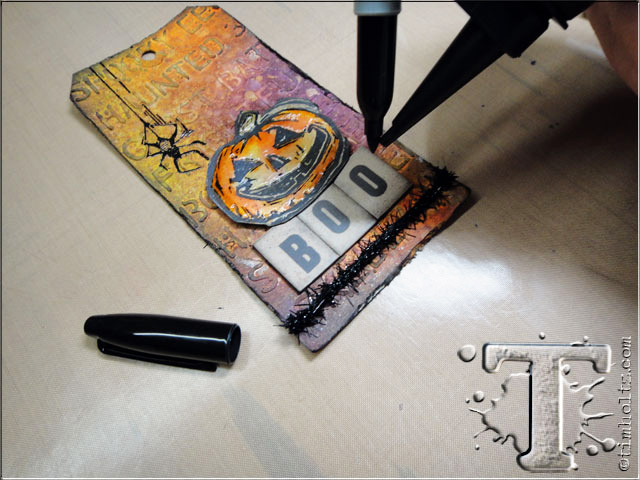
step 24: place the sharpie in a distress marker spritzer and spritz over the entire tag to add accents to the glossy pumpkin and coated alpha chips.
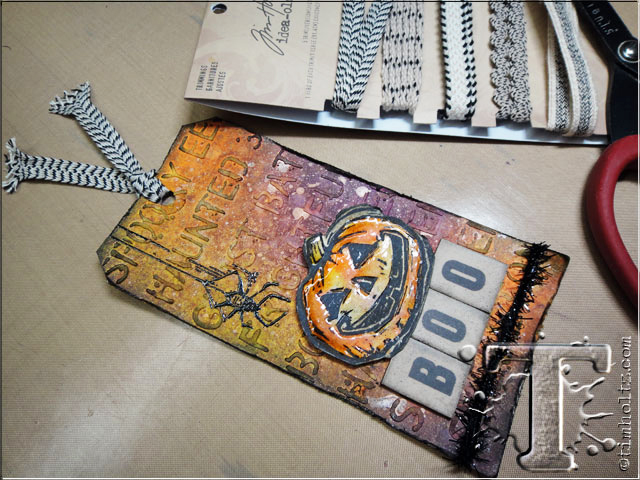
step 25: attach a piece of trimmings to the top of the tag.
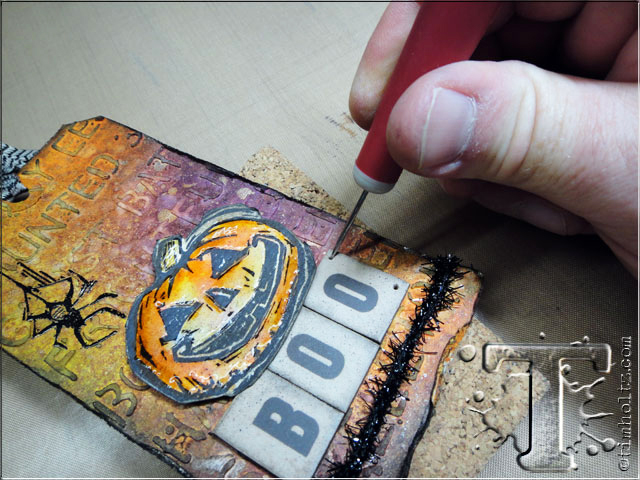
step 26: pierce holes in the corners of the alpha chips using a craft pick.
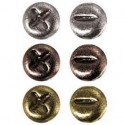
step 27: secure mini fasteners in the corners for the perfect accent.
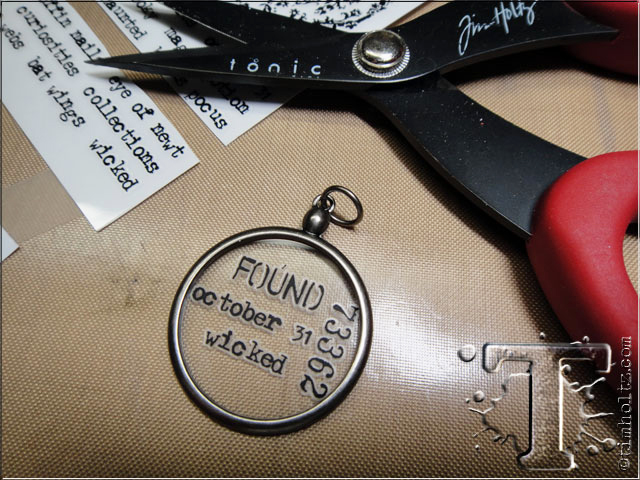
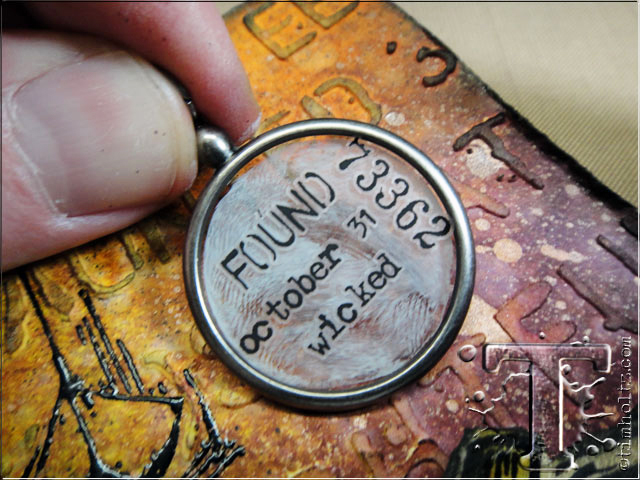
step 28: cut various remnant rubs and apply to the surface of a monocle.
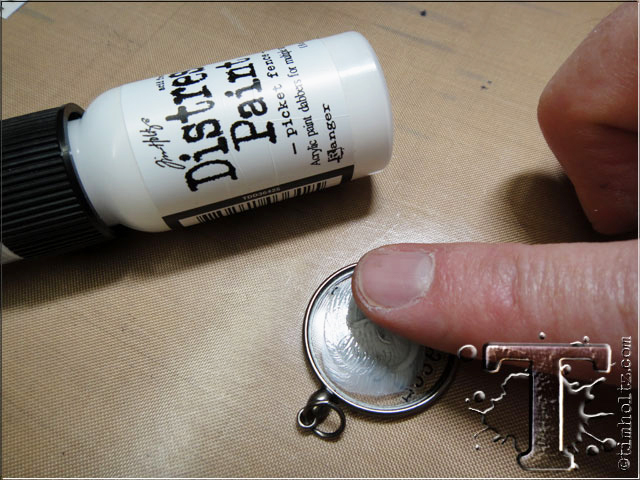
step 29: apply picket fence distress paint to the back of the monocle.
adding a light layer of paint to the back of the monocle provides a ghostly distressed effect on the back of the glass and allows the rubs to stand out.
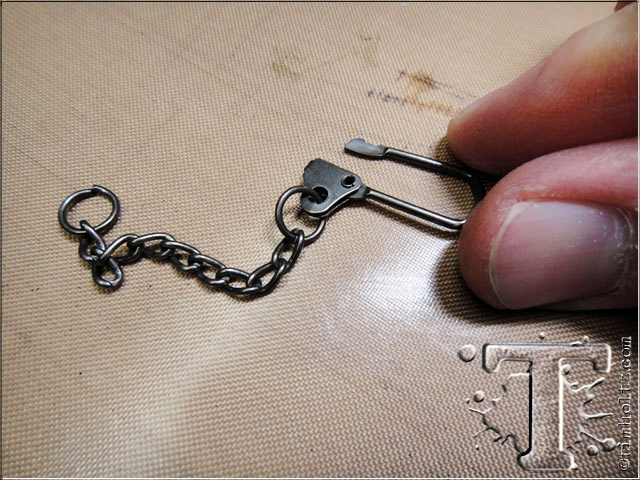
step 30: open the end of a swivel clasp by squeezing the wires together as shown and swivel open.
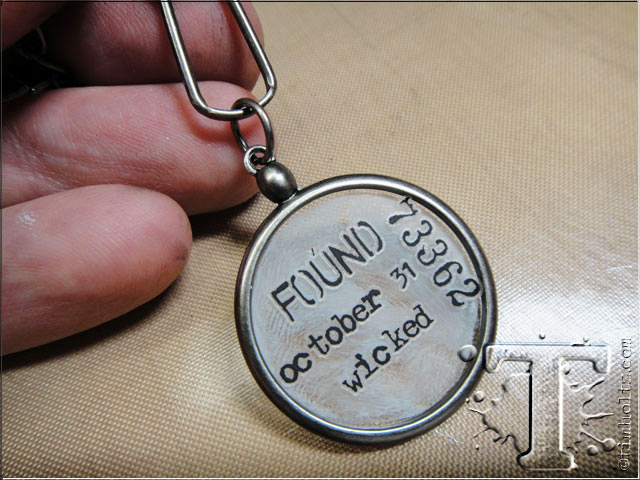
step 31: slide monocle on to the clasp and click it closed.
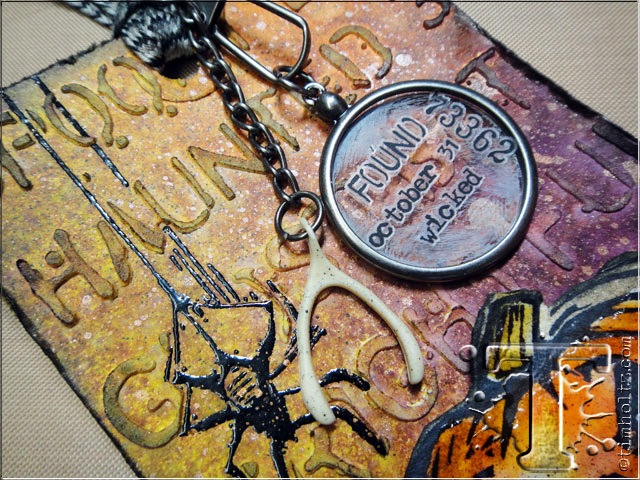
step 32: attach the jump ring on the swivel clasp through the ribbon on the tag as shown.
step 33: drill a hole through a wishbone using a dremel tool.
step 34: attach the wishbone to the end jump ring on swivel clasp.
*be sure to check your local stores for these supplies or you can
click the links below to purchase online…
(SSS=simon says stamp / IE=inspiration emporium)
GREAT NEWS! both of these online stores are offering a discount of 10% off your purchase – use the following codes with your order:
(SSS code: THOCT2014 / IE code: timtime)
                                |

