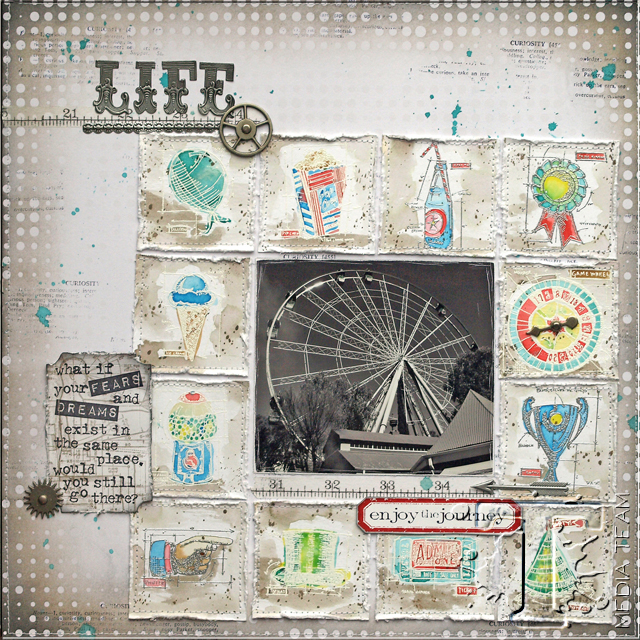
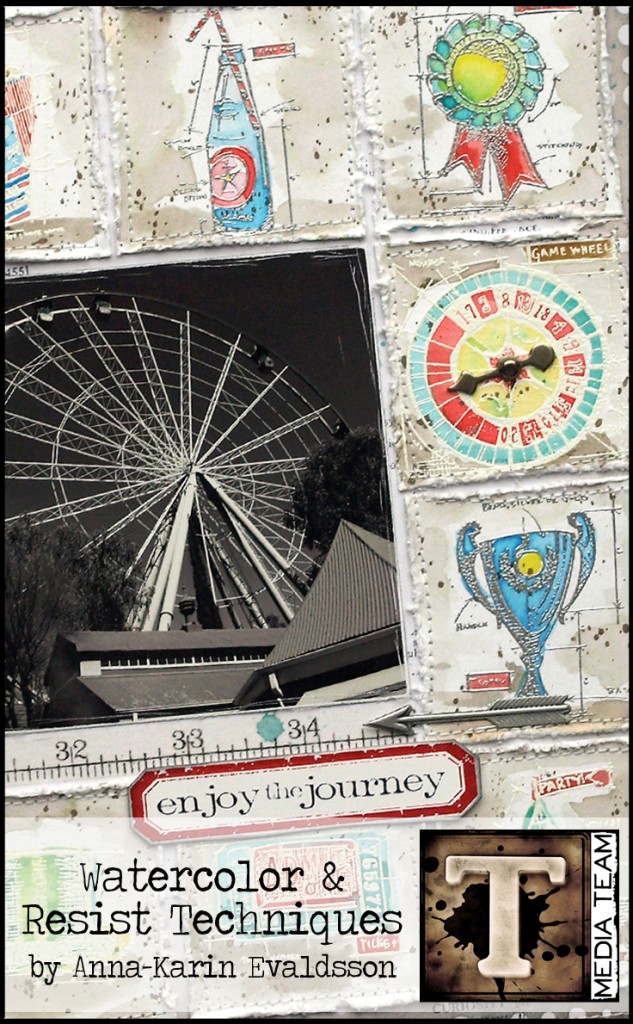
one of my favorite things about the new media team is getting to share all of the different ways products can be used. we all have our own creative styles and when i saw anna-karin’s take on watercoloring the blueprint stamp images i just loved it. the only thing better than seeing new ways to use products, is being shown step by step how it’s done – check it out…t!m
Hello everyone! I am so happy to share my first tutorial with you here today. This tutorial is focused on some fun stamping techniques. I love resist techniques of all kinds and I love to watercolour with Distress Inks. Usually, when I watercolour an image, I stamp it in black. Today, I thought it would be fun to see how mini blueprint stamps would look embossed with white and silver powder and then watercolour.
I was having so much fun that I made quite a few stamped images and decided to do a scrapbooking layout so that they would all fit on one project. You can do any type of project with these techniques: cards, tags, art journaling and more. Use the large blueprints stamps instead if you want to or a different kind of stamp.
Supplies:
- surfaces: Motif Cardstock, Watercolor Paper, Specialty Stamping Paper, Laboratorie Paper Stash
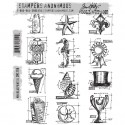
- stamps: Mini Blueprints 4, Mini Blueprints 6, Curiosities, Simple Sayings, Stuff To Say
- dies: Mini Tickets Movers & Shapers
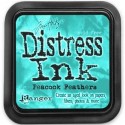
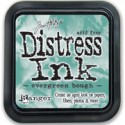
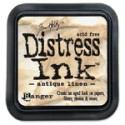
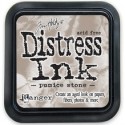
- ink: Archival Ink- Jet Black, Red Geranium: Distress Ink- Peacock Feathers, Evergreen Bough, Barn Door, Squeezed Lemonade, Salty Ocean, Pumice Stone, Black Soot, Worn Lipstick, Antique Linen, Gathered Twigs, Embossing Ink
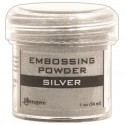
- embossing powder: Ranger- White, Silver
- embellishments: Idea-ology Laboratorie Tissue Tape; Sprocket Gears; Long Fasteners; Industrious Stickers- Cirque, Borders, Frames & Trims; Game Spinners
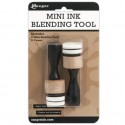
- tools: Craft Sheet, Detailer Water Brush, Heat Tool, Sanding Grip, Craft Pick, Ink Blending Tool, Mister Bottle; Vagabond
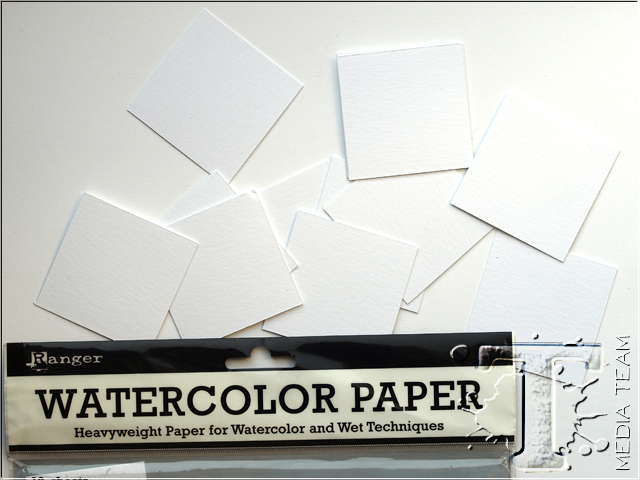
Start by cutting squares of watercolour paper, 2 ¼ x 2 ¼ in. If you use the larger blueprint stamps, you’ll need larger squares.
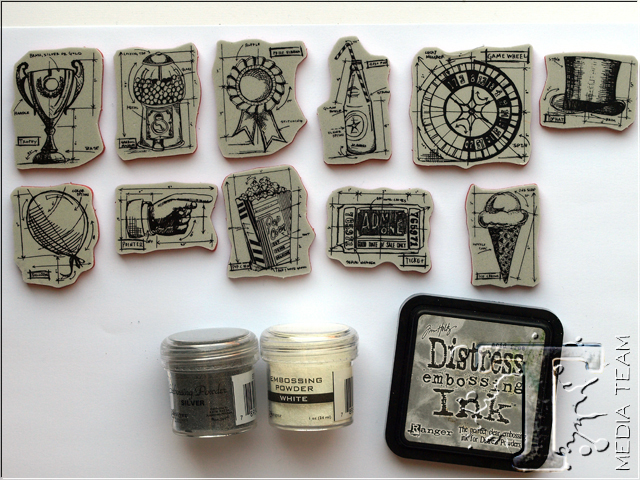
I picked out a bunch of mini blueprint stamps that fit with my topic. You’ll also need Silver and White embossing powder and embossing ink.
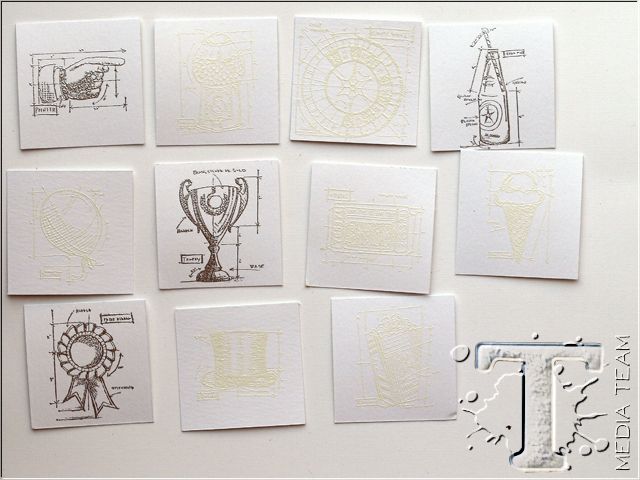
Apply the embossing ink to the stamp and stamp on the smooth side of the watercolour paper. Ranger’s watercolour paper has a rough and a smooth side, today we want to keep as much stamped detail as possible, so we’ll stamp on the smooth side. Pour embossing powder over the stamped impression and pour the leftover powder back into the jar. Melt the powder with a heat tool. I made most of them white.
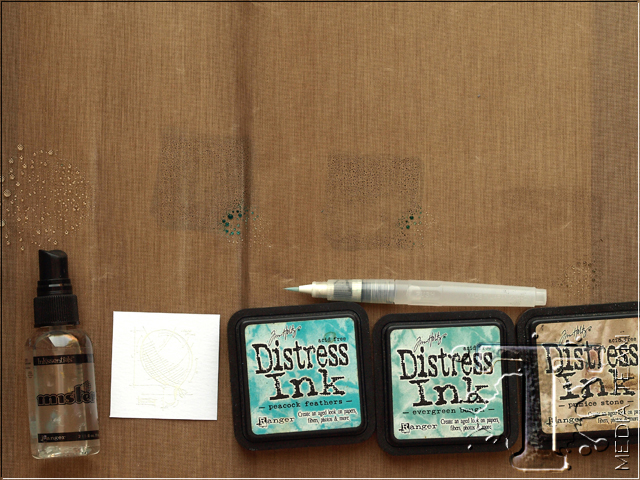
Smear Distress Ink on your craft sheet and mist with a little water. I like to mist only in the corner of the ink square, that way, I can easily vary the amount of water and ink I have on my brush. You can get a lot of shades from just the one colour by varying the amount of water. You can also vary the amount of water with the water brush, but sometimes it is easier to also have some extra water on the craft sheet.
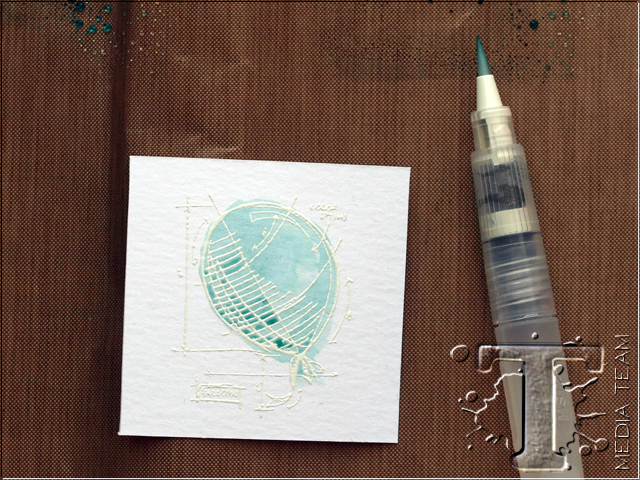
Paint the balloon with a watery mix of Evergreen Bough. You don’t need to keep within the lines. In fact, it looks nice if you go across the lines slightly since the white outline is more visible then.
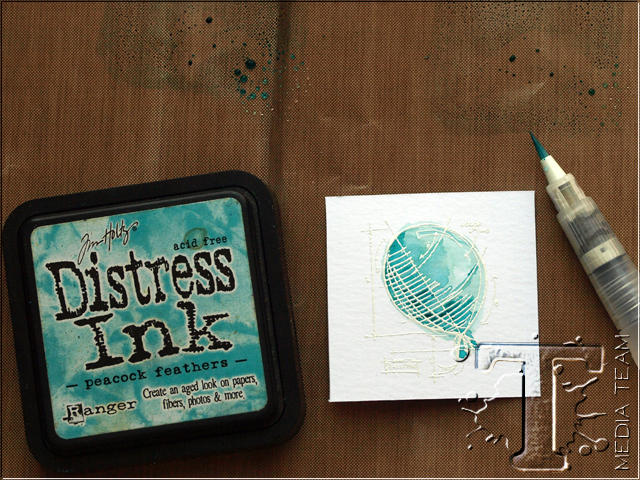
Quickly, before the first ink dries, drop in some Peacock Feathers. Watch the magic as the two shades blend. This wet-on-wet technique, common in watercolour painting, gives a wonderful and somewhat unpredictable result. Let dry.
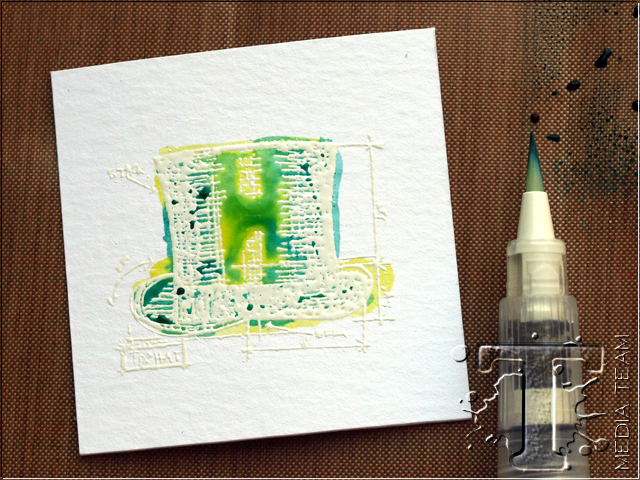
If you use two different colours, they will blend to a third colour directly on your paper. Here I started with Squeezed Lemonade and dropped in Peacock Feathers, to get this lovely green colour.
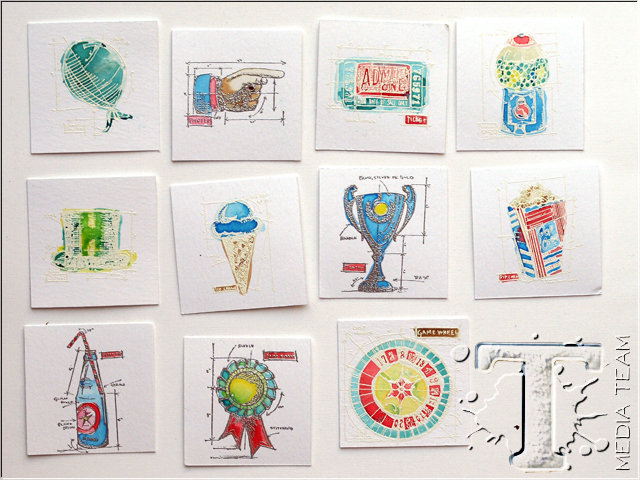
Continue until you have coloured all the images. Later, I added one more image because I realised I needed it to complete the square on my layout.
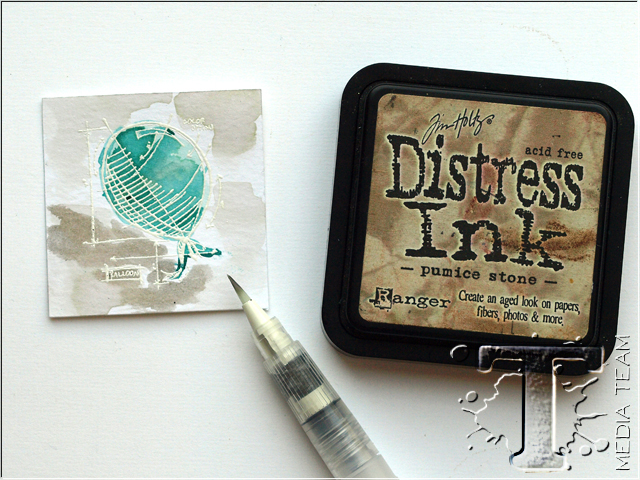
When the first ink is dry, smear some Pumice Stone on your craft sheet and paint it around the image, using fairly much water. Give each image a shadow with a darker application of the same ink. Colour roughly and leave some of the white paper showing.
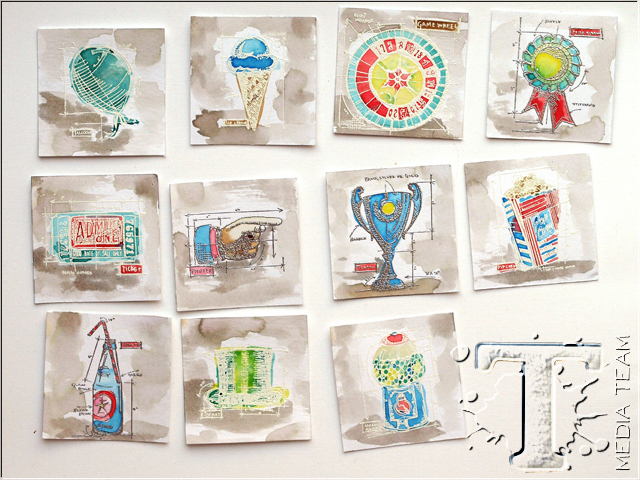
Do the same on all the images. I placed most of the shadows at the same place where the shadows are on my photo, but that isn’t necessary. Let dry.
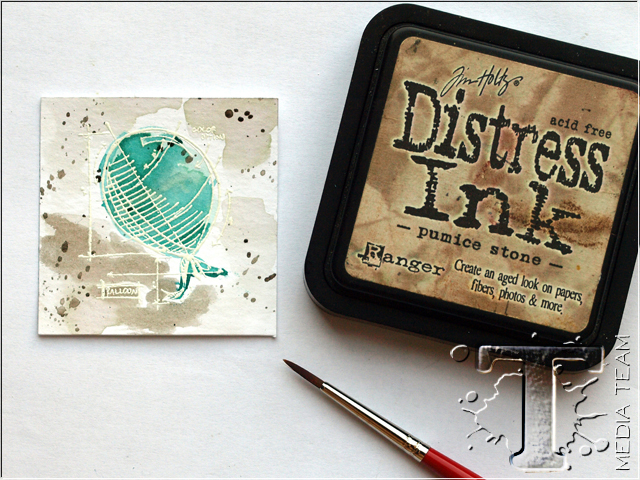
Smear some more Pumice Stone on your craft sheet and mist with water. Pick up the ink with an ordinary paint brush. The water brush doesn’t work so well for this because it holds on to the ink in a different way. Tap the brush to create splatters. Remember to protect your clothing and work area. Since we splatter on dry ink, this is a wet-on-dry technique. Had the background ink been wet, the splatters would expand and give a different effect.
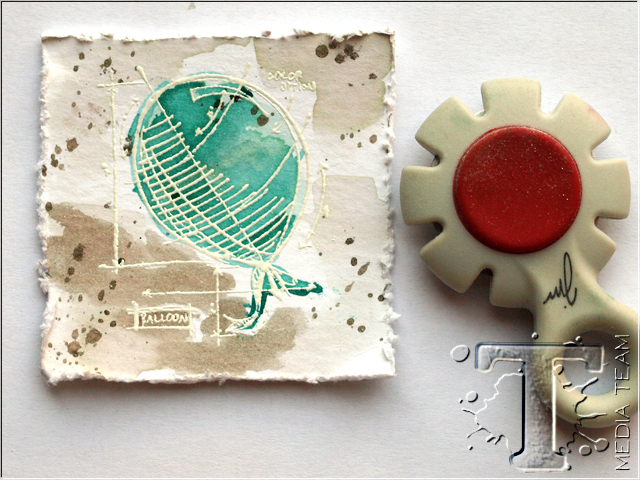
Distress all the edges, something that looks great on watercolour paper.
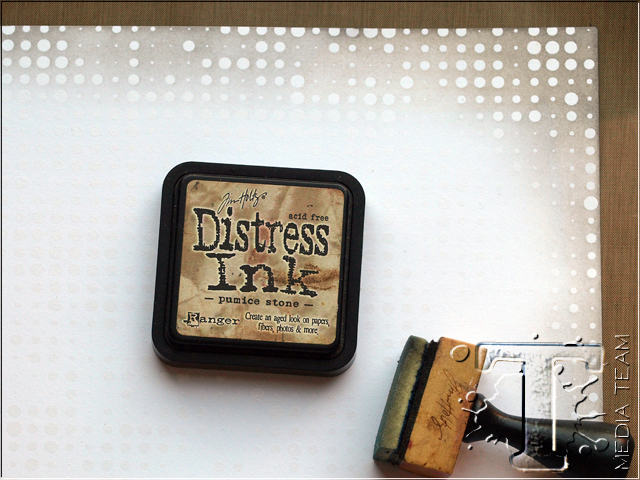
For the background, I used Motif cardstock, which is a new favourite of mine. The pages come in white and kraft and already have a pattern, which will resist ink and paint (if you don’t let the paint dry on top). Ink the edges with Pumice Stone and wipe off the ink from the dots with a cloth.
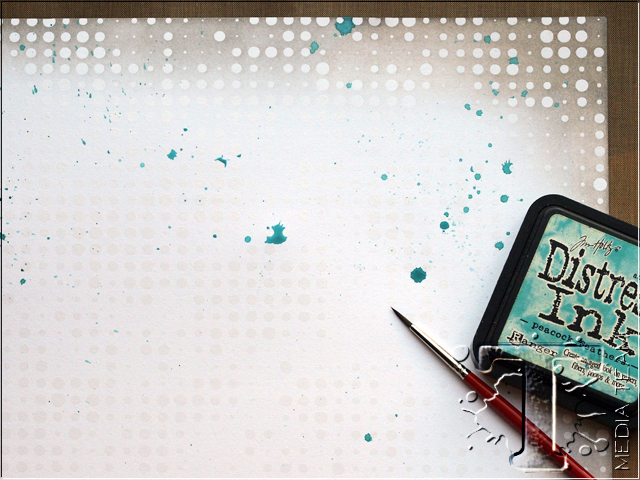
Splatter with Peacock Feathers for a touch of colour.
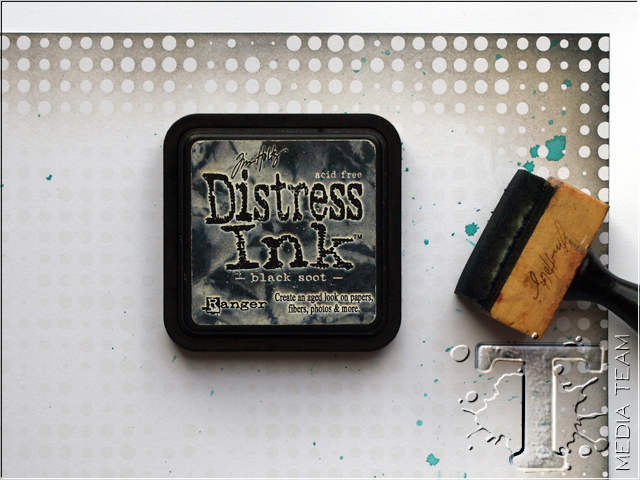
Ink just the very edge and the corners with Black Soot to make them darker.
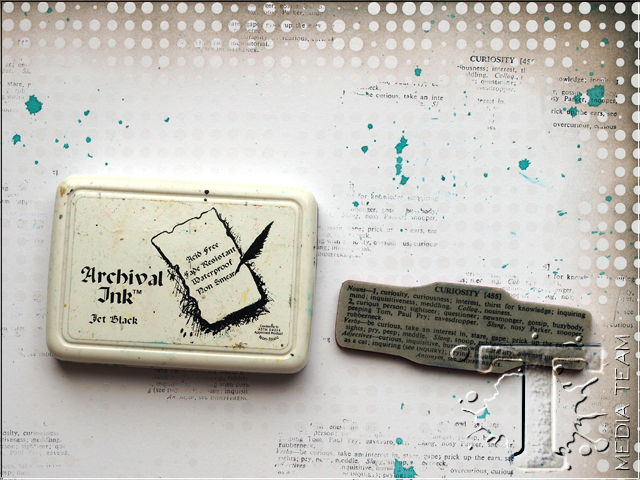
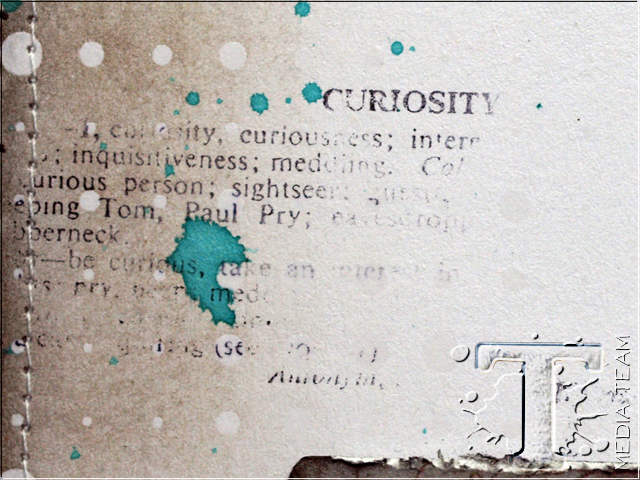
I am very fond of adding stamped text to backgrounds and here I used the curiosity definition stamp from the Curiosities set. Hold the cling stamp in your hand for a more random impression and stamp three times before reinking.
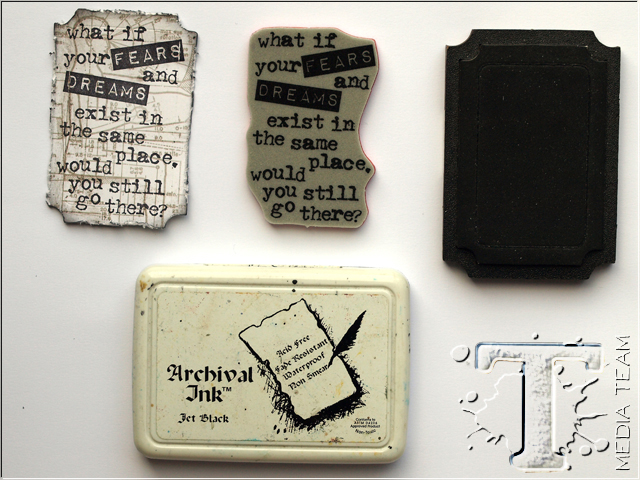
Die cut a ticket from one of the small Laboratorie papers and stamp a sentiment on top with Jet Black ink. Ink and distress the edges.
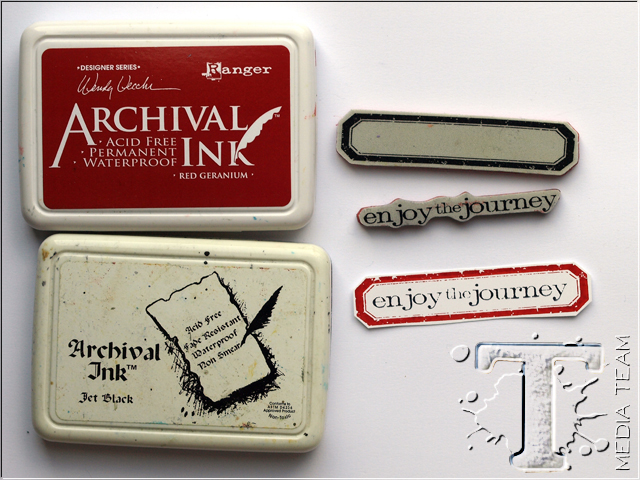
With the Simple Saying set, stamp a frame with Red Geranium ink on Specialty Stamping paper. Stamp the sentiment in the frame and cut out.
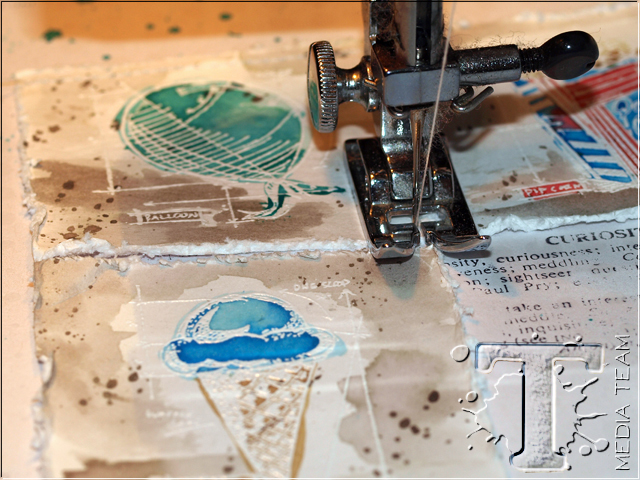
Stitch all the squares to your project with a sewing machine. The combination of the distressed edge and the white thread looks really nice. If you want to, you can skip this step.
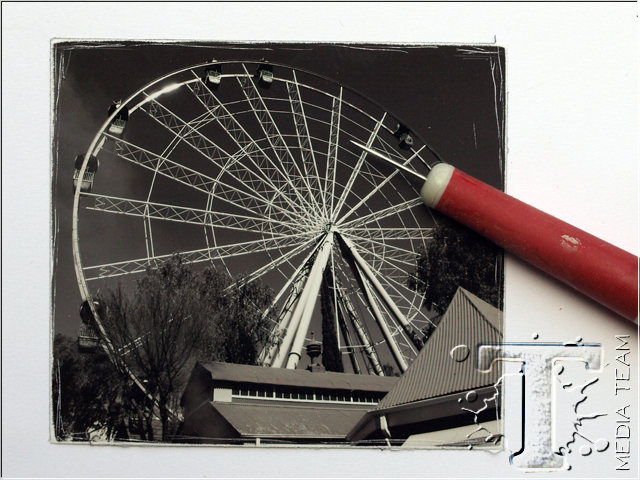
Roughen up your photo a little with a sanding grip and craft pick.
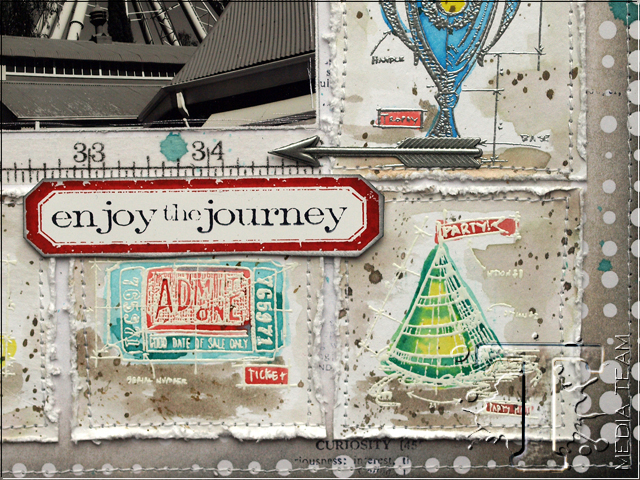
I stitched around the whole layout too. The look of the white embossing together with the watercolouring and splattered ink is really nice.
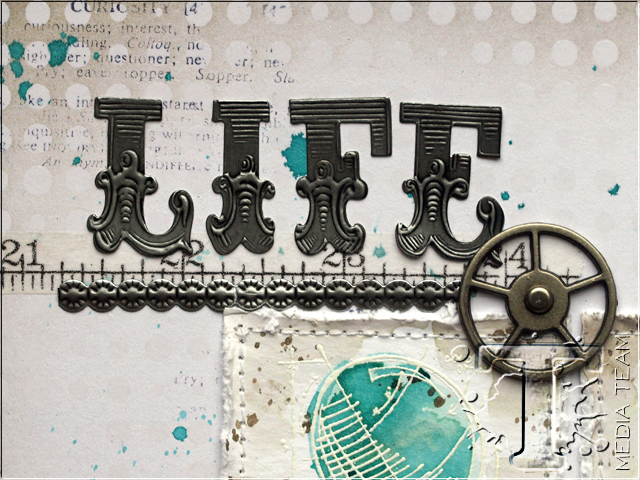
Use Industrious stickers for a title and add a strip of tissue tape and an Industrious border underneath. I embellished the page with Sprocket Gears, a Game Spinner and more tissue tape.
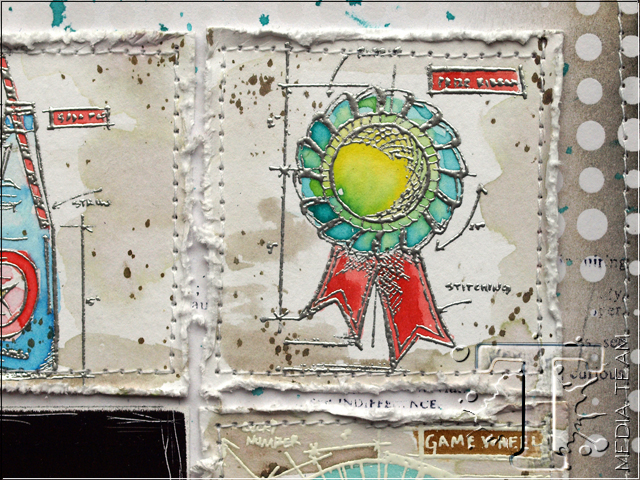
The blueprint stamps are such fun to watercolour. If you want to you can stick to either silver or white embossing powder. I used both to show you the different effect.
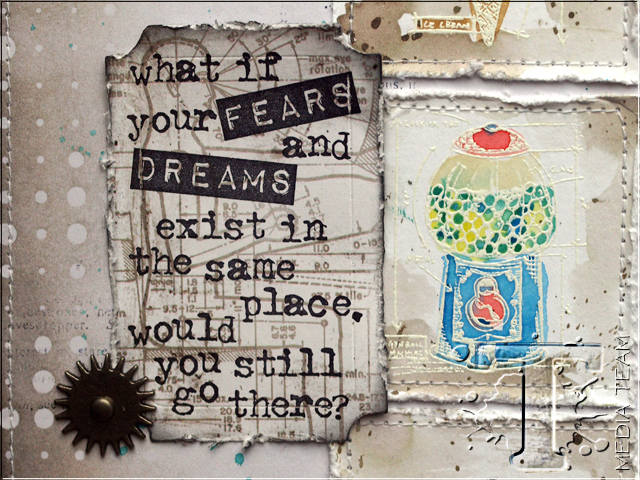
You can achieve many different effects and colours by watercolouring with Distress Inks and the fluid, almost luminous, look is gorgeous. I never grow tired of the look of watercolour and it’s often somewhat unpredictable nature is a pleasure.
Thank you so much for looking at my tutorial! I hope you enjoyed it.
Anna-Karin
*be sure to check your local stores for these supplies or you can
click the links below to purchase online…
(SSS=simon says stamp / IE=inspiration emporium)
|
|
|
|
|
|
|
|
|
|
|
|
|
|
|
|
|
|
|
|
|
|
|
|
|
|
|
|
|
|
|
|
|
|
|
|
|
|
|
|
|
|
|
|
|
Pin it to remember it!
Don’t forget to follow Tim Holtz on Pinterest for more great ideas and inspiration!


