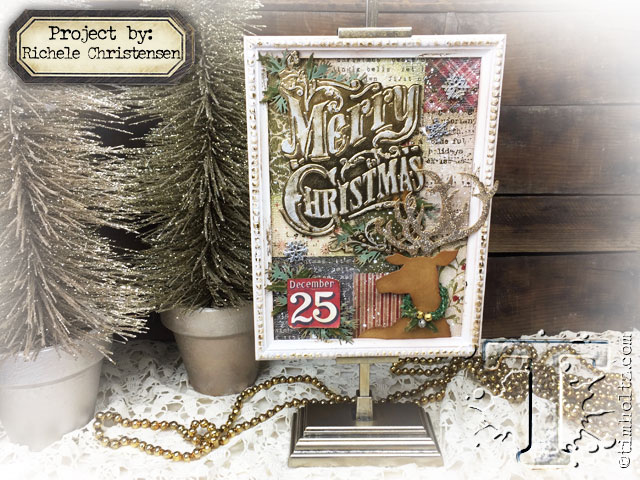
 when it comes to creating quick and fun craft projects, richele christensen is always coming up with clever ideas. today’s christmas collage project shows how to design a patchwork background layered with dies and a brilliant way to use a texture fade as a focal point. this is one holiday project i’m sure will inspire many of us to look at our stash of papers, dies, and embossing folders in a whole new way – happy holidays…t!m
supplies:
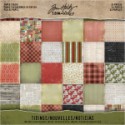
- Surfaces: Framed Panel, Paper Stash/Tidings, Substrate Sheets, Kraft-Core/Metallic/Nostalgic
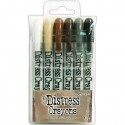
- Crayons: Distress Crayons/Vintage Photo/Picket Fence/ Peeled Paint
- Ink: Distress Ink/Vintage Photo, Alcohol Ink/Silver Metallic Mixative/Gold Metallic Mixative, Blending Solution
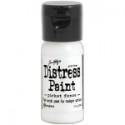
- Paint: Distress Paint/Picket Fence
- Glitter: Distress Glitter Dust/Vintage Platinum
- Foil: Foil Sheets/Vintage Gold
- Adhesive: Distress Collage Medium/Crazing, Glossy Accents, Collage Glue Stick, Black Foam Tape
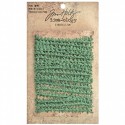
- Embellishments: Jingle Brads, Pine Twine, Adornment/Snowflakes , Remnant Rubs/Christmastime
- Tools: Distress Collage Brush, Distress Splatter Brush, Paint Brush, Ink Blending Tool, Remnant Rub Tool, Sanding Grip, Scissors, Wire Cutters, Craft Sheet, Vagabond
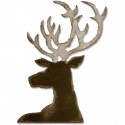
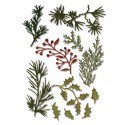
- Dies/Folders: Dashing Deer Bigz Die, Mini Holiday Greens Thinlits, Christmas Scroll Texture Fade
- Optional: Adjustable Easel
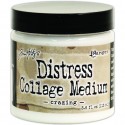
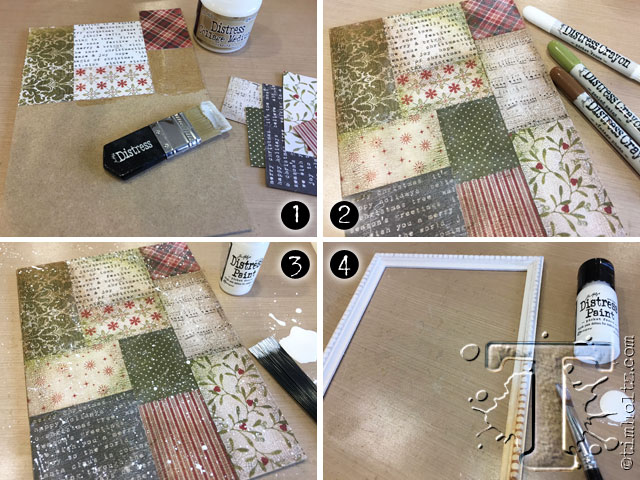 Step 1: Cover panel with different size pieces of the Tidings Paper Stash adhering with Distress Collage Medium. Apply a layer of Distress Collage Medium/Crazing over the top using a brush and then smoothing out with your fingers. Your fingers should glide across the paper if not add more Crazing. Let dry completely.
Step 2: Apply Distress Crayon around the edges of the cut pieces, add a little water to your finger and blend out Crayon using your finger.
Step 3: Apply Picket Fence Distress Paint to the Craft Sheet, pick up with Splatter Brush angle brush towards the panel pulling bristles back then releasing them slowly to splatter on to the surface.
Step 4: Paint frame and the sides of the panel with Picket Fence Distress Paint using a brush and let dry.
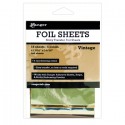
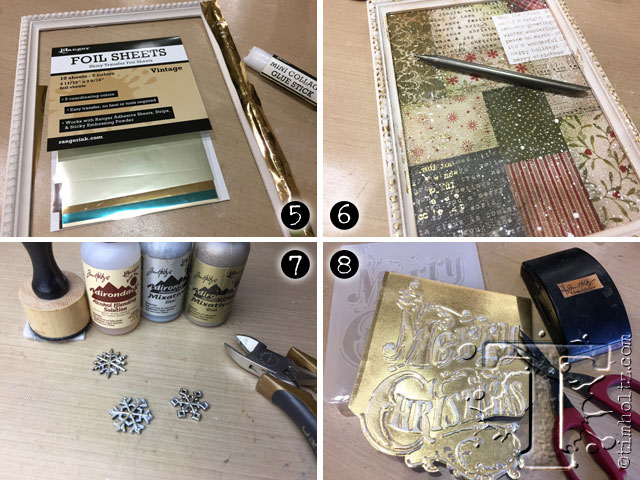 Step 5: Apply Collage Glue Stick to the raised areas of the frame, adhere Gold Foil Sheet, let dry for several minutes and then pull off Foil Sheets. Ink edges of frame with Vintage Photo Distress Ink on an Ink Blending Tool.
Step 6: Add Christmastime Remnant Rubs randomly using a Rub Tool.
Step 7: Alcohol ink the Adornment Snowflakes with Silver and/or Gold Metallic Mixative with a little Blending Solution.
Step 8: Emboss Christmas Scroll using Gold Metallic Kraft-Core, lightly sand letters to remove gold on raised areas and carefully fussy cut around the Merry Christmas.
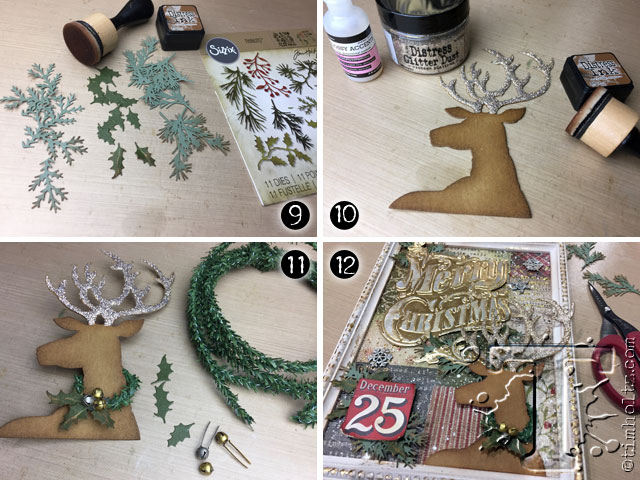 Step 9: Die cut Mini Holiday Greens from green Kraft-core, sand and ink the edges with Distress Ink on an Ink Blending Tool.
Step 10: Die cut Dashing Deer from Substrate Sheets, ink the edges with Vintage Photo Distress Ink, apply Glossy Accents to antlers, pour Vintage Platinum Distress Glitter Dust over antlers, shake off excess and let dry.
Step 11: Cut 2 pieces of Pine Twine 3 1/4” long, wrap the two pieces around each other and bend in to a circle to create a wreath. Adhere holly leaves and Jingle Brads with a glue gun. Wrap around the deers neck.
Step 12: Adhere Holiday Greenery around Merry Christmas and the December 25th. Adhere Merry Christmas, Deer and December 25th with foam tape. Embellish with Snowflake Adornments.
*A great way to display your Christmas Panel is with the Adjustable Easel. The Easel was Alcohol Inked with Gold Metallic Mixative and a little Blending Solution on an Applicator Tool to match the project.


