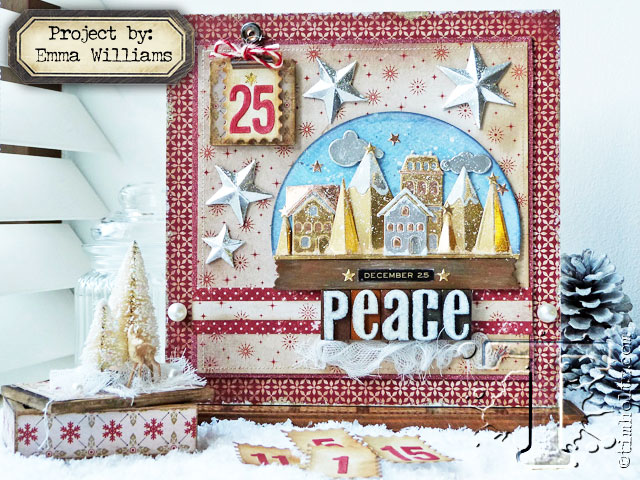
 the advent calendar is a tradition for many, and today the brilliantly talented emma williams shares her ideas for creating your own countdown to christmas. the use of sizzix dies, idea-ology findings, and distress combined with festive colors and worn metallics, create a dimensional masterpiece of wonderment. what a magical way to capture the spirit of the season…t!m
supplies:
- Inks and Stains: Faded Jeans, Vintage Photo, Frayed Burlap, Pumice Stone and Old Paper Distress Ink. Picket Fence, Tumbled Glass and Stormy Sky Distress Spray Stain. Brushed Pewter Distress Mica Spray; Alcohol Inks: Gold Mixative
- Paints: Picket Fence, Black Soot, Walnut Stain, Antiqued Bronze and Pumice Stone Distress Paint
- Glitter: Clear Rock Candy Distress Glitter
- idea-ology embellishments: Fragment Findings, Vignette Box, Vignette Panel, Tidings Design Tape, Small Woodland Tree, Mini Woodland Tree, Decorative Deer, Baubles Findings, Holiday Letterpress, Christmas Jute String, Hinge Clip, Holiday Talk Metallic, Tidings Mini Stash
- Mediums: Collage Medium Matte, Gesso, Ranger Glossy Accents, Collage Glue Stick
- Surfaces: Watercolour Card, Kraft Core Cardstock, Ranger Ink Vintage Foil Transfer Sheets
- Tools: Alcohol Application Tool, Blending Tool, Heat Tool, Sizzix Big Shot, Distress Splatter Brush, Sanding tool
- Dies: Snowglobe Thinlits Die, Dimensional Stars Thinlits, Alphanumeric Thinlits Die, Labels Thinlits
- Misc: cheesecloth, sewing machine, chipboard, foam pads
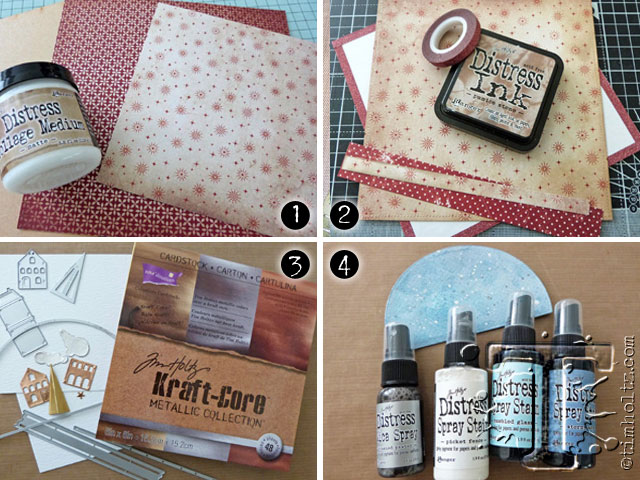 Step 1: To begin making the Advent Calendar panel, take an 8” square mdf panel. NOTE: If you don’t have one of these, you could also use chipboard or mount board. Use collage medium to attach a panel of decorative paper from the Tidings paper stash and ensure that the paper is stuck securely to the surface. If you have a brayer, you can run this over the surface to remove any air pockets or bubbles.
– When the medium has thoroughly dried, trim away any excess paper from the edges and then lightly distress the edges of the covered board using a sanding tool being careful not to over-sand the paper.
– Run a collage glue stick along the edge of the board and using Gold Vintage Foil Transfer sheets, apply the foil along the edges ensuring that you place the sheet with the shiny side uppermost to apply the foiling.
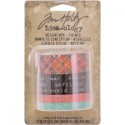
Step 2: Cut a second piece of co-ordinating paper from the stash to measure 6.75” and also cut a panel of chipboard slightly larger in size to the paper. Attach the red glitter tape from the Tiding Design Tape around the edge of the chipboard to create a glittery border and secure the ends by wrapping them around the back.
– Ink the edges of the paper with Pumice Stone Distress ink before machine stitching around the outside. Matt the stitched paper centrally onto the chipboard. Mount the panel to the centre of the larger covered board.
– Cut a further strip of co-ordinating paper from the stash and matt a smaller co-ordinating strip down the centre. Ink the edges of the paper and attach the border strip, placing it horizontally across the bottom section of the small inlaid panel.
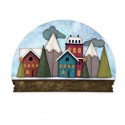
Step 3: Using the Snowglobe Thinlits Die, die cut the globe and globe base from watercolour card. Using the three shades of metallic card from the Metallic Kraft Core Card Stash, die cut all the houses, trees and stars that will form the focal part of your snowglobe. Assemble all the pieces, folding along any scorelines on the die cut elements. Using Glossy Accents and foam pads to add dimension, attach each of the metallic pieces to create a scene on the snowglobe background, placing the small die cut stars and clouds in the sky.
Step 4: Spritz the semi circular globe section with a light misting of water and then, spritz with a combination of Stormy Sky and Tumbled Glass, letting the inks blend together to create the colour of the sky. Heat dry the card thoroughly before inking the edges of the card with Faded Jeans Distress Ink. Flick small droplets of Picket Fence Distress Spray Stain over the surface of the card and heat dry again. To complete the sky, mist Brushed Pewter Distress Mica Spray over the top.
– For the base of the globe, apply a layer of Walnut Stain Distress Paint and blend with small amounts of Antiqued Bronze and Black Soot paint. Lightly spritz the surface with water and let the paints blend together to create a wood effect. Heat dry the strip and then using your fingertip, apply a light coverage of Pumice Stone Distress Paint over the top and leave to dry.
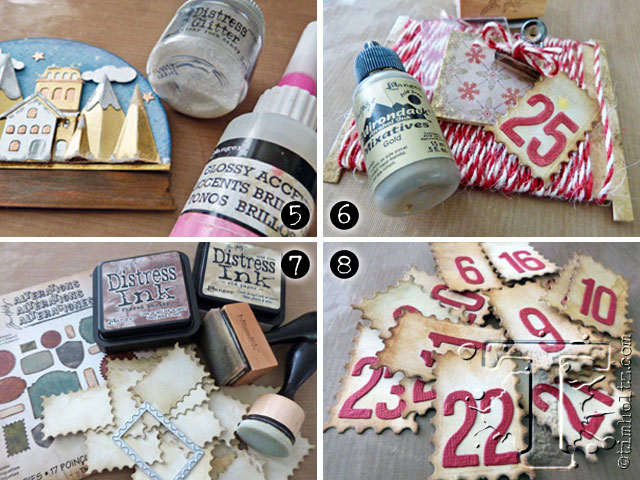 Step 5: Apply small amounts of Glossy Accents onto the roofs, tree tops and along the bottoms of each of the houses and sprinkle Rock Candy Distress Glitter over the top. Tap away the excess glitter and allow to dry.
– Dip your splatter brush into a small amount of Picket Fence Distress Paint and flick over the entire background. Attach a Metallic Holiday Talk Sticker to the centre of the globe base, together with two small die cut stars.
– Attach the snowglobe and the base to the right hand side of your covered panel, using foam pads and placing it so that it sits directly at the top of the attached border strip.
Step 6: To create the countdown calendar section ~ take a large Fragment Finding and apply a generous amount of Glossy Accents directly onto the finding. Attach a piece of the Tidings paper, cut to the same size as the Fragment Finding, ensuring that the pattern you want to display is placed facedown, directly onto the Glossy Accents. Press the paper firmly onto the fragment piece, ensuring that you don’t have any air bubbles of Glossy Accents between the paper and the fragment.
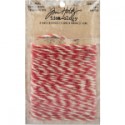
– When the fragment piece is completely dry, turn the piece over to show the shiny plastic side uppermost and using an Applicator Tool, apply a small amount of Gold Mixative Alcohol Ink to the edges. Attach a Hinge Clip to the top of the piece and tie a piece of Christmas Jute String into a bow, placing it around the top of the clip.
– Mount the Fragment piece to the top left hand corner of the panel, using foam pads to secure into place.
Step 7: For the small numbered countdown tags ~ use the Labels Thinlits die to die cut 25 postage stamped shaped labels from Manila Card. Ink the tags with Old Paper and Frayed Burlap Distress Ink.
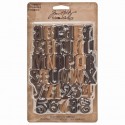
Step 8: Die cut numbers, 1-25 from red kraft core Core’Dinations card stock using the Alphanumeric die and attach the numbers to each label. Ink the edges of the labels with Vintage Photo Distress Ink.
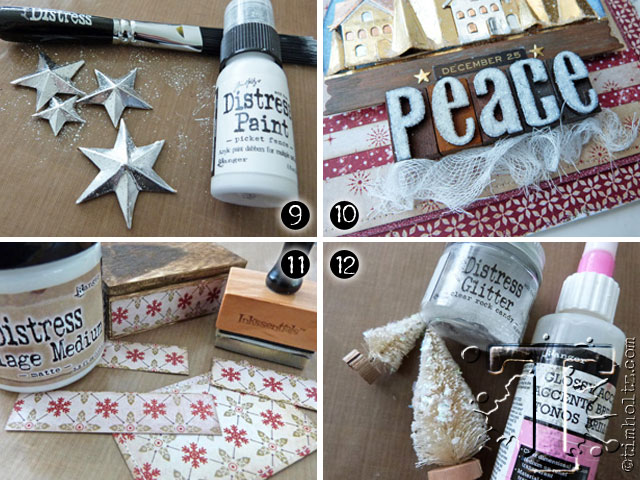 Step 9: Die cut four Dimensional Stars from silver metallic kraft core card stock, folding along each of the scorelines on the die cuts to create the dimension. Flick Picket Fence Distress Paint over the tops of the stars and once they are dry, attach them to the panel using Glossy Accents, placing them to cascade around the globe.
Step 10: To complete the Christmas Countdown Advent panel, I used the “Peace” wording from the Holiday Letterpress Set. Apply a small amount of Picket Fence Distress Paint over the top of each letter and allow to dry. Add a smear of Glossy Accents over the top of the painted letters and sprinkle with Rock Candy Distress Glitter. Tap away the excess and once dry, attach the letters directly below the snowglobe using Glossy Accents to secure them into place.
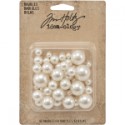
– Attach a small amount of cheesecloth below the letters and finally attach two large Bauble Findings to either side of the border panel.
Step 11: For the decorative box to hold the advent countdown numbers, I used the smallest Vignette Box, together with the smallest Vignette Panel. Cover each of the four sides and the top of the box with papers from the Tidings Paper Stash, inking around the edges of each paper panel and attaching them using Collage Medium.
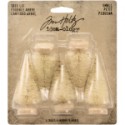
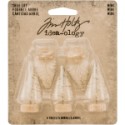
Step 12: Take one of the mini woodland trees and one of the small woodland trees and apply a small amount of Gesso to the bristles of the trees. Allow the trees to dry.
– Apply Glossy Accents to your non-stick craft sheet and roll the painted trees into the medium. Whilst the medium is still wet, sprinkle the trees with Rock Candy Distress Glitter. Attach the trees to the top of the covered box, placing them over a small piece of cheesecloth.
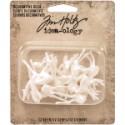
– Take one of the decorative deers and using a paintbrush, dry brush the surface of the deer with a small amount of Frayed Burlap Distress Paint. Arrange the painted deer, together with three bauble findings to the top of the box, attaching them with either Glossy Accents or a hot glue gun.

