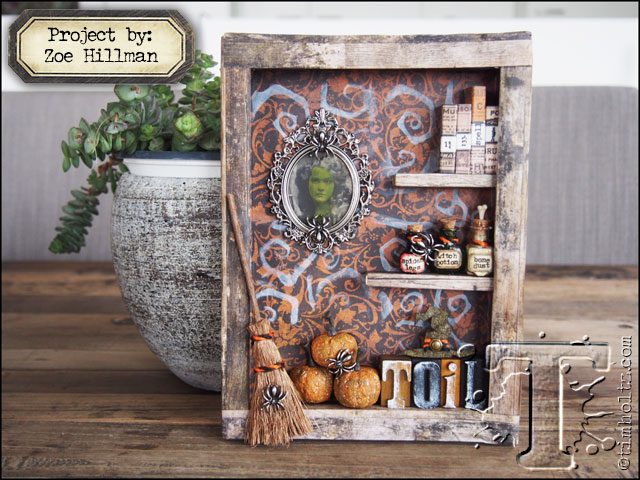
 double-double toil & trouble something brilliant is about to bubble. today’s project will certainly challenge your creative mind into seeing a different use for something thanks to the talents of zoe hillman. plus learn clever tricks of textured transformation – hello halloween…t!m
supplies:
- inks: Distress Ink Vintage Photo/Walnut Stain/Picket Fence, Black Soot Distress Archival/Black Soot Distress Archival Re-Inker
- paint: Distress Picket Fence
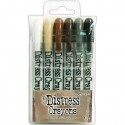
- crayons & markers: Rusty Hinge/Peeled Paint/Walnut Stain/Peeled Paint
- embossing powder: Distress Antique Linen
- mediums: Distress Collage Mediums/Matte/Crazing, Distress Grit-Paste, Glossy Accents
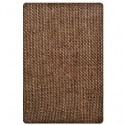
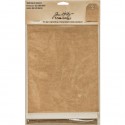
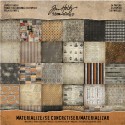
- surfaces: Materialize Paper Stash/Subtrate Sheets/Burlap Panel
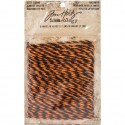
- embellishments: Jute String Halloween/Hex Fasteners/Materialize Paper Stash/Adornments Wicked/Pumpkin Pieces/Broomsticks/Letterpress/Tiny Vials/Vial Labels/Boneyard/Remnant Rubs Gothic
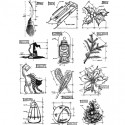
- stamps: Mini Blueprint 7
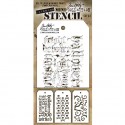
- stencils: Mini Stencil 23
- tools: Mini Blending Tool/Grid Block/Sanding Grip/Paper Trimmer/Score Board/Scissors

Step 1: Take a Burlap Panel, turn it over and trim any burlap overlapping the frame. Using paper from the Materialize Paper Stash, cut a panel measuring 6.25 x 7”. Score the top and sides at 0.5”, apply a layer of Matte Collage Medium and attach to the inside of the frame. Cut strips of the faux wood paper from the Materialize Paper Stash and wrap around the frame edges with Matte Collage Medium.
Step 2: Blend Picket Fence Distress Ink through a stencil from the Mini Stencil 23 set with a Mini Blending Tool. *NOTE: If you don’t want to trim the edges of your stencil, do this step BEFORE attaching the paper to the inside of the frame.
Step 3: Tint a photograph with Peeled Paint Distress Marker and mount behind a Baroque Frame.
Step 4: Glue spiders from the Adornments Wicked with Glossy Accents to the top and bottom of the frame.

Step 5: Witch Potion: Cover a Tiny Vial with a thin layer of Matte Collage Medium and air dry. Cover with a thin layer of Crazing Collage Medium and air dry. Drop Meadow Alcohol Ink over the top and air dry. Spider Legs: Drop Black Soot Distress Archival Re-inker into the bottle and swill until the inside is covered, pour out any excess and air dry. Bone Dust: Fill with Antique Linen Distress Powder and cut a small Boneyard bone into several pieces and drop into the top of the bottle.
Step 6: Add Jute String Halloween to each bottle and Vial Labels with Gothic Remnant Rubs to decorate.
Step 7: Cut a strip of the faux wood paper from the Materialize Paper Stash measuring 1.75 x 8” and score at 0.5”, 0.75”, 1.25” and 1.5”. Cut the strip into 2 pieces, fold and secure with Matte Collage Medium to create 2 faux wood shelves. Create the mini faux books the same way and add Vial Labels and Gothic Remnant Rubs.
Step 8: Using the leftover faux wood strip, tuck into the end and secure with a dab of Matte Collage Medium.

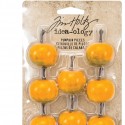
Step 9: Remove the stork from 3 Pumpkin Piece and set aside. Cover the pumpkins with Distress Grit-Paste and set aside to air dry. Once completely dry, rub Peeled Paint, Rusty Hinge and Walnut Stain Distress Crayons into the Pumpkin Pieces. Rub Walnut Stain Distress Crayon over the stork and push back into the pumpkins.
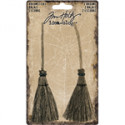
Step 10: Slice a small piece of the back of the Pumpkin Pieces so they sit flush and glue onto the bottom of the Burlap Panel with Glossy Accents. Add a Adornments Wicked Spider. Wrap Jute String Halloween around a Broomstick and add an Adornments Wicked Spider. Glue the Broomstick handle to the outer side of the frame with Glossy Accents.
Step 11: Stamp the witches hat from the Mini Blueprints 7 stamp set onto a white Substrate Sheet with Black Soot Distress Archival Ink. Fussy cut the hat, gently screw up into a ball and flatten out. Turn over to the non stamped side and blend in Walnut Stain Distress Ink. Add Jute String Halloween and secure with a Hex Fastener.
Step 12: Cover Letterpress with Picket Fence Distress Paint and set aside until almost dry. Rub some of the paint away with kitchen paper to give a worn look. Attach to the base of the Burlap Panel with Glossy Accents. Mount the witches hat onto 3D foam and stick just above the Letterpress.
