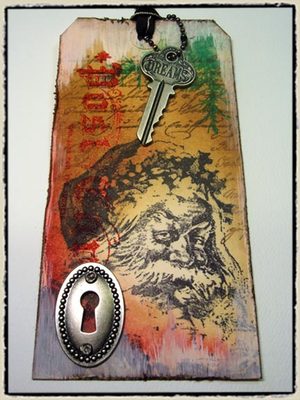
 "day 9" -tim holtz(c) 2008
supplies: craft sheet, distress inks/fired brick, pine needles, antique linen, brushed corduroy, walnut stain, adirondack paint dabber/snow cap, jet black archival ink, ink blending tool, mini mister, distress embossing ink, distress embossing powder/fired brick, heat tool (ranger); texture hammer, keyholes, word keys, ball chain (tim holtz idea-ology); craft pick, paper distresser (tonic), stamps/santa U2-1379, script P3-1378, juniper K5-1377, post card K4-1376, (stampers anonymous); tag, ribbon
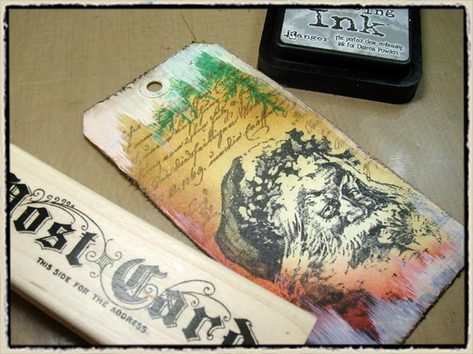
step 1: stamp santa image on tag with jet black archival ink. let dry.
step 2: using snow cap adirondack paint dabber, flick dabber from top and bottom edges to the center of the tag to create a distressed/icicle paint look. (*check out the finished tag to see what i mean – were going from a skipped paint look.)
step 3: drag dabber along edges of tag.
step 4: dry paint with heat tool if needed.
step 5: ink entire tag with antique linen distress ink using ink blending tool. work in circular motion. (*i prefer to lightly ink the santa face, but don’t over do it.)
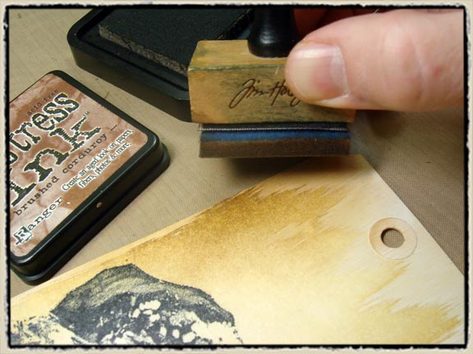
step 6: ink background area of tag with brushed corduroy distress ink using ink blending tool. (*i like brushed corduroy for a warm brown color.)
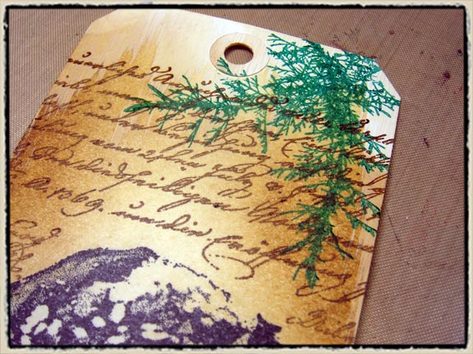
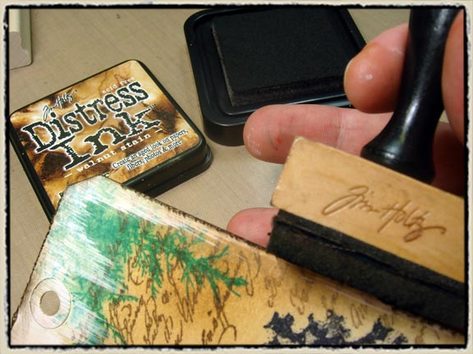
step 7: stamp script over background with walnut stain distress ink. let dry.
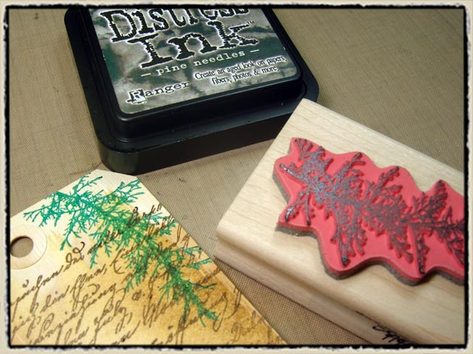
step 8: stamp juniper twice in upper corner with pine needles distress ink. let dry.
step 9: noticed how we’ve inked and stamped over the painted tag? well not to worry…
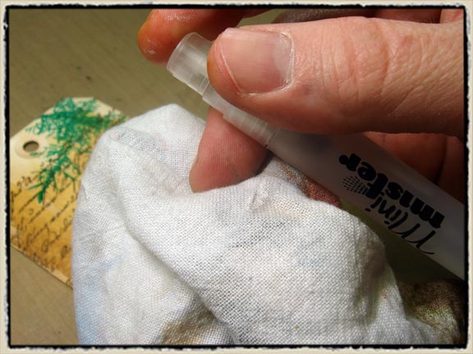
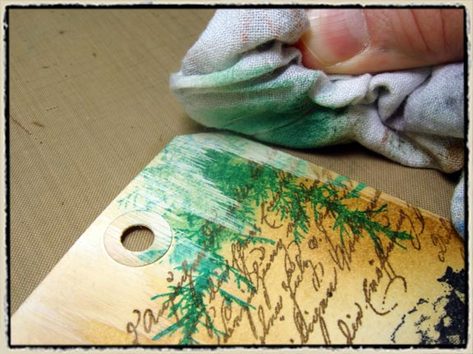
step 10: mist cloth with water from mini mister.
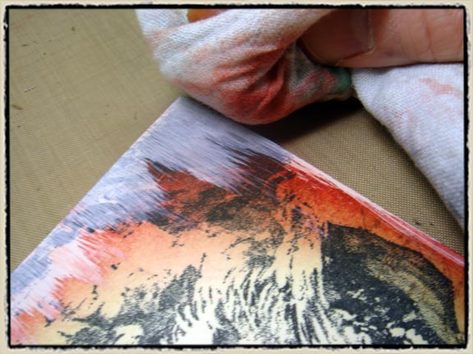
step 11: lightly wipe over painted areas with damp cloth. this will remove the distress ink and reveal the white paint dabber. (*how cool! the paint dabbers resist the distress ink, and even though we’ve inked and stamped over white – it still resists!)
step 12: ink bottom area with fired brick distress ink using ink blending tool.
step 13: mist cloth with water from mini mister and wipe over inked area.
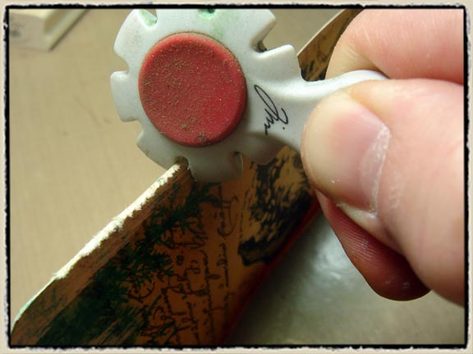
step 14: drag paper distresser along edges of the tag to tatter the tag.
step 15: ink tattered edges with walnut stain distress ink using the ink blending tool. the ink will be absorbed in the edges. dry tag completely.
step 16: stamp post card stamp with distress embossing ink.
step 17: shake distress embossing powder. (*distress embossing powder contains release crystals and must be shaken each time before use.)
step 18: pour a generous amount of distress embossing powder over image and remove excess and place back into jar.
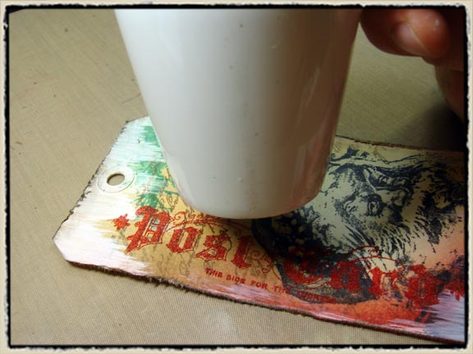
step 19: heat emboss with heat tool. (*when heating distress embossing powders there are a few things to know – the powders do not become shiny like regular embossing powders, they are matte. the powders will darken in color when embossed.)
step 20: once distress embossing powders are heated until you think they are done, allow the powders to cool completely before touching. (*this is by far the most important thing to remember about the distress powders. they will only adhere to the surface when cool – if you touch them while they are still hot, the entire image will wipe away.)
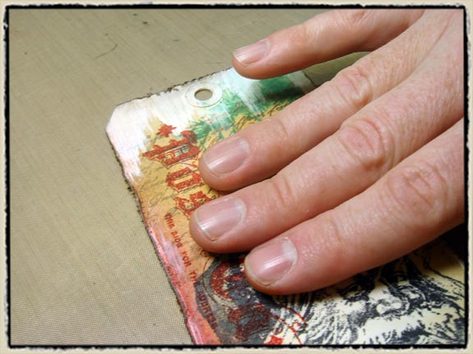
step 21: once cool, lay your hand flat on the tag and wipe it back and forth to remove the release crystals. these are particles that never melt. this will give your embossed image a pitted, distressed look. (*note: do not put release crystals back in with distress powders. simply throw them away.)
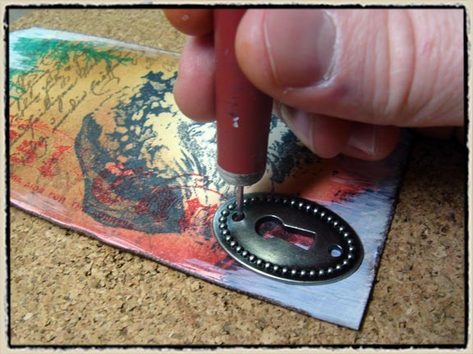
step 22: place keyhole on tag and pierce holes with craft pick.
step 23: attach keyhole to tag with included long fasteners.
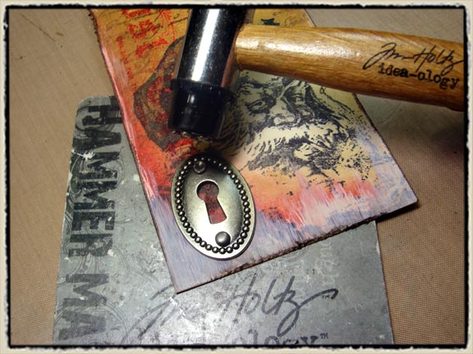
step 24: to give our brads a more distressed look like old nail heads, place tag on hammer mat and tap brads with bump tip of the texture hammer. such a cool tool! if you want to learn more about the texture hammer check out the video below.)
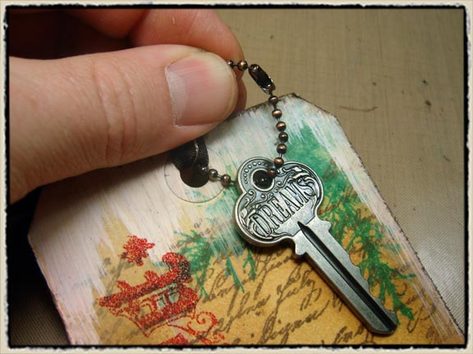
step 25: attach word key to top hole in tag with ball chain. (*cut ball chain to desired length.)
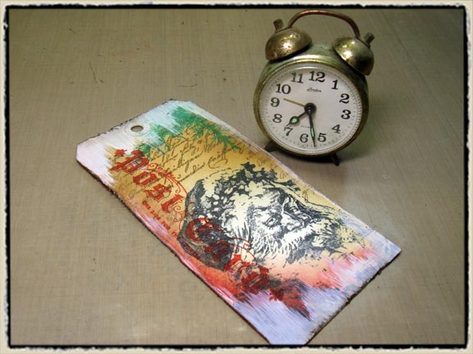
*in the details: i have to say how neat is that paint resist technique – look at the stark contrast. it actually looks like a snow drift. the texture of the distress embossing powders is so unique and just the right touch for this tag.


