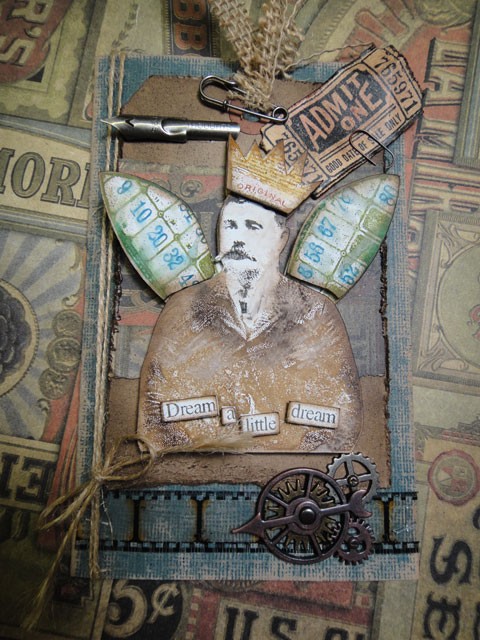
hey bloggers! well it’s been about a week since my last post, but i must say a very productive week around the studio. things are a little crazy trying to get everything done before our next adventure to oz. i’ve managed to finalize all of the cha-summer new release products, design new stamps, and get the demos and workshops scheduled (not to mention enjoy a little r&r this past weekend). so it’s a new week and filled with great news… the new stamp2cut is finally shipping to stores! these are the first 3 cartridges of the launch series as the other new ones will continue to ship every few weeks to stores – very exciting! so i thought what better way to share the fun, then with a cool layered card i created as well as do a giveaway. are you ready???
(now if you haven’t already watched the stamp2cut tutorial video i did a while back, be sure to check it out here to learn the basics of stamp2cut.)
supplies: eclips machine, stamp2cut cartridge no.2, ticket strip die, craft sheet, distress markers, distress ink, archival ink, blending tool, water brush, specialty stamping paper, collage glue stick, kraft tag, paper distresser, stamp/dream a little dream/admit one ticket, kraft core, pen nib, wire pin, mini clip, sprocket gears, mini gears, game spinners, long fasteners, mini fasteners, film strip ribbon, tiny attacher, paper stash/destinations, kraft core, sanding grip, twine, foam tape
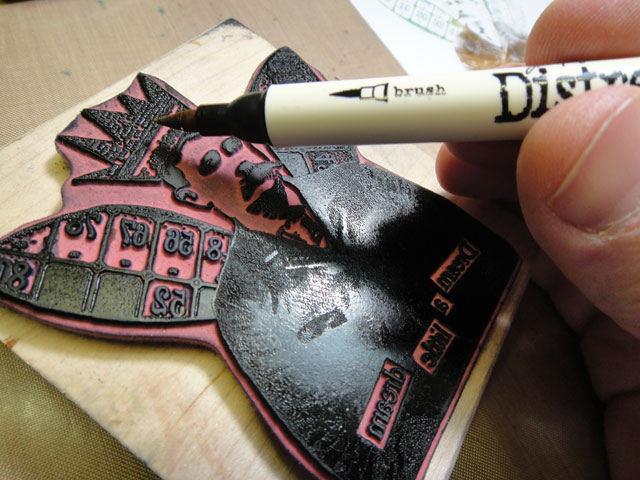 step 1: color stamped image directly on to stamp using distress markers.
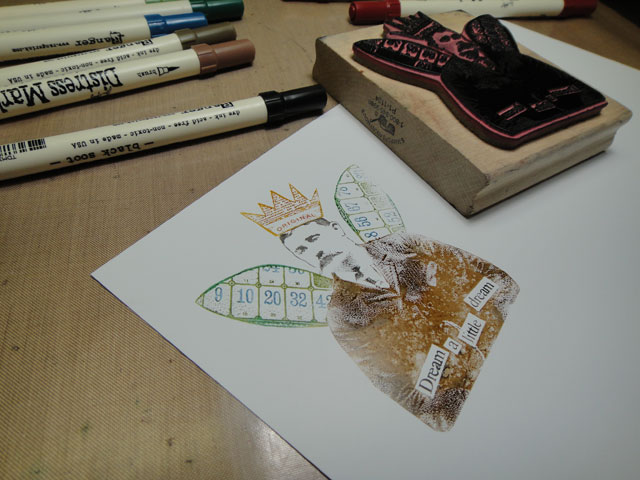 step 2: stamp image on to specialty stamping paper. (*this surface gives the best detail for this type of stamping)
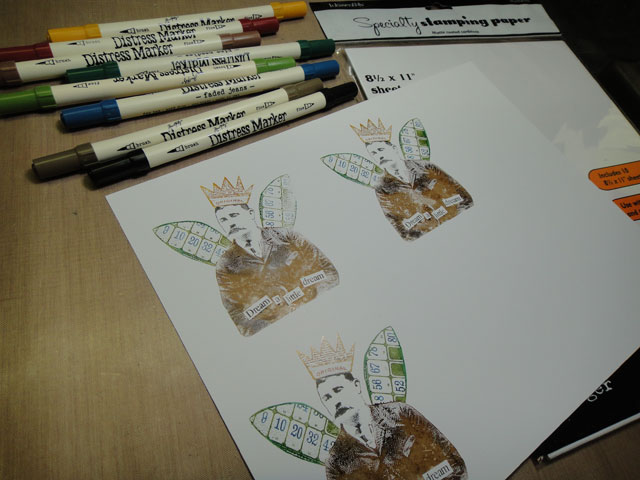 step 3: repeat previous steps and stamp 3 images total on to paper.
step 4: cut out images using stamp2cut (see video above)
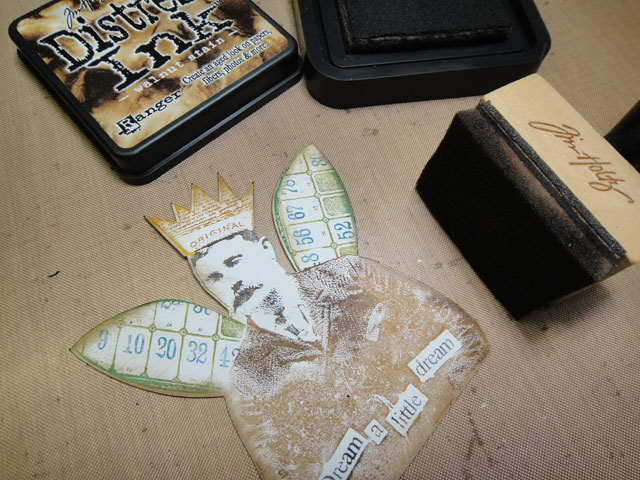 step 5: ink edges of all cut pieces using distress ink and ink blending tool.
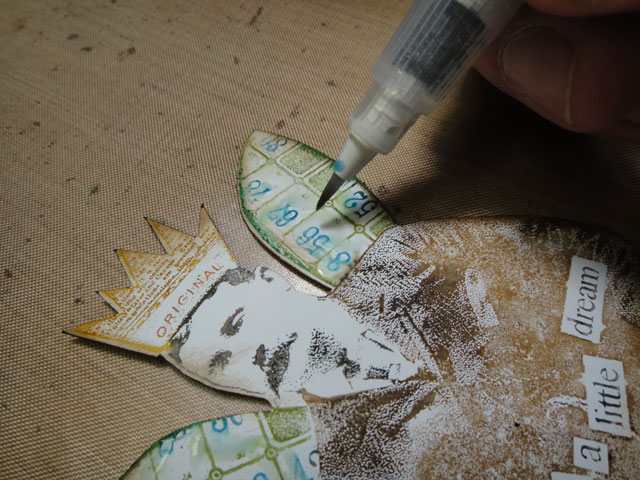 step 6: blend colors using a water brush.
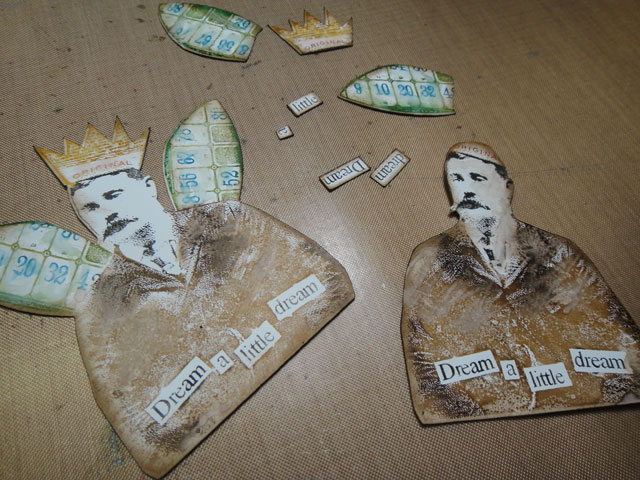 step 7: repeat for all pieces.
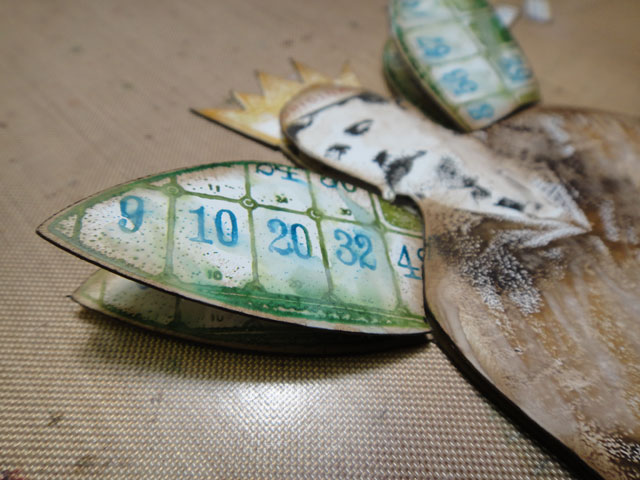 step 8: begin layering pieces with foam tape. for wings, i just added 2 layers of foam tape to the base of the wings to angle them out.
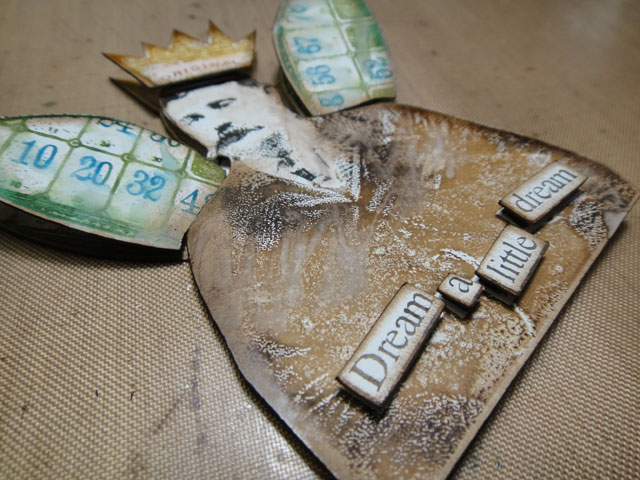 step 9: continue the final layer of pieces with foam tape.
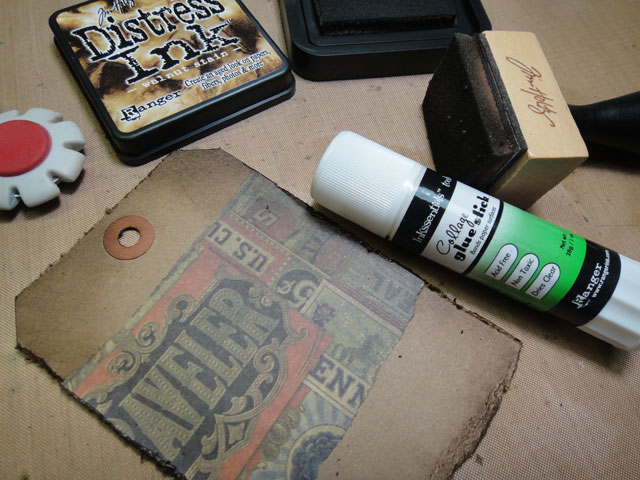 step 10: create background by adhering patterned paper to kraft tag with collage glue stick and ink and distress the edges.
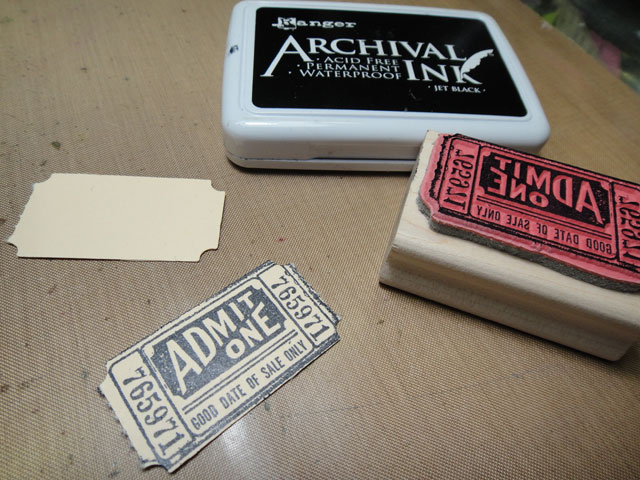 step 11: die cut ticket strip and stamp ticket image with archival ink. ink and distress for card.
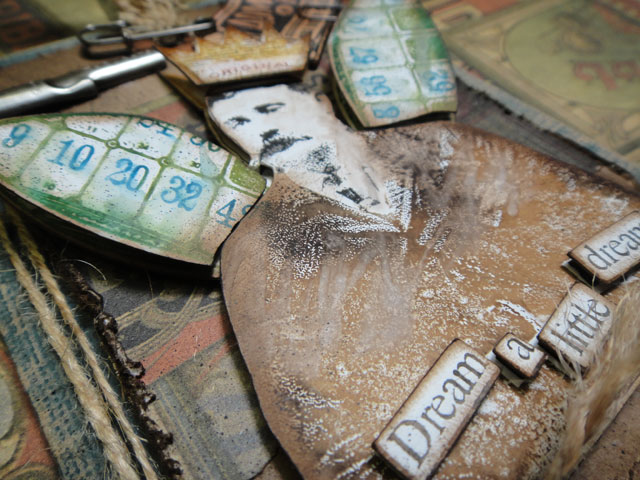 step 12: layer all of the pieces on to kraft core card and add embellishments.
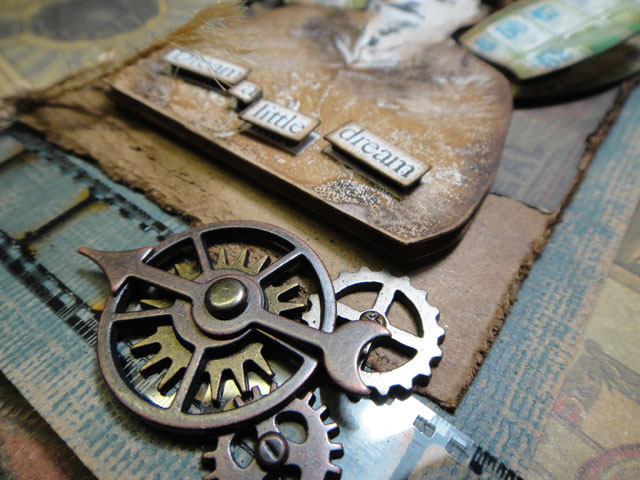 the details: i like combining sprocket gears and mini gears with game spinners over film strip ribbon for a cool steampunk look.
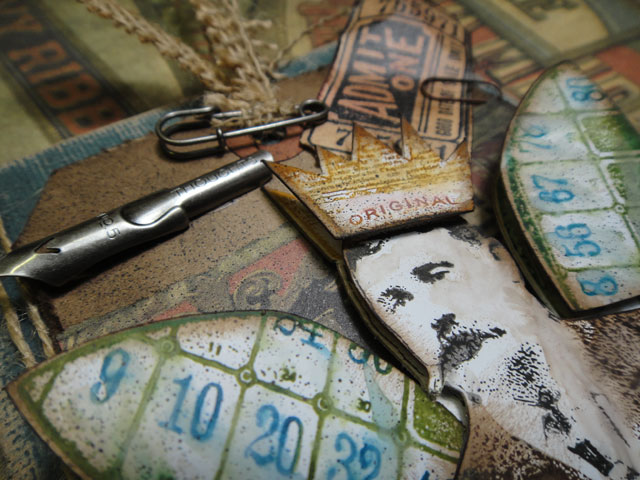 the details: adding elements like pen nibs, stamped tickets, and a wire pin on burlap add both dimension and texture.
i’m so excited to be able to share such layered and dimensional projects by using the innovative stamp2cut system. i’ve said it before, this is a game changer for stampers and allow us to use stamps like never before. hope you find some inspiration in today’s project, and to help inspire you a little more, i’m giving away 3 of the new stamp2cut cartridges to three lucky bloggers (of course that means you need to have your own eclips to use them). just post a comment on the blog and winners will be posted on thursday. enjoy today…t!m
*be sure to check your local stores for these supplies or you can
click the links below to purchase online…
(SSS=simon says stamp / IE=inspiration emporium)
|
|
|
|
|
|
|
|
|
|
|
|
|
|
|
|
|
|
|
|
|
|
|
|
|
|
|


