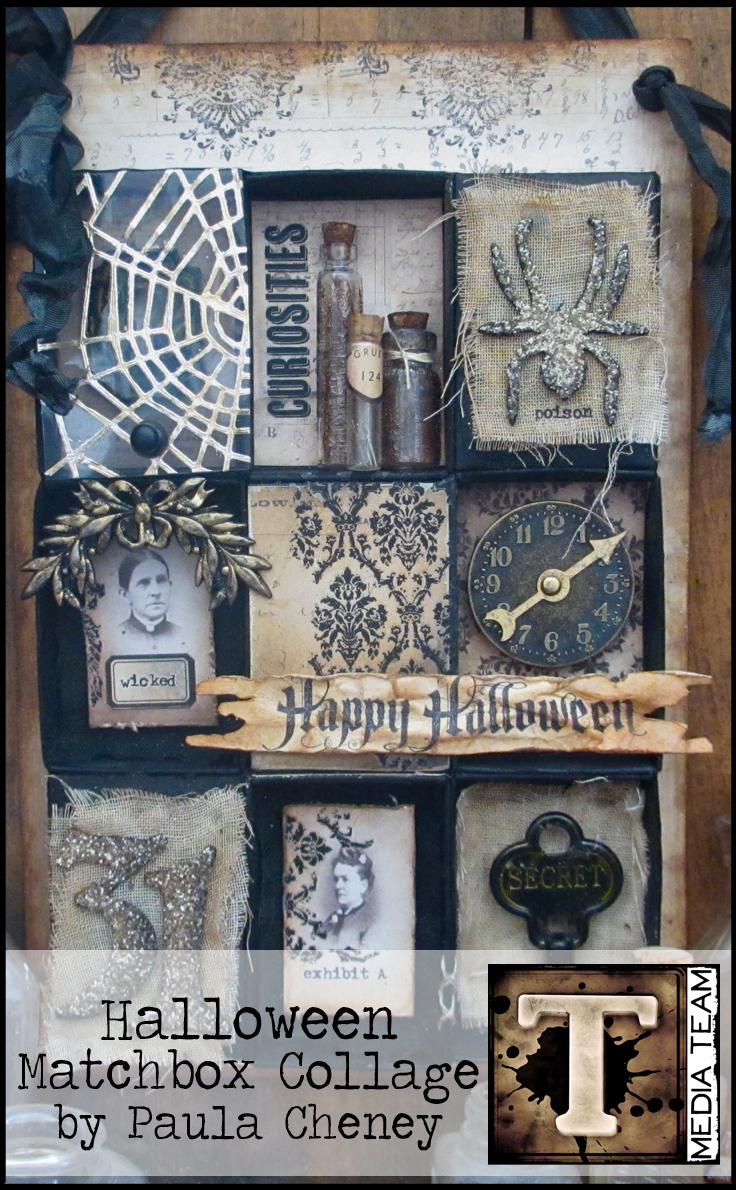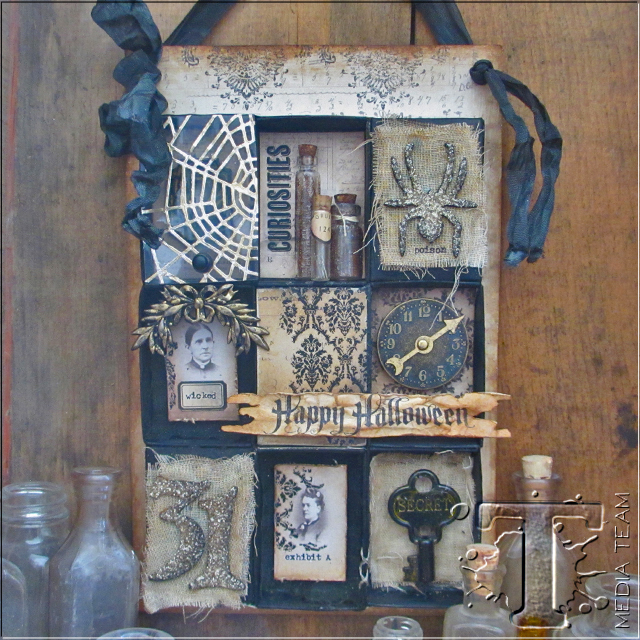
the decorative detail complimented by the simplistic color palette makes this project from creative coordinator paula cheney an instant halloween fave. the mix of elements, surfaces, and technique always inspires innovative ideas that showcase paula’s artistic styling of pure vintage perfection…t!m
Like a lot of other people, love decorating for Halloween. At my house, Halloween decor is a bit different, much more subtle and vintage looking. When I started todays project, I dug out a bunch of stuff to work with, from Grungeboard to metals and glass. So how do you use all these different elements in one project and yet make them cohesive? I think the answer is a good color scheme. So even though I used many surfaces and textures as well as Distress Paint, Distress Spray Stain and Alcohol Ink, I stuck with three basic colors; black, brown and gold. That helped me transform a bunch of mismatched pieces into a cohesive vintage look Halloween decoration. Here’s how I did it…
Supplies
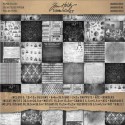
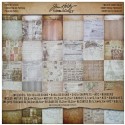
- Surfaces: Laboratorie Paper Stash, French Industrial Paper Stash; Manila cardstock, Foil Tape Sheet; chipboard,
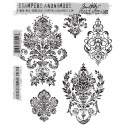
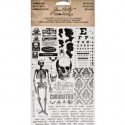
- Stamps: Mini Halloween 3, Distress Damask
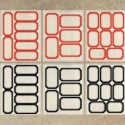
- Dies: Matchbox die, Mini Spider Movers and Shapers, Cobwebs Decorative Strip, Gothic Boo (number 31), Tattered Banners Decorative Strip
- Distress Ink: Pumice Stone, Gathered Twigs, Vintage Photo
- Distress Spray Stain: Black Soot
- Distress Paint: Black Soot, Tarnished Brass,
- Distress Crackle Paint: Rock Candy
- Distress Glitter: Antique Linen,
- Ink: Jet Black Archival Ink
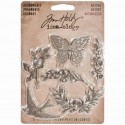
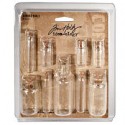
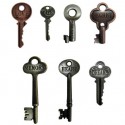
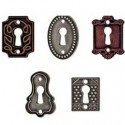
- Embellishments: Remnant Rubs – Apothecary, Timepieces, Game Spinner, Word Keys, Keyholes, Corked Vials, Hitch Fastener, Crinkle Ribbon, Vial Labels, Adornments – Nature
- Mediums: Multi Medium, Glossy Accents
- Tools: Mini Blending Tool, Blending Tool w/ felt pad, Heat it Tool; Paper Distresser, Kushgrip Snips
- Miscellaneous: small piece of plastic packaging, masking tape, cheesecloth, needle and cotton thread, foam dots
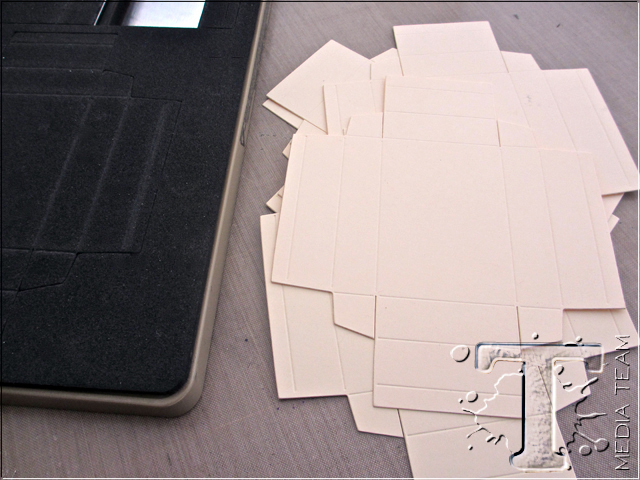
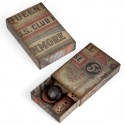
Cut nine matchboxes from Manila cardstock using the Tim Holtz Matchbox die (box only, not the sleeve).
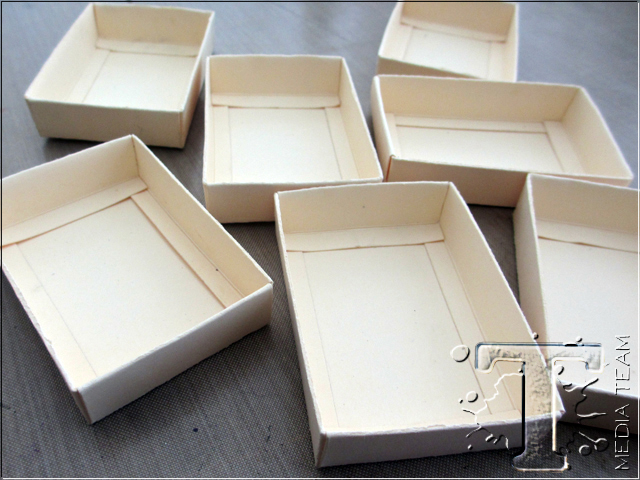
Fold on score lines to assemble all nine boxes.
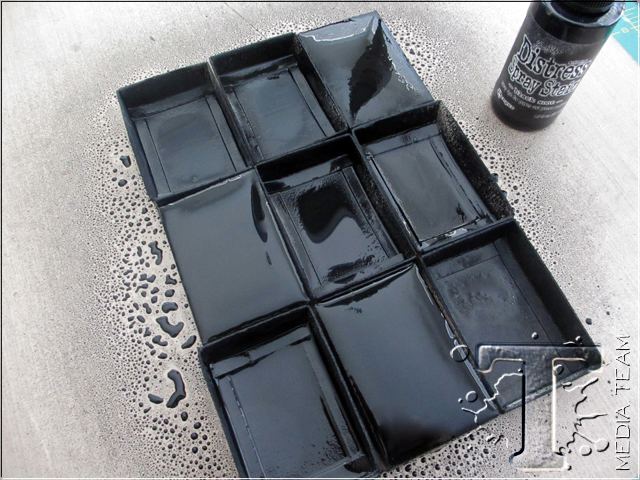
Use Distress Spray Stain to color all boxes black. Be sure to flip over at least 3 boxes to color the back.
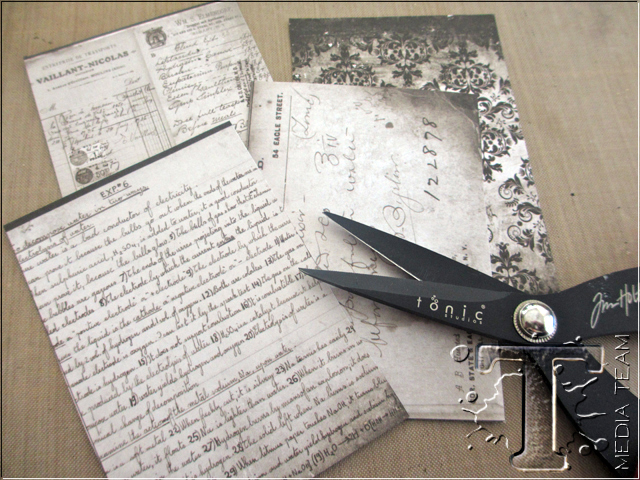
Cut a few random 2.5 x 3.5” papers from the Laboratorie Paper Stash.
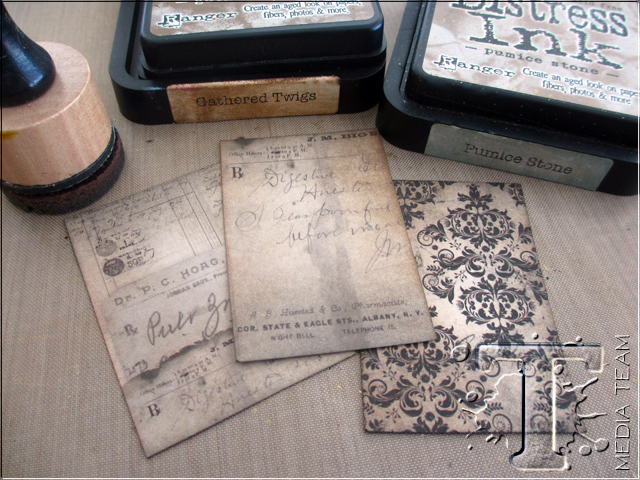
Cut paper to fit inside a few of the matchboxes. Use a Mini Blending Tool to ink paper with Gathered Twigs and Pumice Stone. This small step really transforms the paper to a much warmer tone that will match the color scheme.
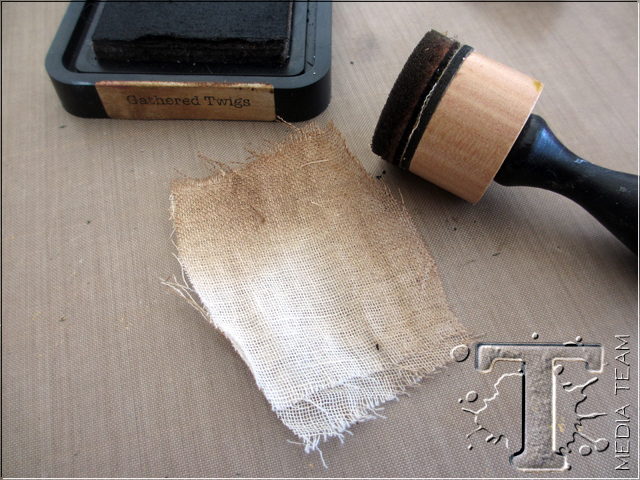
Use a Mini Blending Tool and Gathered Twigs Distress Ink to darken a few pieces of cheesecloth. I am also using black cheesecloth – you can see how I created that here –
http://www.oneluckyday.net/2014/10/till-death-do-we-part.html.
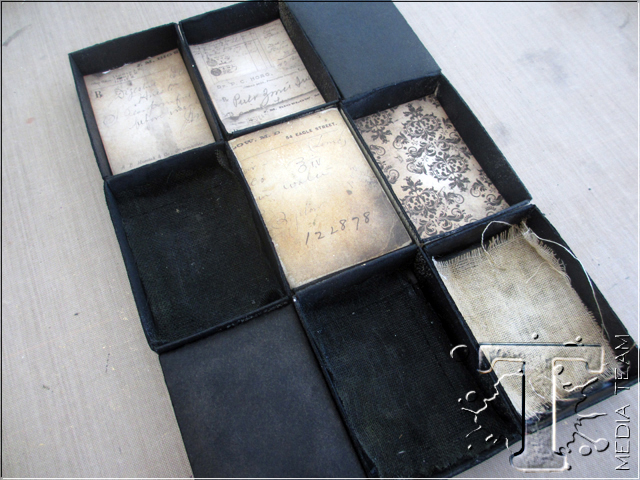
Line up the Matchboxes in rows of three. Secure Matchboxes together as a group. Begin filling with Laboratorie paper and the cheesecloth.
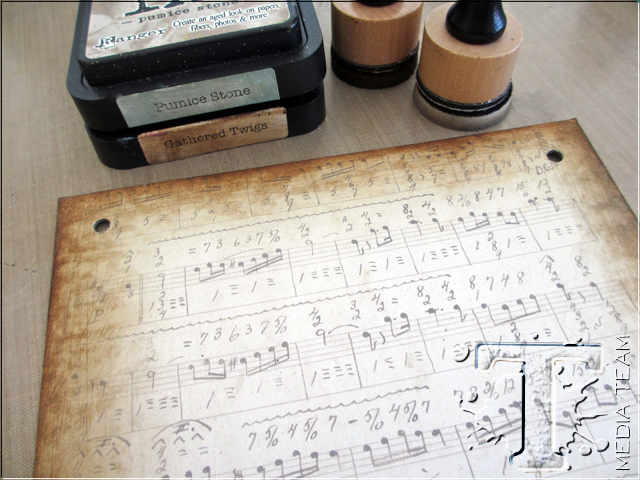
Cut a piece of chipboard for the backing (6 1/4 x 9 1/2”). Cover with paper (the music paper came from the French Industrial Paper Stash). Sand and Ink edges with Distress Ink. Punch two holes at top.
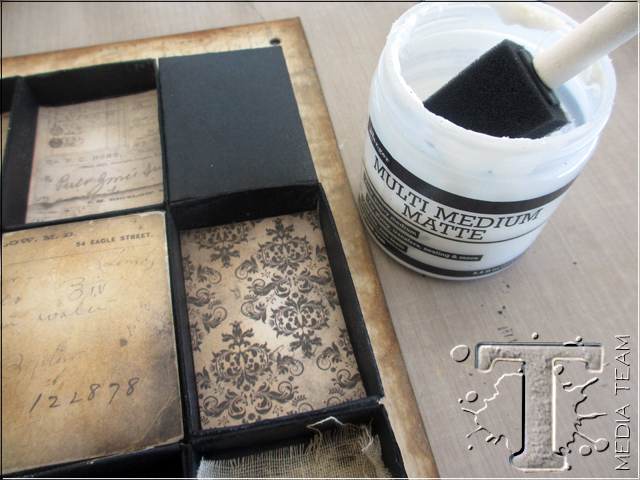
Secure Matchboxes to chipboard with Multi Medium.
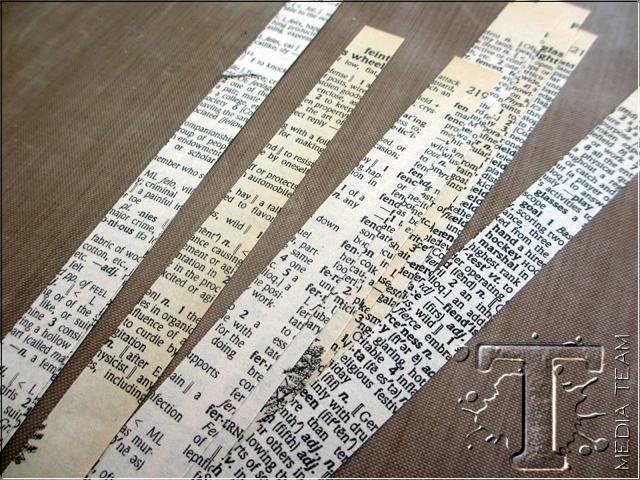
Cut a few 1/2” strips of paper. I used vintage book paper.
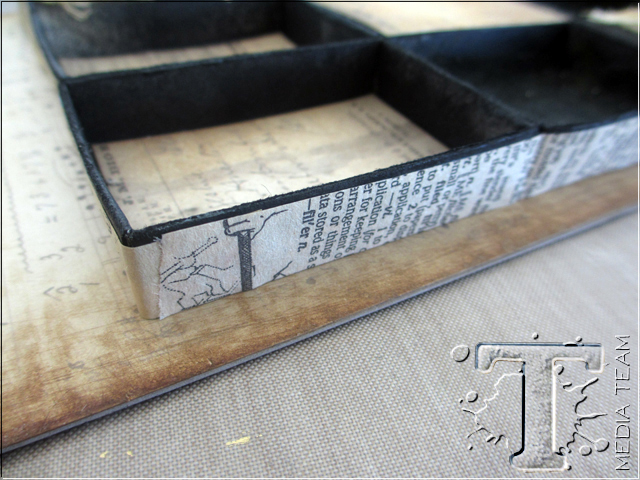
Wrap 1/2” strips around the outside edged of Matchboxes, securing with Multi Medium.
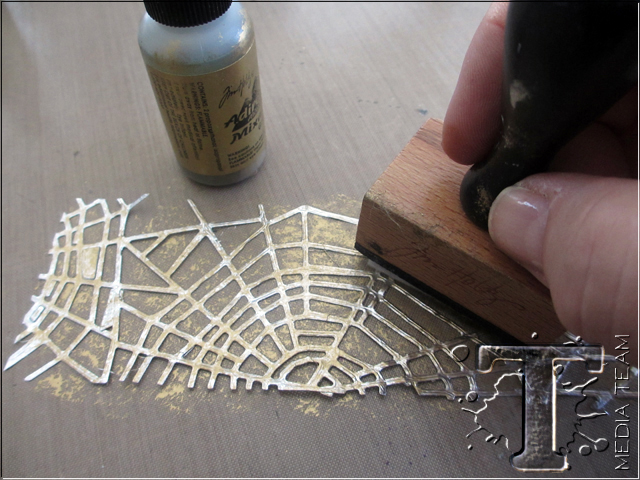
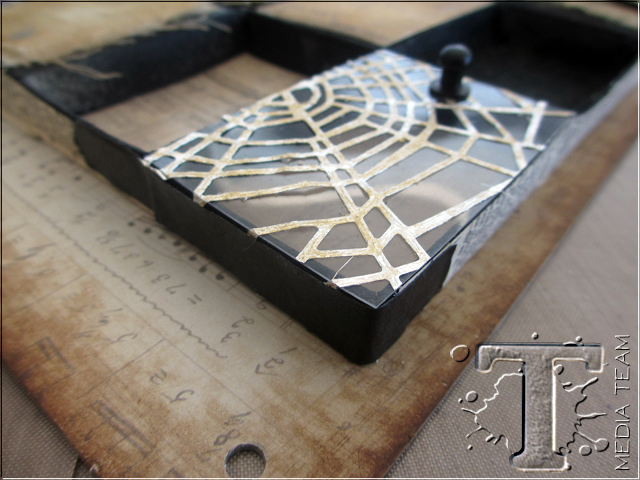
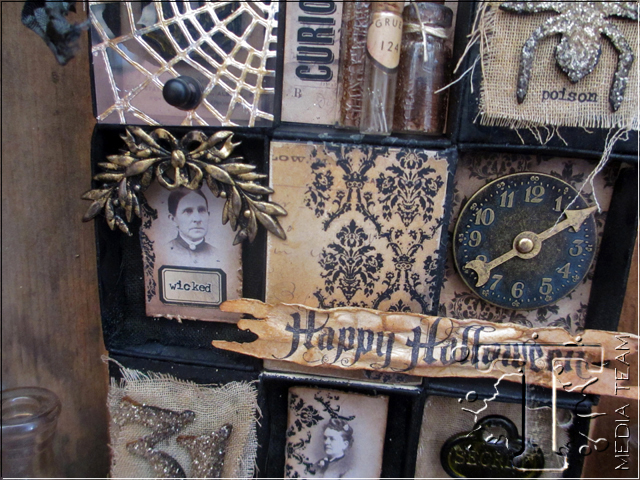
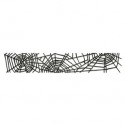
Use the Cobwebs Decorative Strip and one Foil Tape Sheet to create metallic cobwebs. Sticking with our vintage color scheme, I added a bit of Gold Alcohol ink over the top using a Blending Tool and felt pad.
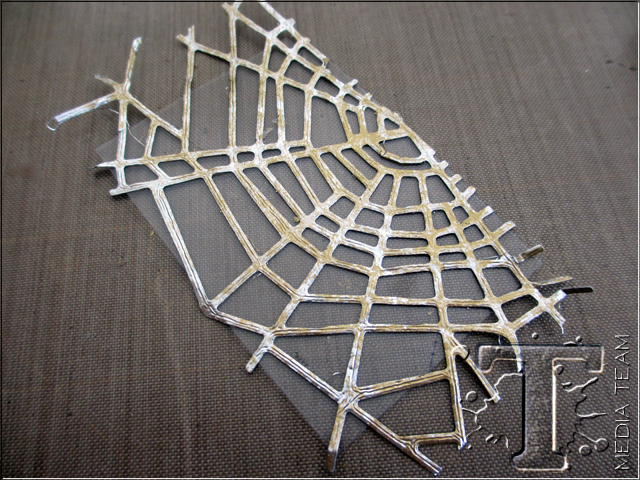
Cut a piece of plastic packaging the same size as one Matchbox and cover it with the foil cobwebs, leaving the ends long to use for a hinge.
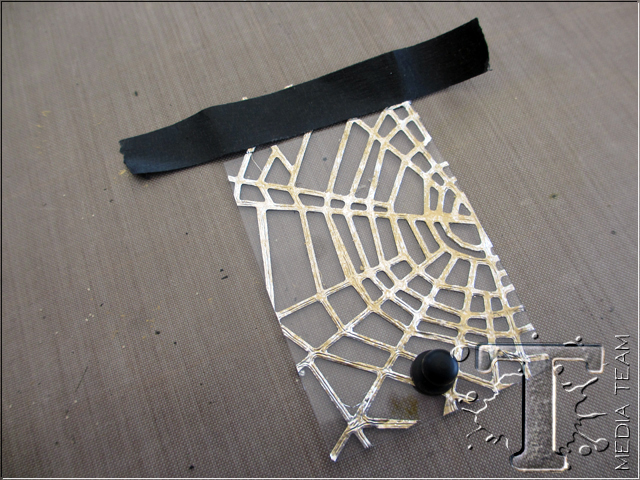
I added a piece of black masking tape (does not matter what color you use) to the top. I also added a Hitch Fastener to act as a door knob.
Add plastic door to box, securing with masking tape. Use leftover 1/2” paper strips to cover masking tape for a uniform appearance.
Transforming the Elements:
Grungeboard
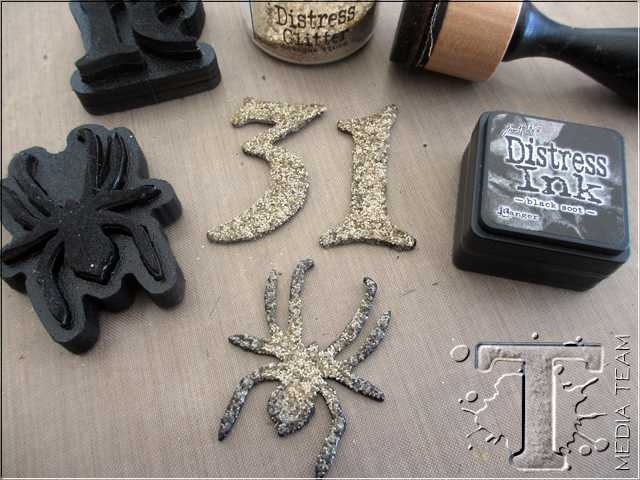
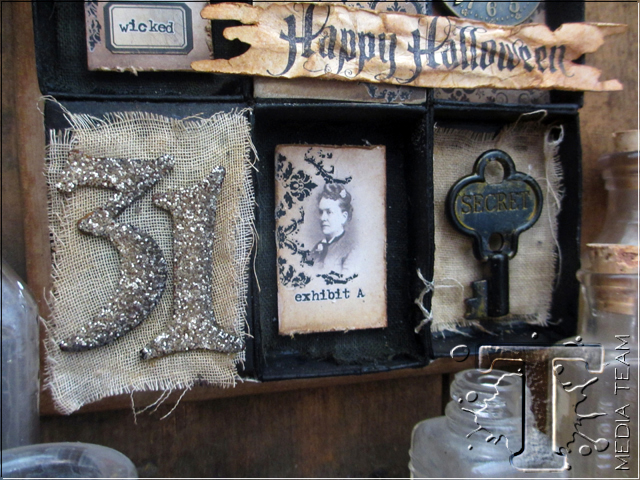
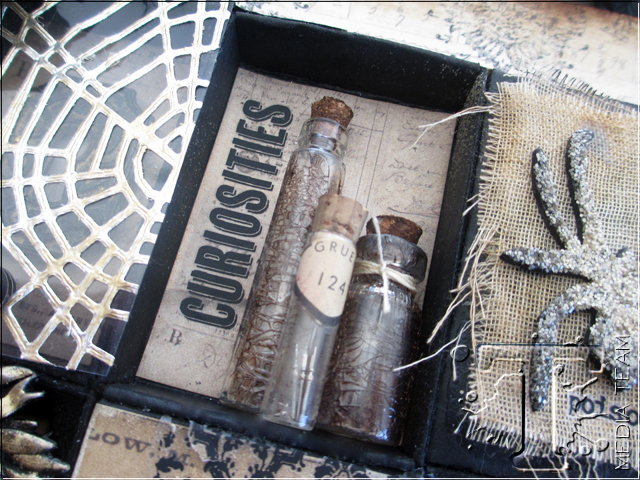
Transform the grey Grungeboard by using Glossy Accents and Antique Linen Distress Glitter. If you have never used Distress Glitter before or need a refresher check out Tim’s Oct 2013 tag for some great information. Oh, and don’t forget! Distress Glitter is totally inkable once the Glossy Accents has dried.
Metals
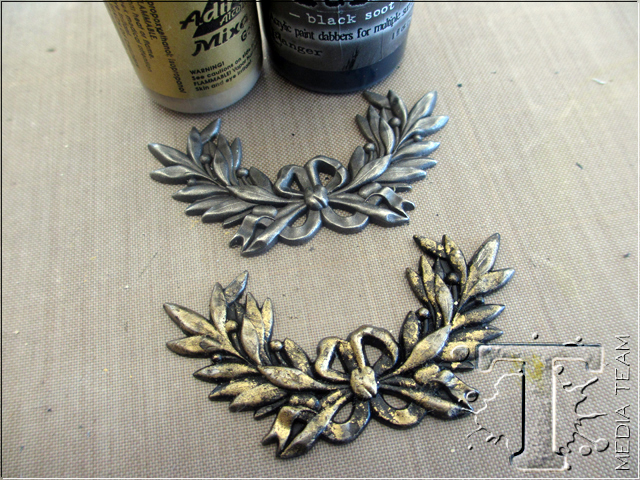
Black Soot Distress Paint as the first layer. Once dry, add Gold Alcohol Ink over the top with a Blending Tool w/ felt pad. Using Paint as the first layer give more texture and detail to the finished piece. You can see how the metal laurel spray was really transformed by the two layers of color.
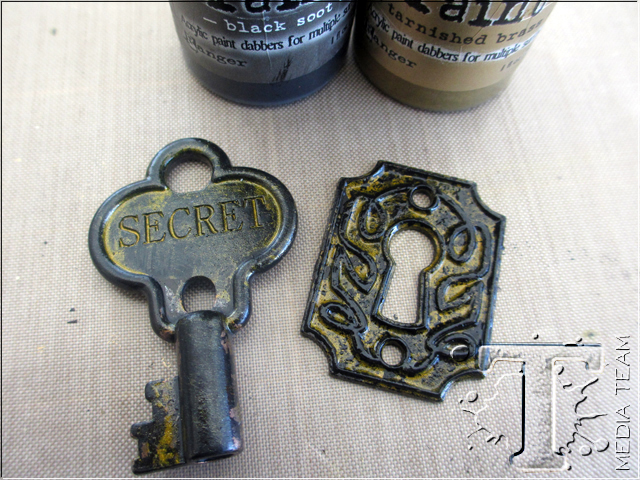
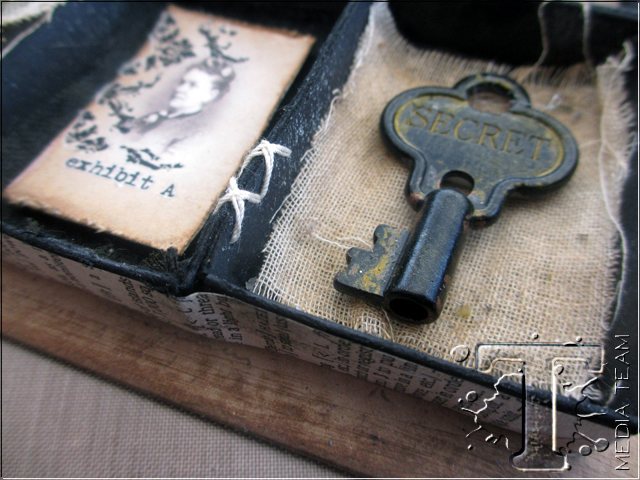
For the Word Key and the Keyhole, I used Distress Paint in Black Soot and Tarnished Brass. I painted each piece black and let it dry. Then pounced on the Tarnished Brass so that it flowed into the crevices. I wiped away the excess, leaving some of the gold residue behind. Super easy trick and so effective.
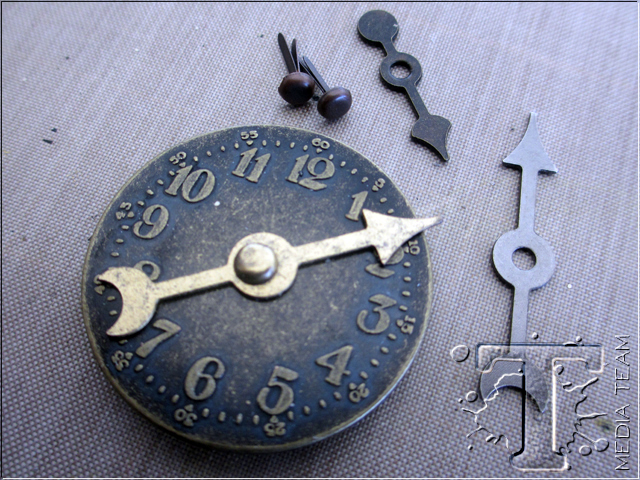
On the Timepiece, I used the Alcohol Ink on the Game Spinner and Long Fastener since I thought the Timepiece fit our color scheme.
Glass
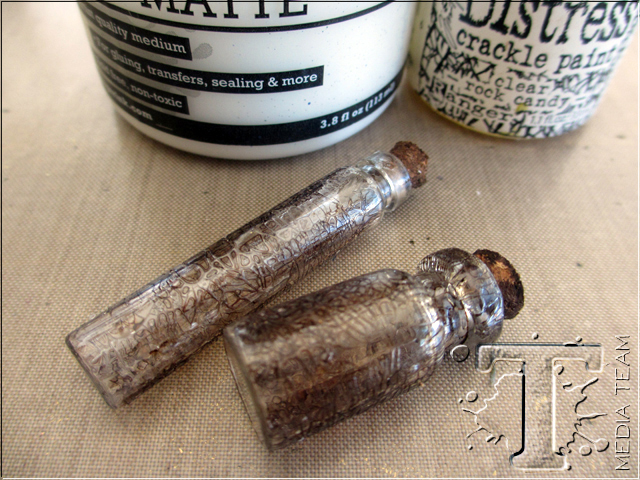
I used the Faux Cracked Glass Technique on page 54 of Compendium of Curiosities vol 3 to transform the Corked Vials into something a bit more Halloween looking.
Paper
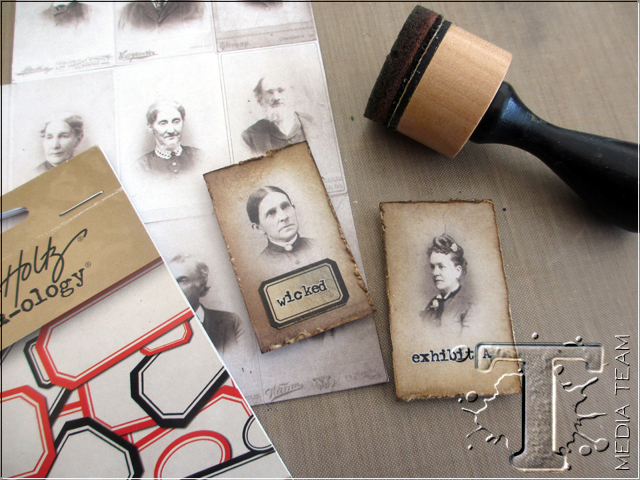
And lastly, PAPER…probably the most easily transformed material of all. So easy to take a small black and white cutout, rough up the edges with a Paper Distresser, and color it with a Mini Blending Tool and Distress Ink. Add a Vial Label and a Remnant Rub and your done. Distress Ink makes us all look like we are geniuses, right?
Adding the Elements:
Remnant Rubs
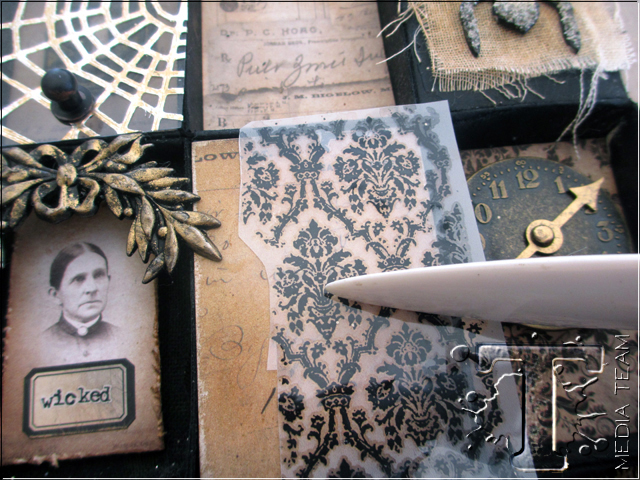
Cut out the damask print from the Apothecary Remnant Rubs. Add to center box using a bone folder.
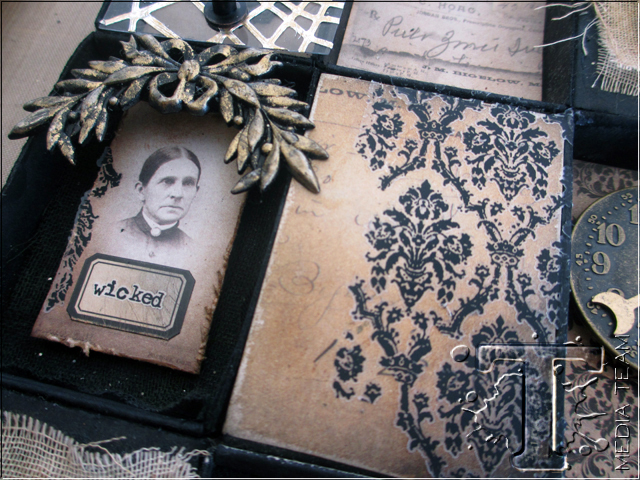
Remnant Rubs can be very random – you never have to use the whole image.
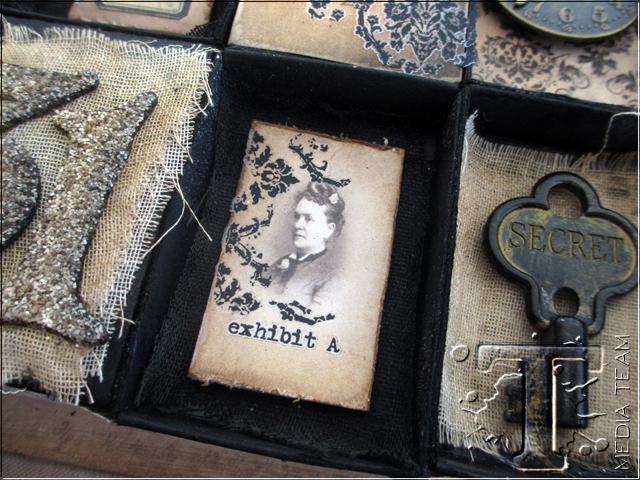
In fact all the bits that were leftover, I used on the mysterious pictures of the old women.
Tattered Banner
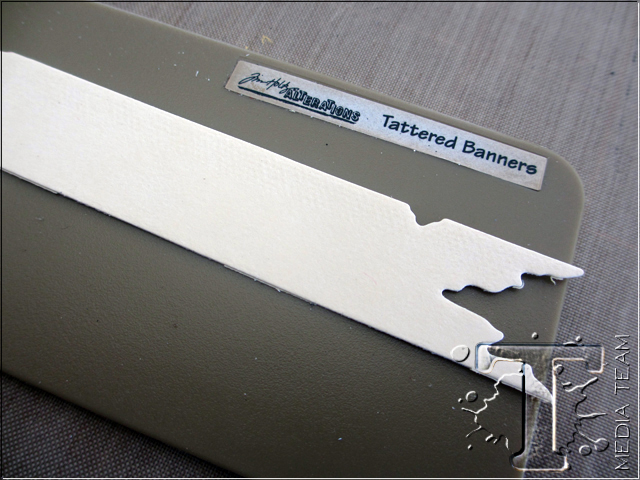
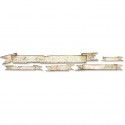
Cut the largest Tattered Banner from Manila Cardstock.
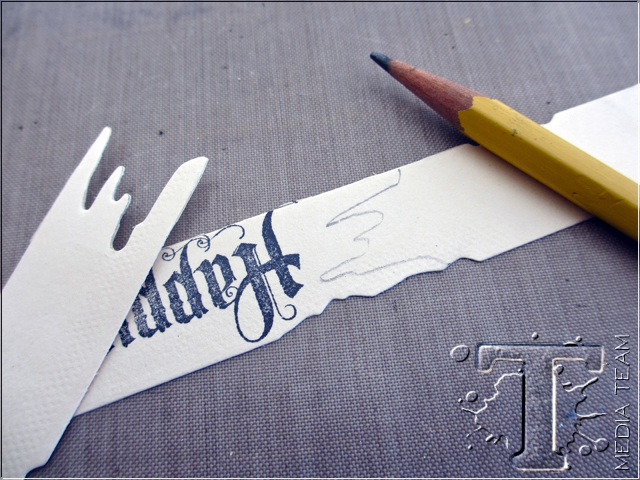
The banner is tall enough to accommodate the stamp I want to use from the Mini Halloween 3 set, but at 12” it is way too long. I stamped the words Happy Halloween on one end of the banner. I cut off the long end and used it as a pattern to create a shorter banner.

Ink the banner with Distress Ink Vintage Photo. Use the Paper Distresser rough up the edges. Spray it with water and crumple it up. Unfold it and dry with a Heat It Tool. Once dry, it will keep its shape.
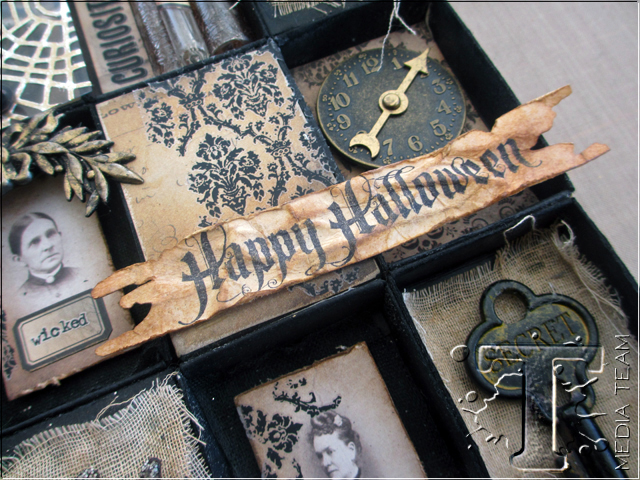
Add it to the Matchbook Collage with Multi Medium.
Stitching
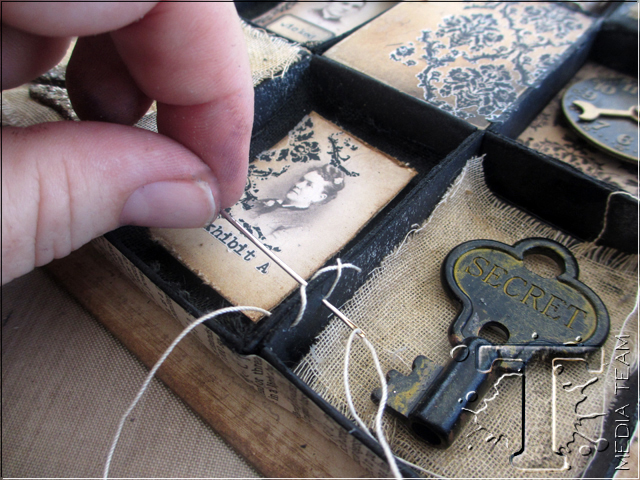
Another detail I thought might be kinda fun is using some cotton thread to stitch two boxes together.
The boxes are sturdy enough to hold the thread in place without ripping. I ended the stitching with a touch of Multi Medium on the cotton thread. Once dry, I clipped the thread close to the box.
The Hanger
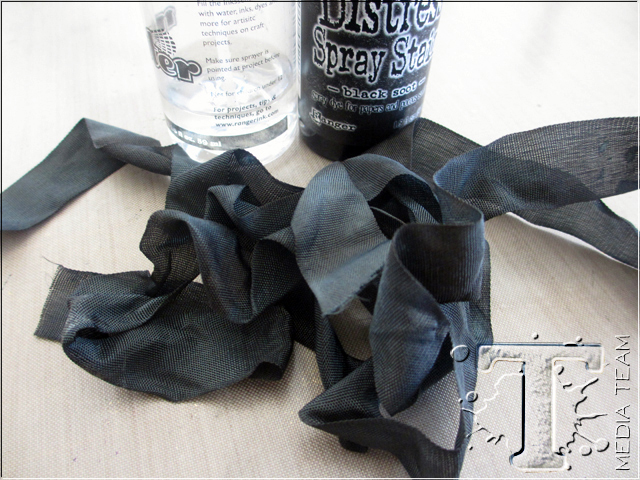
Use Distress Spray Stain to color about 2 Yards of Crinkle Ribbon. I’ve found that if you use only the Spray Stain and no water, the Crinkle Ribbon comes out much stiffer. This is the perfect project for stiffer ribbon as it crinkles really well and keeps it shape!
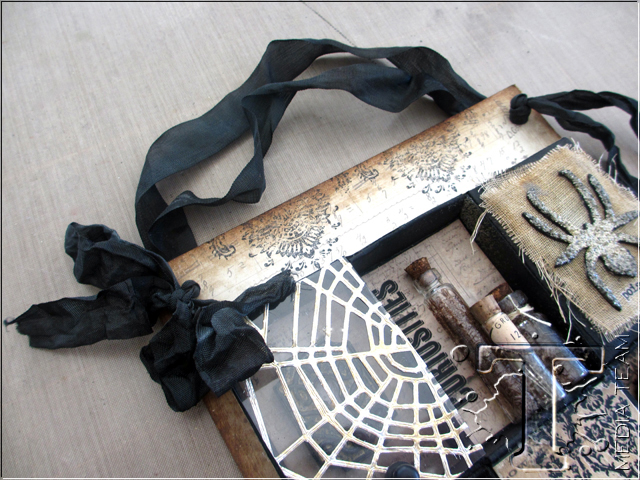
Run the doubled ribbon from one side to the other and tie a bow. You also might notice I used Jet Black Archival Ink to stamp the tip of the large Distress Damask image along the top edge.
One thing I love about this project is that the idea of the Matchbook boxes can be used with any theme and any color scheme.
Of course the ideas of what can go into the small paper boxes is limitless…quotes, family photos, or more vintage items.
I hope you try a Matchbook Collage of your own and remember, whatever the color scheme, it is the key to making your collage cohesive.
now carry on,
Paula
—
*be sure to check your local stores for these supplies or you can click the links below to purchase online…
(SSS=simon says stamp / IE=inspiration emporium)
                          |