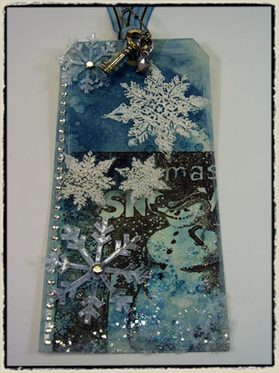
 "good ol’ frosty" – tim holtz 2007
supplies:
craft sheet (ranger)
distress inks: faded jeans, broken china, black soot (ranger)
adirondack paint dabbers: snow cap, lake mist (ranger)
stickles (ranger)
clear embossing powder (ranger)
mini mister (ranger)
heat tool (ranger)
stamp set (stampers anonymous)
bling borders (heidi swapp)
ghost snowflakes (heidi swapp)
vintage glass glitter (art institute)
tag and embellishments
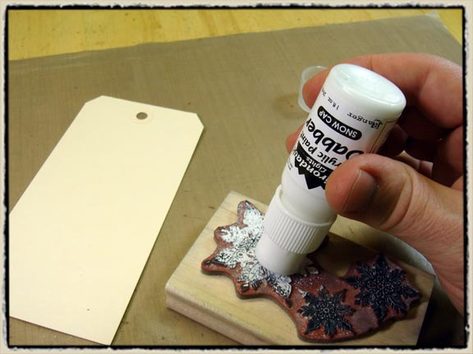
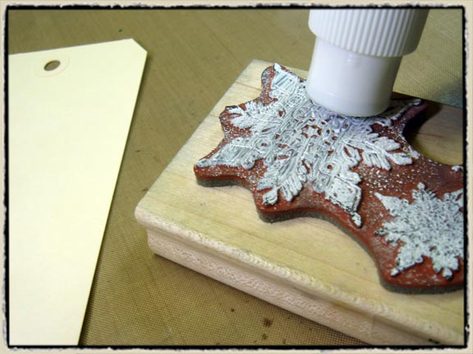
step 1: apply snow cap white paint dabber to snowflakes stamp by dabbing the paint on to the stamp.
step 2: swipe dabber across painted stamp and stamp directly on to tag with firm pressure and immediately lift off – remember you’re stamping with paint. immediately clean paint off stamp with water. (*tip: the reason i swipe the dabber across the stamp before stamping is to level out the paint on the stamp. otherwise it has "peaks" of paint from dabbing it on and if you stamped with it that way, the paint will squish out everywhere and distort your image – what a mess!)
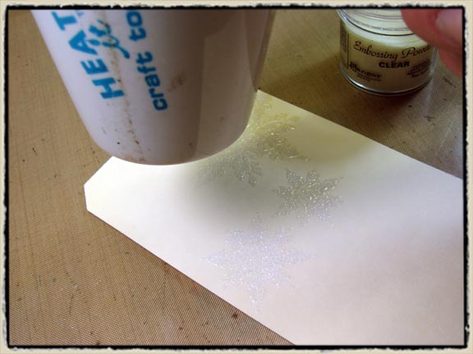
step 3: immediately apply clear embossing powder over stamped image and emboss with heat tool. (*note: this step is optional, you can just let the paint dry and then proceed to the next step)
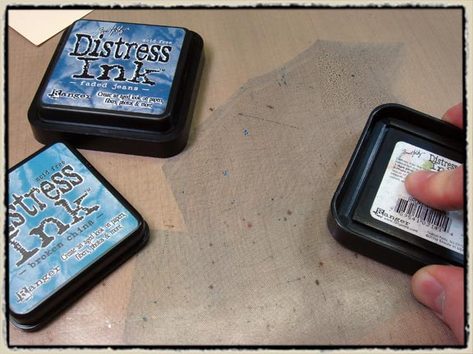
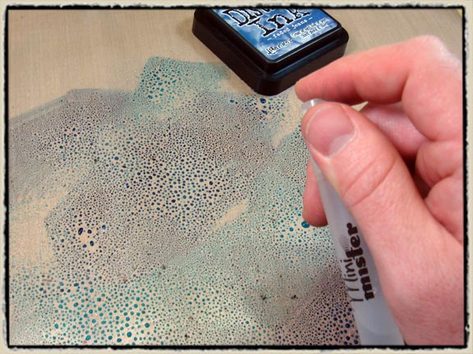
step 4: apply various colors of distress ink directly to craft sheet by swiping the pads across the surface (*tip: do not swipe one color over another to avoid contaminating your ink pads)
step 5: spray inked sheet with mini mister filled with water until "droplets" of color form
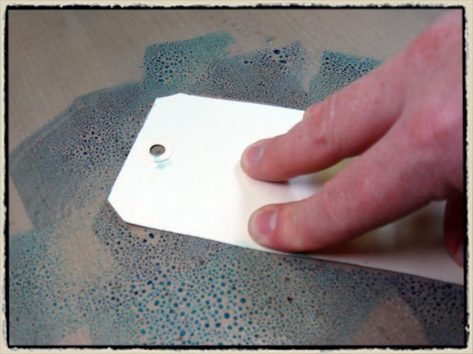
step 6: press dry stamped tag directly into ink on sheet and lift off (*tip: do not swipe tag around in ink or you will create a muddy mess!)
step 7: dry inked tag with heat tool and repeat previous step 2-3 more time until you get the look you want (*tip: drying the ink in between layers gives you more depth and better color, but do not overheat or you could re-melt the embossing powder!)
step 8: spray a paper towel with water and swipe over stamped snowflakes to reveal white color again (*tip: the embossed painted image works as a resist – cool huh?)
step 9: stamp snowman with distress ink and wipe off image that overlaps embossing powder (*remember the embossing powder resists everything!)
step 10: edge tag by swiping lake mist paint dabber along edges for a distressed look
step 11: swipe snow cap paint dabber along back of ghost shapes to distress.
step 12: embellish tag with ghosts, bling, and for even MORE bling, accent stamped areas with stickles glitter glue and vintage glass glitter.
