one of my favorite things about designing fabric is the ability to merge that surface with products I also design for the paper craft world. today, media team vicki boutin shares a clever project that can be work or used as an adornment for a journal cover or anything else you can image. get ready to let your creativity take flight…t!m
Hey friends! It’s Vicki and I’m back with another fall themed tutorial. I have been busy decorating my home and paper projects for the season and thought today I would create something to embellish me! I absolutely adore the Tim Holtz Eclectic Elements Fabrics! I am not the best at sewing so I decided to make a no-sew brooch with some fabric, inks and my favorite Tim Holtz Sizzix die. Take a look…
Supplies:
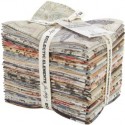
- Surfaces: Grungboard (1), Tim Holtz Eclectic Elements Fabric
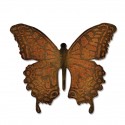
- Dies: Layered Butterfly
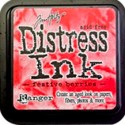
- Distress Ink: Distress Mini’s #11 Shabby Shutters, Festive Berries, Tea Dye, Milled Lavendar
- Distress Paint: Antiqued Bronze
- Distress Glitter: Clear Rock Candy
- Alcohol Ink: Pebble
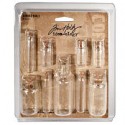
- Embellishments: Corked Vials, ChitChat stickers
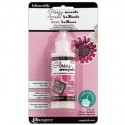
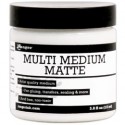
- Mediums: Multi-Medium Matte, Glossy Accents
- Tools: Craft Sheet, Heat It tool, Mister Spray Bottle, Vagabond
- Other: silver seed beads, 20 gauge copper wire, pliers
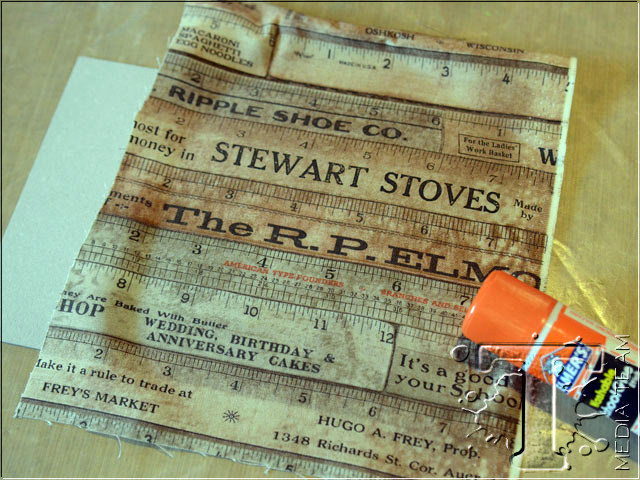
Adhere fabric to Grunge Board with a glue stick. Let dry. This will be your base.
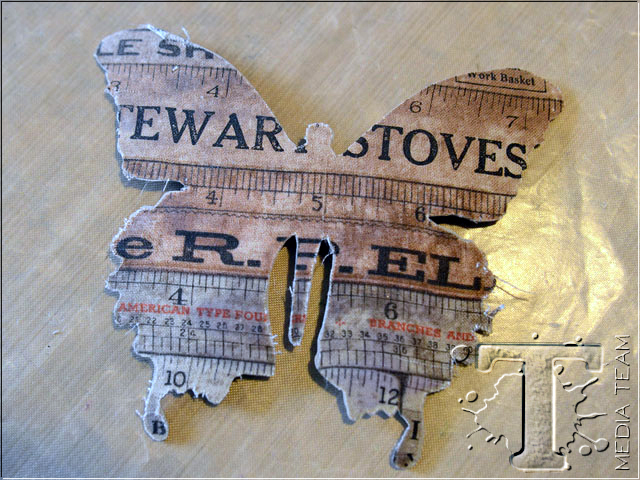
Cut a butterfly shape from the covered Grunge Board using the Sizzix Bigz Die w/Texture Fades Layered Butterfly die.
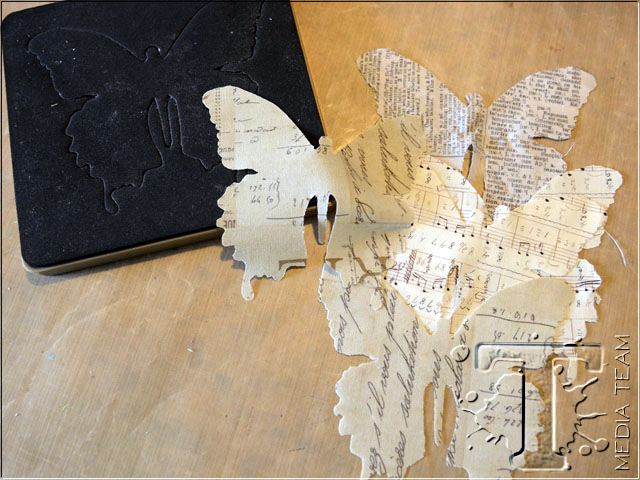
Use the die to cut a 3-4 more butterflies from your favorite Tim Holtz Eclectic Elements Fabric. The lighter backgrounds will work best.
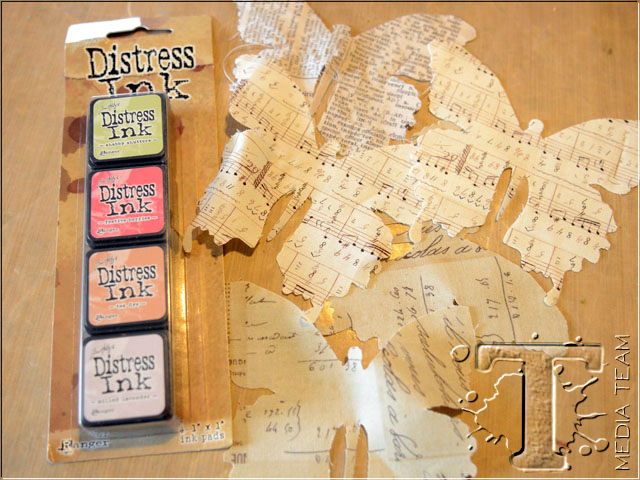
I just picked up the Distress Ink Mini Set #11 and I think it will be perfect for a fall color palette for this project.
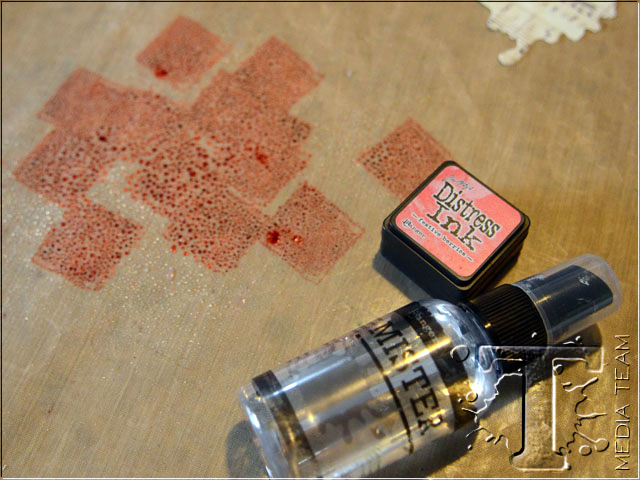
Add Festive Berries Distress Ink to your Craft Mat and mist.
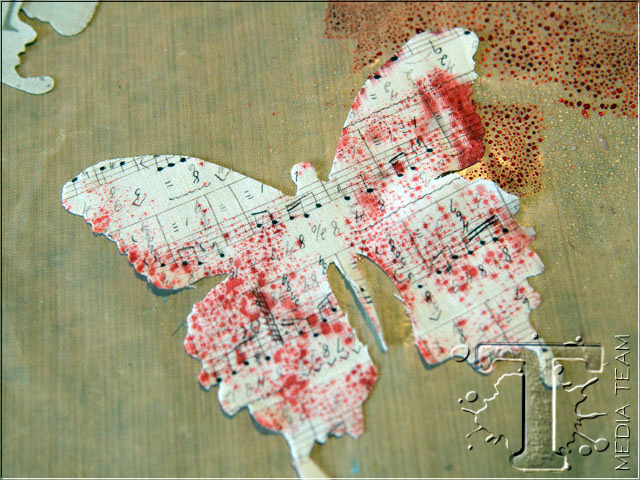
Place one of the fabric butterflies in the ink to obtain your desired color coverage and heat set or let dry.
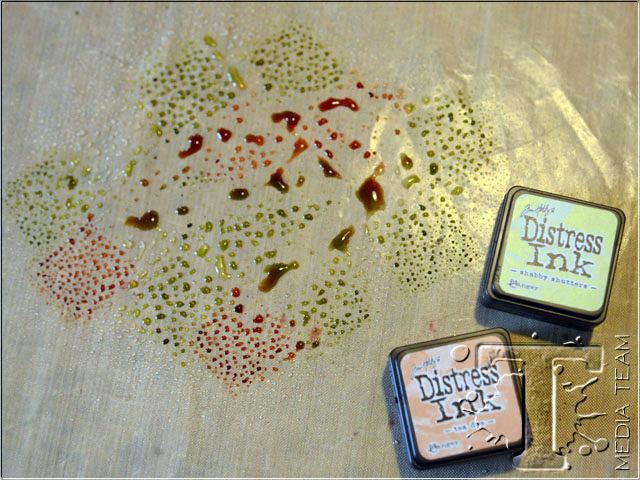
Add Shabby Shutters Distress Ink and Tea Dye Distress Ink to your Craft Mat and add some color to a second fabric butterfly.
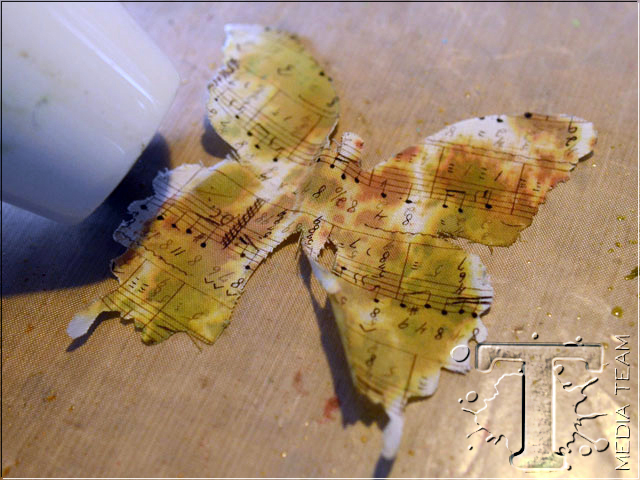
Heat set the color on the second butterfly.
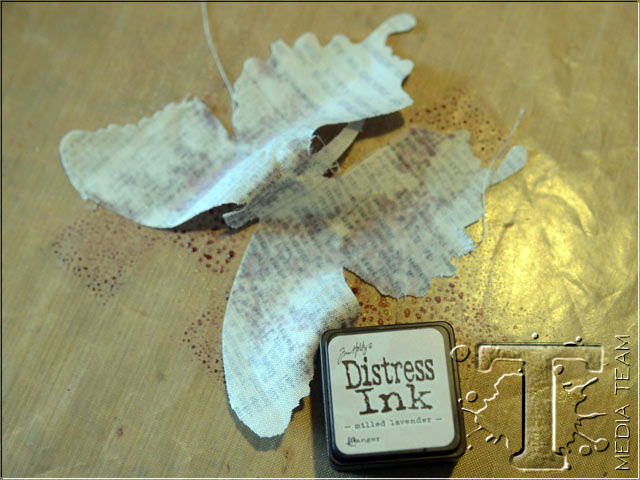
Color a third fabric butterfly with Milled Lavender Distress Ink and heat set.
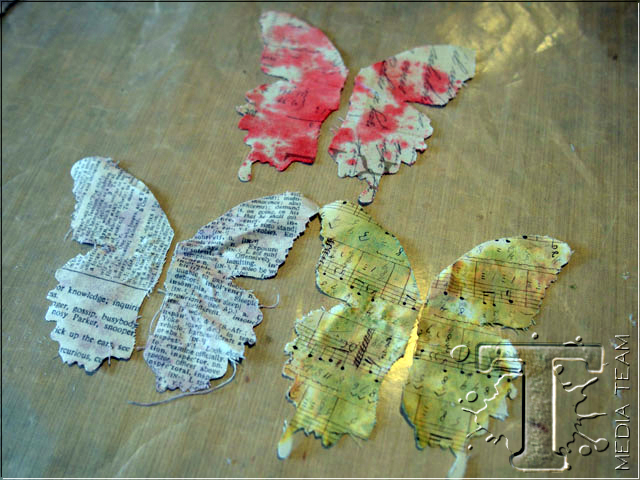
Cut the wings from the three fabric butterflies.
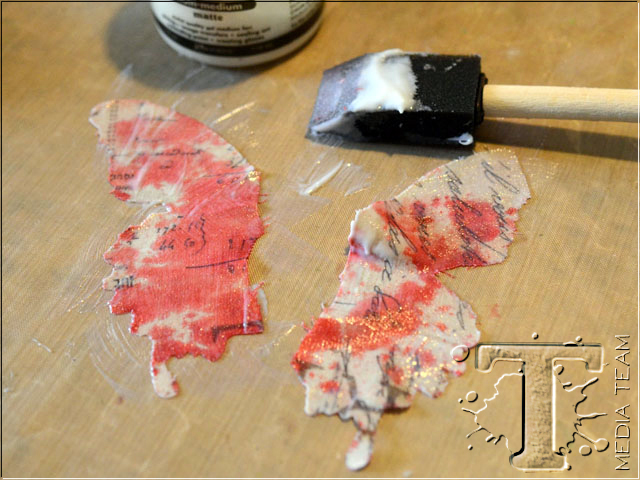
Apply a layer of matte Multi Medium to the front of all of the fabric wings and let dry. Repeat on the back side of the wings. Allow them to completely dry.
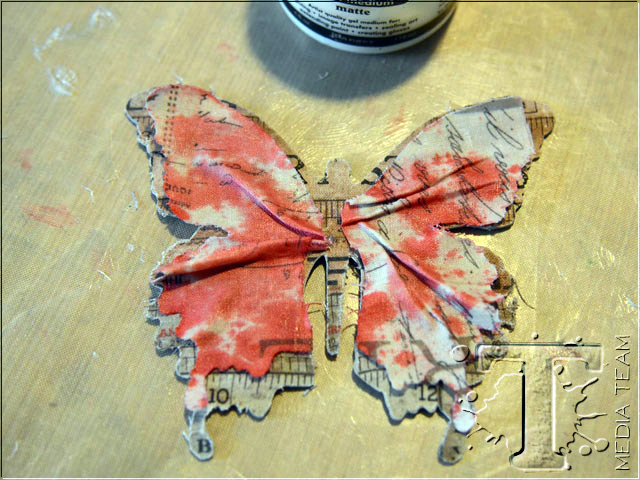
Create folds in the first set of fabric wings and add them to the fabric covered Grunge Board butterfly base with matte Multi Medium. Only adhere them near the center of the base, leaving the outer wing area unattached.
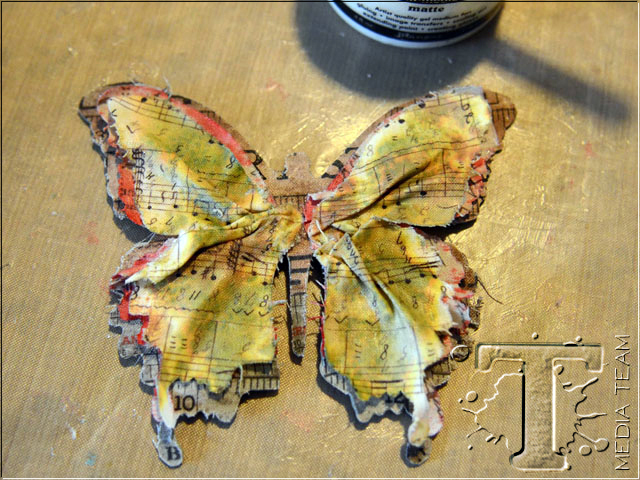
Adhere the second set of wings. Note that each layer is visible as the next set of wings are added. Fold the layers in the wings tighter to make them slightly smaller.
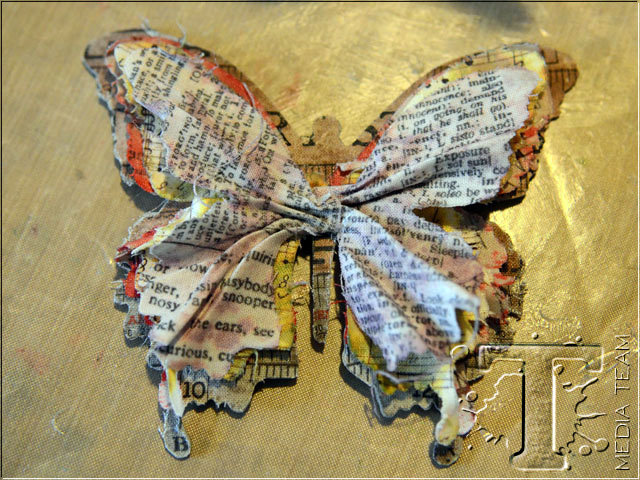
Add the final layer of wings. Allow the butterfly to completely dry.
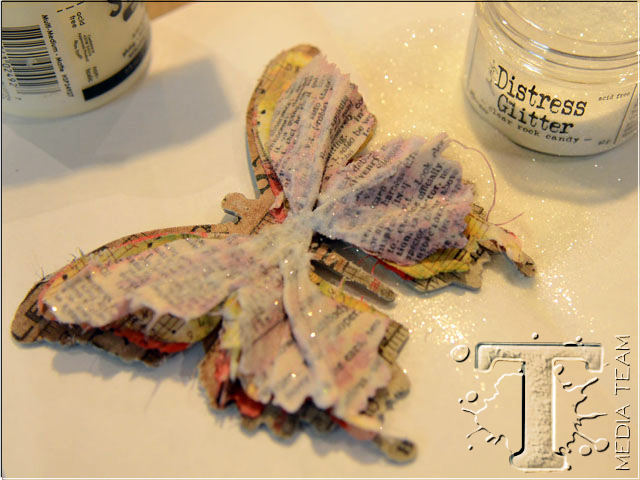
Apply some matte Multi Medium to the top set of wings and sprinkle with Clear Rock Candy Distress Glitter to add a little sparkle. Let dry.
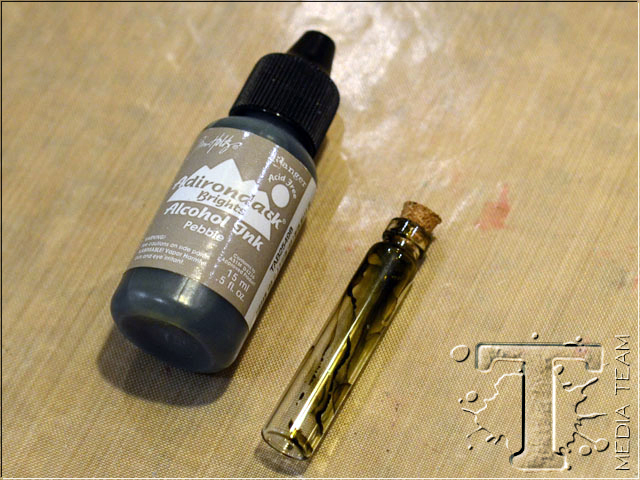
Add a few drops of Pebble Alcohol Ink inside a glass vial, swirl it around and allow it to dry. You may need to repeat this step to achieve the desired color coverage.
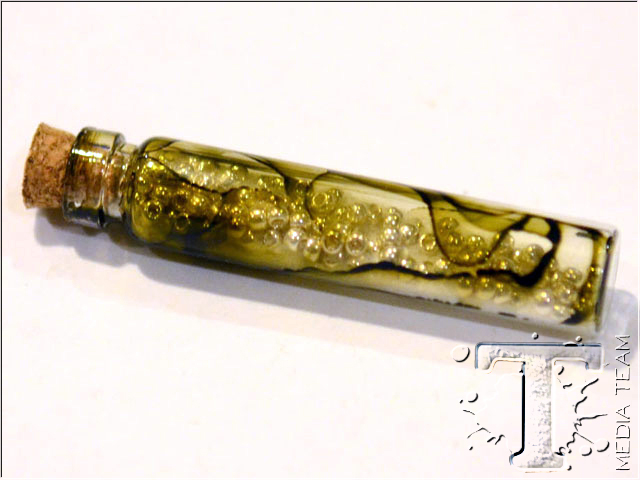
Add seed beads and Clear Rock Candy Distress Glitter inside the vial.
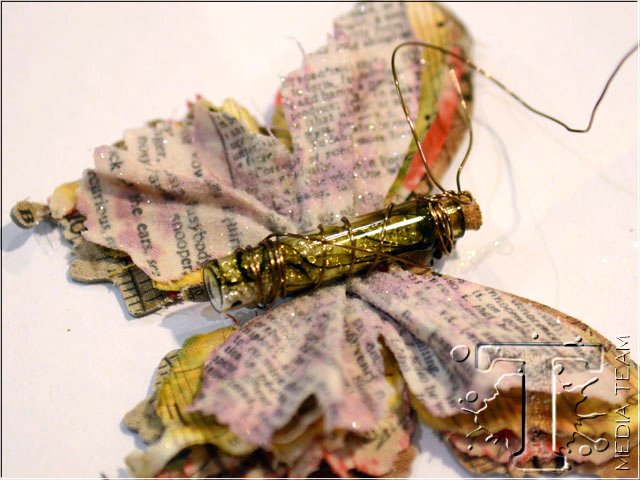
Wrap some 20 gauge copper wire around the glass vial to attach it to the butterfly.
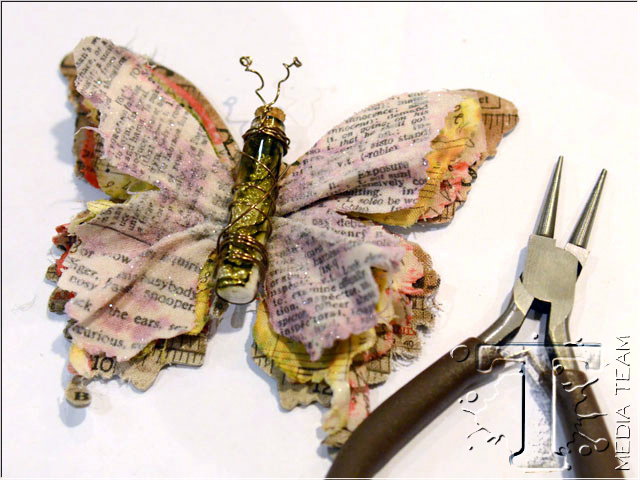
Create the “antennae”.
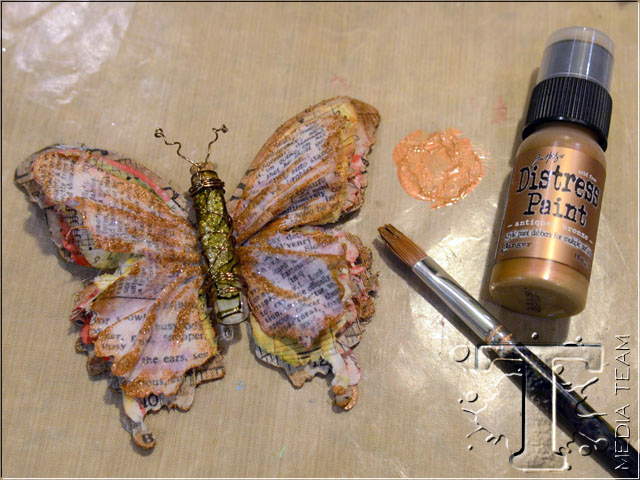
I decided to add a little Antiqued Bronze Distress Paint to highlight the detail in the wings. This step would be a lot easier if you completed it before adding the glass vial!
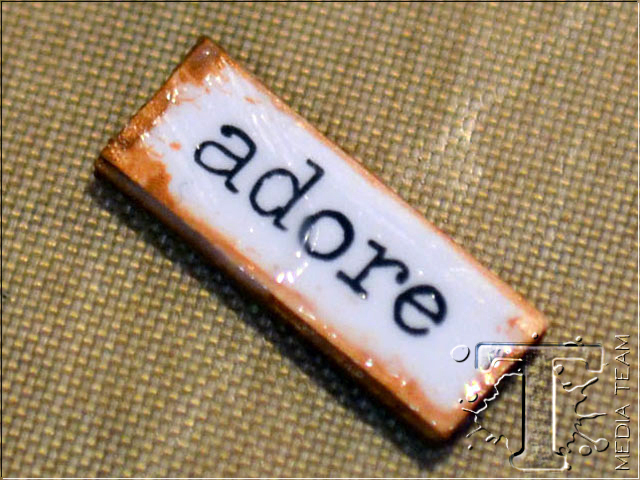
Adhere a ChitChat sticker to a piece of Grunge Board and edge it with the Antiqued Bronze Distress Paint. Once dry, add a coat of matte Multi Medium, let dry and add it to the glass vial with Glossy Accents.
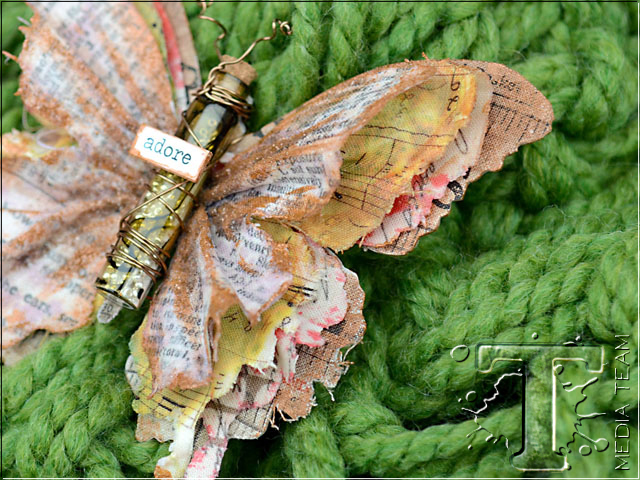
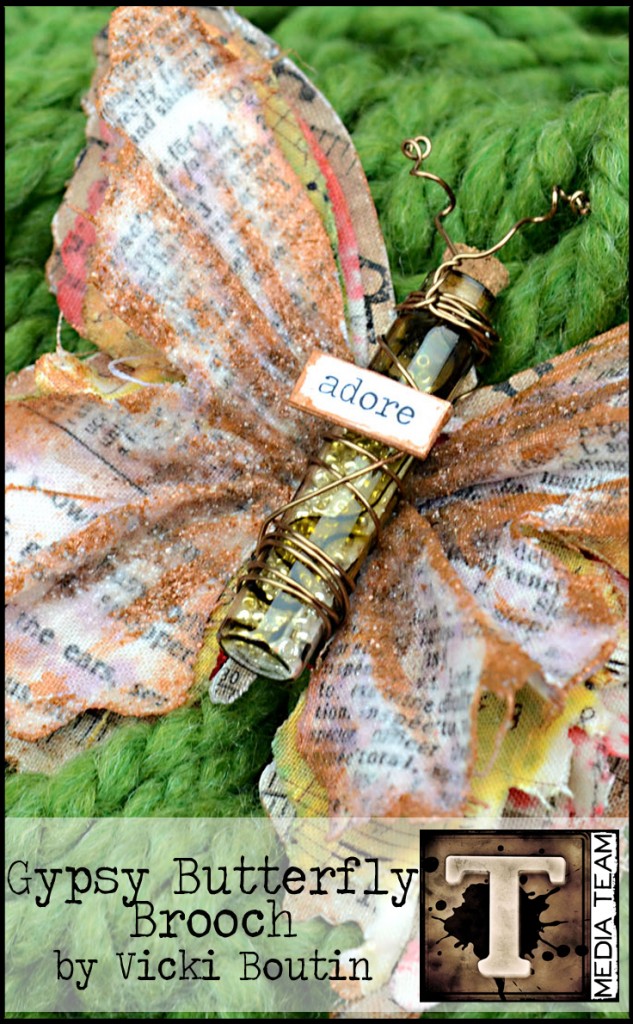
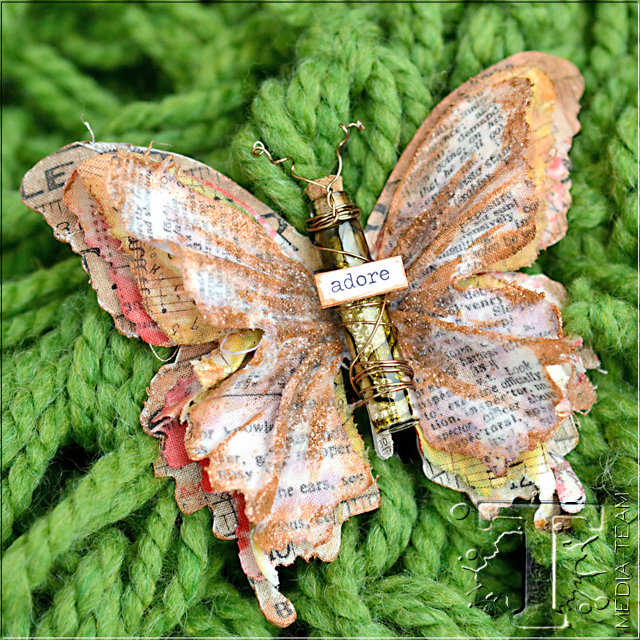
Take a look at the completed Gypsy Butterfly Brooch! It will be a perfect addition to this scarf my friend made for me!
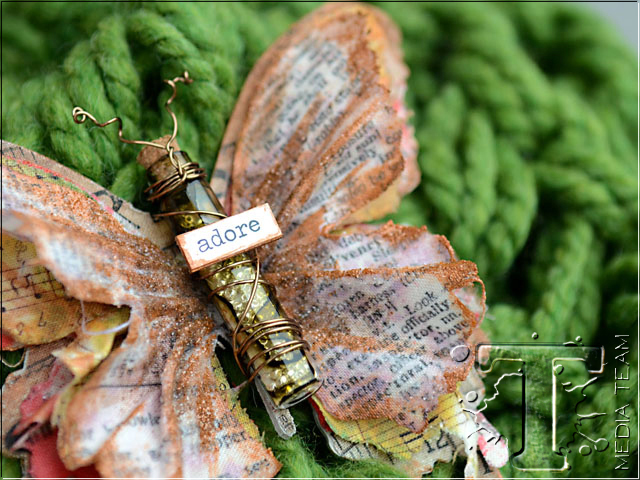
Here is a closer look at the glass vial and wing detail. Note that the Pebble Alcohol Ink creates the look of “veining”…similar to the appearance of a Monarch Butterfly’s wings.
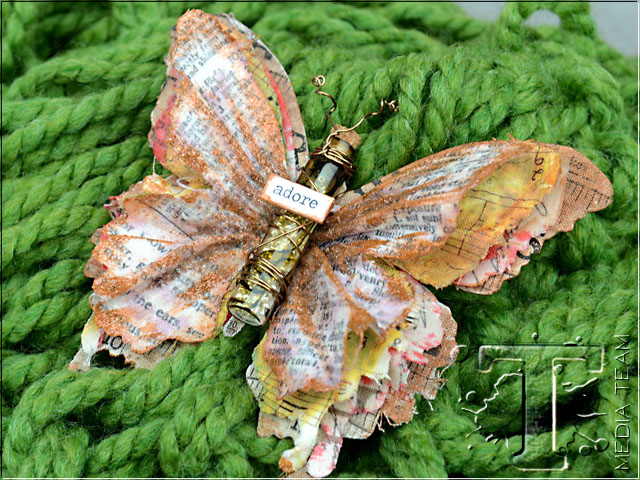
Note with this side shot of the butterfly that the wings are lifted and separated. You can manipulate the pieces to create the shape.
Well I hope you are inspired to create something using Tim’s Eclectic Elements Fabric. I love them and can’t wait to create a few more of these brooches as gifts! Thanks for stopping by!
Vicki
—
*be sure to check your local stores for these supplies or you can click the links below to purchase online…
(SSS=simon says stamp / IE=inspiration emporium)
              |
Pin it to remember it!
