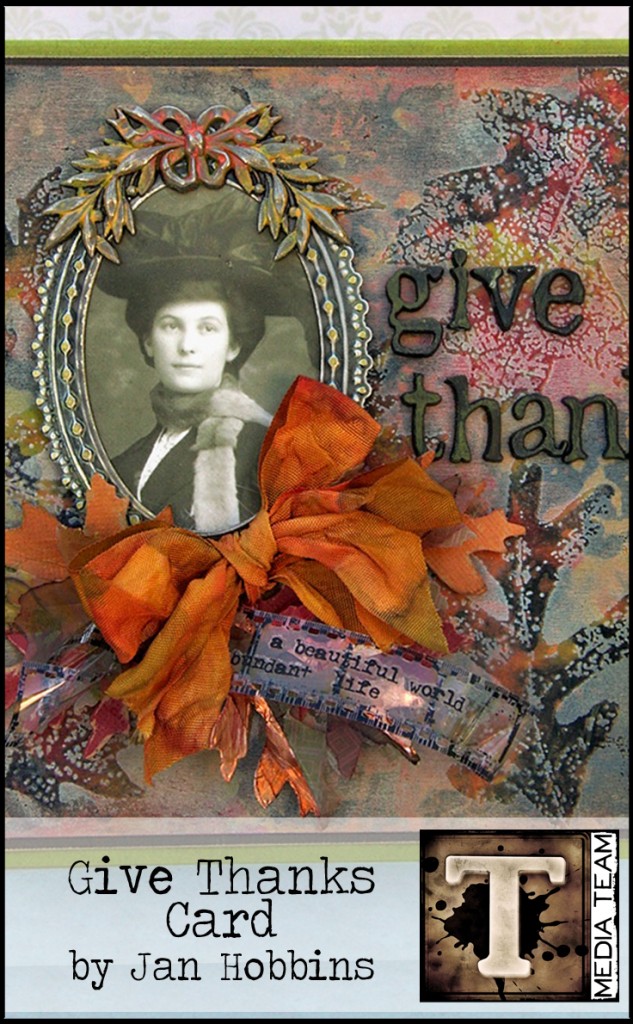
media team jan hobbins layers the rich warm colors of fall to create this thankful card. incorporating stamps, dies, and imagery is jan’s specialty when it comes to creative layering with inks and paints. i’m sure you’ll agree when you see just how she does it…t!m
Hi everyone, today I’m sharing an autumn inspired card featuring some of my favorite Idea-ology products. You may have noticed, I can’t seem to use an embellishment without altering it in some way! I guess that’s what I love about Tim Holtz products, everything can be altered to match your colour scheme or look of your project.
Supplies:
- Surfaces: Ranger Black Cardstock, Wallflower Vellum, Core’dinations Tim Holtz Kraft Cardstock #24, #11, Ranger Vintaj Arte Foil – Copper
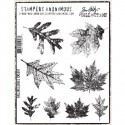
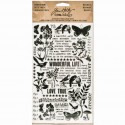
- Stamps: Stampers Anonymous Falling Leaves CMS097
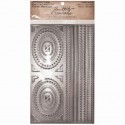
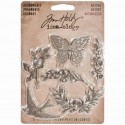
- Dies: Mini Tattered Leaves Set
- Embellishments: Industrious Stickers – Frames & Trims, Found Relatives, Adornments – Nature, Crinkle Ribbon, Newsprint Alpha Parts, Filmstrip Ribbon, Remnant Rubs – Botanical
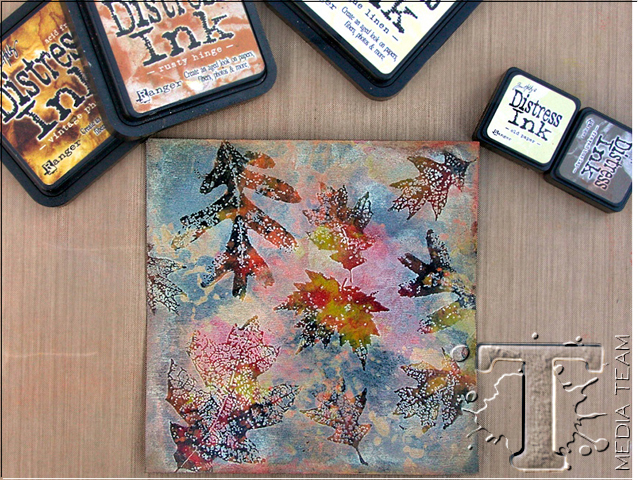
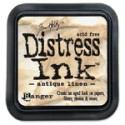
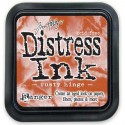
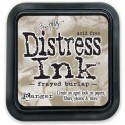
- Distress Ink – Vintage Photo, Rusty Hinge, Antique Linen, Old Paper, Frayed Burlap; Distress Embossing Ink
- Distress Paint: Crushed Olive, Wild Honey, Ripe Persimmon, Barn Door, Spiced Marmalade, Antique Linen, Old Paper, Peeled Paint
- Embossing Powder: Ranger Clear Embossing Powder
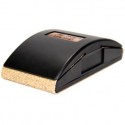
- Tools: Ranger Mister Bottle, Ranger Craft Mat, Heat It Craft Tool, Sanding Grip, Grid Blocks; towel or paper towel
- Adhesive: Wonder Tape
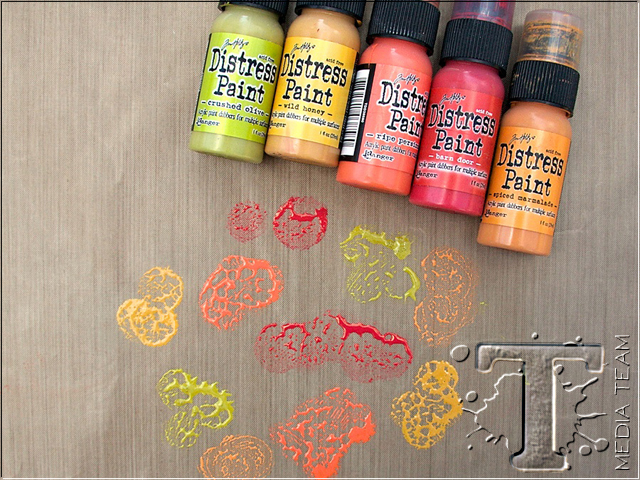
My card started with making my own background paper using Ranger’s black cardstock cut to a 5 1/2” x 5 1/2” size. Love this cardstock, it’s nice and thick for cards. I’m sure a lot of you have taken part in Tim’s Creative Chemistry Online classes, where he teaches some amazing techniques using his products. This technique is inspired by one of his classes. O.k., I’ll be honest, I can’t really remember the whole technique, and instead of looking it up, I just decided to take what I could remember, and play. I started off with my selected distress paints, all vibrant autumn leaf colors. I dabbed them on my craft mat, spritzed with a bit of water and swiped my black cardstock through it.
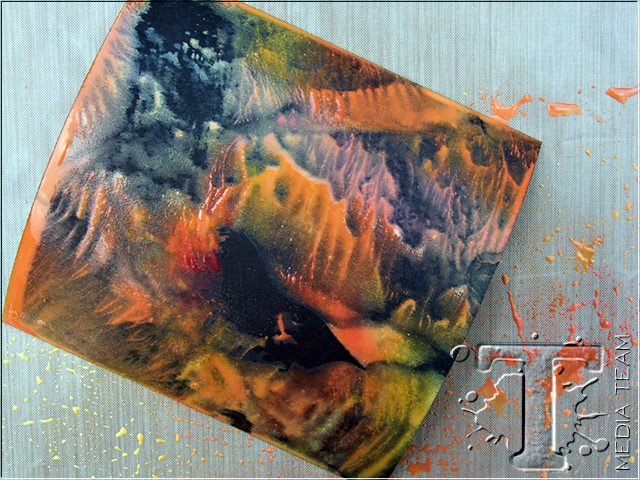
My first attempt, I had spritzed too much water. The black cardstock reacted differently than white or manila paper, it seemed to absorb into the paper more. The colors weren’t as vibrant as I wanted, so I repeated using less water.
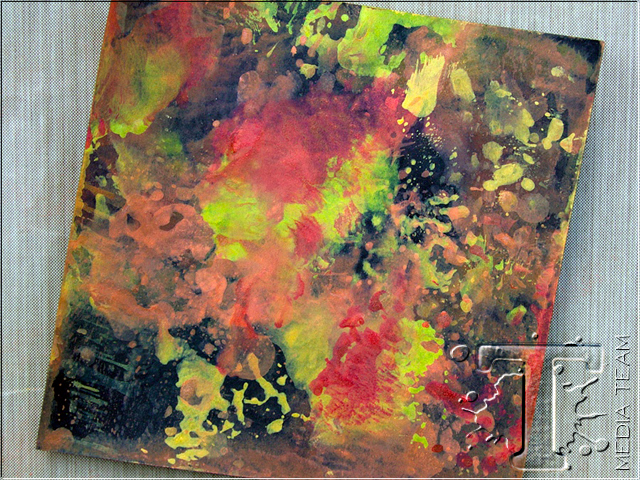
The paper wasn’t as marbled looking and I know it seems like a big mess of colours, but most of this will be covered. I wanted to leave some of my black cardstock showing through, so I didn’t cover the entire piece of paper. After I was satisfied that I had lots of vibrant colour, I heat dried my paper.
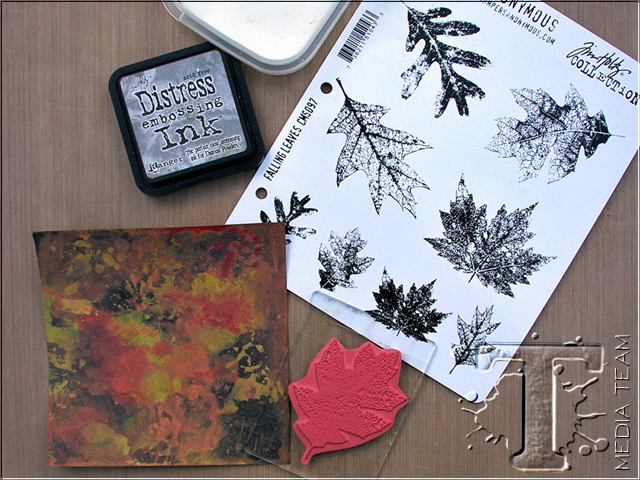
Next I took one of my favorite stamp sets, the Falling Leaves collection by Stamper’s Anonymous and stamped randomly on my altered paper with Distress embossing ink. I then embossing with clear embossing powder and heat dried. Because I seem to use clear embossing ink a lot, I have a larger amount. I like to keep it in a small plastic container so it’s easier to pour the powder back into.
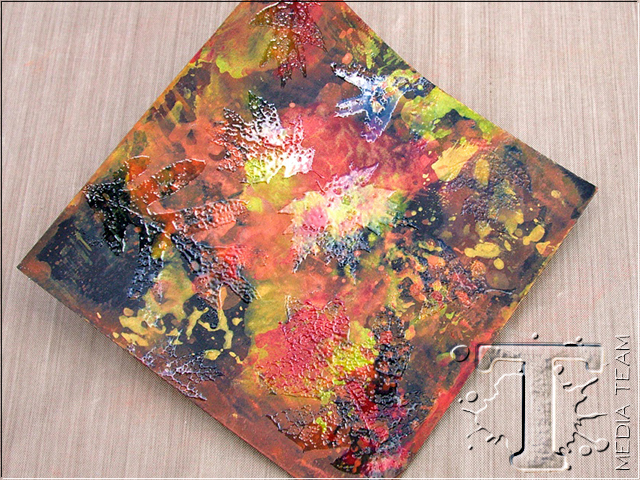
It’s hard to see in the photo, but your leaves will be a shiny clear image on your paper.
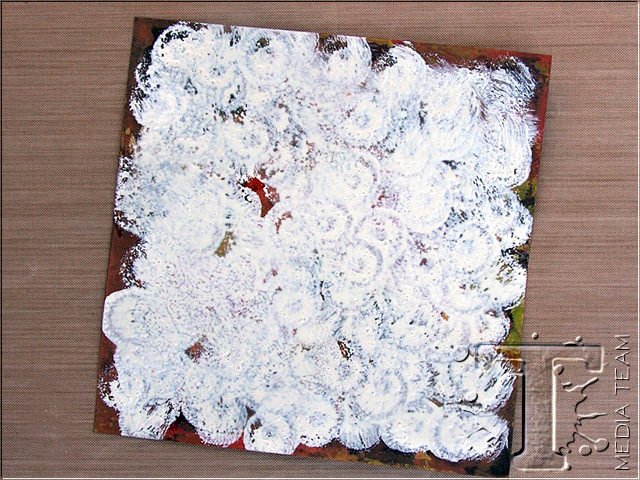
This next part doesn’t look so good but trust me, it will look better! Take Antique Linen distress paint and dabbed it all over your paper. I didn’t bring it all the way to the edges, as I wanted the color to show through there more. Let it air dry just a little bit before the next step. It should still look damp.
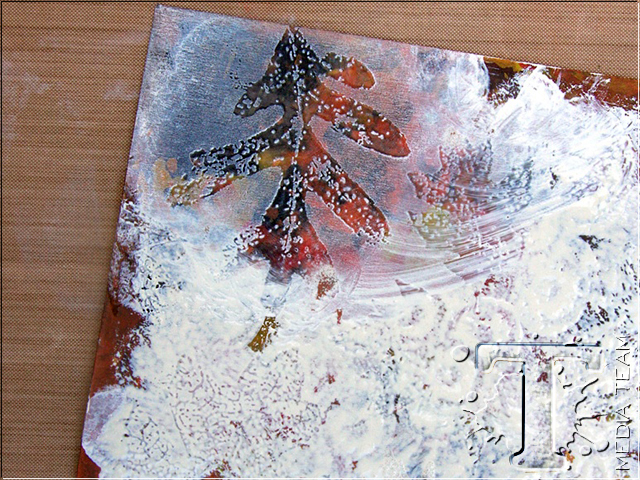
With a damp cloth or paper towel, wipe off the paint before it has dried.
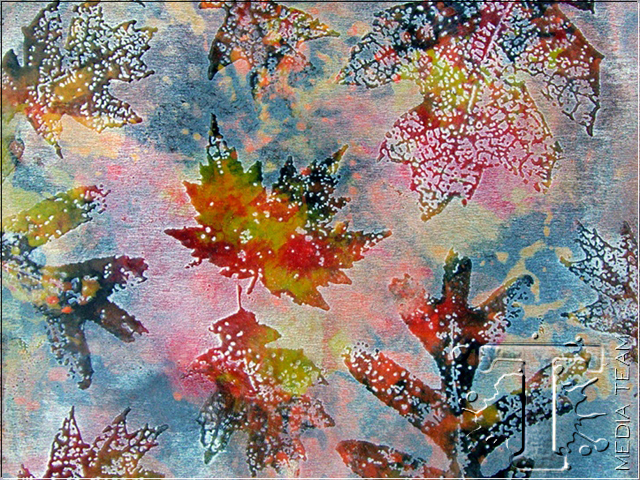
This is what it will look like after the paint is wiped off. The stamped leaves act as a resist and your wonderful colors show through. I like how the leaves look like they are floating in water, and you still can see a bit of the color in the background.
I added a combination of neutral Distress ink colours to my paper, to warm up the background, especially around the edges. It also gives a nice finish to the painted paper.
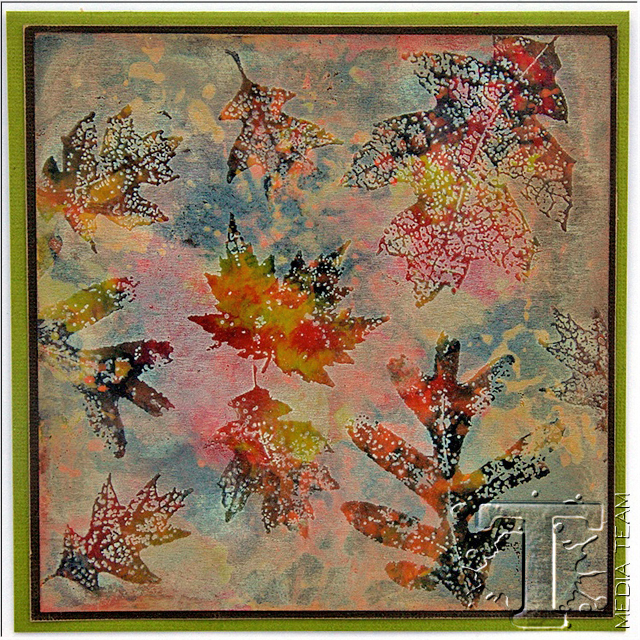
Now that your background paper is finished, it can be matted and adhered to a 6” x 6” card base. I used Core’dinations Tim Holtz Kraft cardstock. Now your card is ready for the embellishments. I really had a hard time deciding what part I was going to cover!
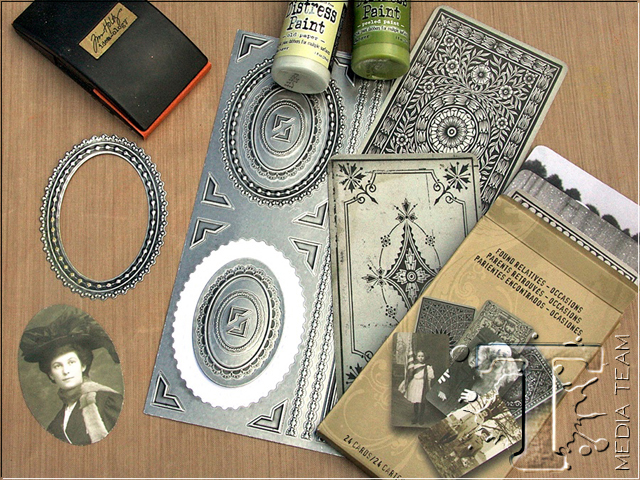
Idea-ology Industrious stickers have got to be one of my favorite embellishments, especially these frames and trims. I sure hope there are going to be more in the future! Instead of trying to find colored embellishments that match your projects, just use neutral ones and add a hint of the color you need.
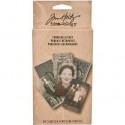
I used the largest frame and placed it on my craft sheet, then lightly sanded the raised areas. I then painted with distress paint and wiped off the excess while wet. The paint will adhere mostly to the sanded areas. For my photo, I used one card from Idea-logy’s Found Relatives, cut to slightly smaller than the frame. I don’t know what I like more about these cards, the photos or the beautiful card backs! This lady was in the first series of cards, and the pack in the photo is from the new Occasions series. Adhere the card photo to the back of the frame.
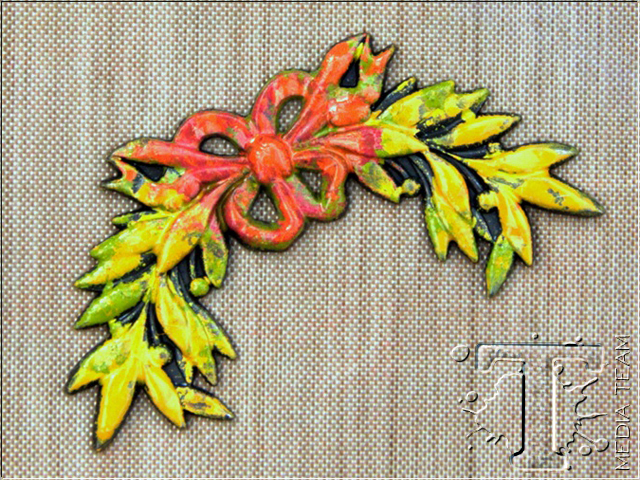
I wanted to embellish my frame a bit more, so I used one of the metal Nature Adornment Charms. I applied Distress paint to my charm and wiped off the excess, leaving the paint mostly in the recessed areas.
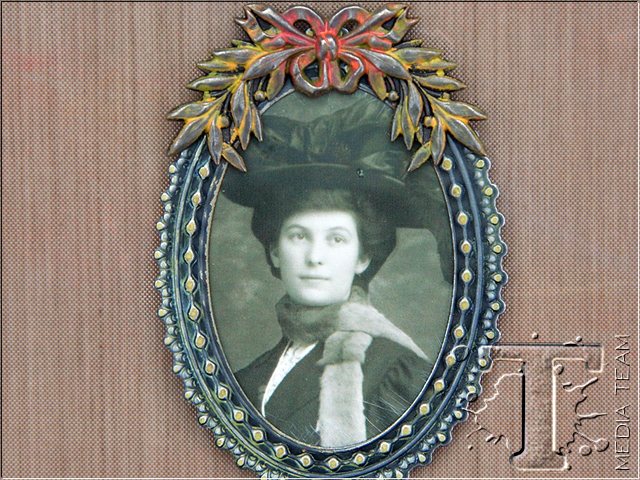
I then adhered the charm to the top of my frame. This is now ready to be adhered to your card base.
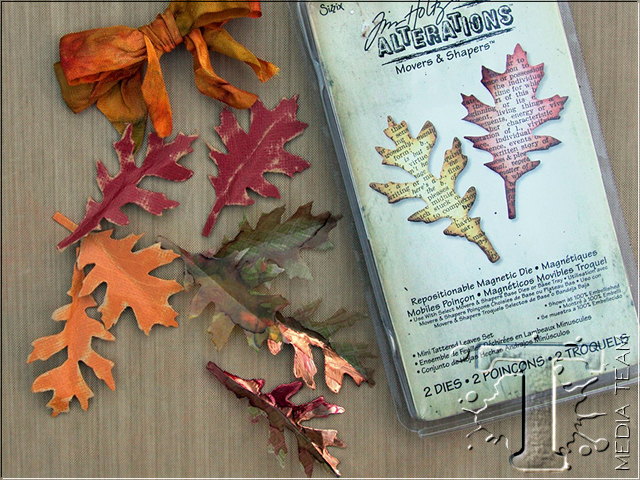
My leaves were die-cut using Sizzix’s Tim Holtz Mover’s & Shapers Mini Tattered Leaf Set. I used Wallflower Vellum, Core’dinations Kraft Cardstock, and Ranger’s Vintaj adhesive Copper sheets. The centers of my leaves were scored, and the cardstock sanded on the edges. The vellum pieces were highlighted with Cranberry and Ginger Alcohol inks. One leaf was cut out using the Vintaj Copper sheet. This, I cut in half and applied each half to a vellum leaf and lightly sanded.
My ribbon was dyed with Distress inks and spritzed with water. I take the dyed ribbon and put inside a piece of paper towel, squeeze out the excess, then heat dry while it is still scrunched up. Tie into a bow. The leaves are adhered to the bottom of the frame and the bow added on top.
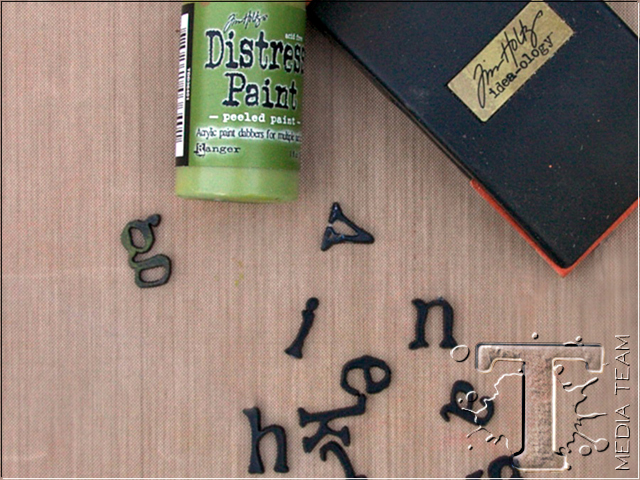
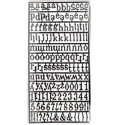
The letters are Idea-ology Newsprint Alpha Parts. After snipping off my letters, I lightly sanded the tops and applied a small amount of Distress Paint. Again, wipe off the excess so that there’s just a hint of color. Attach these to your card.
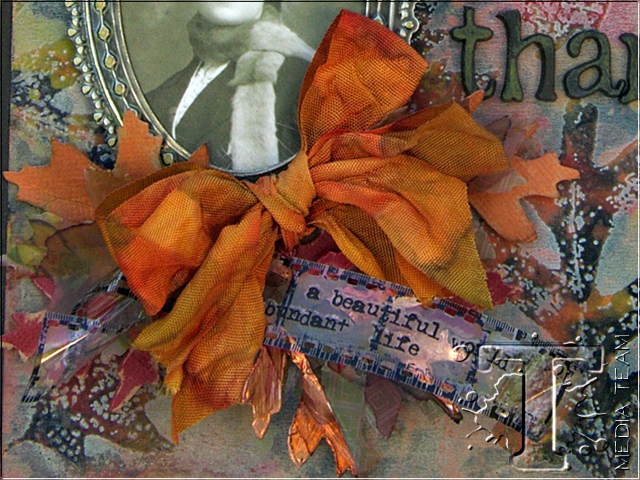
To finish off my embellished card, I snipped off a piece of Filmstrip Ribbon. Because this is a plastic, it likes to lay flat. To make it stay curled, I take one end, twist it and hold it with a pair of tweezers. I then use my heat gun and heat it gently, moving the heat tool. You don’t want to melt it, just slightly heat it, take away the heat, let it cool down while still holding it in the tweezers. Just remember, your tweezers can get hot fast, so don’t burn yourself! This softens it enough that when cooled, the twists or curls will stay in place. Apply rub-on words from Botanical Remnant Rubs and then adhere underneath the ribbon with Wonder Tape.
Hope you enjoyed my card tutorial, and it inspires you to experiment with all your different mediums to create your own patterned papers. If you haven’t taken any of Tim’s online Creative Chemistry classes, I highly recommend it. I think I need to go back and look at all of them again, so I can refresh my memory!
Jan
*be sure to check your local stores for these supplies or you can click the links below to purchase online…
(SSS=simon says stamp / IE=inspiration emporium)
                         |
pin it to remember it!