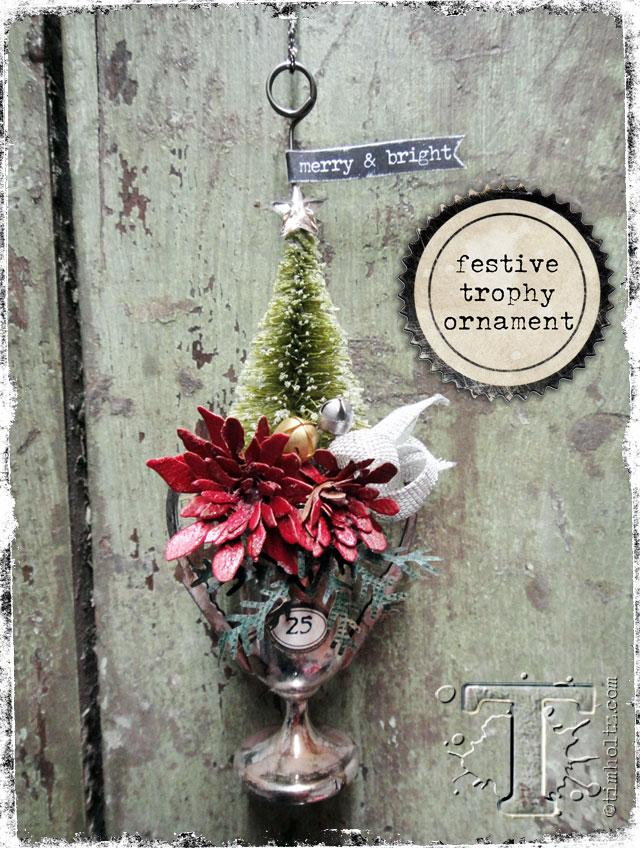
 i love the christmas craft season! today i want to share a festive trophy cup ornament which would also make a great party favor or place setting idea. this one is all in the details so get ready to deck the halls with holiday inspiration…t!m
supplies:
- surface: trophy cup
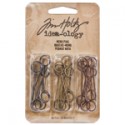
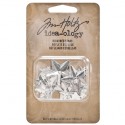
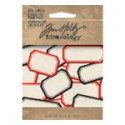
- embellishments: mini woodland tree, memo pin, mirrored star, vial label, small talk sticker/occasions, jingle brads, ribbon
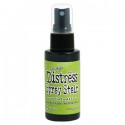
- distress spray stain: peeled paint
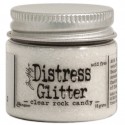
- distress glitter: clear rock candy
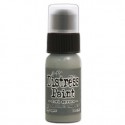
- distress paint: iced spruce
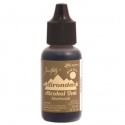
- alcohol ink: mushroom
- archival ink: jet black
- cardstock: kraft core
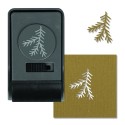
- dies & punch: tiny tattered floral thinlit, pine branch punch
- stamp: CMS247 christmas magic
- adhesive: glossy accents, hot glue
- tools: sanding grip, vagabond, scissors, craft sheet
- misc: wire, 1″ styrofoam ball
 step 1: remove the wood base from a mini woodland tree (you can also cut a larger woodland tree down to size).
 step 2: place tree on to a paper towel and spray with distress spray stain until desired color is achieved.
 step 3: wrap the tree with the paper towel to remove the excess ink and allow tree to dry.
 step 4: apply a puddle of glossy accents on to craft sheet.
 step 5: rub glossy accents on tips of tree branches with your finger.
 step 6: immediately cover with rock candy distress glitter.
 step 7: tap off excess glitter and set aside to dry completely.
 step 8: apply iced spruce distress paint to craft sheet and rub paint on to trophy cup with your finger leaving some of the silver exposed.
 step 9: ink painted trophy cup with mushroom alcohol ink using the foam tool (this softer foam will “squish” making it easier to get ink into curved areas of the trophy cup).
 step 10: die cut 2 different sizes of tiny tattered florals from red kraft core cardstock.
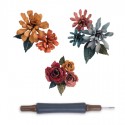
 step 11: use included quilling tool and work from the outside in rolling the flower, then remove from the tool as shown.
 step 12: apply a dot of hot glue on to the flat area at the end of the spiral as shown.
 step 13: stacked rolled flower on to hot glue and fold out petals of flower as shown.
 step 14: repeat previous steps for second flower (i think the pointy flower looks like a poinsettia).
 step 15: sand green kraft core and punch out two pine branches.
 step 16: glue styrofoam ball into trophy cup using hot glue.
 step 17: adhere tree into styrofoam ball using hot glue.
 step 18: continue gluing all elements into the trophy cup using hot glue. *for the bow, wrap 2 loops of ribbon around your fingers and secure in the middle with thin wire. *if you don’t have jingle brads you can use small bells instead.
 step 19: create a mask for the stamp using a piece of painters tape allowing you to just ink the 25 with archival ink.
 step 20: remove the tape and press a tiny vial label over the stamp.
 step 21: adhere the vial label to the trophy cup with glossy accents.
 step 22: select a quote from small talk/occasions.
 step 23: snip one end of the sticker to create a flag and sand edges with a sanding grip.
 step 24: adhere the straight end of the sticker around a memo pin using glossy accents.
 step 25: adhere mirrored star to top of tree with hot glue and insert memo pin into tree securing with hot glue.

