 i received an email earlier this month asking if i had a stamp set to match the new fall foliage die set from sizzix. although the answer was no, it got my mind thinking of other possibilities. as a crafter, it’s important to continue to challenge our creative way of thinking, to explore options, discover opportunities, and make an effort to work with what we have, and not settle for what we don’t. today’s distress leaves tutorial is a result of following that advice. these are so easy to make and so realistic, you can use them for all types of fall projects from place cards to scattering them on a table for decor. happy fall everyone…t!m
supplies:
- surface: mixed media cardstock
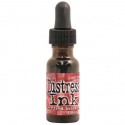
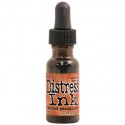
- inks: DIY distress pad, distress reinkers/fired brick/spiced marmalade/fossilized amber/peeled paint/vintage photo/walnut stain, distress ink/frayed burlap, archival ink/potting soil
- paint: distress paint/tarnished brass
- tools: craft sheet, distress splatter brush, distress sprayer, heat tool, mini ink blending tool
- dies: fall foliage, vagabond, precision base plate
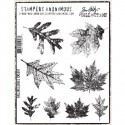
- stamps: CMS097 falling leaves, grid-blocks
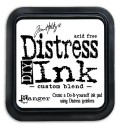
 step 1: create a fall palette DIY distress pad. i love this product so much, and have a stash of custom blended distress ink pads for various seasons and favorite color palettes. if you’re not familiar with the DIY distress ink pad, check out the video below…
 step 2: swipe distress ink pad directly on to the craft sheet twice while applying pressure to transfer ink to the sheet.
 step 3: mist ink with water from distress sprayer to create droplets of color.
 step 4: press a sheet of mixed media cardstock into ink to transfer colors. *note: don’t swipe through the inks to avoid creating “mud”.
 step 5: start to dry the inks with a heat tool, but not completely.
 step 6: slowly squeeze the trigger of the distress sprayer to “spritz” water and create the mottled effect.
 step 7: tap the paper into remaining ink on the craft sheet to also pick up splotches of color and dry completely with a heat tool.
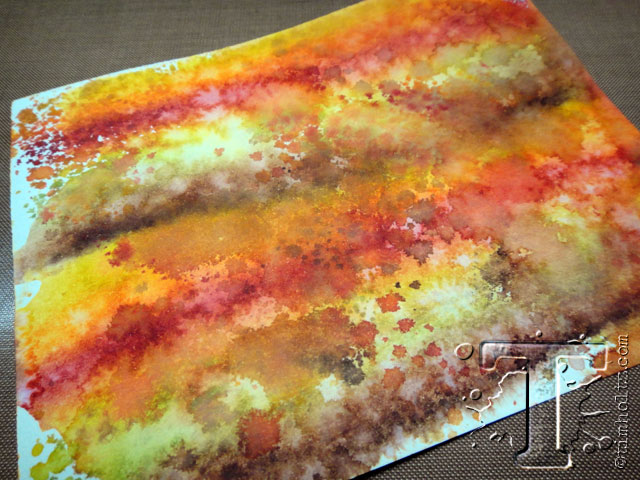 *look at this amazingly colorful background created with a couple of swipes from a single ink pad…
 step 8: shake metallic distress paint and apply a puddle of paint to the craft sheet.
 step 9: dip distress splatter brush into the paint.
 step 10: splatter the background to create a colorful speckling of metallic. if you’re not familiar with the distress splatter brush, check out the video below…
 step 11: gather your set of sizzix fall foliage thinlit dies. the cool thing about this set is that it features 4 different leaves in 3 sizes each, wheat, and a branch.
 step 12: place the dies over the background and die cut. *note: i like to use the precision base plate when i’m cutting many detailed shapes at once.
 step 13: check out all of those colorful leaves. even the negative cut sheet of cardstock is cool to use.
 step 14: here’s where the creative option came in to use one of my favorite leaf stamp sets from way back when…it’s set #97 and we’re at set #249 now (wow!). i’m stamping with archival ink since it gives it a more realistic color and stamps with better detail than distress would.
 step 15: you can see here that although these are clearly not the same leaves in shape or size, the detail of these stamps work perfectly, see for yourself.
 step 16: ink the stamp with archival ink, place the leaf face down on the stamp so you get it in the position you like best.
 step 17: press a grid-block over the paper to create pressure to stamp the ink. i think this is the easiest way to “reverse stamp” vs. using a brayer.
 *how’s that for realistic detail?
 step 18: continue stamping all of the leaves. for the smaller leaves, i used the smaller leaf stamps from the set.
 step 19: ink the edges of all leaves with distress ink using an ink blending tool. since i only wanted to create a subtle shadow i chose frayed burlap. there you have it…distressed leaves!

